
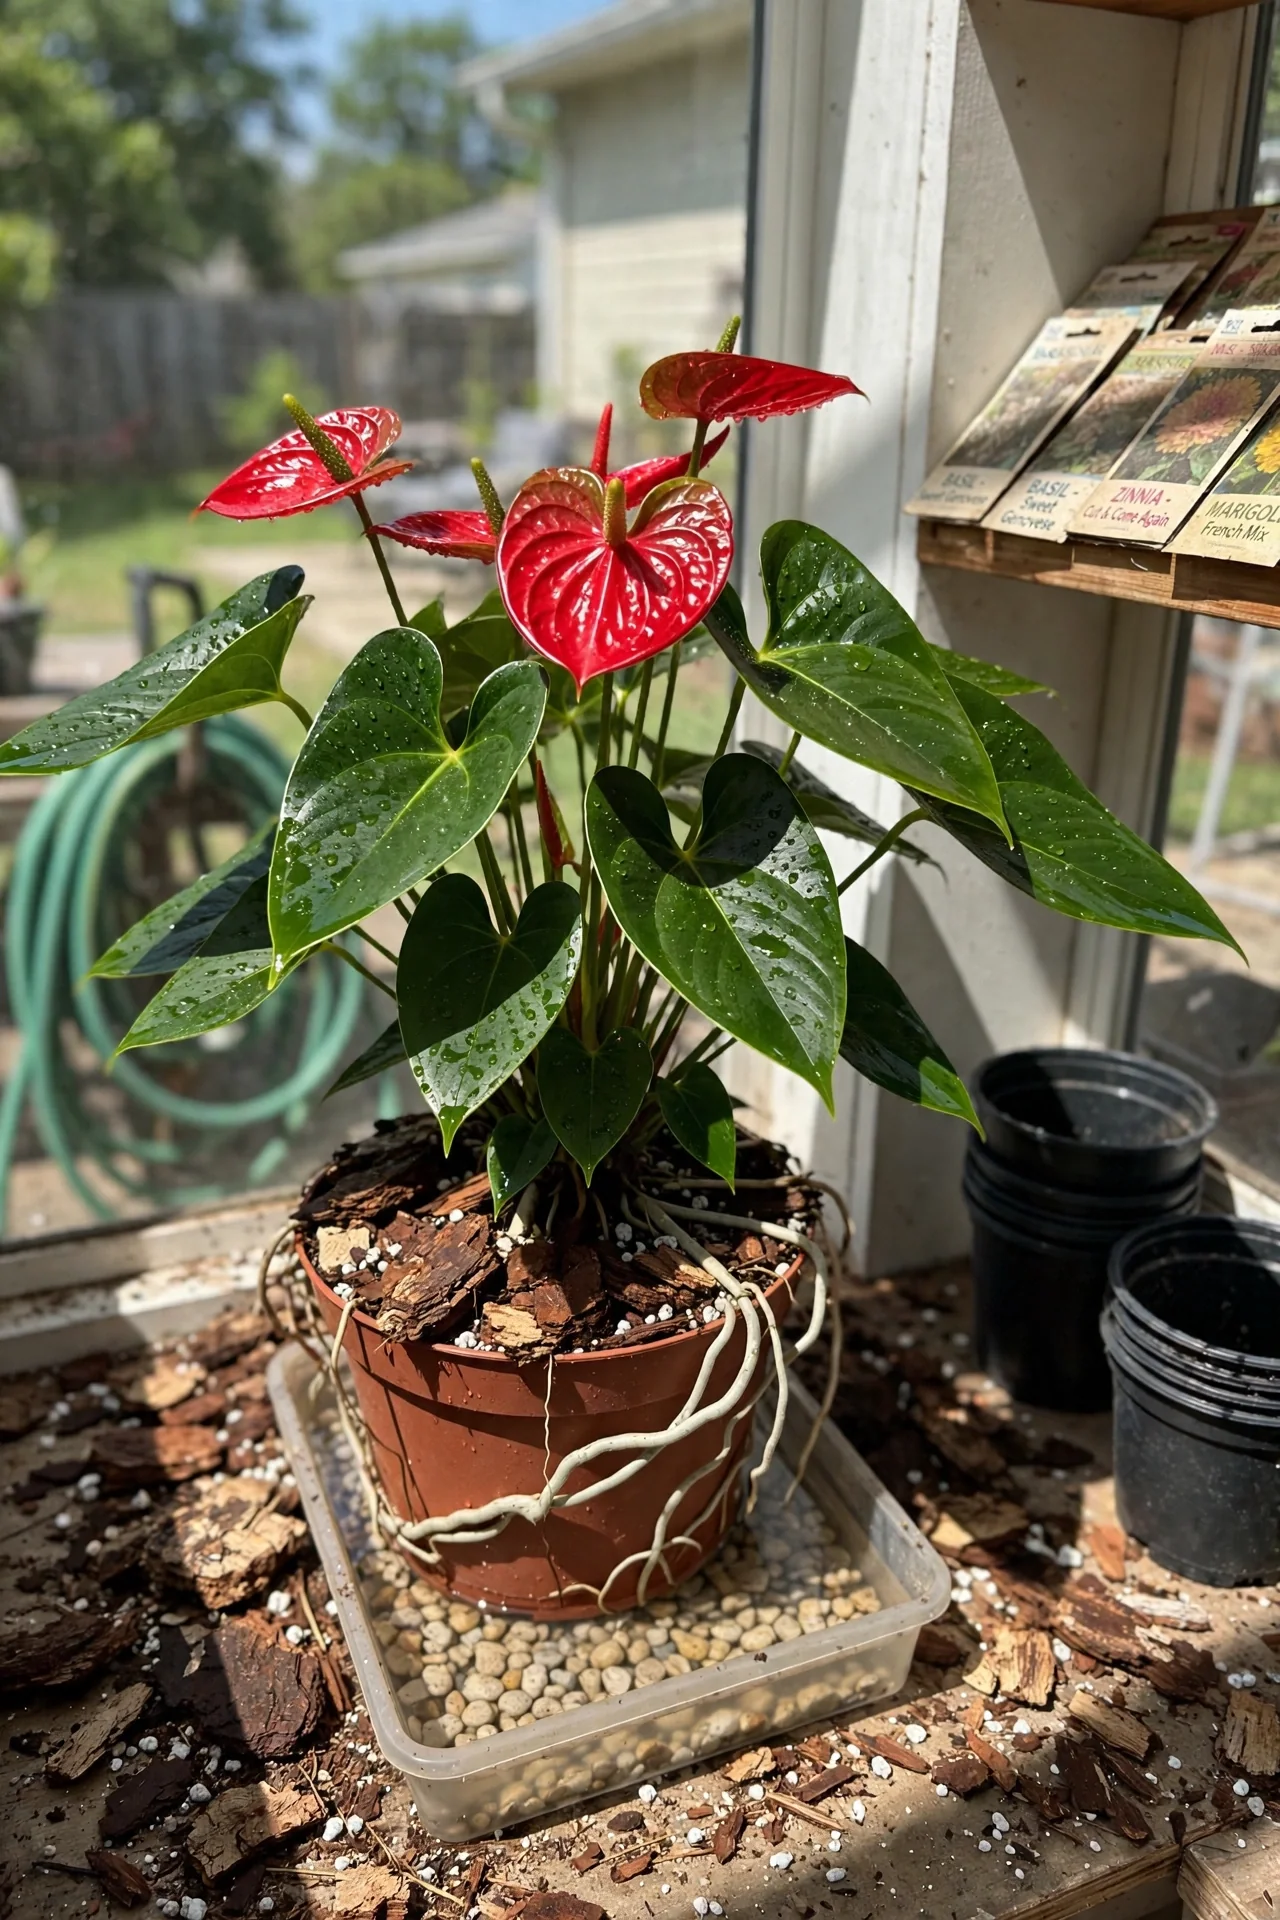
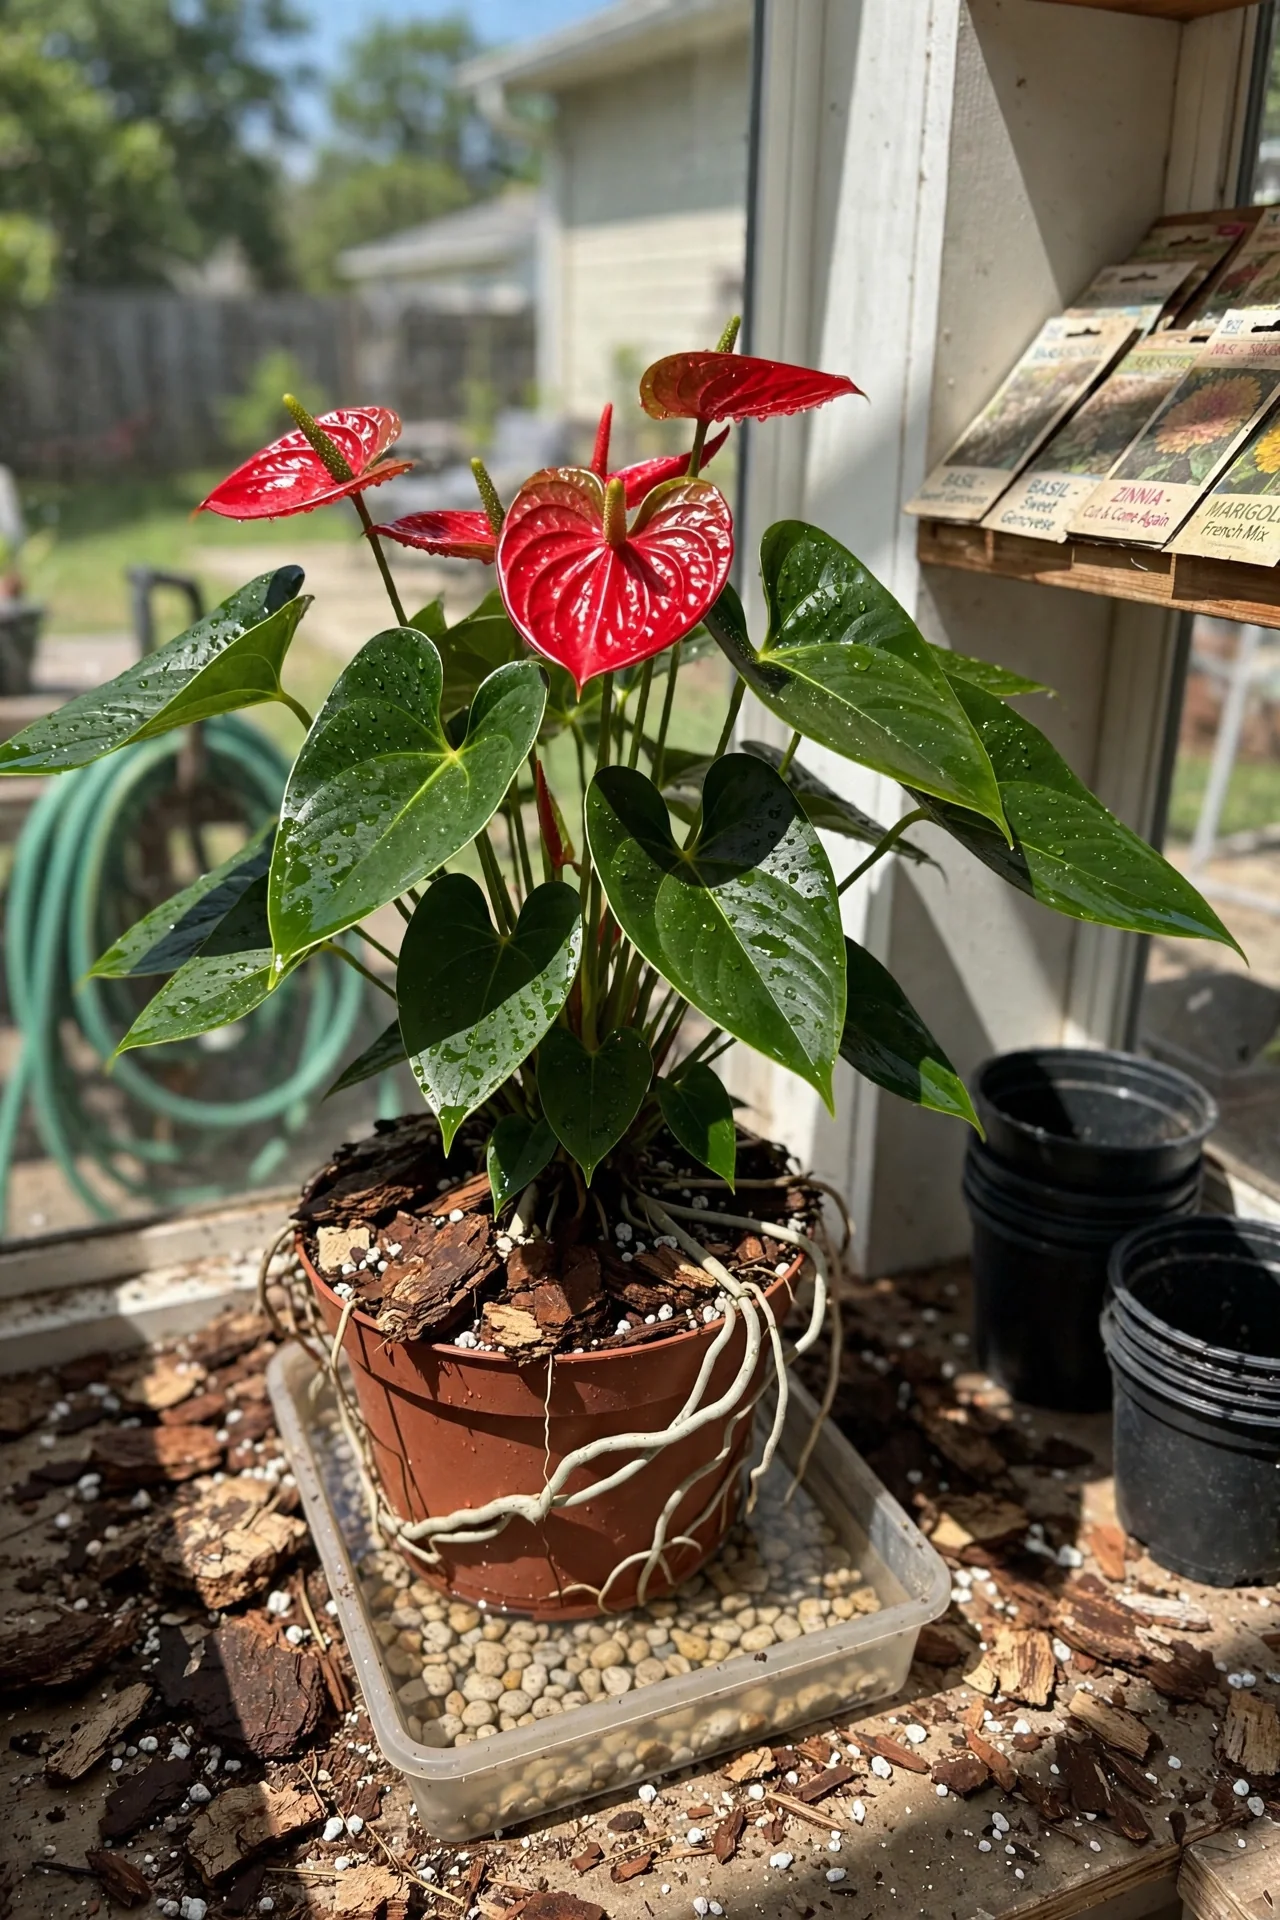
Standard anthurium advice often treats the plant like a typical potted houseplant. Yet its roots evolved to cling to tree bark in rainforest canopies, not sit in dense soil. Reframing anthurium care around its epiphytic nature is what separates months of vibrant spathes from a slow decline into yellow leaves and rot.
This guide maps 10 care decisions to your real-world growing conditions. We exclude outdoor landscape growing and focus exclusively on indoor containers. What you’ll find are environment-specific paths: dry-air homes, average rooms, and steamy spaces each demand a different priority stack.
By the end, you’ll know exactly which two or three actions will give your anthurium the biggest lift based on the humidity you can reliably provide, and which common tasks you can safely skip.
Bottom line: Match your potting mix, watering rhythm, and humidity tactic to your room’s moisture level before chasing fertilizer schedules or repotting.
The Yield Grid Decision Grid
Choose the branch that describes your indoor environment and main goal. Each path focuses on measurable conditions, not guesswork.
Branch 1: Dry Air, Bloom Focus. Your home has forced-air heating or air conditioning, leaf tips brown, and you want more flowers. Relative humidity feels consistently low (static, crispy edges). You’ll need to add moisture actively. Recommended: Items 4, 5, 2 below.
Branch 2: Average Room, Easy Care. Your space stays between comfortable room temperatures without extreme dryness; you value a healthy, glossy plant over maximum blooms. You can rely on passive methods. Recommended: Items 1, 3, 8 below.
Branch 3: High Humidity, Collector’s Setup. You have a bathroom with regular steam, a terrarium, or a greenhouse cabinet, and you may want to try rarer varieties like Anthurium crystallinum. High ambient moisture shifts the care calculus. Recommended: Items 6, 10, and see our crystallinum guide.
Quick Comparison Table
| Option | Key Mechanism | Best for | Decision Grid Branch | Effort Score |
|---|---|---|---|---|
| 1. Orchid Bark Mix | Airflow around epiphytic roots | Preventing rot in any setting | Branch 2 | 1 |
| 2. Root-Color Watering | Visual moisture gauge (silvery roots) | Consistent hydration without guesswork | Branch 1 | 3 |
| 3. Bright Indirect Light | Sustained energy for blooms | Homes with east or north windows | Branch 2 | 1 |
| 4. Pebble Tray + Grouping | Local humidity boost via evaporation | Dry-air homes, bloom ambition | Branch 1 | 5 |
| 5. Dilute Weekly Feed | Steady, low-concentration nutrient supply | Pushing continuous flowering | Branch 1 | 5 |
| 6. Temperature Guardrails | Avoid cold shock and draft stress | All environments, especially Branch 3 | Branch 3 | 1 |
| 7. Timed Repotting | Refresh media before compaction | Long-term root health | Branch 2 | 1 |
| 8. Leaf Grooming | Maximize photosynthesis, pest detection | Low-effort maintenance path | Branch 2 | 1 |
| 9. Pest Scouting Routine | Early intervention on sap-suckers | Prevention in collections | Branch 2 | 3 |
| 10. Offshoot Division | Clonal propagation when mature | Expanding a collection, Branch 3 | Branch 3 | 1 |
1. Orchid Bark Mix for Root Aeration
Best for: Branch 2
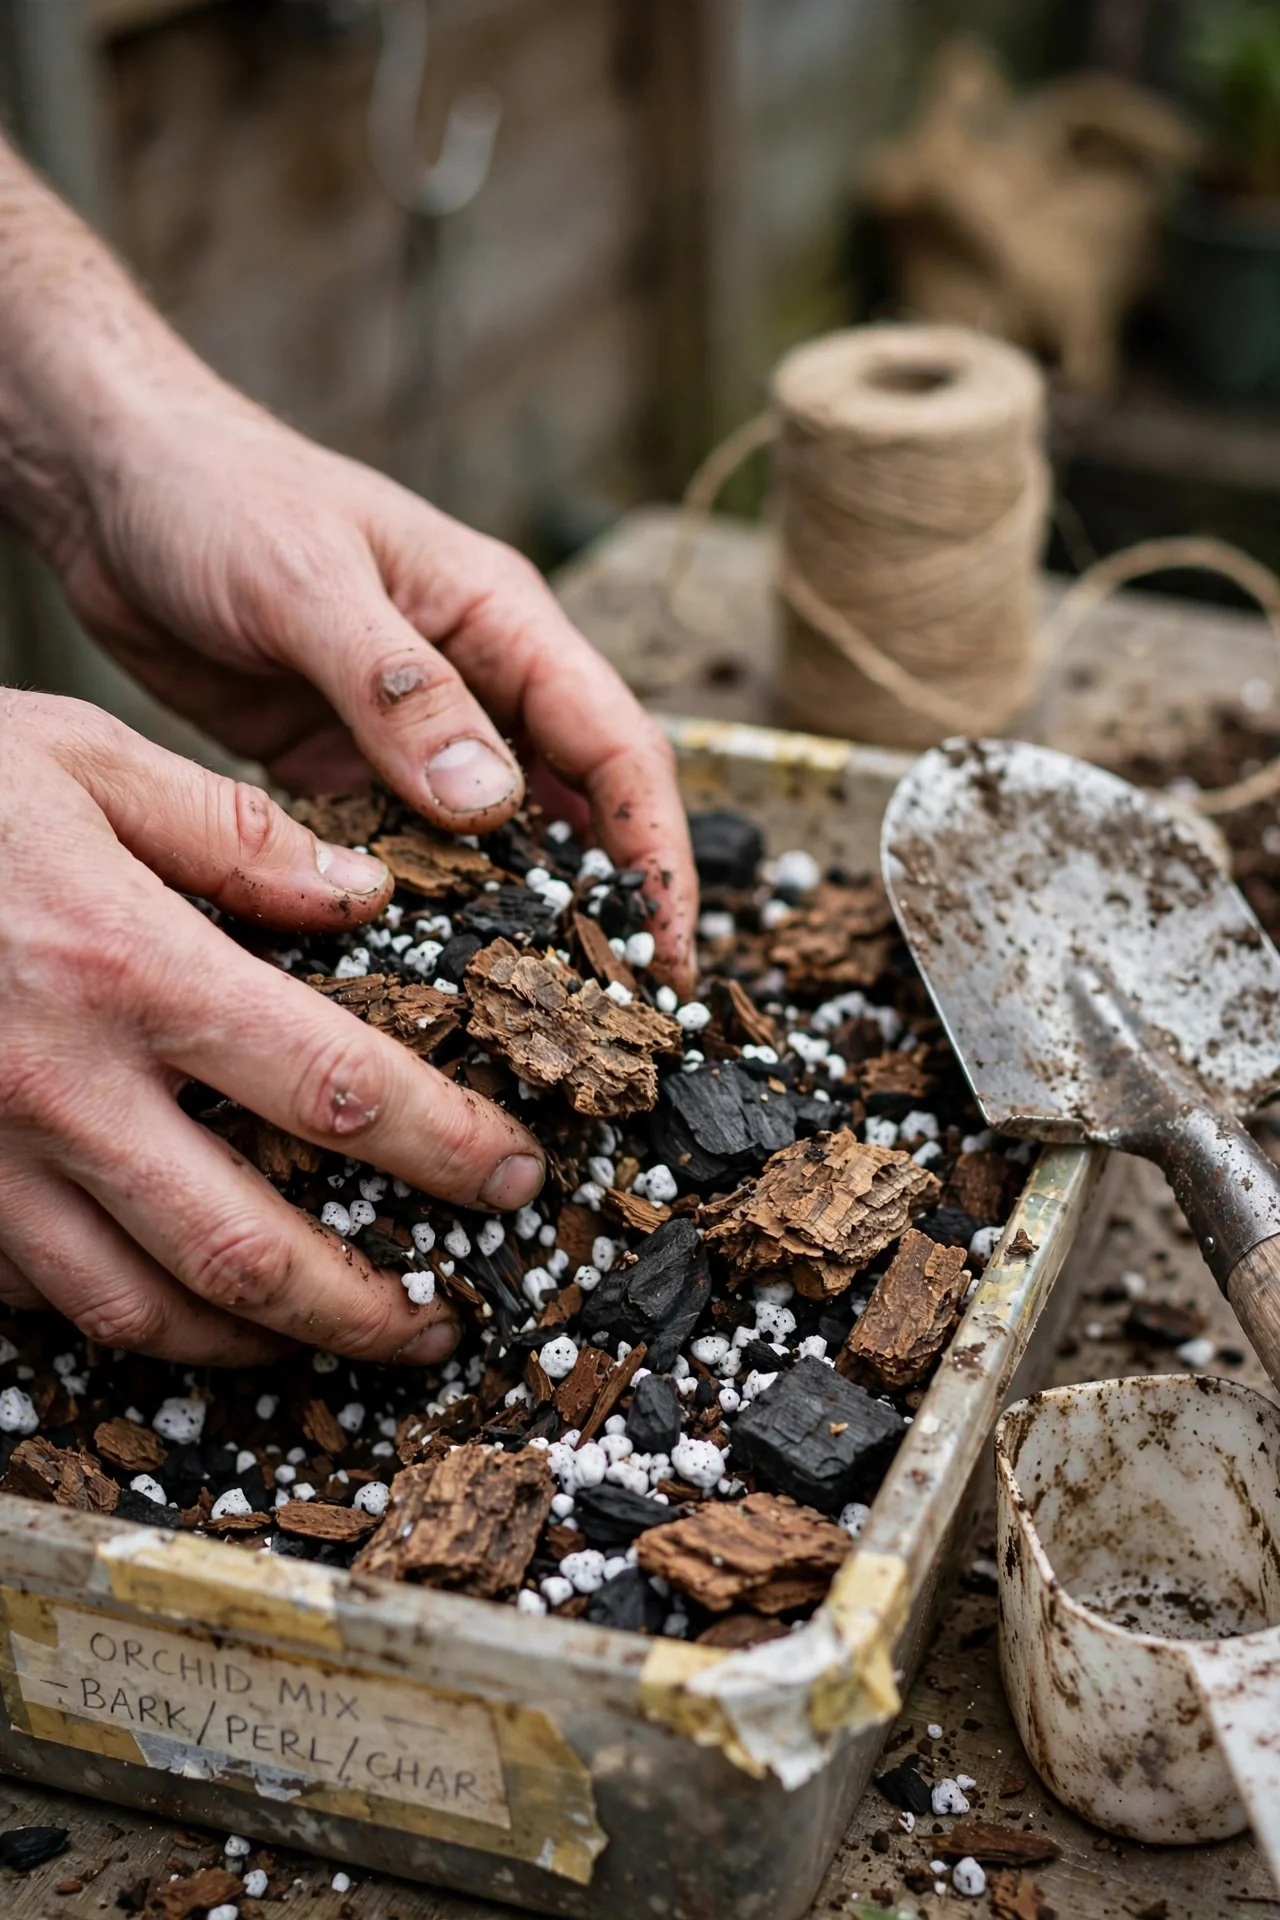
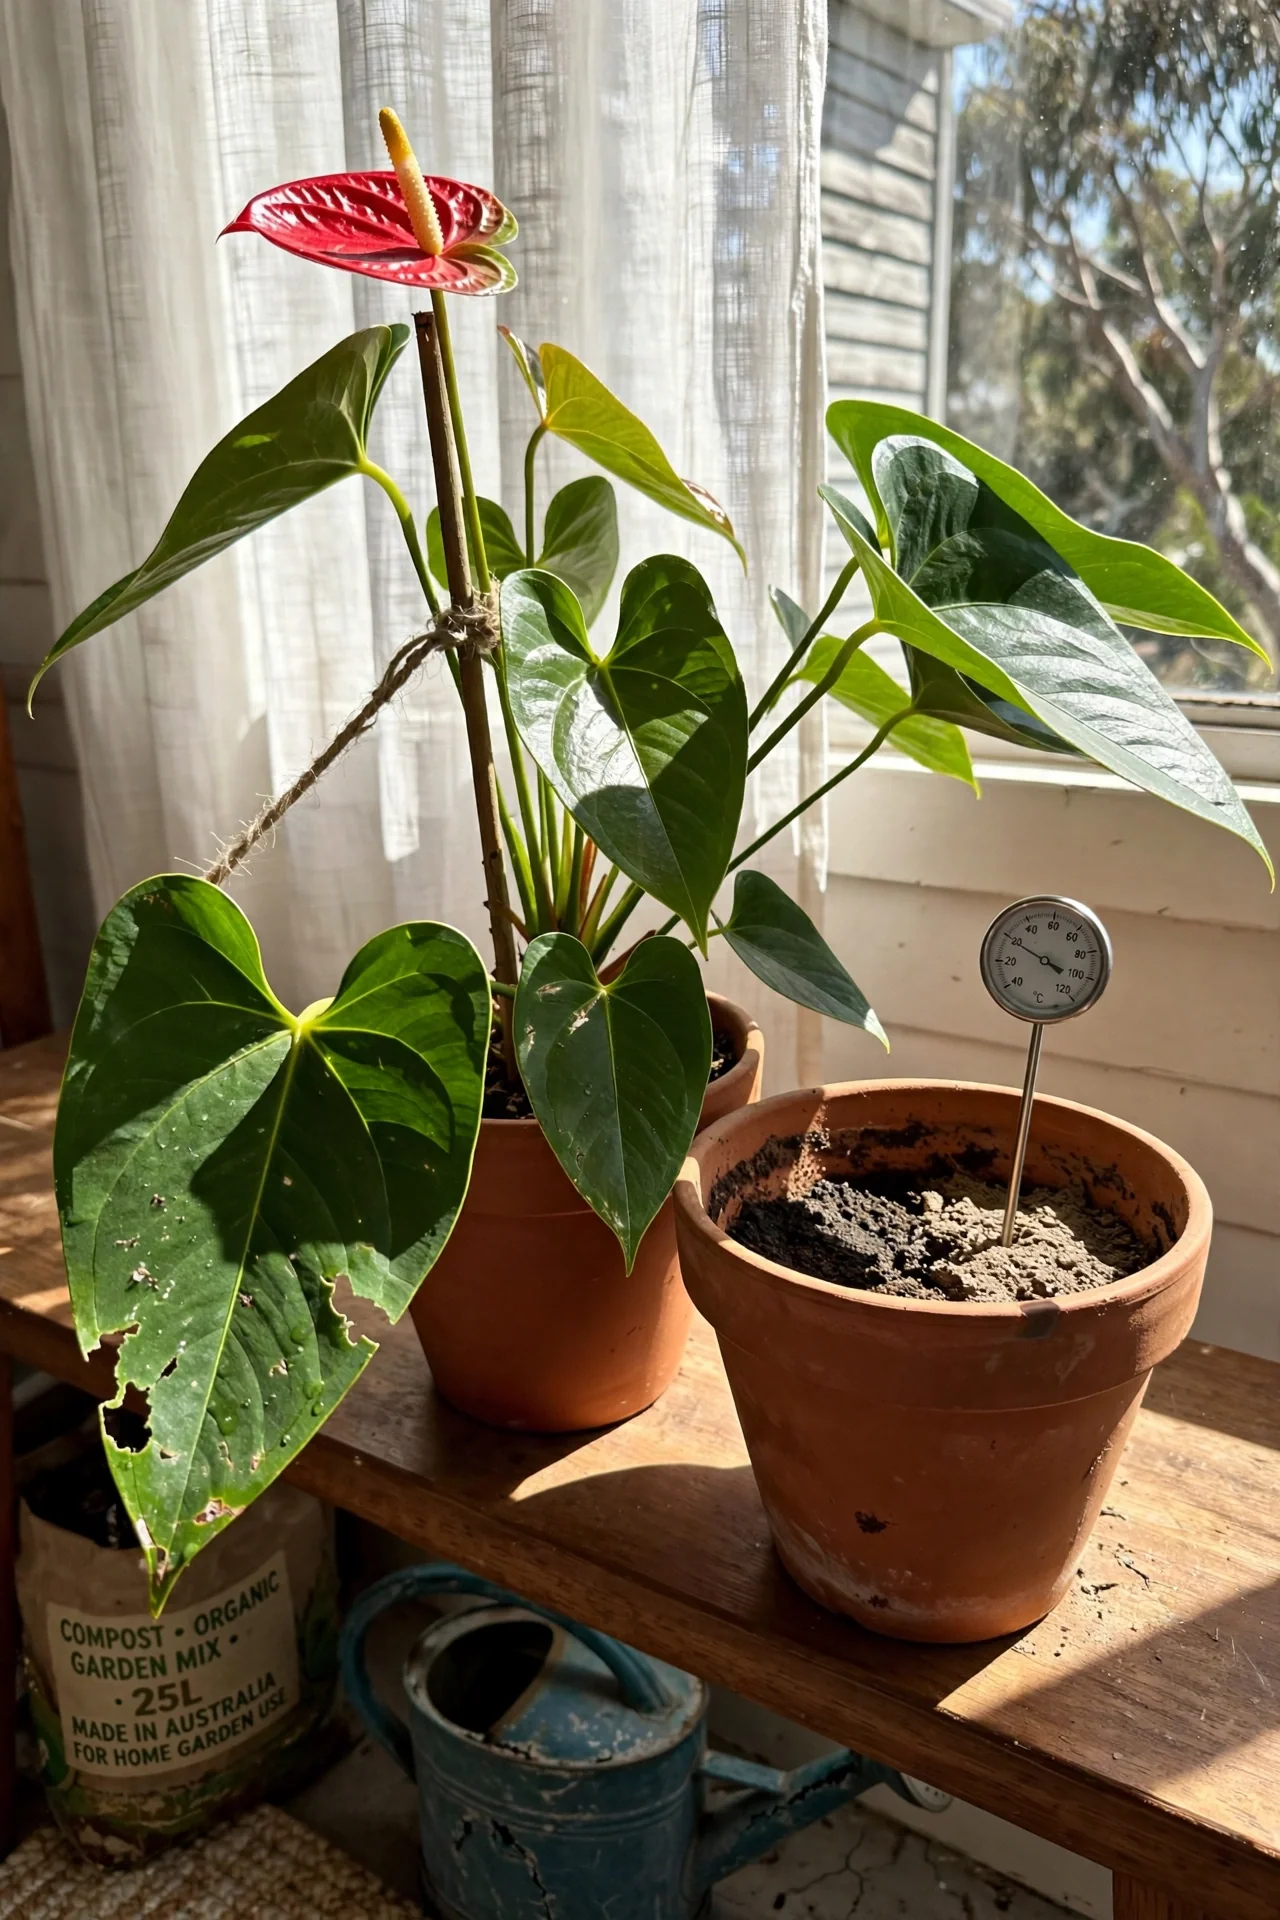
What it is: A chunky substrate of fir bark, perlite, and horticultural charcoal that mimics the crevices anthurium roots naturally colonize. Who it’s for: Anyone who has lost an anthurium to soggy collapse, or who waters on a set calendar. Quick steps: Combine 5 parts medium-grade orchid bark, 2 parts coarse perlite, and 1 part charcoal. Pre-soak the bark overnight to reduce initial water repellency. Repot at the same depth, never bury the crown. Common mistake: Adding peat or compost “for moisture.” Anthurium roots suffocate when fine particles fill air pockets. If you want a deeper look at aroids that thrive in a similar mix, see our Philodendron care guide.
2. Water When Roots Turn Silvery
Best for: Branch 1
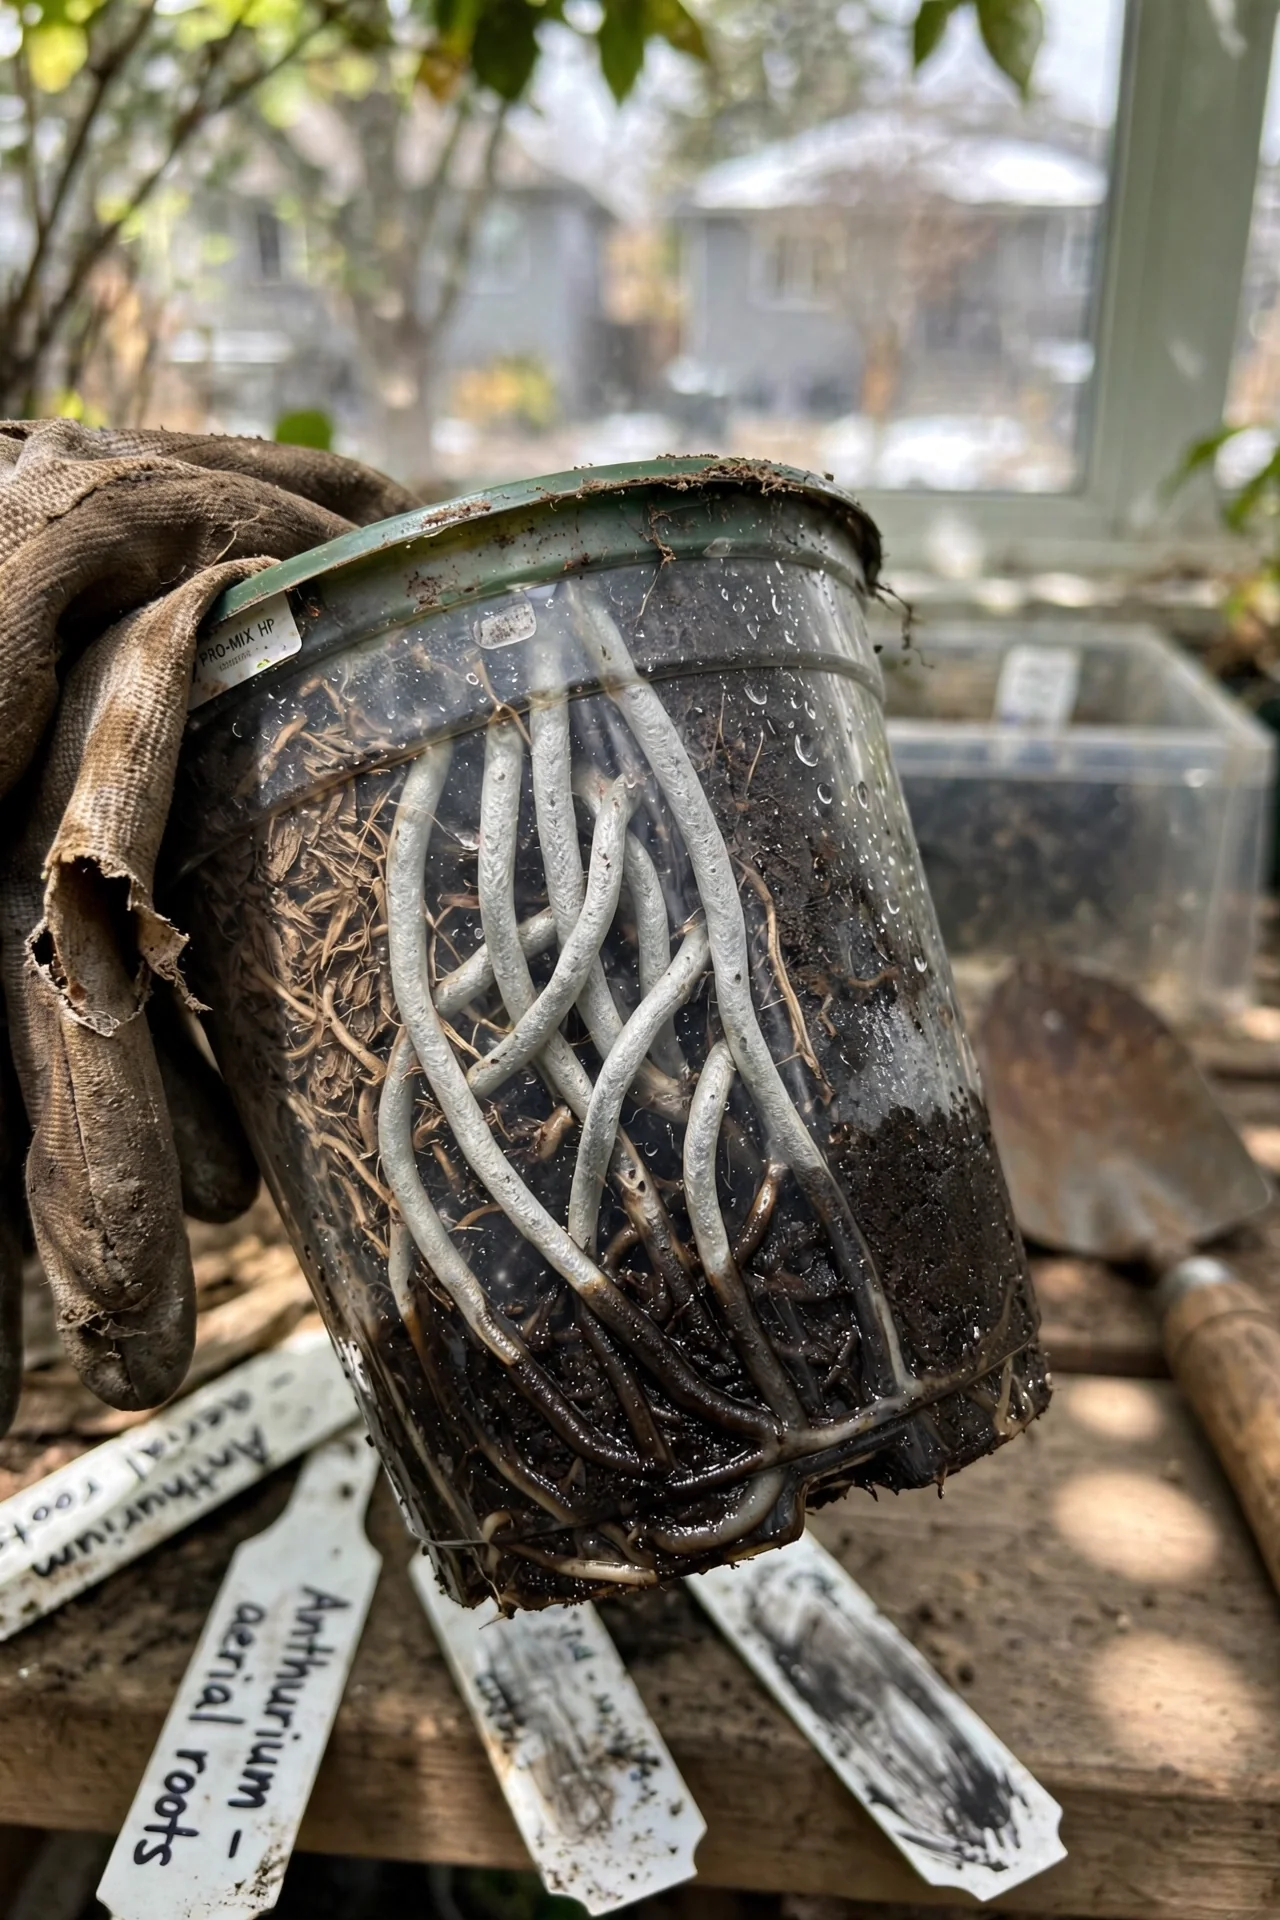
Pros: Eliminates calendar guesswork; directly reads the plant’s hydration. Cons: Requires visibility of aerial roots or lifting the clear pot liner. Edge case: In very low humidity, roots may silver after just two days; if you can’t keep up, switch to a self-watering wick system set into the bark mix to buy an extra day.
3. Bright Indirect Light Without Hot Spots
Best for: Branch 2
Key numbers: An east-facing window that receives 2–3 hours of gentle morning sun, or a north window with sustained brightness all day, works well. Sheer curtains are needed for south or west exposures where leaf temperature can exceed 90°F (32°C). When to adjust: If leaves develop bleached, papery patches, increase distance from the glass or add a layer of window film. In very dark rooms, a full-spectrum LED panel 12 inches above for 12 hours daily can substitute.
4. Pebble Tray and Plant Grouping for Ambient Moisture
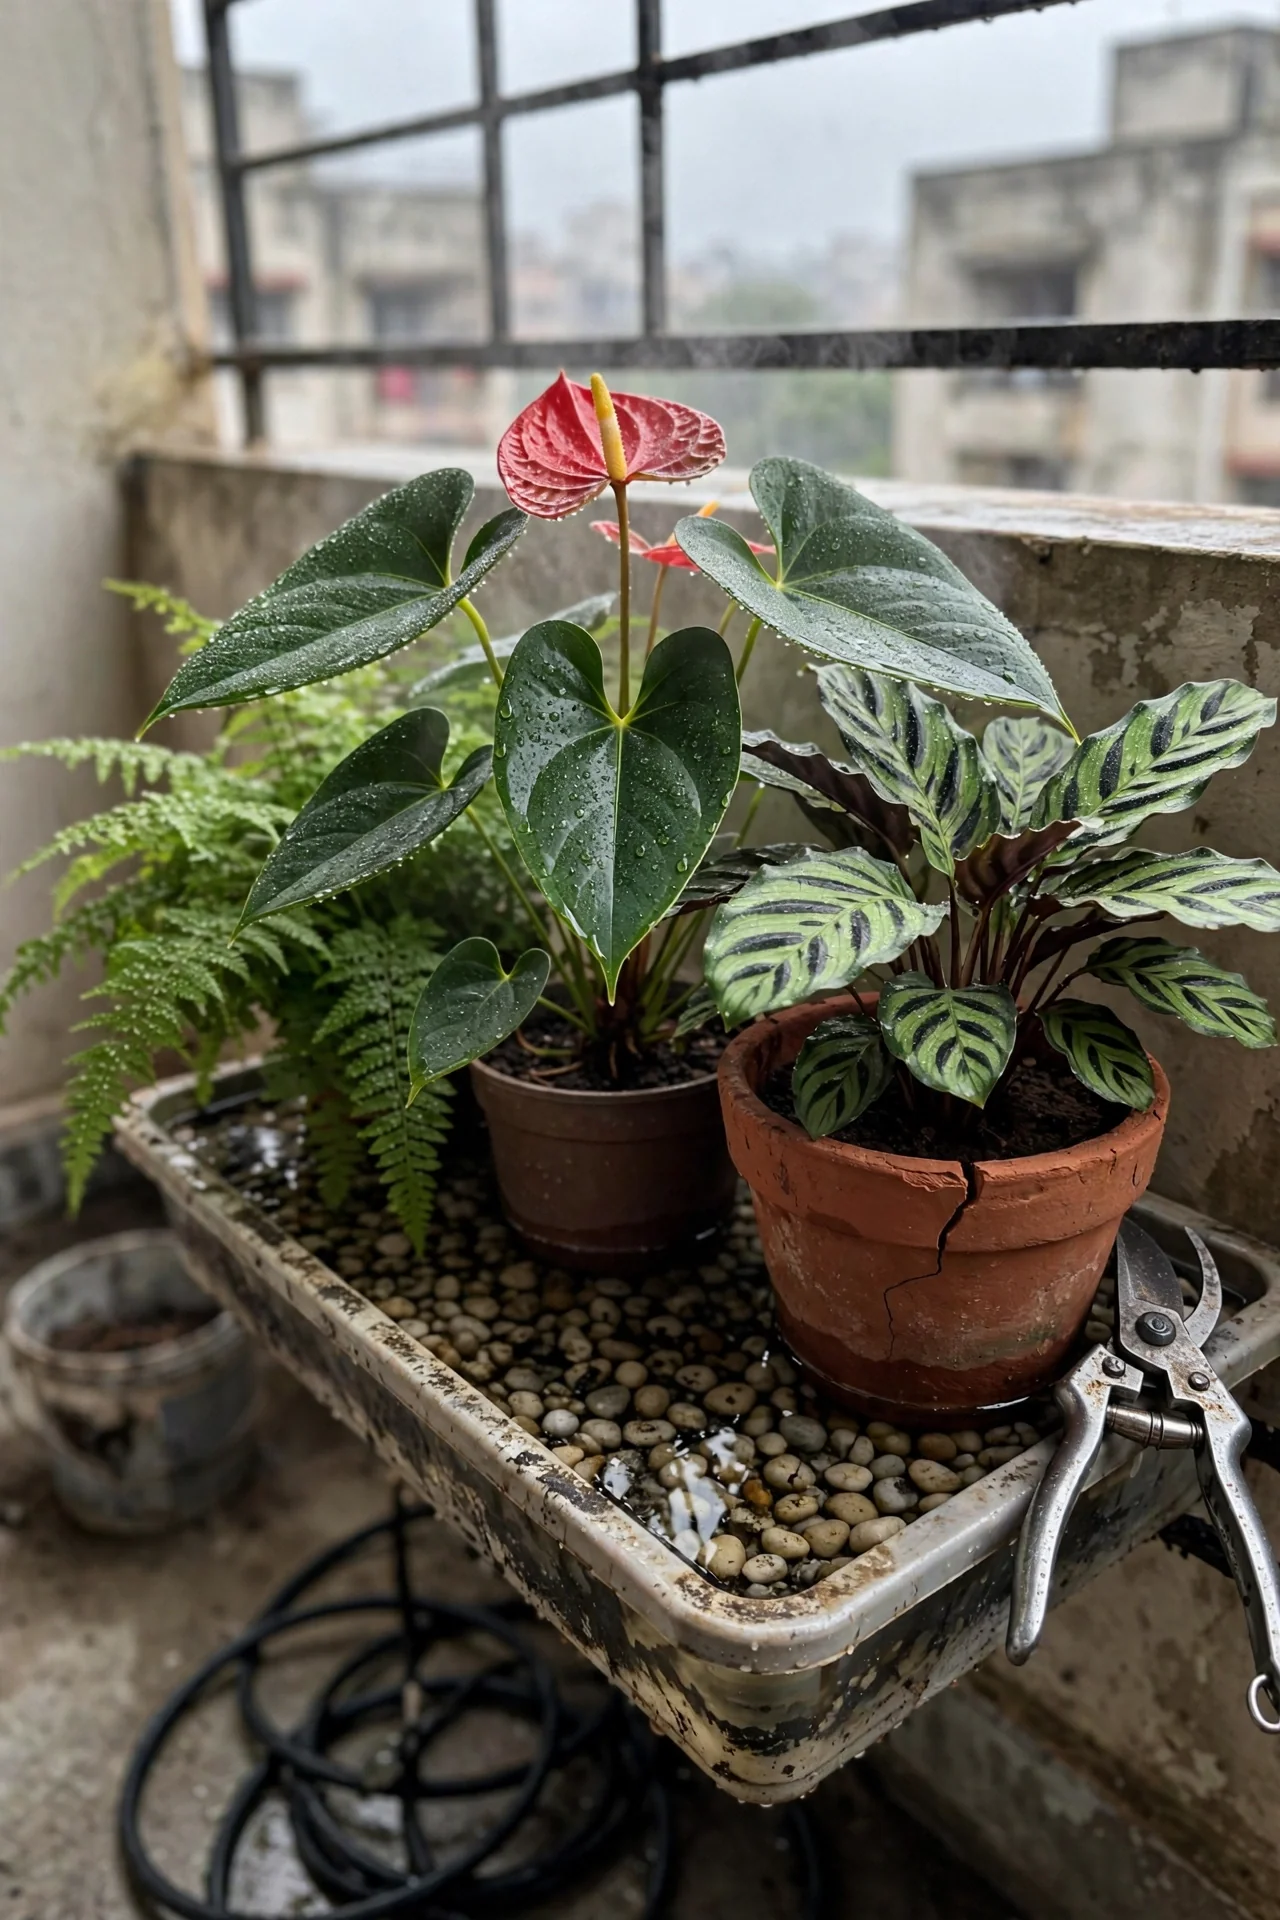
Best for: Branch 1
Steps (10-minute setup): (1) Fill a waterproof tray wider than the plant’s spread with pebbles. (2) Pour water until it reaches just below the pebble tops; the pot sits on the pebbles, never in water. (3) Group with other humidity-loving plants such as calatheas, spacing them so leaves just touch. Upgrade option: Replace the tray with a room humidifier set to maintain a visible film of moisture on nearby windows in the morning. For plants that share this need, our Calathea care page details similar tactics.
5. Weekly Dilute Fertilizer Regimen
Best for: Branch 1
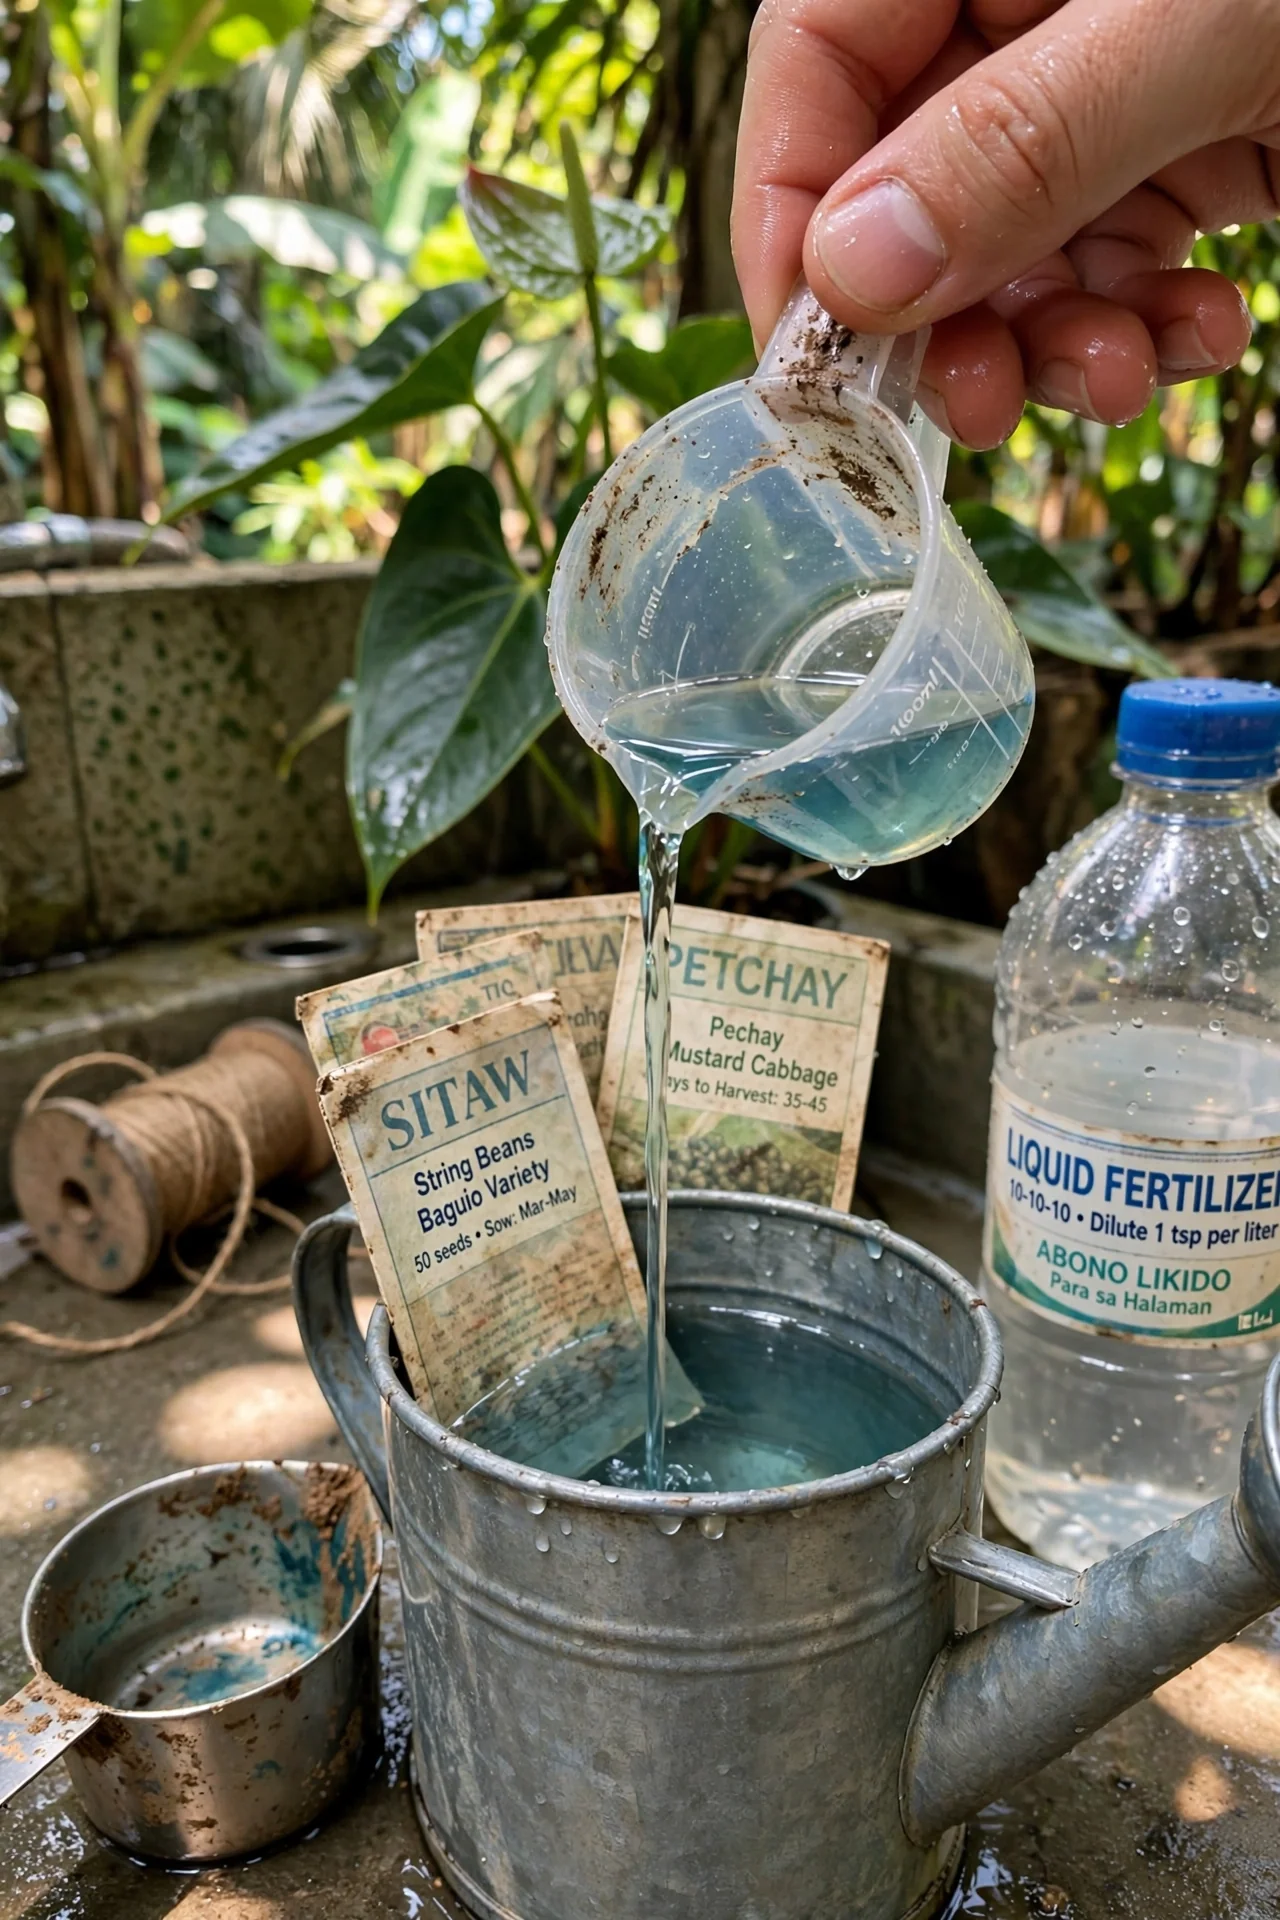
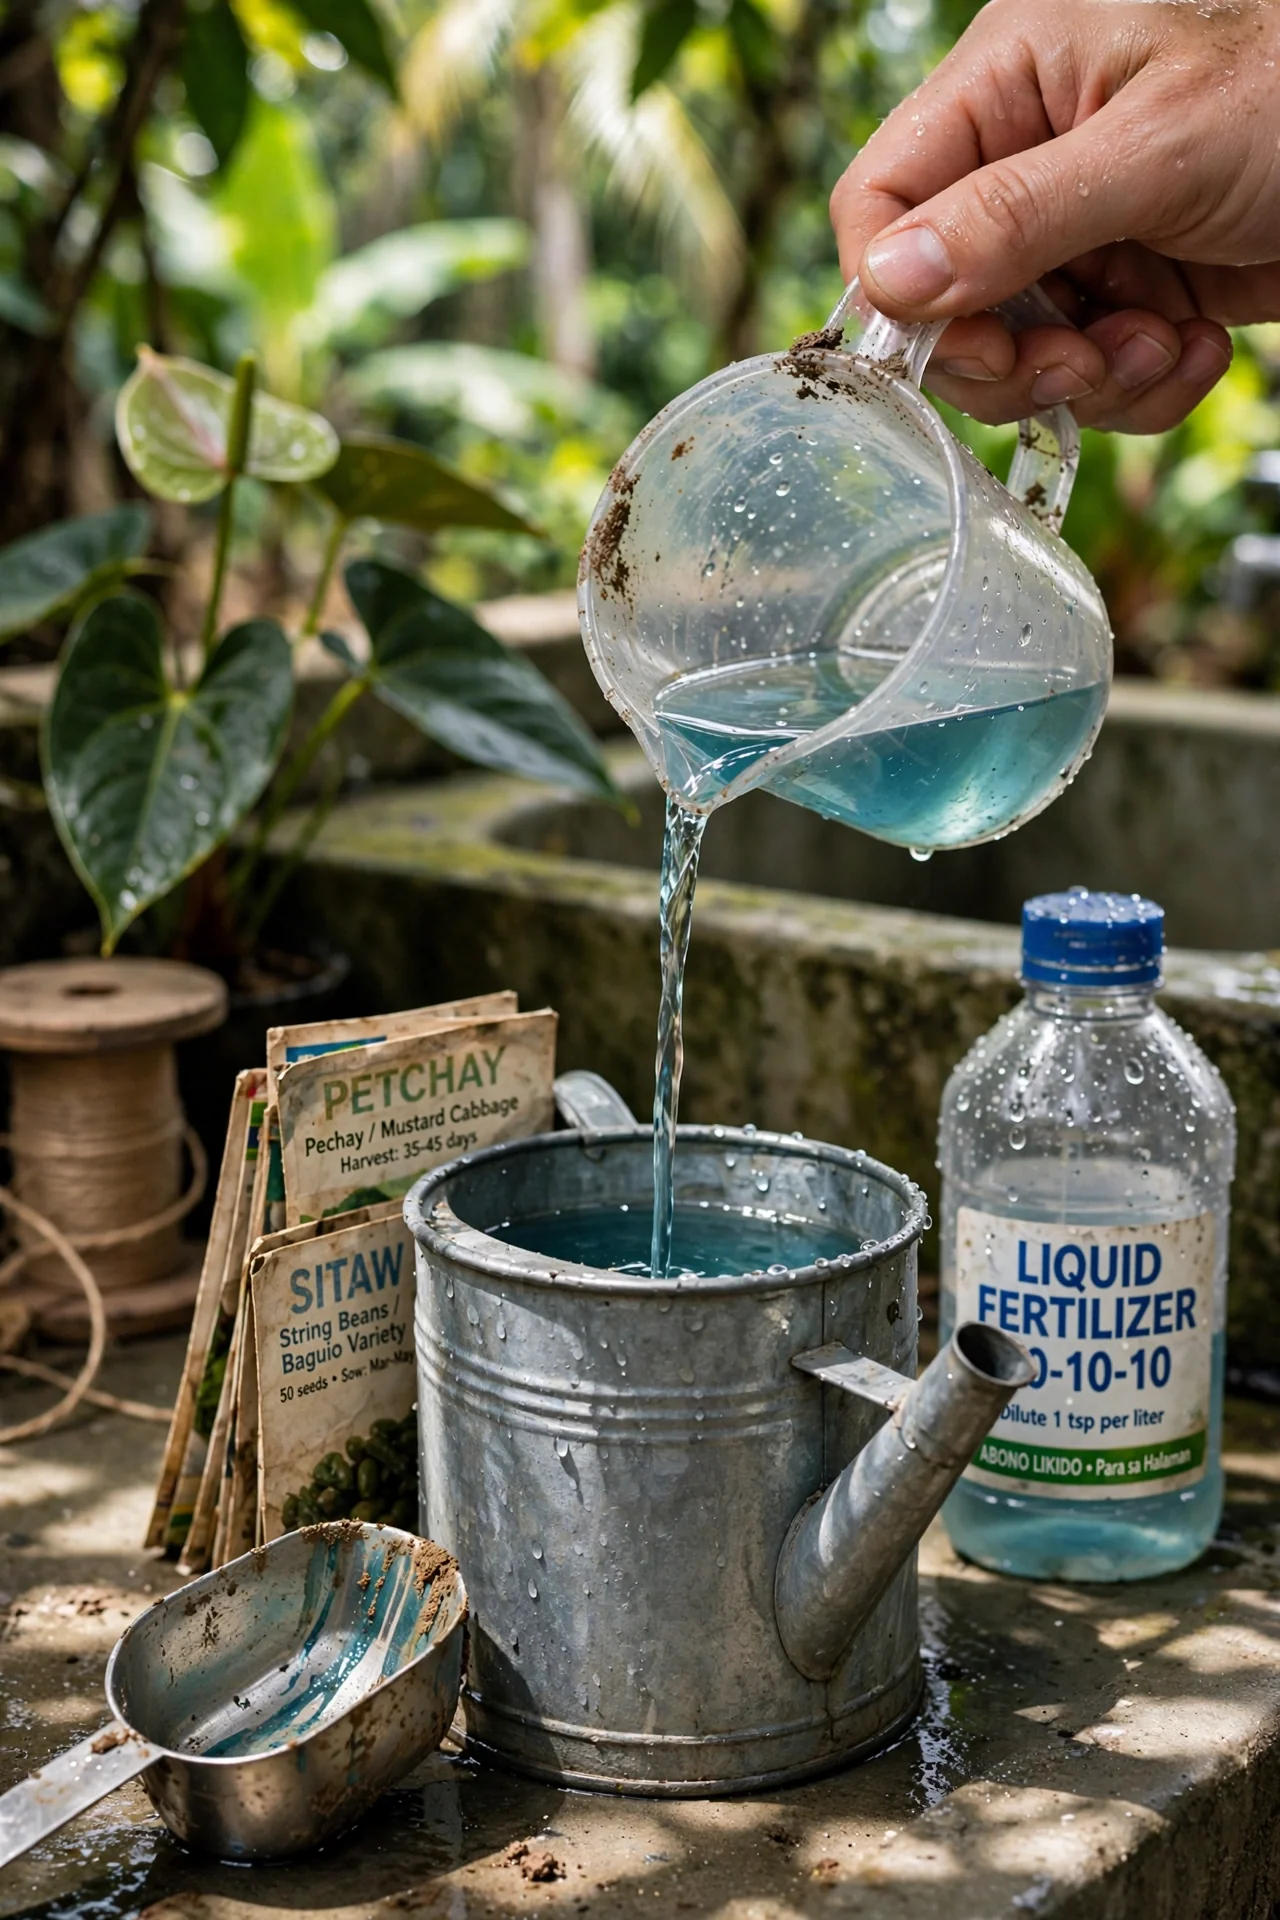
Pros: Supplies the steady phosphorus anthuriums need for repeat blooms without salt buildup. Cons: Requires mixing every week; skipped doses weaken the flower cycle. Edge case: If you see dark green leaves but no spathes, excess nitrogen is the likely culprit. Flush the pot with plain water for two weeks, then resume with a bloom-formula orchid food at quarter-strength.
6. Temperature Guardrails and Draft Avoidance
Best for: Branch 3
Key numbers: Anthuriums stop growth below 60°F (15°C) and suffer chill damage below 55°F (13°C). The sweet spot is 70–80°F (21–27°C) during the day with a 5–10°F nighttime dip. When to adjust: In a steamy bathroom, the heat from a shower rarely threatens the plant, but a cold draft from a vent or window gap can shock roots even in high humidity. Seal drafts and move plants away from glass in winter.
7. Timed Repotting Before Media Collapses
Best for: Branch 2
Use this if: Bark particles have softened, the mix stays soggy for more than four days, or roots circle the pot tightly. Skip if: The plant is actively blooming; wait until the flush finishes. Edge case: A root-bound anthurium in a steamy terrarium can stay healthy longer than one in dry air because aerial roots absorb ambient moisture. In that setting, you can delay repotting a full year. Learn how similar aroid roots behave in our Monstera care article.
8. Leaf Grooming for Photosynthesis and Pest Checks
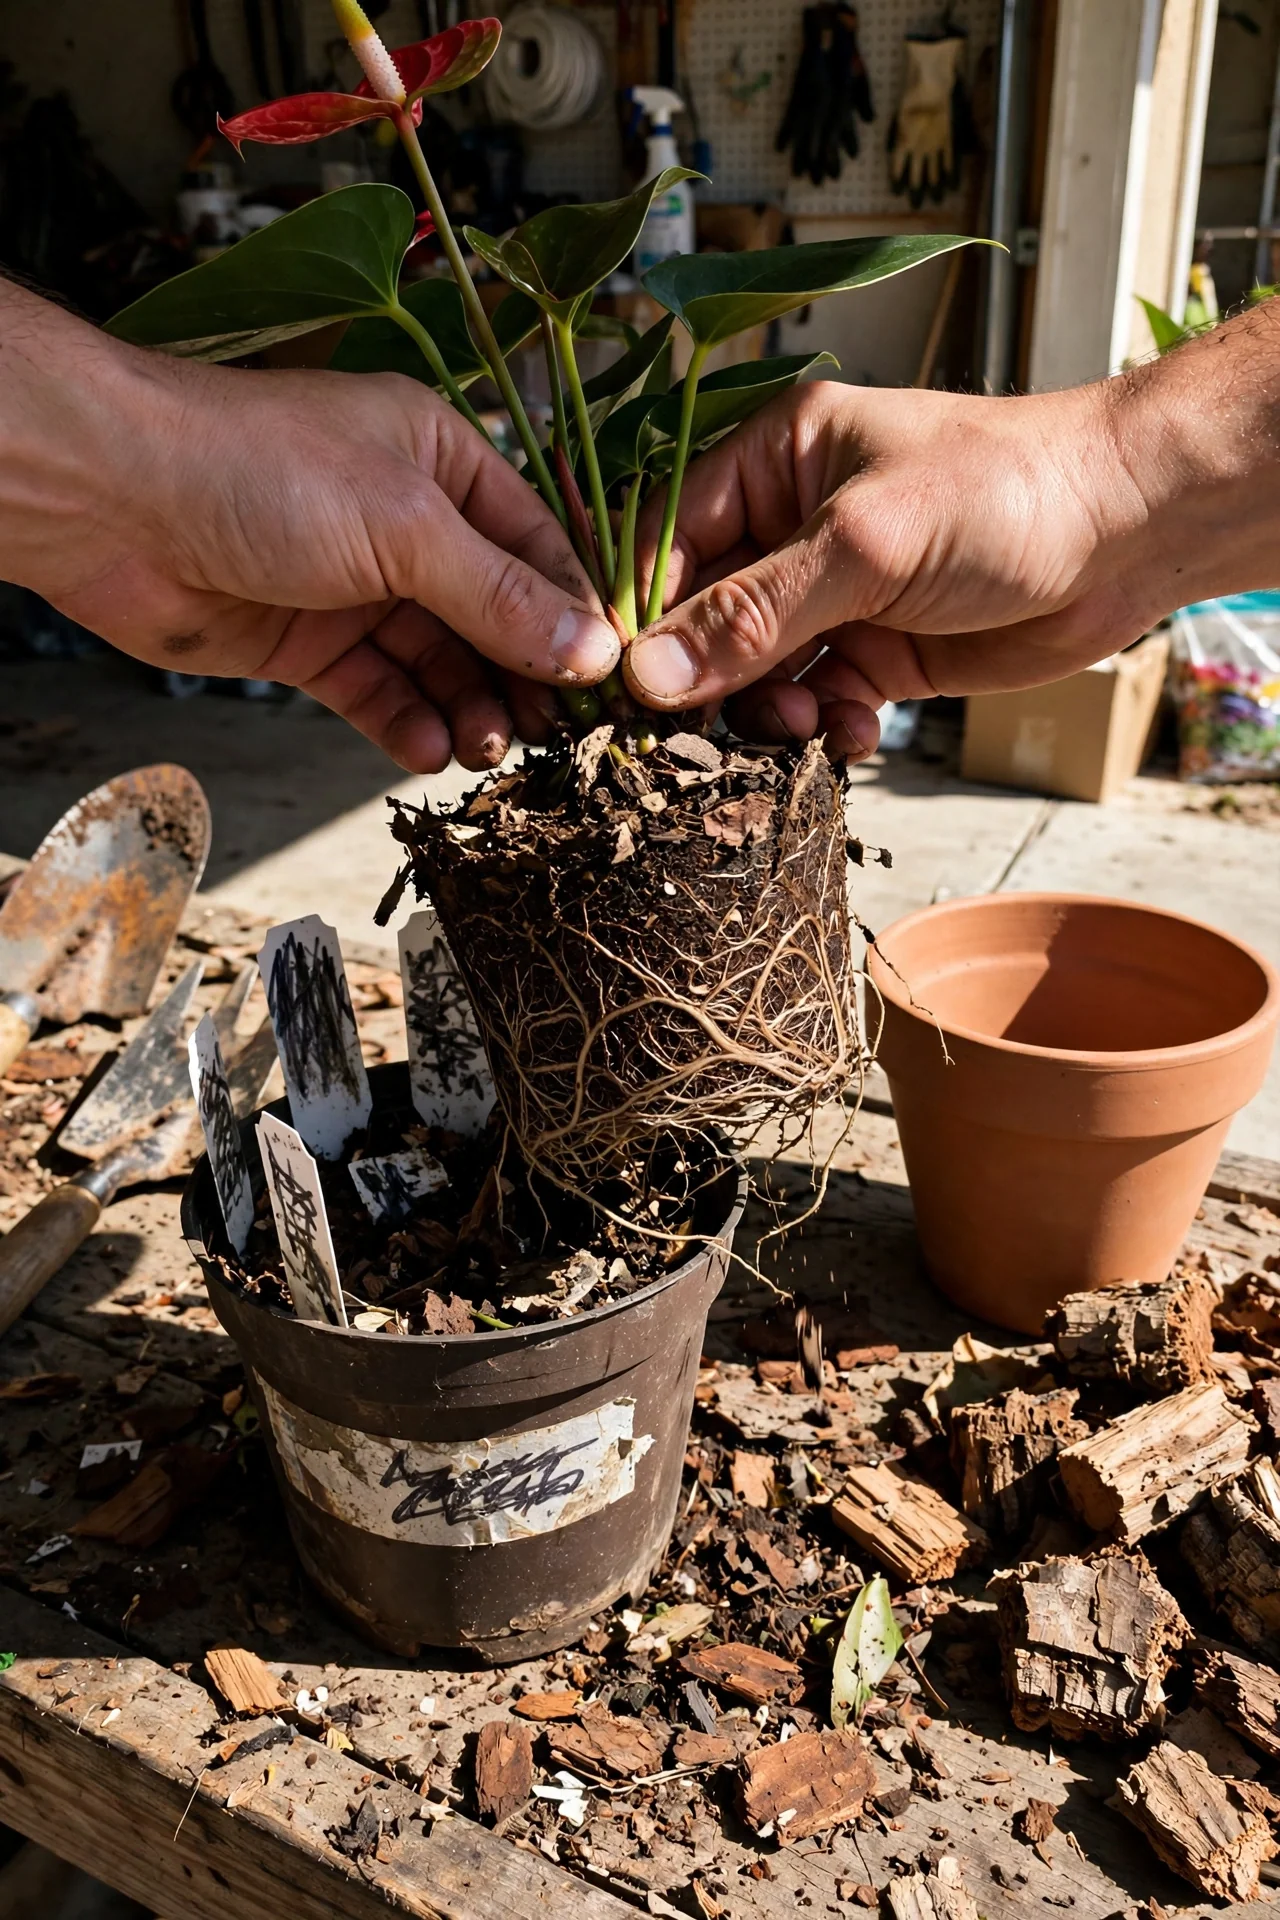
Best for: Branch 2
Steps: Wipe both sides of each leaf every two weeks with a damp, soft cloth. Inspect the undersides along the midrib for scale or mite webbing. Remove any yellowing leaf at the stem base with a clean snip. Upgrade option: Add a drop of insecticidal soap to the water once a month to deter thrips before they establish.
9. Monthly Pest Scouting Routine
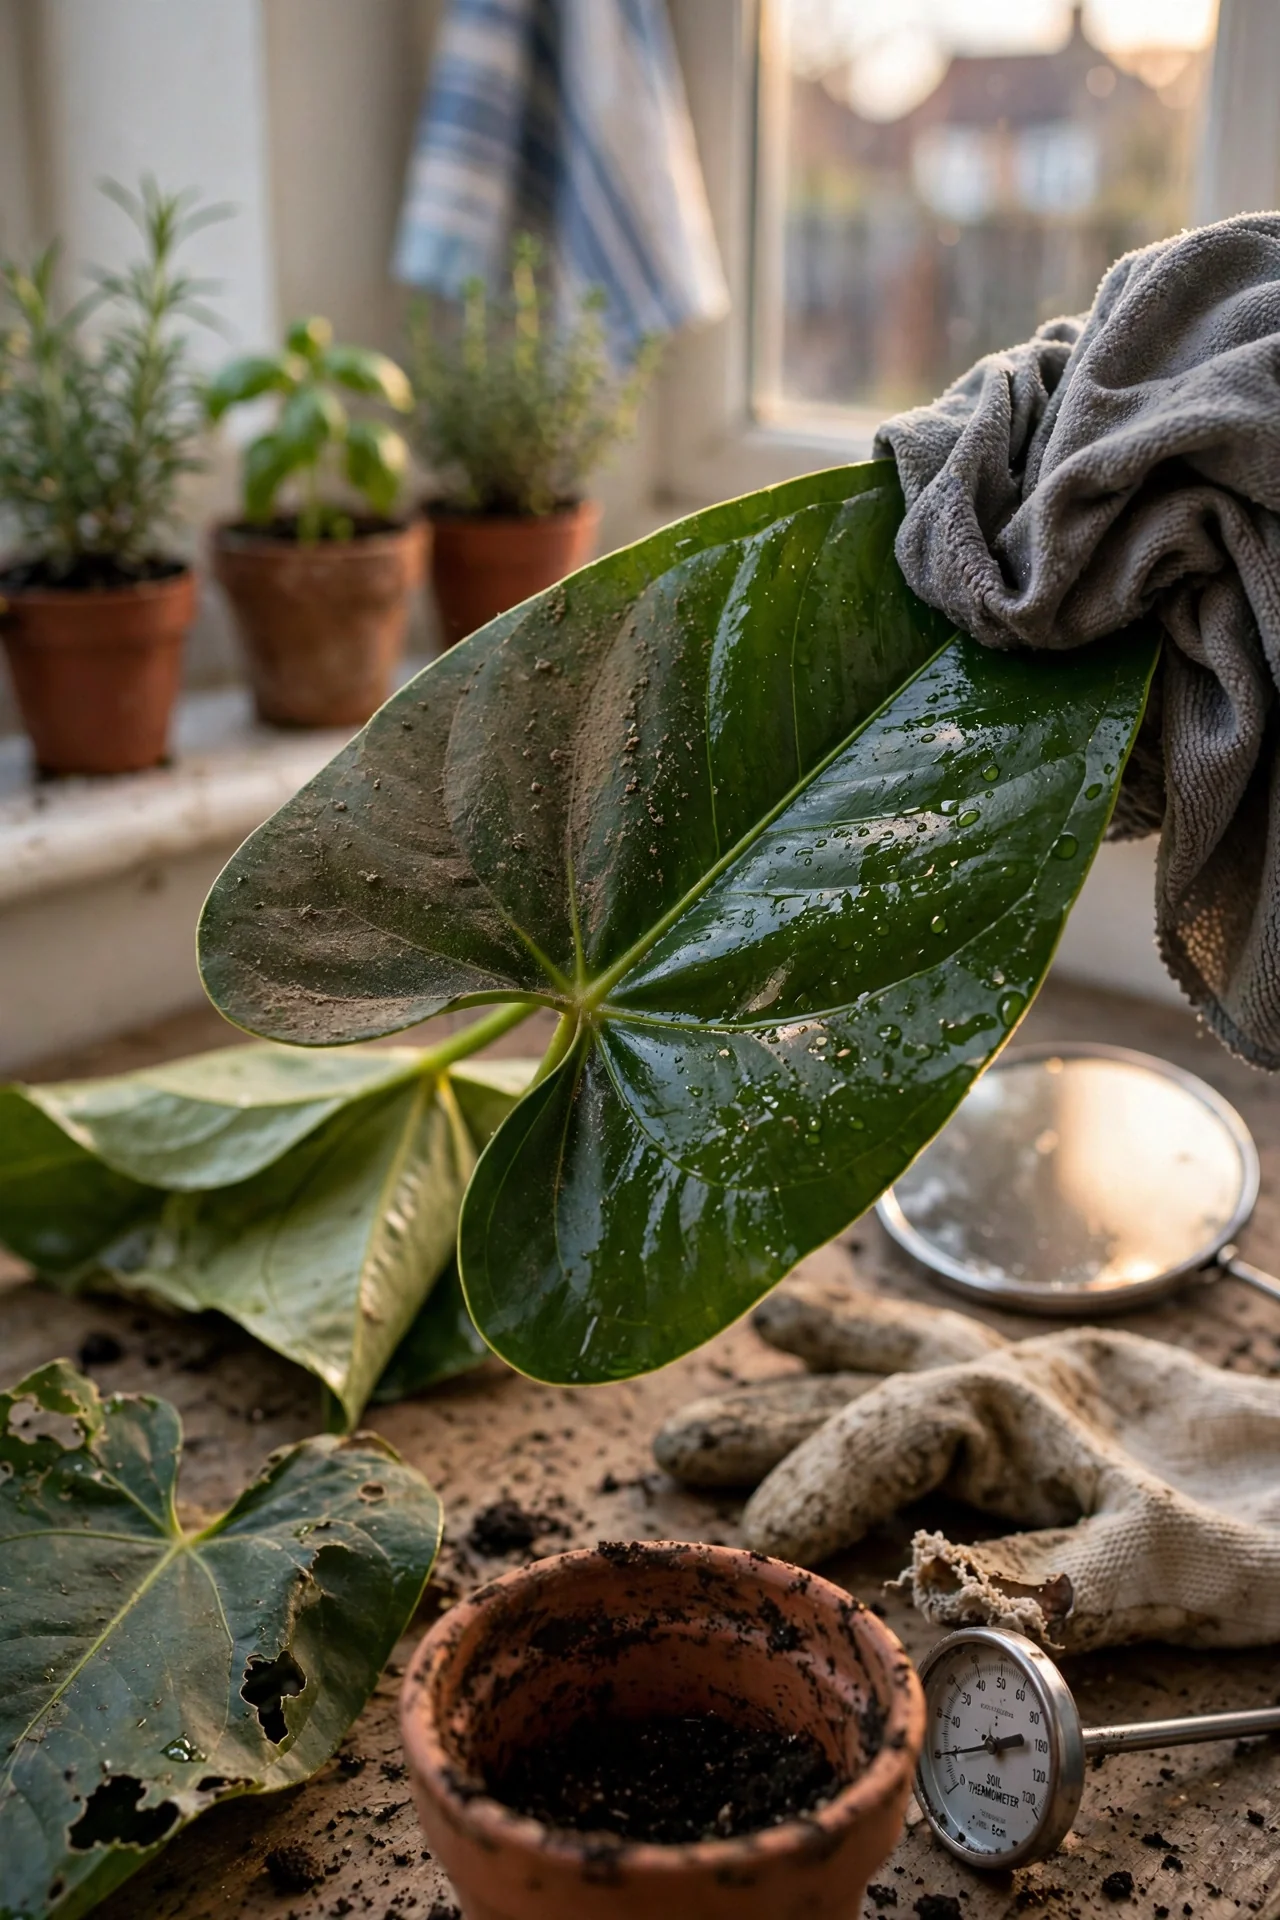
Best for: Branch 2
Key numbers: Examine plants under bright light. Look for honeydew (sticky residue) or fine stippling on new growth; spider mites thrive when air is dry, while mealybugs favor warm, stagnant corners. When to adjust: If you spot pests on more than two leaves, isolate the plant and treat immediately with a targeted spray rather than waiting. A monthly schedule catches most issues before they require harsh chemicals.
10. Offshoot Division for Free Plants
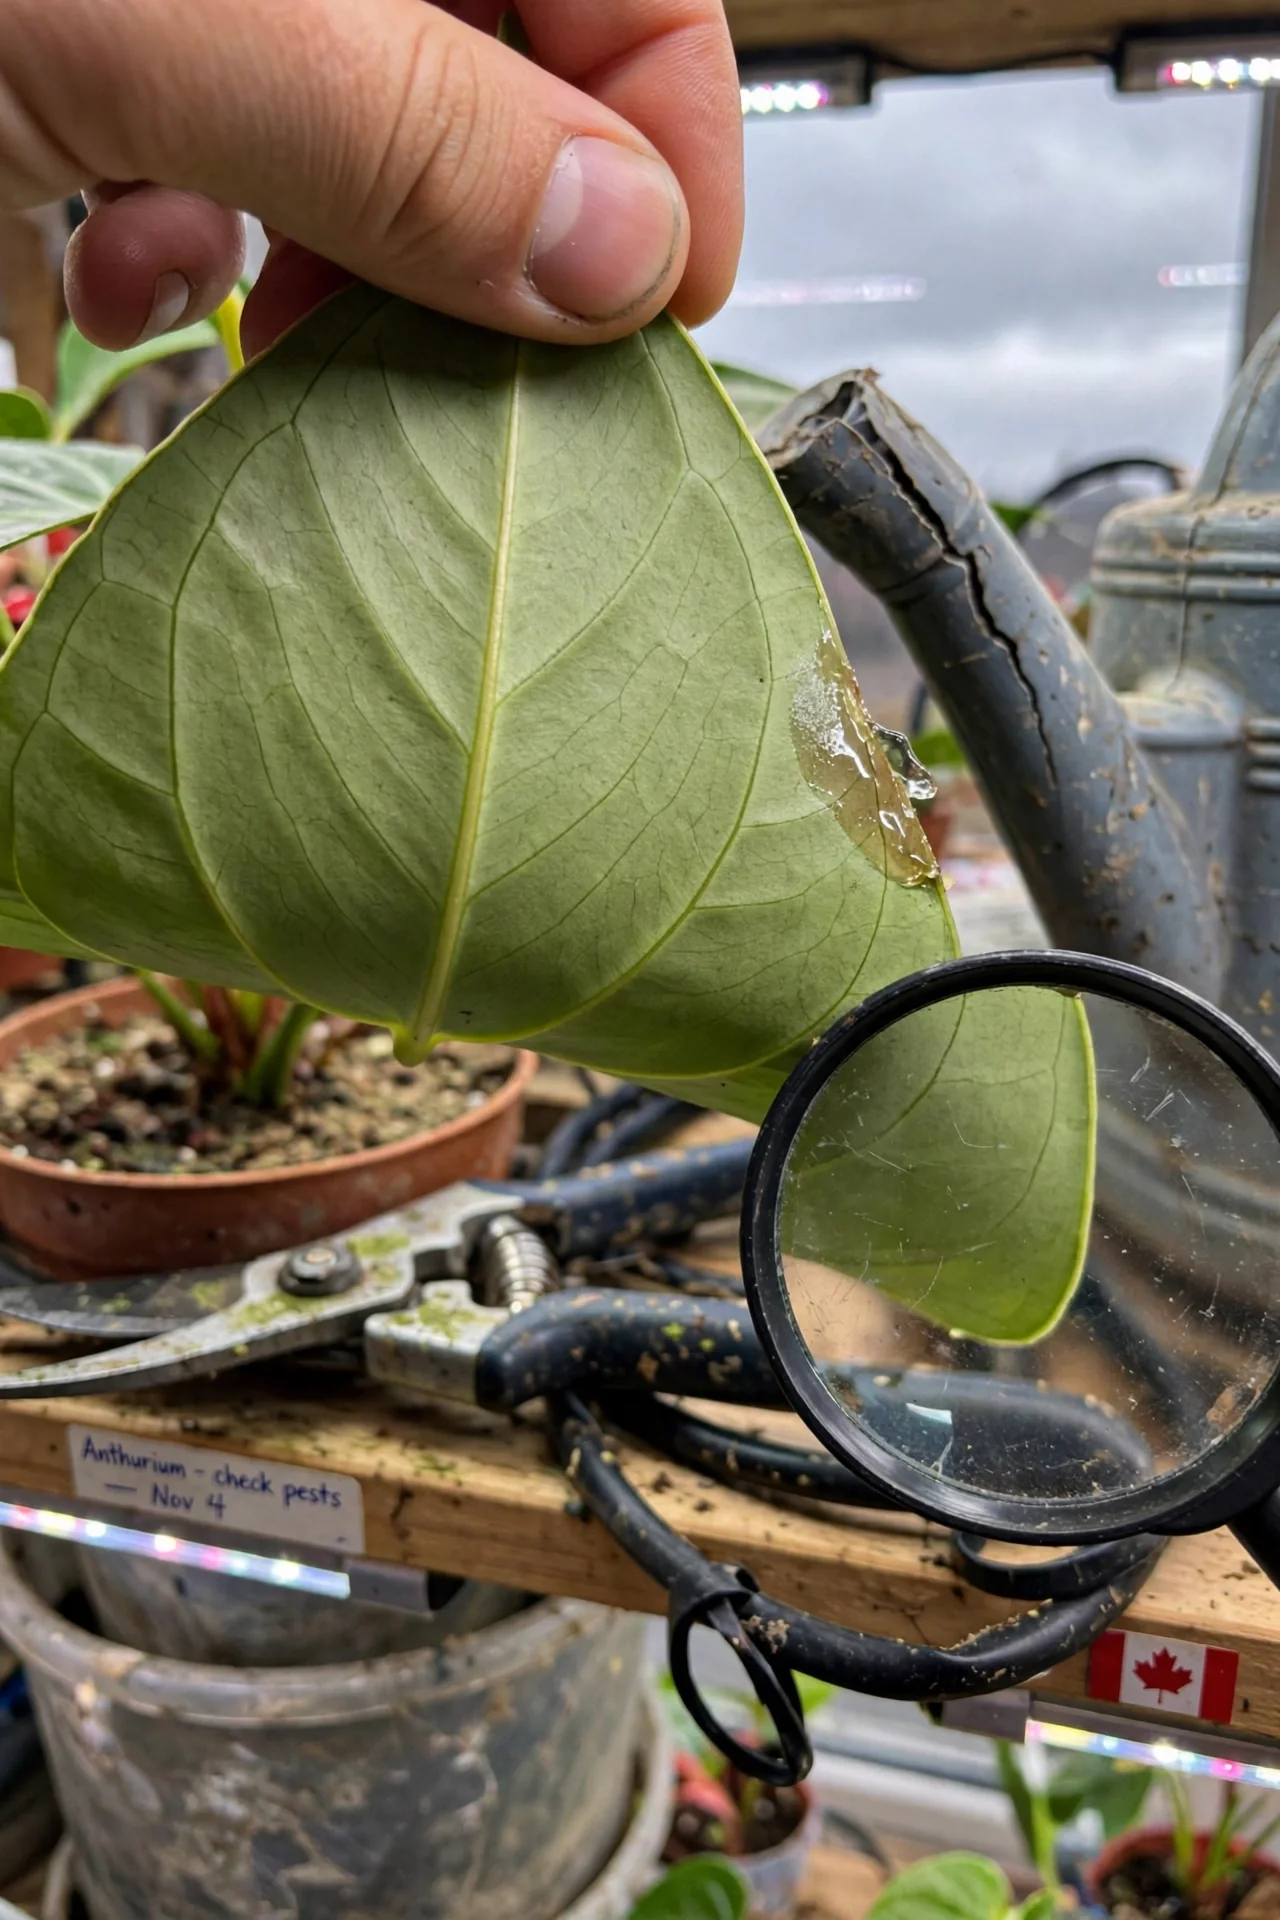
Best for: Branch 3
What it is: Separating a mature plant’s basal pups that have developed their own root cluster. Who it’s for: Growers who want genetic copies of a thriving specimen without tissue culture. Quick steps: Unpot, gently tease roots apart with fingers, and ensure each division has at least three leaves and a healthy root segment. Pot each in fresh bark mix and keep in high humidity for three weeks. Common mistake: Dividing a plant with fewer than five mature leaves, which stresses the parent and pups. For rare foliage types, this method preserves traits that seed cannot.
Starter Stack (What to Choose First)
Branch 1 Starter: Humidity and Feed
Begin with the pebble tray and grouping (Item 4) plus the dilute weekly feed (Item 5). Together they create the sustained moisture and nutrient delivery dry-air anthuriums need to keep producing spathes. Expect to invest about 10 minutes weekly and the cost of a small bag of pebbles plus liquid orchid fertilizer. If you also keep a blooming peace lily, it will benefit from the same humidity setup.
Branch 2 Starter: Foundation Substrate and Light
Start with the orchid bark mix (Item 1) and verify your light (Item 3). A one-time repot into a chunky medium eliminates the main cause of decline, and correct light positioning is free. This pair buys months of healthy foliage with almost no recurring effort.
Branch 3 Starter: Temperature Control and Propagation
Prioritize temperature guardrails (Item 6) and attempt offshoot division (Item 10) when your plant is mature. A stable warm, humid zone without cold drafts encourages rapid rooting of divisions, which can be traded or used to fill the space. Plan for a single afternoon of repotting and a three-week recovery enclosure.
When This Won’t Work
An epiphyte-first approach fails when roots stay continuously wet. If you combine a bark mix with a cachepot that traps a water reservoir at the bottom, oxygen deprivation will rot the roots even in a chunky medium. The fix is to use a pot with ample drainage holes and never let the pot sit in runoff. Plants like Alocasia exhibit similar sensitivity and provide a useful comparison for spotting overwatering early.
The second failure condition is attempting to force blooms in a room that stays below 60°F (15°C) for weeks. Anthuriums may survive, but they will not initiate flower buds. In such a space, switch to a foliage-first mindset and choose a plant bred for tolerance, or move the anthurium to a warmer microclimate during winter.
Choosing the Right Option for Your Situation
Budget Threshold
If you can spend under $25, prioritize a bag of orchid bark mix and a bag of perlite (Item 1). Reusing a clear nursery pot is free. Fertilizer and humidity tools can be added later as optional upgrades.
Time Threshold
If you have less than 10 minutes per week, skip the weekly feed (Item 5) and use a controlled-release fertilizer spike once per season. Combine that with a self-watering wick system set into the bark to reduce watering frequency.
Technical Constraint: Hard Water
Anthuriums are sensitive to fluoride and soluble salts in tap water. If your water source leaves white crust on soil surfaces, use rainwater, distilled, or reverse osmosis water for both mixing nutrient solutions and misting. Leaf tip burn is often a water quality issue, not a disease.
Yes/No Checklist:
Are my roots silvery before watering?
Does my mix contain mostly chunky, inert components?
Is the nighttime temperature above 60°F (15°C)?
Do I have a plan for humidity if leaves brown at the tips?
Expert Q&A
Why do my anthurium’s red spathes slowly turn green?
Green spathes often signal insufficient light or the natural aging of the bloom. As the flower fades, chlorophyll replaces the pigment. Move the plant to a brighter location without direct sun to keep new spathes vivid, and cut old green ones at the base to redirect energy.
Can I grow anthurium indefinitely in water alone?
Short-term water culture can work if you submerge only the root tips and change water weekly to prevent rot. Long-term, anthuriums need the air exchange of a bark mix. Roots in stagnant water eventually suffocate and fail to support flowering.
My anthurium’s leaves are splitting along the edges. What causes that?
Splitting typically results from physical damage during handling or from rapid fluctuations in humidity that cause uneven expansion. Check for sharp drafts and avoid brushing against the foliage. New leaves will emerge intact once conditions stabilize.
Do anthuriums require a seasonal rest period?
Anthuriums do not need a true dormancy. They may slow in winter due to lower light and cooler temperatures, but a consistent warm, humid environment with steady feeding keeps them blooming year-round. Forcing a rest by withholding water risks leaf loss.
How do I get an anthurium to rebloom after months without flowers?
Induce reblooming by increasing light duration to 12 hours daily, maintaining humidity, and applying a phosphorus-rich fertilizer at quarter strength weekly. Also ensure the plant is not root-bound or in collapsed mix, both of which suppress bud formation.
Conclusion
Choosing an anthurium care path based on your room’s humidity breaks the cycle of generic advice that causes more rot than blooms. The number-one mistake is using standard potting soil and expecting tropical performance. Start with a chunky orchid bark mix and a clear view of your ambient moisture, then layer in feeding only if you want flowers.
Once your anthurium settles in, broaden your collection with other dramatic foliage that thrives on similar principles. Our Dieffenbachia care overview is a logical next step for a contrasting leaf shape that does well in average indoor conditions.