
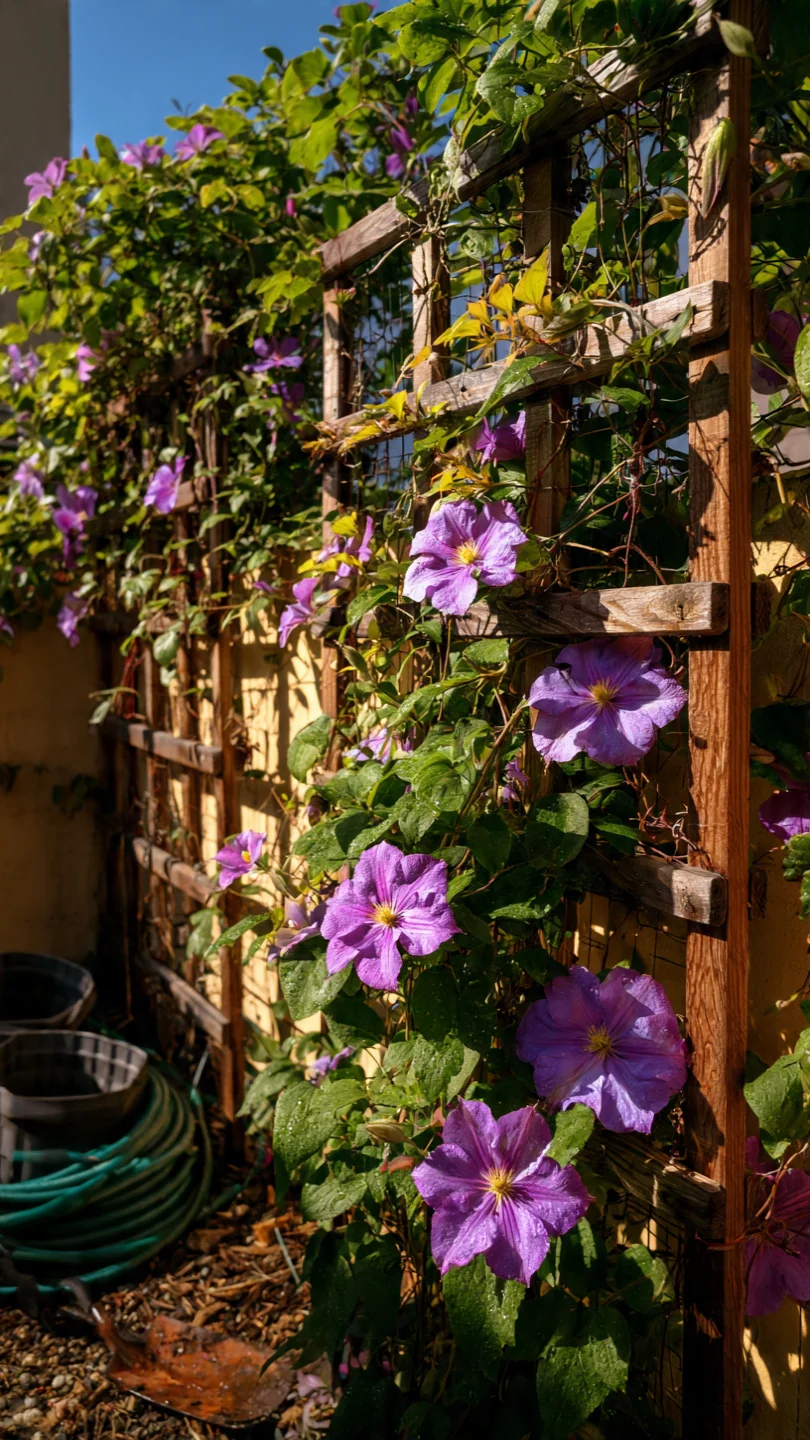
The right clematis trellis does more than prop up blooms. It syncs directly with the vine’s pruning group so urban vertical setups stay accessible, avoid tangles on new growth, and require only seasonal checks rather than constant untangling.
This guide covers nine supports suited to balconies, patios, and small yards in the US, UK, Canada, Australia, Germany, France, and the Netherlands. It focuses on clematis only and excludes heavy vines such as wisteria, invasive species, or full-scale pergolas over 10 feet.
You will match each option to your exact vine type, available floor space, and installation constraints so you install once and prune efficiently for years of reliable flowering in tight vertical spaces.
Bottom line: Match the trellis mechanics to your clematis pruning group and your square footage first to eliminate the most common small-space failure of overcrowded, unreachable stems.
The Yield Grid Decision Grid
Branch 1: Your clematis is Group 2 (large flowers on old wood plus repeat bloom on new growth) and you limit annual pruning time to under 90 minutes. The trellis must allow quick selective cuts without dismantling the structure. Recommended: Items 1, 4, and 7 below.
Branch 2: Your clematis is Group 3 (late-summer flowers on new wood; hard prune to 12-18 inches each spring) and the support must handle at least 20 pounds of wet growth without flexing. Recommended: Items 2, 5, and 8 below.
Branch 3: Your space is a balcony or patio under 6 square feet of footprint and you need freestanding or wall-anchored options no taller than 6 feet for stability. Recommended: Items 3, 6, and 9 below.
For year-round vertical garden maintenance across all branches see our vertical garden maintenance guide.
Quick Comparison Table
| Option | Key mechanism | Best for | Decision Grid Branch | Effort Score |
|---|---|---|---|---|
| Obelisk Trellis | Tapering four-sided frame with horizontal rings | Container patios needing air flow | Branch 3 | 2 |
| Wire Grid Panel | Horizontal and vertical wires on wall anchors | Group 2 repeat bloomers | Branch 1 | 3 |
| Cattle Panel Arch | Curved livestock panel bent into arch shape | Late-season Group 3 vines | Branch 2 | 4 |
| Bamboo Teepee | Bound poles forming cone with cross ties | Small balcony corners | Branch 3 | 1 |
| Fan-Shaped Wall Trellis | Radiating wooden slats fixed to fence or wall | Selective pruning access | Branch 1 | 2 |
| Modular PVC Frame | Interlocking pipes with connectors | Group 3 hard-prune vines | Branch 2 | 3 |
| Metal Mesh Cylinder | Curved mesh panel rolled into column | Freestanding narrow spaces | Branch 3 | 2 |
| Ladder-Style Wooden Trellis | Vertical rails with horizontal rungs | High-wind urban walls | Branch 1 | 4 |
| Hybrid Wall-Freestanding Combo | Wall grid plus two side posts | Vigorous new-growth vines | Branch 2 | 5 |
Obelisk Trellis
Best for: Branch 3
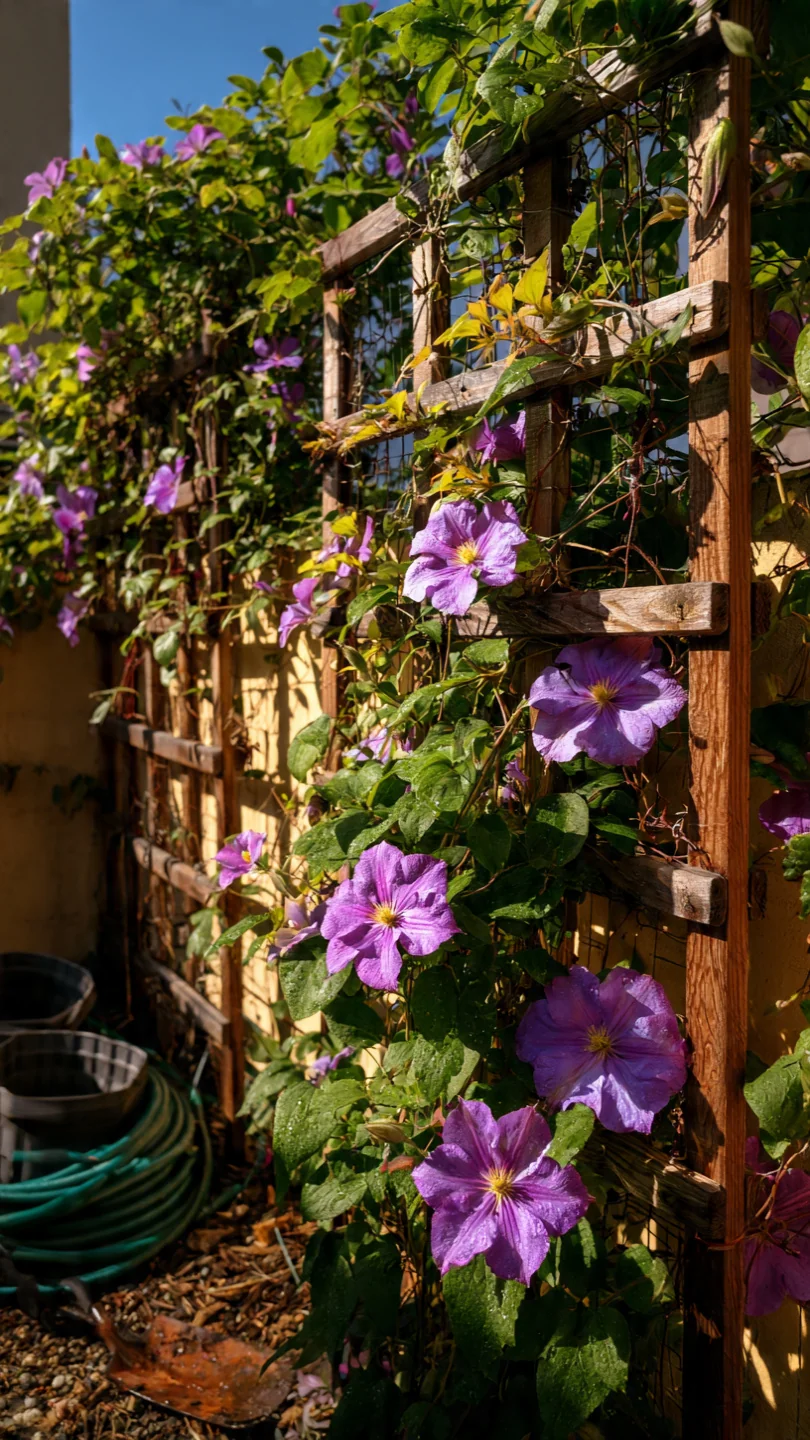
An obelisk trellis uses a tapering four-sided wooden or metal frame with three or four horizontal rings spaced 12 to 18 inches apart. Clematis petioles grip the thin uprights and rings naturally without extra ties after the first season. In small urban patios the structure occupies under 2 square feet yet reaches 5 to 6 feet, keeping the root zone shaded by a low perennial collar while the top stays in full sun.
Blueprint: Sink the four legs 12 inches into soil or weighted planters. Add cross braces at the base for stability. Train the first season by loosely tying main stems to rings; subsequent years the vine self-supports. Common mistake: placing it against a solid wall blocks air circulation and invites mildew in humid cities. Position at least 18 inches from any wall.
For full construction details see our obelisk trellis guide.
Wire Grid Panel
Best for: Branch 1
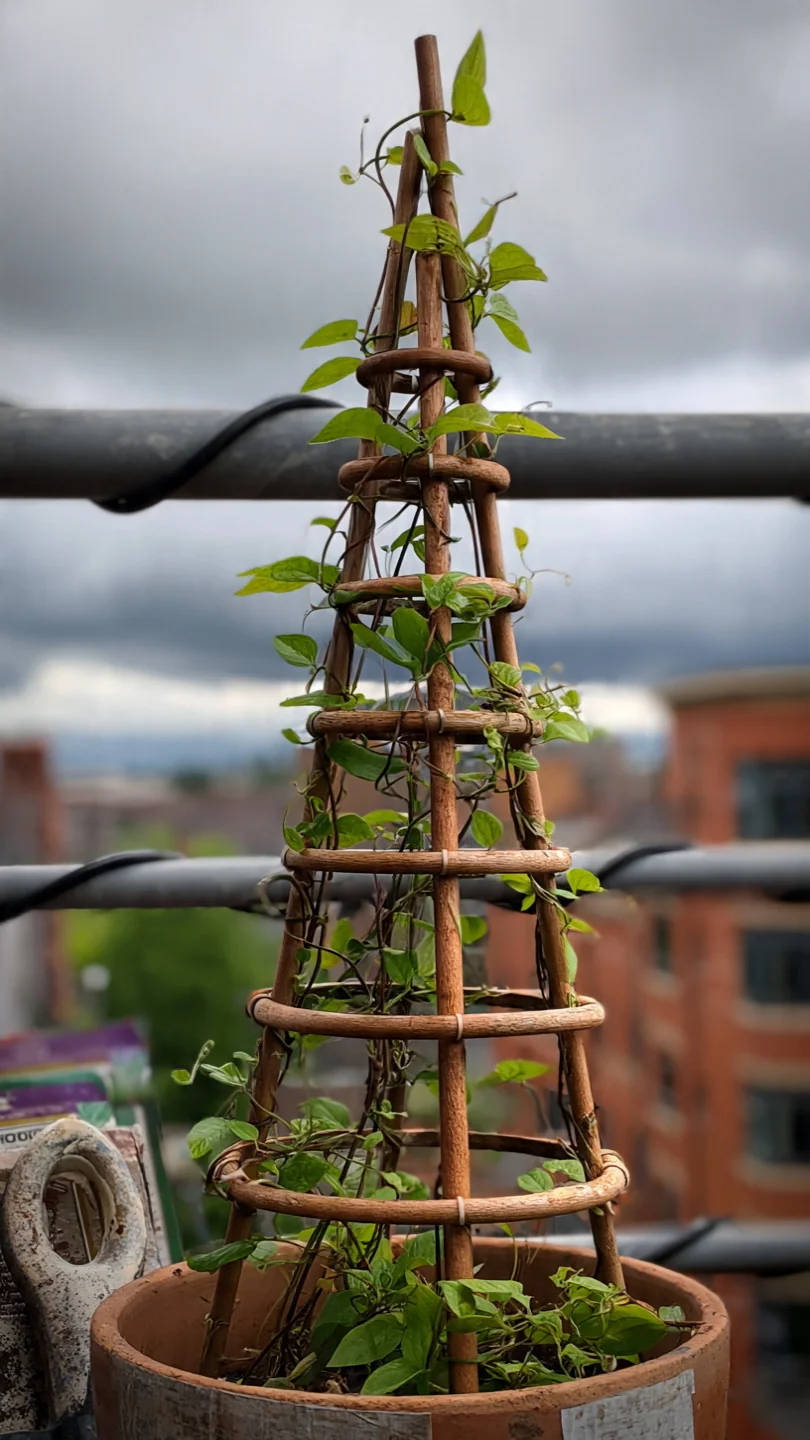
Use this on fences or walls where Group 2 clematis need light pruning access without full disassembly. Skip it on high-wind balconies where the panel can flex and damage stems.
Cattle Panel Arch
Best for: Branch 2
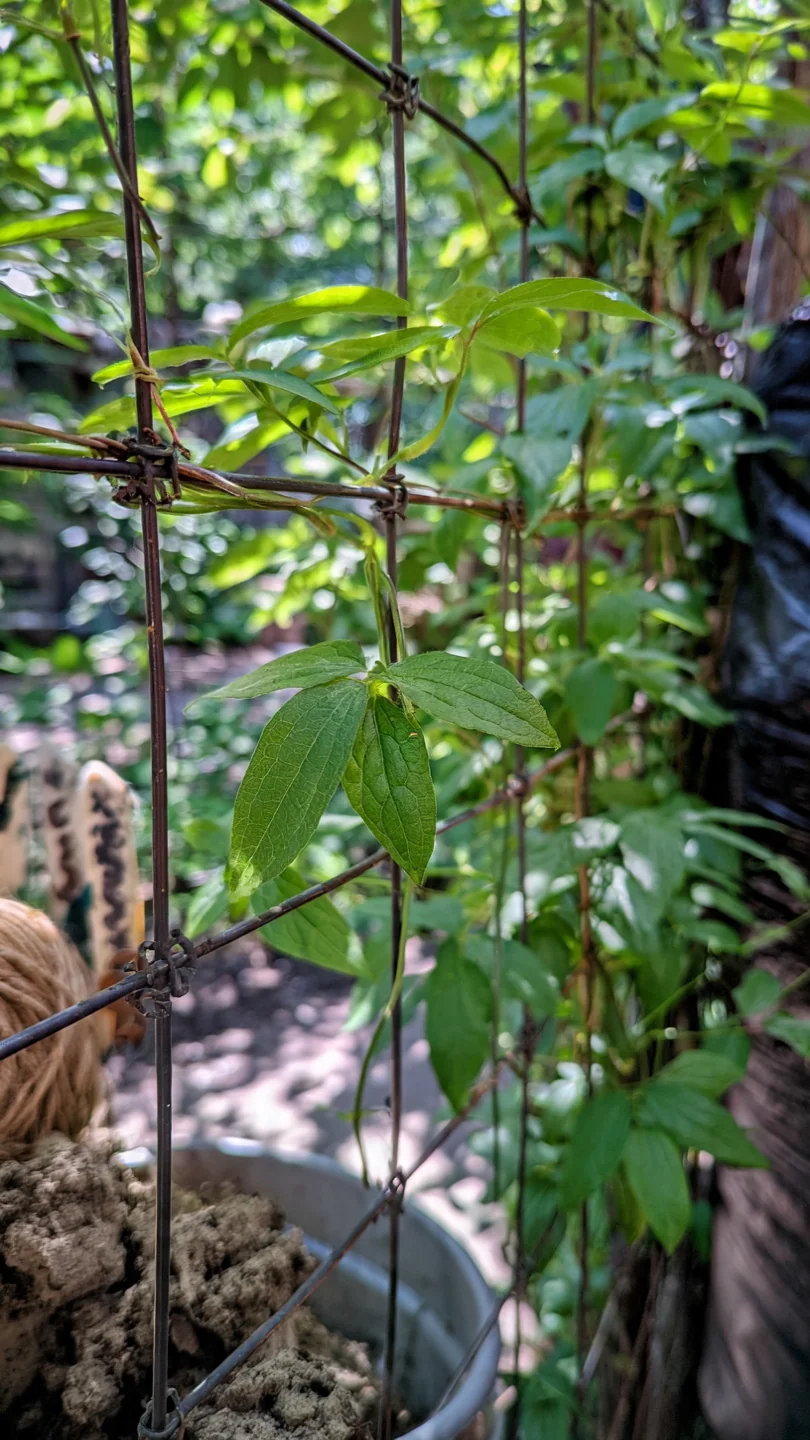
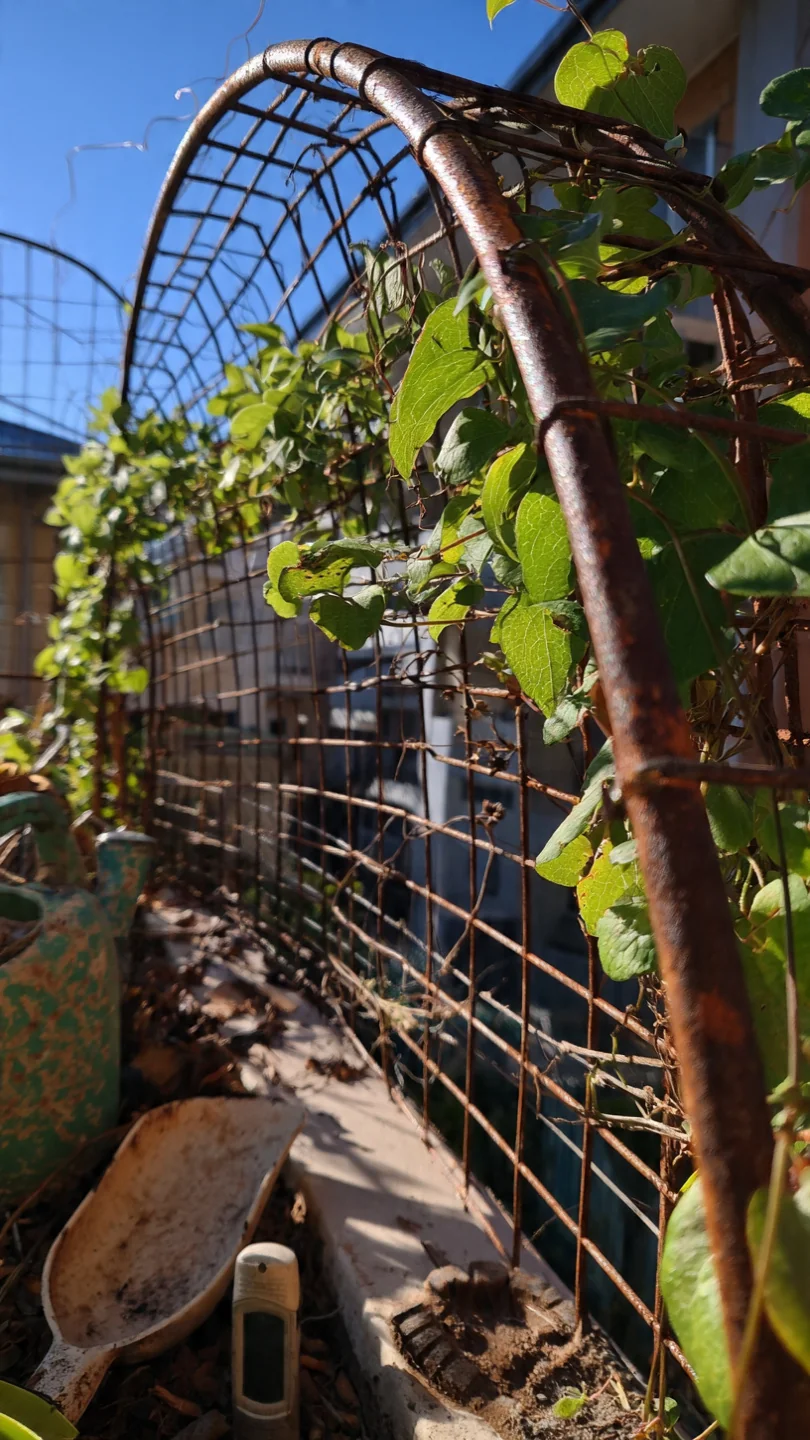
Bend a 16-foot cattle panel into a 7-foot arch and secure ends with rebar stakes. The 4-inch grid gives Group 3 clematis strong purchase for heavy late-summer growth while allowing you to reach the base for the annual hard prune. In urban settings the arch creates instant vertical drama over a path without permanent foundations.
Threshold rule: Install only if your soil is firm enough to hold rebar 18 inches deep; otherwise add concrete footings. Adjust arch width to 4 feet maximum for stability in zones with gusts above 20 mph.
See related arch support options in our cattle panel arch guide.
Bamboo Teepee
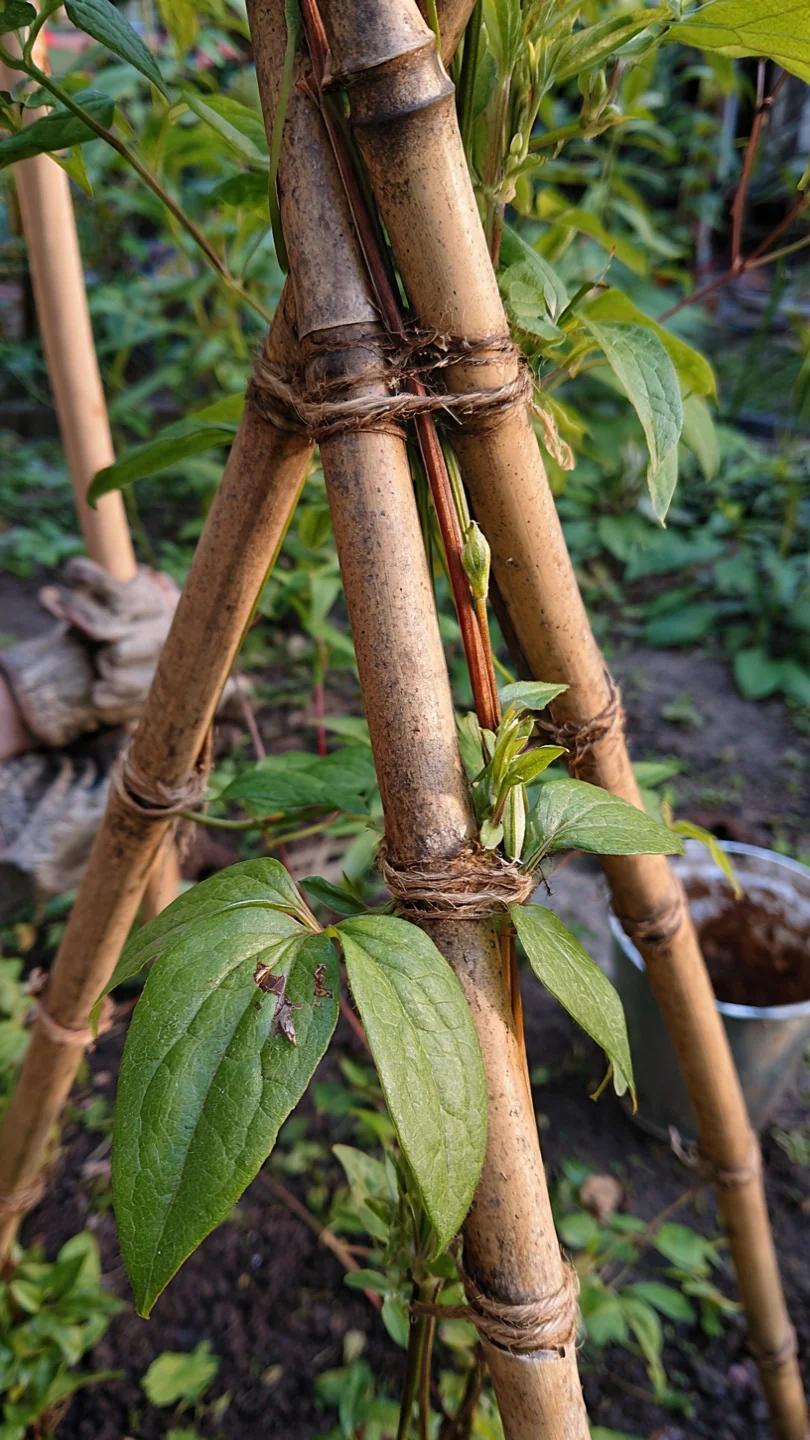
Best for: Branch 3
Bind five to seven 8-foot bamboo poles at the top and space bases 18 inches apart. Cross-tie at two heights with twine. This lightweight cone fits balcony corners perfectly and breaks down for winter storage. Clematis climb the natural nodes without slipping.
Fan-Shaped Wall Trellis
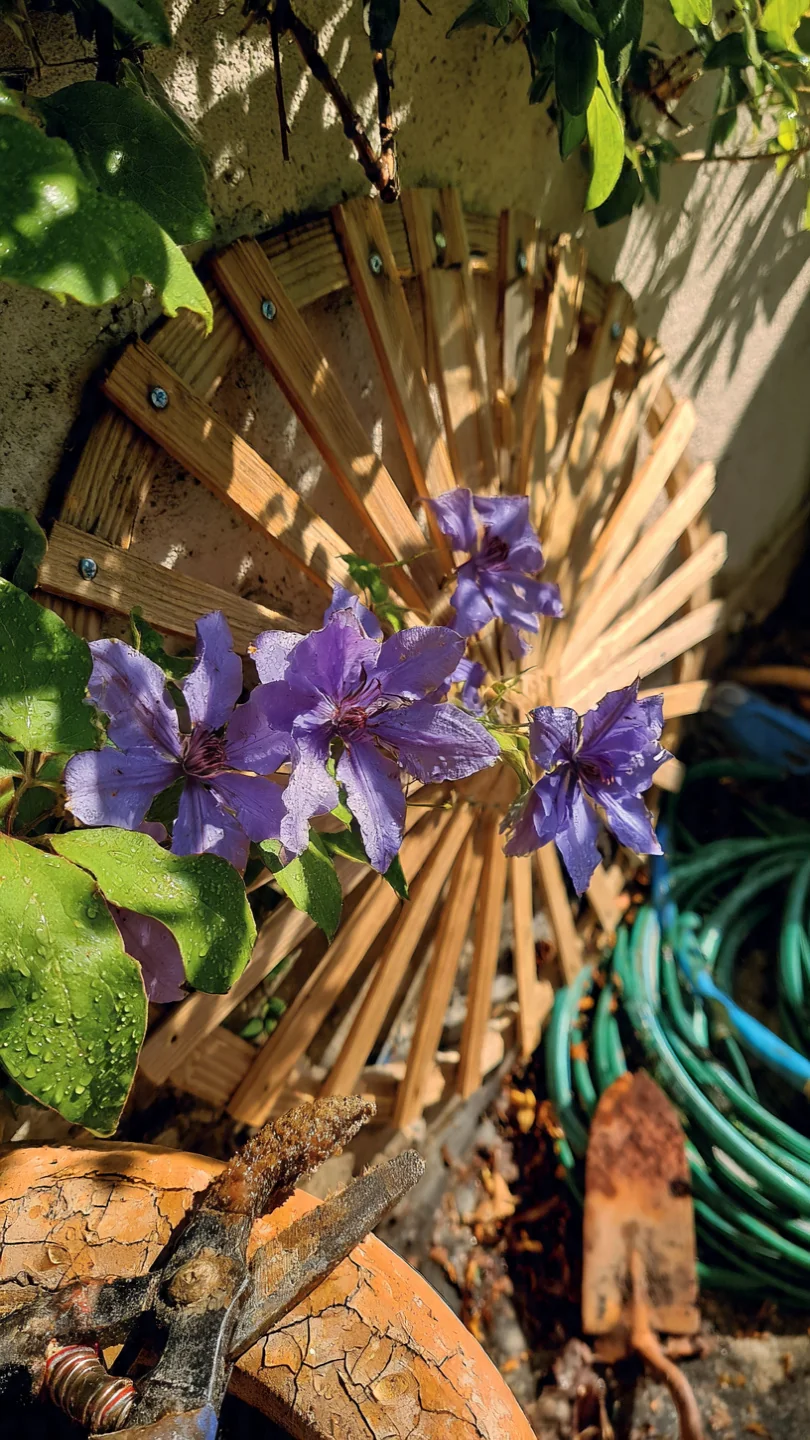
Best for: Branch 1
Attach radiating wooden slats to a fence or wall in a 120-degree fan. The open design gives Group 2 clematis room for selective deadheading and spring cleanup without moving the entire plant. In narrow urban yards the fan projects only 6 inches from the surface yet spreads blooms across 5 feet of width.
Blueprint: Fix a central vertical rail first, then angle slats outward at 15-degree increments. Use rust-proof screws rated for exterior use. Avoid over-tightening ties in year one; the vine will wrap naturally after that.
Compare to rose training methods in our climbing rose trellis guide for similar wall techniques.
Modular PVC Frame
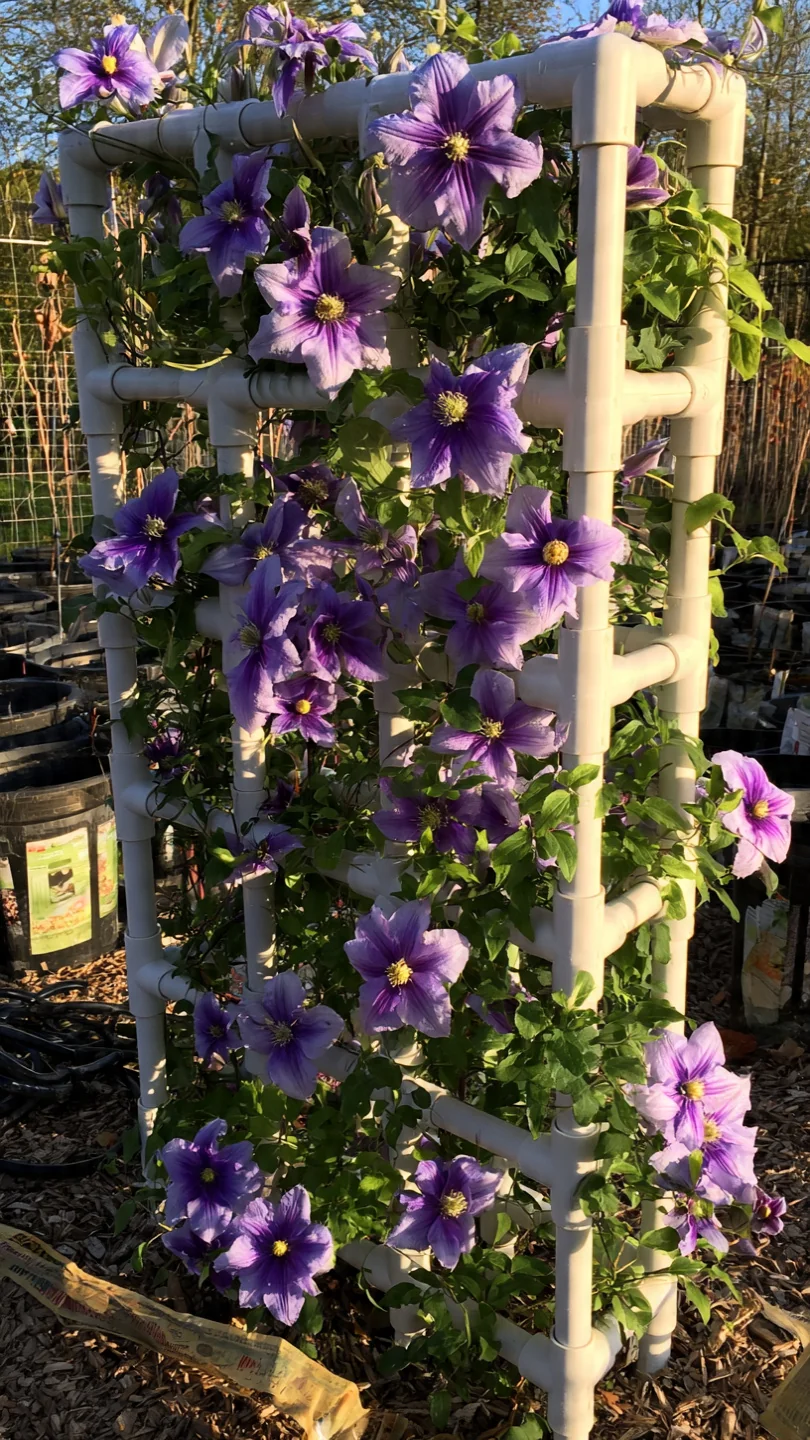
Best for: Branch 2
Assemble 1-inch PVC pipes into a 6-by-4-foot rectangle with internal cross braces every 18 inches. Connectors let you reconfigure height or width if your Group 3 clematis outgrows the first layout. The smooth surface resists rot in damp urban microclimates.
Use vs skip: Use when you rent and need a tool-free, movable support. Skip if your space has temperatures regularly below 0 °F without insulation; PVC becomes brittle. Upgrade by adding eye screws for guy lines in exposed spots.
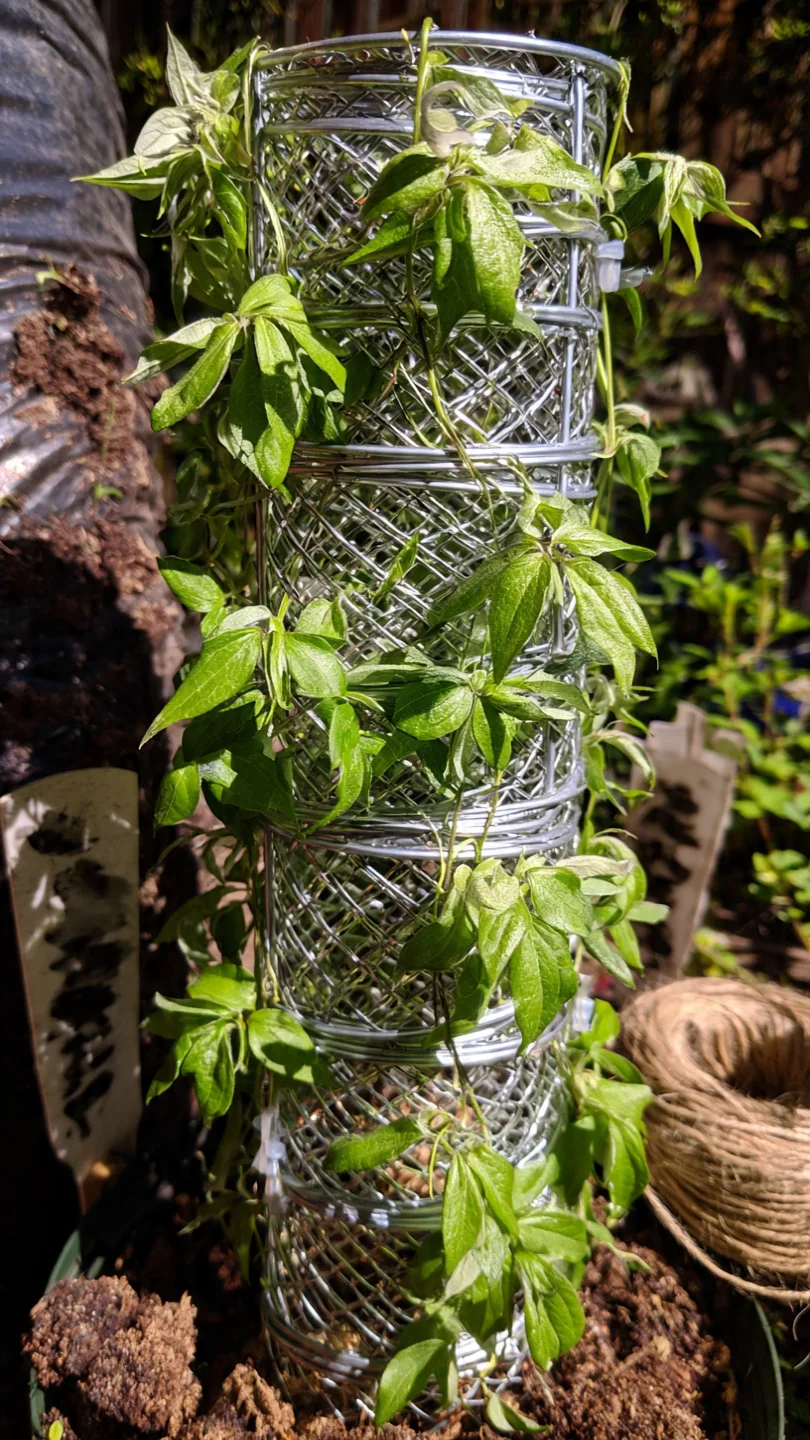
Metal Mesh Cylinder
Best for: Branch 3
Roll a 4-by-8-foot galvanized mesh panel into a 30-inch diameter column and secure with zip ties. Sink the base 8 inches or weight with stones. This freestanding cylinder occupies minimal floor space on balconies while providing 360-degree grip points for clematis tendrils.
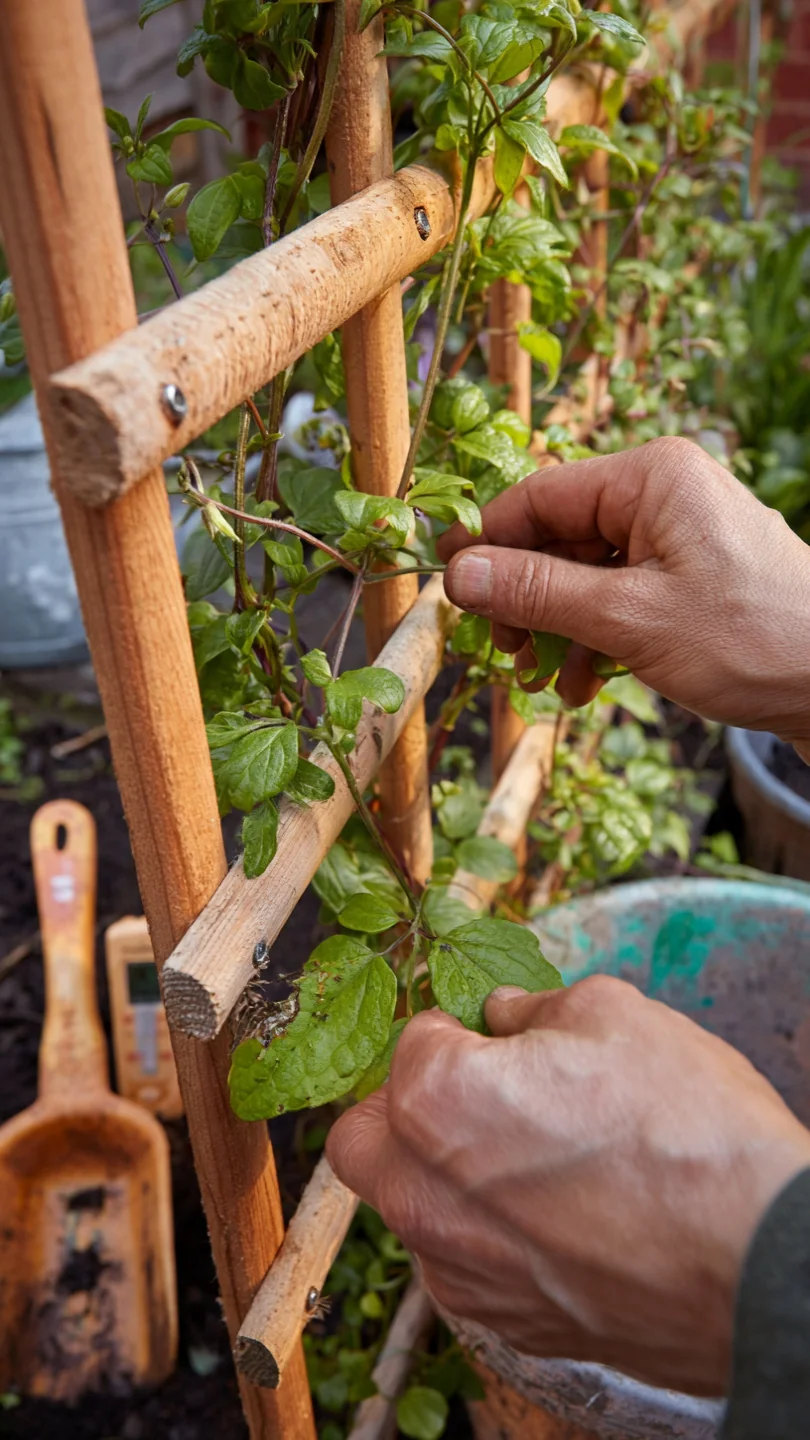
Ladder-Style Wooden Trellis
Best for: Branch 1
Build two vertical 2-by-2 rails with 1-by-2 horizontal rungs spaced 10 inches apart. The ladder profile lets Group 2 clematis weave through easily for pruning while the open back allows wall airflow. Treat wood with non-toxic preservative for longevity in wet climates.
10-minute workflow: Cut rails and rungs to length. Predrill and screw rungs flush. Mount to wall studs with 4-inch lag screws. Train vines by weaving new shoots between rungs in early summer. Upgrade option: add a top cap rail for extra wind resistance.
Adapt similar climber training from our jasmine trellis guide.
Hybrid Wall-Freestanding Combo
Best for: Branch 2
Anchor a wire grid to the wall and add two freestanding posts 3 feet out with cross wires between them. This creates a 3D cage that supports vigorous new growth from Group 3 clematis without flattening the plant against a single surface. In small urban yards it multiplies vertical display area while keeping roots accessible.
Blueprint: Set posts in 18-inch deep concrete or weighted bases. Stretch 14-gauge wire horizontally every 12 inches. Tie initial stems loosely; the vine fills the volume within two seasons. Common mistake: placing it too close to a heat-reflecting wall raises root-zone temperature above the preferred cool range.
Build a similar freestanding version with our bean teepee trellis plans for extra height.
Starter Stack (What to Choose First)
For Branch 1 (Group 2, light pruning)
Start with the Wire Grid Panel plus the Fan-Shaped Wall Trellis. The grid provides quick access for selective cuts while the fan spreads blooms horizontally. Total cost range: 60 to 110 dollars. Install time: 45 to 75 minutes.
For Branch 2 (Group 3, hard prune)
Start with the Cattle Panel Arch plus the Modular PVC Frame. The arch handles heavy top growth and the PVC gives modular flexibility for yearly reset. Total cost range: 45 to 95 dollars. Install time: 60 to 120 minutes.
For Branch 3 (small footprint balcony)
Start with the Bamboo Teepee plus the Metal Mesh Cylinder. Both stay under 6 feet, pack flat for storage, and leave floor space free. Total cost range: 25 to 55 dollars. Install time: 20 to 40 minutes.
When This Won’t Work
A clematis trellis fails when the vine receives fewer than 6 hours of direct sun daily or when soil stays waterlogged for more than 48 hours after rain. In those conditions even the strongest support cannot prevent weak stems or root rot; switch to a shade-tolerant climber or raise the planting bed 8 inches with amended soil.
It also fails on exposed high-rise balconies with consistent gusts above 25 mph and no windbreak. Freestanding options topple and wall-mounted ones vibrate stems loose. Install a solid parapet screen first or choose only anchored wall systems.
See compact modern designs suited to wind in our modern vertical garden guide.
Choosing the Right Option for Your Situation
Budget Threshold
Under 40 dollars: choose Bamboo Teepee or Metal Mesh Cylinder. Between 40 and 80 dollars: select Obelisk Trellis or Wire Grid Panel. Over 80 dollars: invest in Cattle Panel Arch or Hybrid Wall-Freestanding Combo for longer service life.
Time Threshold
Under 30 minutes: pick ready-to-assemble options such as the Bamboo Teepee. Between 30 and 90 minutes: use the Fan-Shaped Wall Trellis or Modular PVC Frame. Over 90 minutes: plan for the Hybrid Wall-Freestanding Combo or Cattle Panel Arch.
Technical Constraint: Pruning Group Access
If your clematis tag shows Group 2, prioritize open designs with 10-inch gaps between supports. If Group 3, choose rigid structures rated for heavy spring regrowth. Group 1 early bloomers work with any listed option but need the least maintenance overall.
Yes/No checklist:
Does your space have under 6 square feet? Yes → choose Branch 3.
Do you prune under 90 minutes per year? Yes → choose Branch 1.
Does your vine flower late summer on new wood? Yes → choose Branch 2.
Answer yes to two or more? Combine the recommended starter-stack pairs above.
Expert Q&A
How does clematis petiole twisting limit trellis bar diameter?
Clematis leaf stalks wrap only around supports between one-quarter and one-half inch thick. Thicker bars require supplemental ties the first season and reduce natural climbing speed in vertical urban setups.
What wire spacing prevents mildew in humid city microclimates?
Keep horizontal wires 10 to 12 inches apart and verticals 8 inches apart to maintain airflow around stems. Closer spacing traps moisture against foliage and increases fungal risk on north-facing balconies.
Can I combine a trellis with other vertical systems without root competition?
Yes, when containers sit at least 12 inches apart and each vine receives its own 5-gallon minimum soil volume. Separate irrigation lines prevent one plant from robbing water from the clematis.
What base treatment keeps wooden trellises stable in freeze-thaw cycles common to the UK and Canada?
Set legs in 12-inch gravel-filled holes topped with landscape fabric. The drainage layer prevents water from expanding and lifting the structure during winter freezes.
How do I future-proof a trellis for a clematis that may outgrow its first-year size?
Select modular or expandable designs such as PVC frames or hybrid combos that accept additional height extensions or side panels without full replacement.
Conclusion
Match your clematis pruning group to the trellis mechanics and your exact square footage first. That single decision prevents the number-one mistake in urban vertical gardening: installing a beautiful but inaccessible support that forces yearly fighting with tangled stems.
Take the next step by confirming your vine’s pruning group on its nursery tag, then review build plans for the matching starter-stack pair in our PVC pipe vertical garden guide.