Air fryer drying succeeds when you first classify your machine and your harvested herbs into one of three measurable branches rather than defaulting to a single generic setting. This approach accounts for whether your unit offers a true low-temperature dehydrate function and how much internal moisture the specific herb carries after picking.
This guide focuses exclusively on air fryer techniques for common edible garden herbs from your own plot or containers. It excludes oven drying, dedicated food dehydrators, microwave methods, sun drying, and any commercial pre-dried products.
You will gain clear decision rules for anchoring herbs against the fan, selecting the correct temperature threshold, and confirming doneness so the final product crumbles cleanly while retaining aroma and color. No more batches that turn to dust or stay limp.
Bottom line: Classify your setup into the correct branch, then follow the matching protocol to turn garden harvests into shelf-stable dried herbs in one session.
The Yield Grid Decision Grid
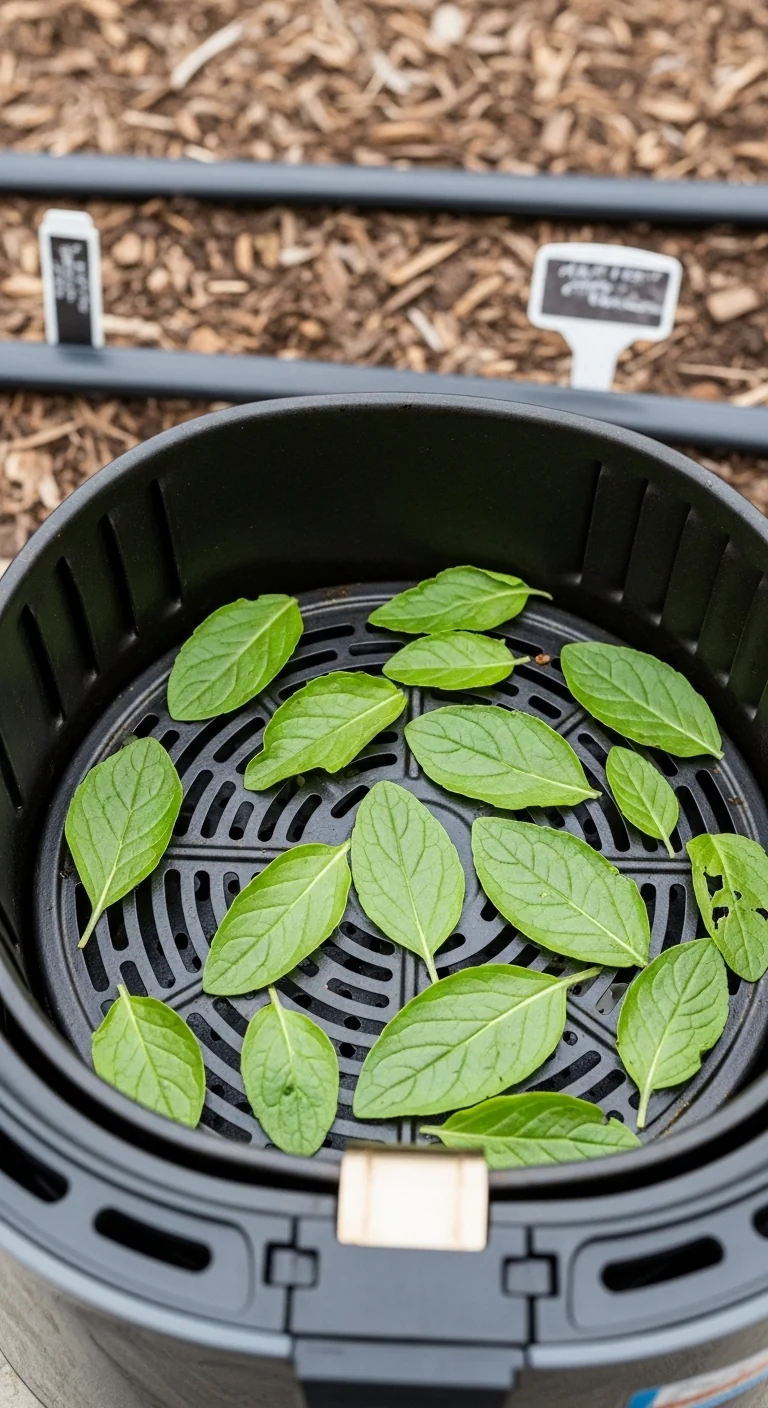
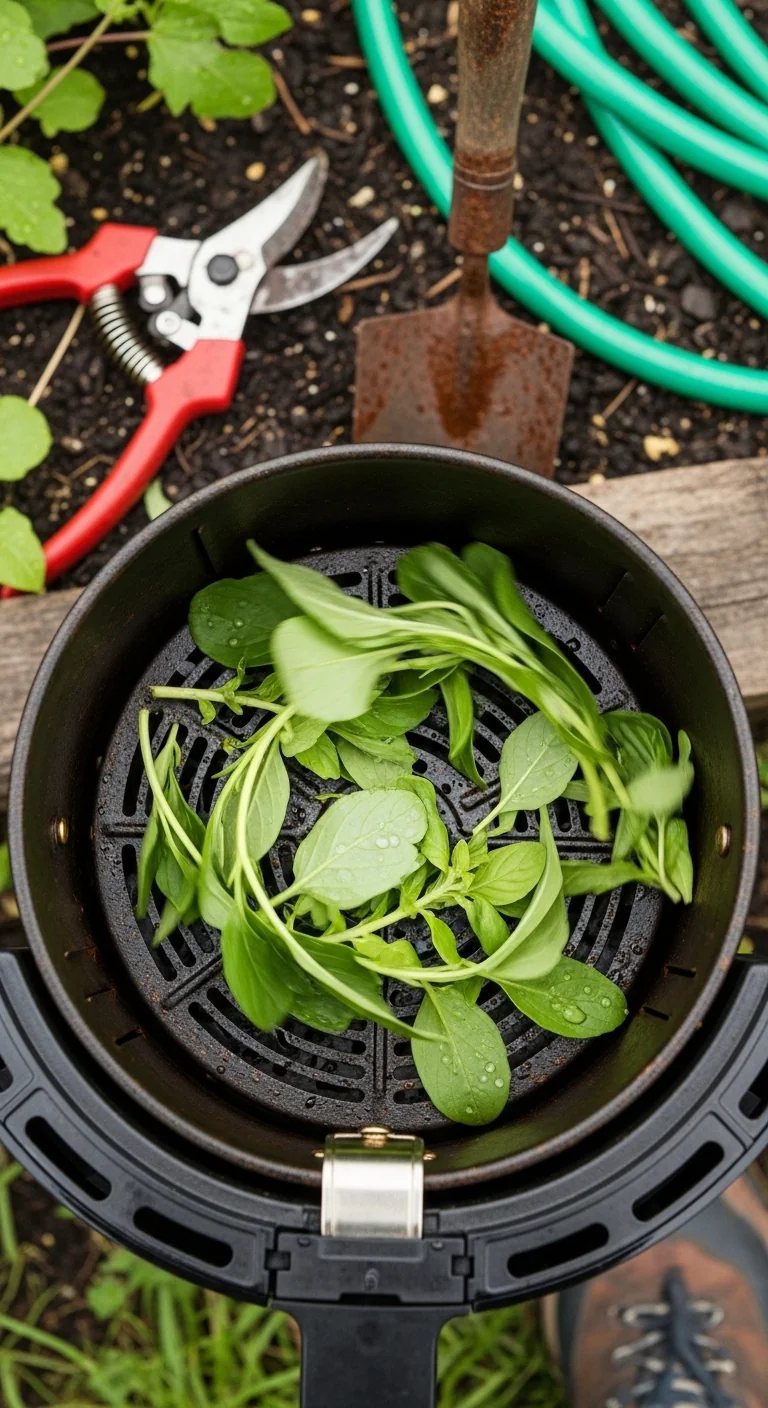
Branch 1: Air fryer has a dedicated dehydrate function adjustable to 100-140 degrees F and you are processing tender, high-moisture herbs (soft broad leaves such as basil, mint, or cilantro that wilt within 20 minutes of harvest). Recommended: Items 1, 4, 7 below.
Branch 2: Standard air fryer without low-temperature dehydrate (minimum setting above 160 degrees F) and you are processing medium-moisture herbs (parsley, oregano, or chive leaves). Recommended: Items 2, 5, 8 below.
Branch 3: Any air fryer model paired with low-moisture woody herbs (stiff stems and needle-like or thick leaves such as rosemary, thyme, or sage). Recommended: Items 3, 6, 9 below.
Before selecting a branch, confirm peak harvest readiness with proper harvesting timing to lock in essential oils.
Quick Comparison Table
| Option | Key mechanism | Best for | Decision Grid Branch | Effort Score |
|---|---|---|---|---|
| Low-Temp Dehydrate Protocol for Tender Leaves | Controlled low-heat circulation in dehydrate mode | Soft broad leaves that bruise easily | Branch 1 | 1 |
| Quick Weighted Burst for Standard Models | Short high-velocity air cycle with physical anchor | Medium-density leafy herbs | Branch 2 | 4 |
| Stem-On Anchored Bundle for Woody Herbs | Twine binding plus trivet pressure | Stiff-stemmed varieties | Branch 3 | 2 |
| Bulk Single-Layer Trivet Method | Maximized surface exposure under weight | Large garden harvests of tender herbs | Branch 1 | 3 |
| Essential-Oil-Safe Temp Adjustment | Model-specific minimum with rotation | Medium-moisture culinary mixes | Branch 2 | 3 |
| Fan-Controlled Rotation Workflow | Periodic basket shake under weighted lid | Low-moisture woody batches | Branch 3 | 2 |
| Post-Harvest Timing Integration | Immediate processing after morning cut | Fresh tender herbs straight from garden | Branch 1 | 1 |
| Compact Basket Optimization | Layered anchoring in small-capacity units | Medium herbs in limited space | Branch 2 | 4 |
| Doneness-Test Cooling Sequence | Crumbly-leaf test followed by full cool-down | Final step for woody herbs | Branch 3 | 1 |
1. Low-Temp Dehydrate Protocol for Tender Leaves
Best for: Branch 1
This blueprint starts with herbs washed and patted completely dry, then spread in a single layer on the basket or dehydrator tray. Set the air fryer to its lowest dehydrate mode, typically 100-140 degrees F, and run for 1-4 hours depending on your manual and leaf thickness. Check once at the halfway mark by gently pressing a leaf; it should feel brittle. The mechanism relies on steady low heat and fan movement to remove moisture without cooking the delicate tissues. Common mistake: skipping the full pat-dry step, which leads to steaming instead of drying. This protocol pairs naturally with large harvests from container setups and keeps volatile oils intact for later use in teas or seasoning blends. After cooling, transfer directly to airtight storage.
2. Quick Weighted Burst for Standard Models
Best for: Branch 2
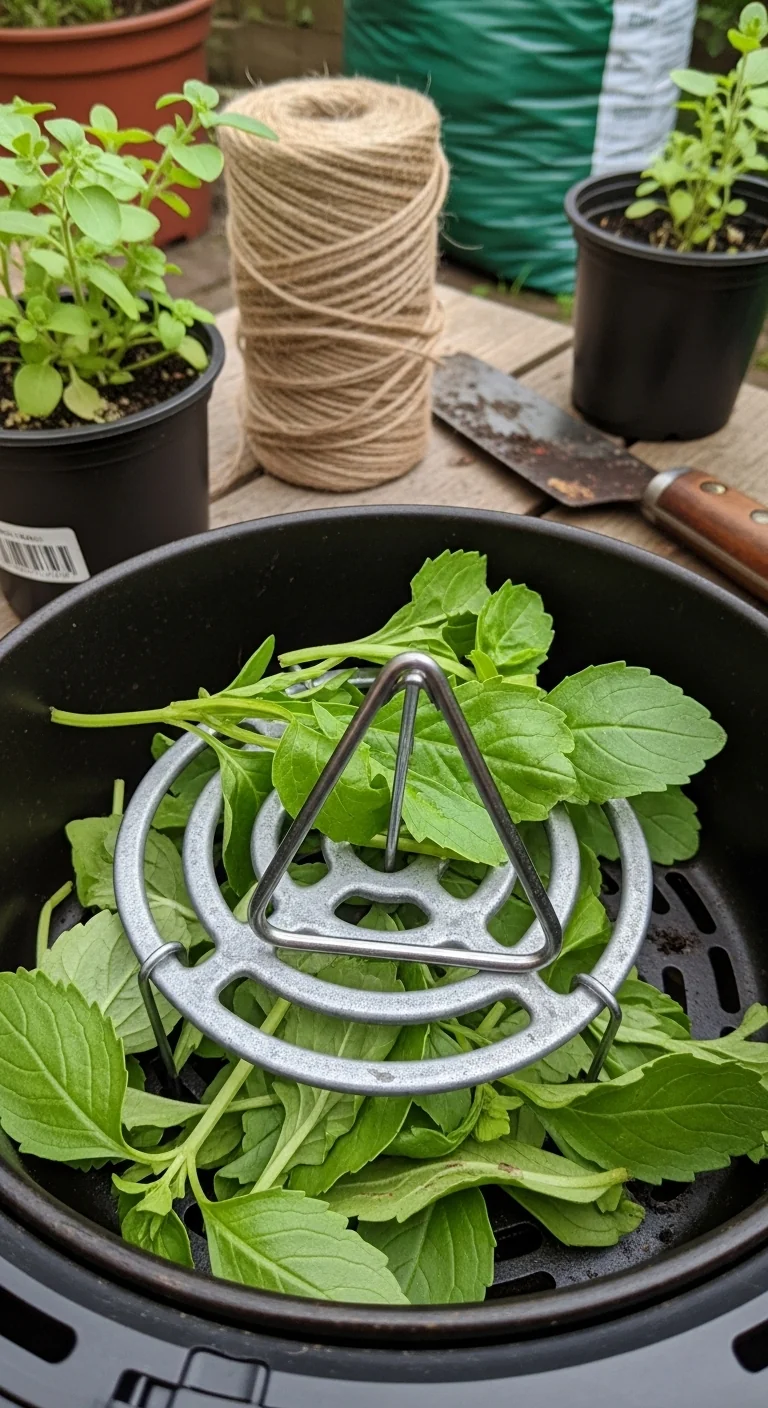
Use this only when your air fryer lacks a dehydrate setting. Weigh down medium-moisture herbs with a metal trivet or heavy spoon, preheat to 300-350 degrees F, and run in 3-5 minute bursts while checking every 30-60 seconds. Skip if you cannot monitor closely; the high airflow can scatter or scorch leaves in under a minute. Edge case: works best for small batches under one cup.
3. Stem-On Anchored Bundle for Woody Herbs
Best for: Branch 3
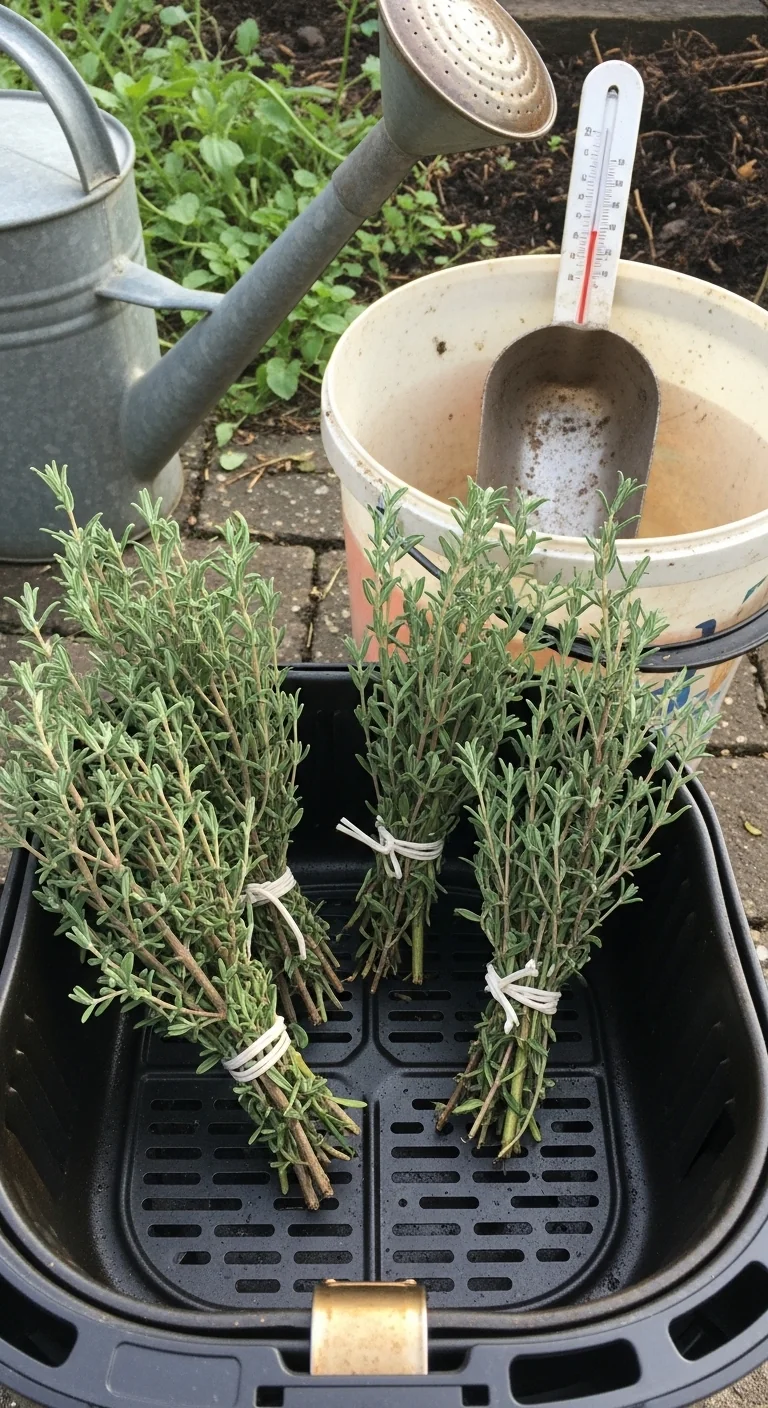
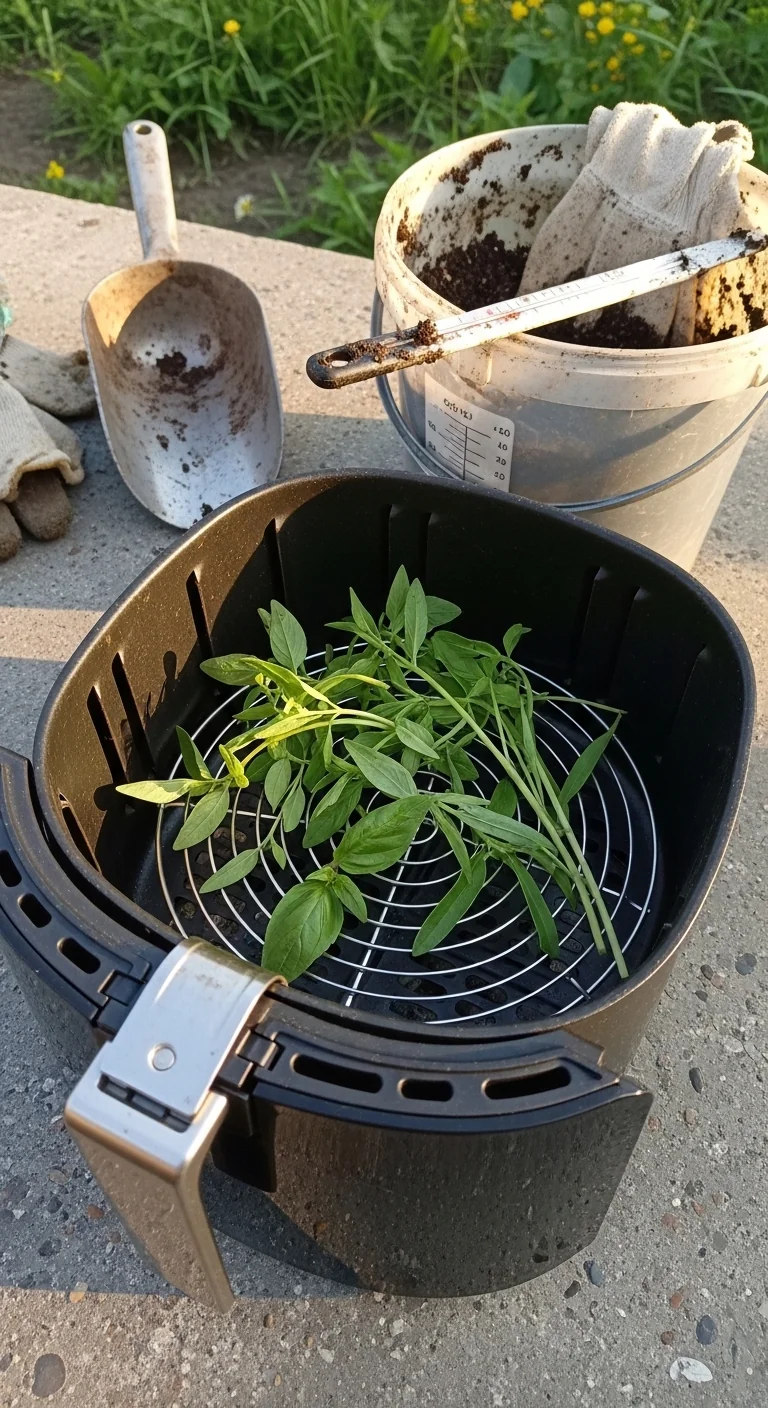
Tie woody herbs into small bundles with kitchen twine, place in the basket, and anchor with a second trivet or rack. Set to 300-350 degrees F for 3-5 minutes total, shaking gently once midway. Threshold that matters: if stems feel flexible after patting dry, extend by one minute; stiff stems signal readiness sooner. This prevents loose needles from flying while preserving shape for easy stripping later. Adjust only for your exact model capacity to avoid overcrowding.
4. Bulk Single-Layer Trivet Method
Best for: Branch 1
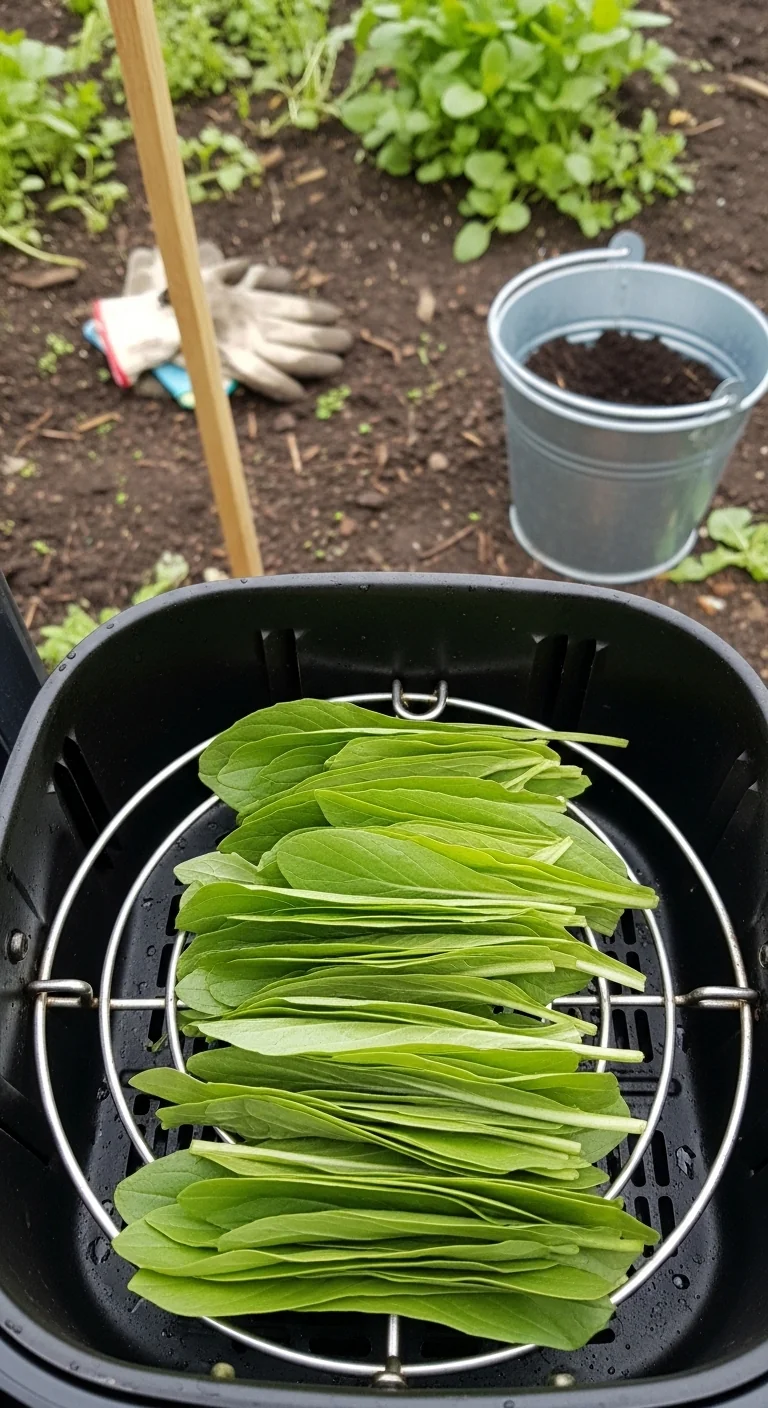
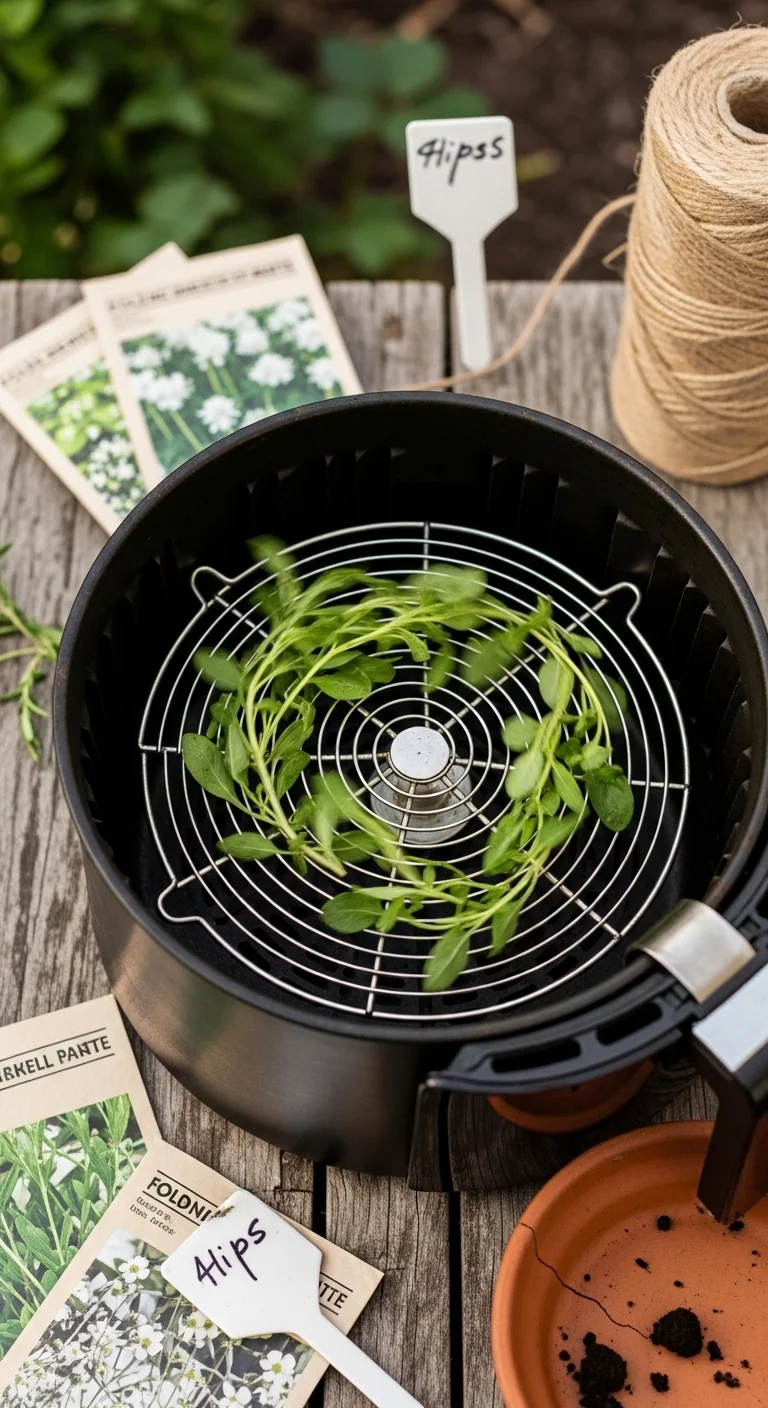
Blueprint for larger yields from garden beds or balcony planters: wash, pat dry, and arrange in a single layer no deeper than one leaf thick. Place a clean metal cooling rack or trivet directly on top to hold everything in place during low-temp dehydrate mode (100-140 degrees F). Run 2-4 hours with one halfway check. The trivet creates even pressure without blocking airflow, addressing the common issue of herbs lifting in the fan current. This method scales efficiently when you have multiple varieties harvested at once and integrates with companion planting layouts where different herbs mature simultaneously. Avoid stacking layers; it extends time and risks uneven results. Once crisp, cool on a flat surface before crumbling or storing whole.
5. Essential-Oil-Safe Temp Adjustment
Best for: Branch 2
Apply the lowest available temperature on non-dehydrate models and rotate the basket every 60 seconds during short bursts. Use versus skip: ideal for oregano or parsley mixes but skip for very delicate leaves that burn above 300 degrees F. Edge case: works in compact units when combined with a light oil spritz on the anchor weight only.
6. Fan-Controlled Rotation Workflow
Best for: Branch 3
For woody herbs, start at 300-350 degrees F and rotate the basket every minute while keeping a weighted rack in place. Threshold rule: stop when leaves snap cleanly between fingers; any remaining flexibility means one more minute maximum. This workflow counters the high fan speed that otherwise scatters stiff stems and ensures uniform drying across thicker rosemary or thyme pieces. It takes under 10 minutes active time once you establish the rhythm for your model.
7. Post-Harvest Timing Integration
Best for: Branch 1
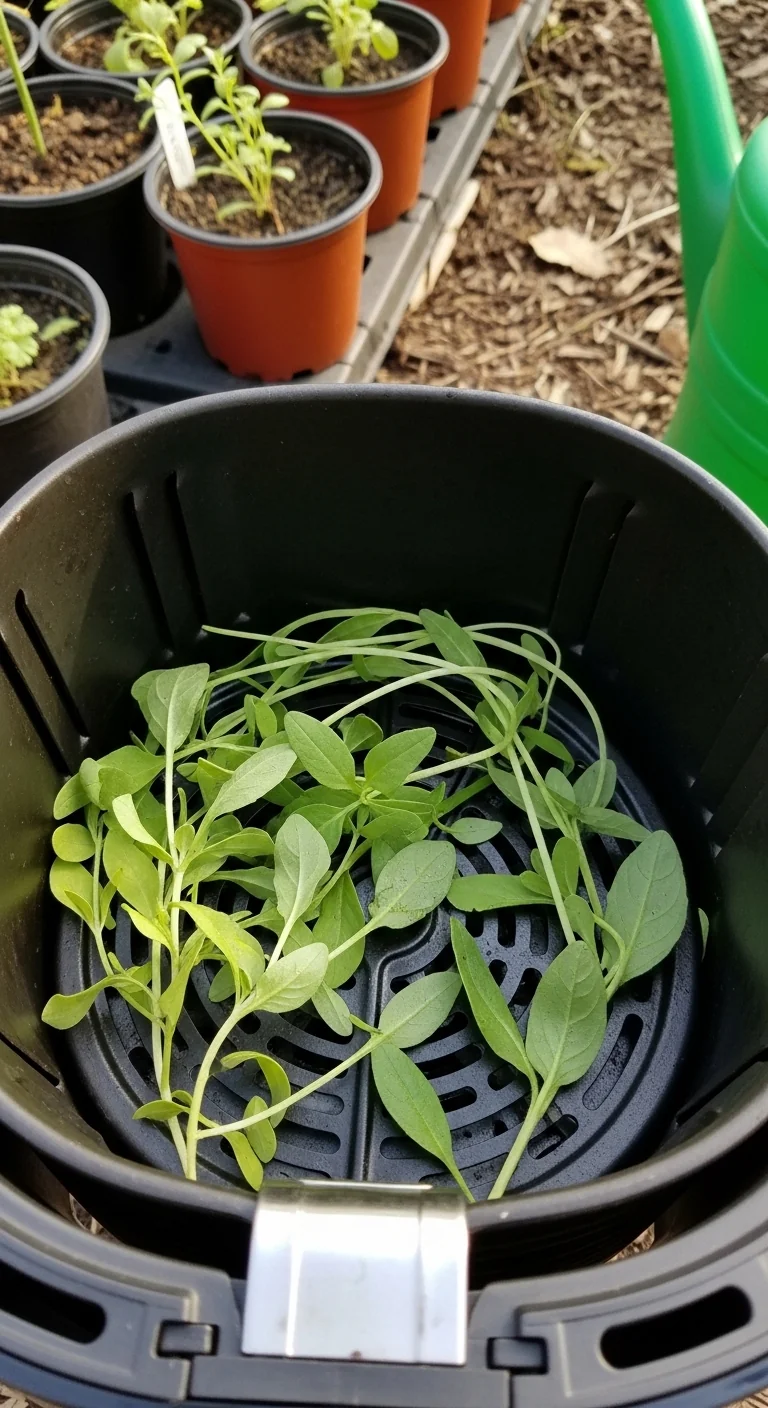
Process tender herbs within 30 minutes of morning harvest when moisture levels are naturally balanced. Wash, pat dry thoroughly, then load into dehydrate mode at 100-140 degrees F for 1-3 hours. The integration step ensures leaves start with optimal structure rather than accumulated daytime wilting. This pairs with beginner garden planning and prevents the need for extra drying cycles later. One detail that changes outcomes: harvest only after dew evaporates but before midday heat intensifies leaf oils. Combine with container-grown varieties for the shortest path from plot to dried jar.
8. Compact Basket Optimization
Best for: Branch 2
Layer medium herbs in the smallest possible single layer inside limited-capacity baskets, anchor with an inverted metal spoon or rack, and run short bursts at the lowest available temperature with frequent checks. Use versus skip: perfect for small-space balcony setups but skip if your basket holds less than one cup total. Edge case: stagger processing in two quick cycles instead of forcing overcrowding.
9. Doneness-Test Cooling Sequence
Best for: Branch 3
After the final weighted cycle at 300-350 degrees F, remove woody herbs immediately and spread on a cool dry surface for 15 minutes. Test by crushing one leaf between fingers; it must break cleanly with no bend or moisture. This sequence locks in texture and prevents condensation inside storage containers. It completes the workflow for any air fryer model and works especially well after companion planting cycles where woody perennials dominate the harvest.
Starter Stack (What to Choose First)
For Branch 1 Setups
Begin with Item 1 (Low-Temp Dehydrate Protocol) plus Item 4 (Bulk Single-Layer Trivet Method). The low-temp base preserves tender structure while the trivet scales volume without extra equipment. Combined time investment: 2-4 hours total active monitoring across a full garden harvest. No additional tools required beyond what most kitchens already hold.
For Branch 2 Setups
Start with Item 2 (Quick Weighted Burst) plus Item 5 (Essential-Oil-Safe Temp Adjustment). Short bursts handle medium leaves efficiently while temperature tweaks protect aroma during rotation. Combined time investment: under 15 minutes active across multiple small batches. Fits standard counter space without upgrades.
For Branch 3 Setups
Begin with Item 3 (Stem-On Anchored Bundle) plus Item 6 (Fan-Controlled Rotation Workflow). Bundling maintains woody integrity while rotation ensures even exposure. Combined time investment: 5-10 minutes active for typical backyard yields. Uses only twine and existing basket accessories.
When This Won’t Work
Air fryer drying fails when the unit cannot reach a low enough temperature threshold and the herbs carry excess surface moisture after patting (leaves remain limp or cool to the touch). In that case the process steams rather than dries, producing soft or browned results instead of crisp texture. Switch instead to freezing fresh herbs for long-term storage.
It also fails with overloaded baskets that block airflow even when weighted, especially in compact models during high-moisture batches. Measure by ensuring no layer exceeds one leaf deep; otherwise rotate in smaller groups. The alternative action is to process in successive short sessions rather than one large load.
Choosing the Right Option for Your Situation
Budget Threshold
If you already own any air fryer model and basic kitchen twine or a spare rack, every protocol stays at zero added cost. Only consider upgrading if your current minimum temperature exceeds 350 degrees F and you process woody herbs weekly.
Time Threshold
Choose Branch 1 or 3 protocols when you can set and walk away for 1-4 hours. Select Branch 2 options when you need results in under 15 minutes of active attention but can stay nearby for checks.
Technical Constraint
If your air fryer manual confirms a dehydrate mode below 140 degrees F, default to Branch 1 protocols. Without that function, stay within Branch 2 or 3 and accept shorter cycles with more frequent monitoring.
Yes/No checklist:
Do you have dehydrate mode under 140 degrees F? Yes leads to Branch 1.
Are your herbs mostly soft and broad? Yes points to Items 1, 4, or 7.
Is your basket under 6 inches wide? Yes favors compact optimization in Item 8.
Do stems feel stiff after harvest? Yes directs to Branch 3 bundles.
Expert Q&A
Can you safely dry herb flowers or edible blooms alongside leaves in the same batch?
Yes for chamomile or lavender if you keep them in a separate anchored bundle to avoid mixing densities. Flowers dry faster than leaves, so check at the 1-2 minute mark in short-burst methods and remove early to prevent over-drying into powder.
How does air fryer drying affect flavor compared with traditional air drying over several days?
Air fryer methods lock in more volatile oils because the shorter exposure reduces oxidation, but you lose the subtle depth that slow room air drying sometimes adds. Use the protocol that matches your herb type to minimize any difference.
What should you do when your garden harvest exceeds the air fryer basket capacity in one session?
Divide into multiple runs rather than overcrowding. Process woody herbs first because they tolerate slight delays, then move to tender leaves within the same morning window to keep moisture profiles consistent.
Does washing herbs before air fryer drying change the final texture or storage life?
Thorough washing followed by complete patting dry is required to remove garden debris and prevent mold later. Skipping the dry step introduces steam that lengthens total time and reduces crispness.
Is it possible to dry mixed herb varieties from a companion planting bed without separating them first?
Yes when they share similar moisture levels and stem stiffness. Group tender leaves together and woody stems separately within the same basket using different anchored sections so each reaches optimal doneness at its own pace.
Conclusion
The key decision is always branch first: classify your air fryer model and herb moisture profile, then apply the matching protocol and anchoring technique. The single biggest mistake is treating every herb and every machine with the same temperature and time regardless of structure or fan behavior.
Your next step is to review how to store the finished product properly so the flavor lasts through the off-season. Start there with storing dried herbs once your first batch cools completely.
Lead Data Architect
Umer Hayiat
Founder & Lead Data Architect at TheYieldGrid. I bridge the gap between complex agronomic data and practical growing, transforming verified agricultural science into accessible, mathematically precise tools and guides for serious growers.
View all tools & guides by Umer Hayiat →