
Charcoal’s primary role in a terrarium is often misunderstood. It is not a passive toxin sponge. It is a structural amendment that maintains open pore space in the drainage layer, slows compaction, and provides a surface for beneficial microbes. In the sealed, high-humidity environment of a terrarium, that drainage integrity matters far more than any mythical ability to “pull toxins” from stagnant water.
This guide covers the types of charcoal suitable for sealed, open, and semi-aquatic setups. You will find horticultural charcoal, activated granules, lump hardwood, coconut shell carbon, and alternative materials like biochar and zeolite. The scope excludes carbon filter cartridges for pumped aquarium systems, though paludarium applications are addressed where the boundary blurs.
By the end, you will be able to select a charcoal product based on your terrarium’s moisture regime, your maintenance tolerance, and the depth of your drainage layer. Each option is mapped to a decision branch so you can skip what does not apply.
Bottom line: Match charcoal particle size to your drainage layer depth and never skip rinsing before installation.
The Yield Grid Decision Grid
Branch 1 – Sealed High-Humidity (Closed, Moss, Tropical)
Measurable condition: Relative humidity stays above 80% and glass fogs daily. Charcoal here must stay structurally stable while submerged in a perpetually moist false bottom. Avoid powders that turn to sludge.
Recommended: Items 1, 4, 6 below. For a full build approach, see our large closed terrarium ideas.
Branch 2 – Open Arid (Succulent, Cactus, Air Plant Displays)
Measurable condition: Soil surface dries within 48 hours after watering, humidity below 50%. Charcoal functions as an aeration grit, not a water purifier. Overly fine particles can trap moisture and cause root rot.
Recommended: Items 3, 5, 8 below.
Branch 3 – Paludarium or Water-Feature Terrarium
Measurable condition: Standing water or submerged root zone present, with either a pump-driven flow or a static water table. Charcoal must handle prolonged saturation without disintegrating and may assist with odor control.
Recommended: Items 2, 7, 10 below.
Quick Comparison Table
| Option | Key mechanism | Best for | Decision Grid Branch | Effort Score |
|---|---|---|---|---|
| Horticultural Charcoal (standard) | Drainage structure, mild odor adsorption | Closed high-humidity terrariums | Branch 1 | 1 |
| Activated Charcoal Granules | High-surface-area adsorption of dissolved organics | Paludariums with water section | Branch 3 | 4 |
| Lump Hardwood Charcoal | Large pore aeration, long-lasting structure | Open arid terrariums | Branch 2 | 2 |
| Coconut Shell Charcoal | Micropore network for gas and odor control | Moss-heavy closed builds | Branch 1 | 2 |
| Biochar (inoculated) | Nutrient and moisture retention, microbial habitat | Open terrariums with soil volume | Branch 2 | 3 |
| Charcoal Sand (pre-mixed) | Uniform drainage without distinct layering | Small jar or bottle terrariums | Branch 1 | 1 |
| Charcoal Pellets | High surface area in a manageable shape for water flow | Paludarium filter zones | Branch 3 | 4 |
| DIY Crushed Charcoal | Cost-effective structure, variable quality | Open terrariums on a budget | Branch 2 | 3 |
| Carbon-Infused Drainage Mesh | Physical separation plus light adsorption | Open and closed builds with distinct layers | Branch 2 | 1 |
| Zeolite (alternative) | Ammonia-binding, no carbon structure | Paludariums with aquatic livestock | Branch 3 | 4 |
1. Horticultural Charcoal (Standard Grade)
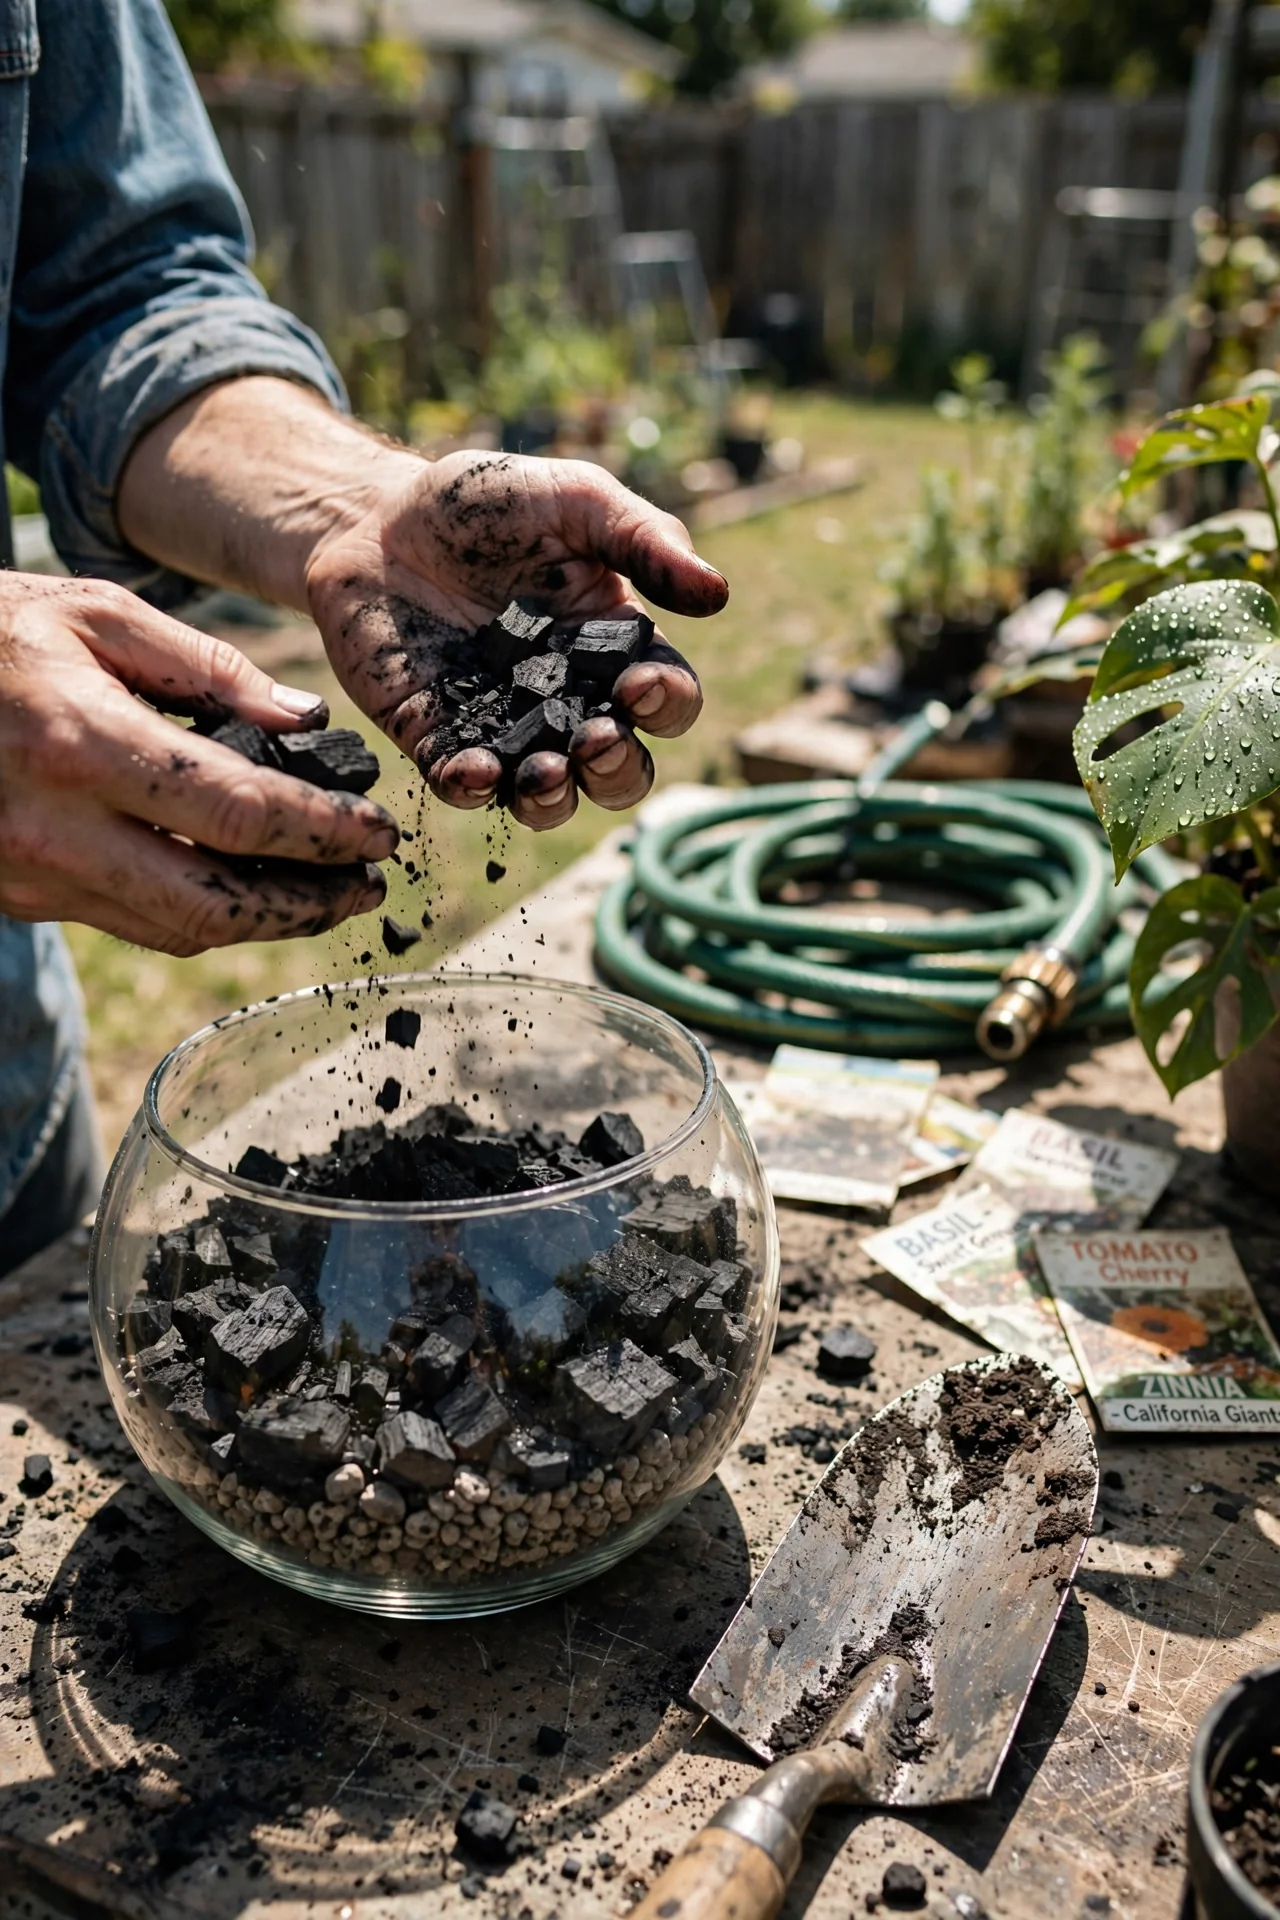
Best for: Branch 1
Blueprint: The workhorse drainage charcoal.
What: Untreated, kiln-fired hardwood or lump charcoal crushed and graded to 5–15 mm pieces. For: Any closed terrarium where a false bottom drainage layer exists. Steps: (1) Rinse charcoal in a colander until runoff runs clear, typically 3–5 washes. (2) Pour a 2–3 cm layer directly onto the false bottom grid or LECA. (3) Place a fine fiberglass mesh or weed barrier cloth on top before adding substrate. Common mistake: Using barbecue charcoal with added lighter fluid or binders, which releases volatile residues. The edge case many miss: In wicking-based setups where a fabric strip draws water upward, horticultural charcoal can shed fine dust that clogs the fabric pores, eventually starving the substrate of moisture. For a complete closed build, explore our closed terrarium ideas.
2. Activated Charcoal Granules
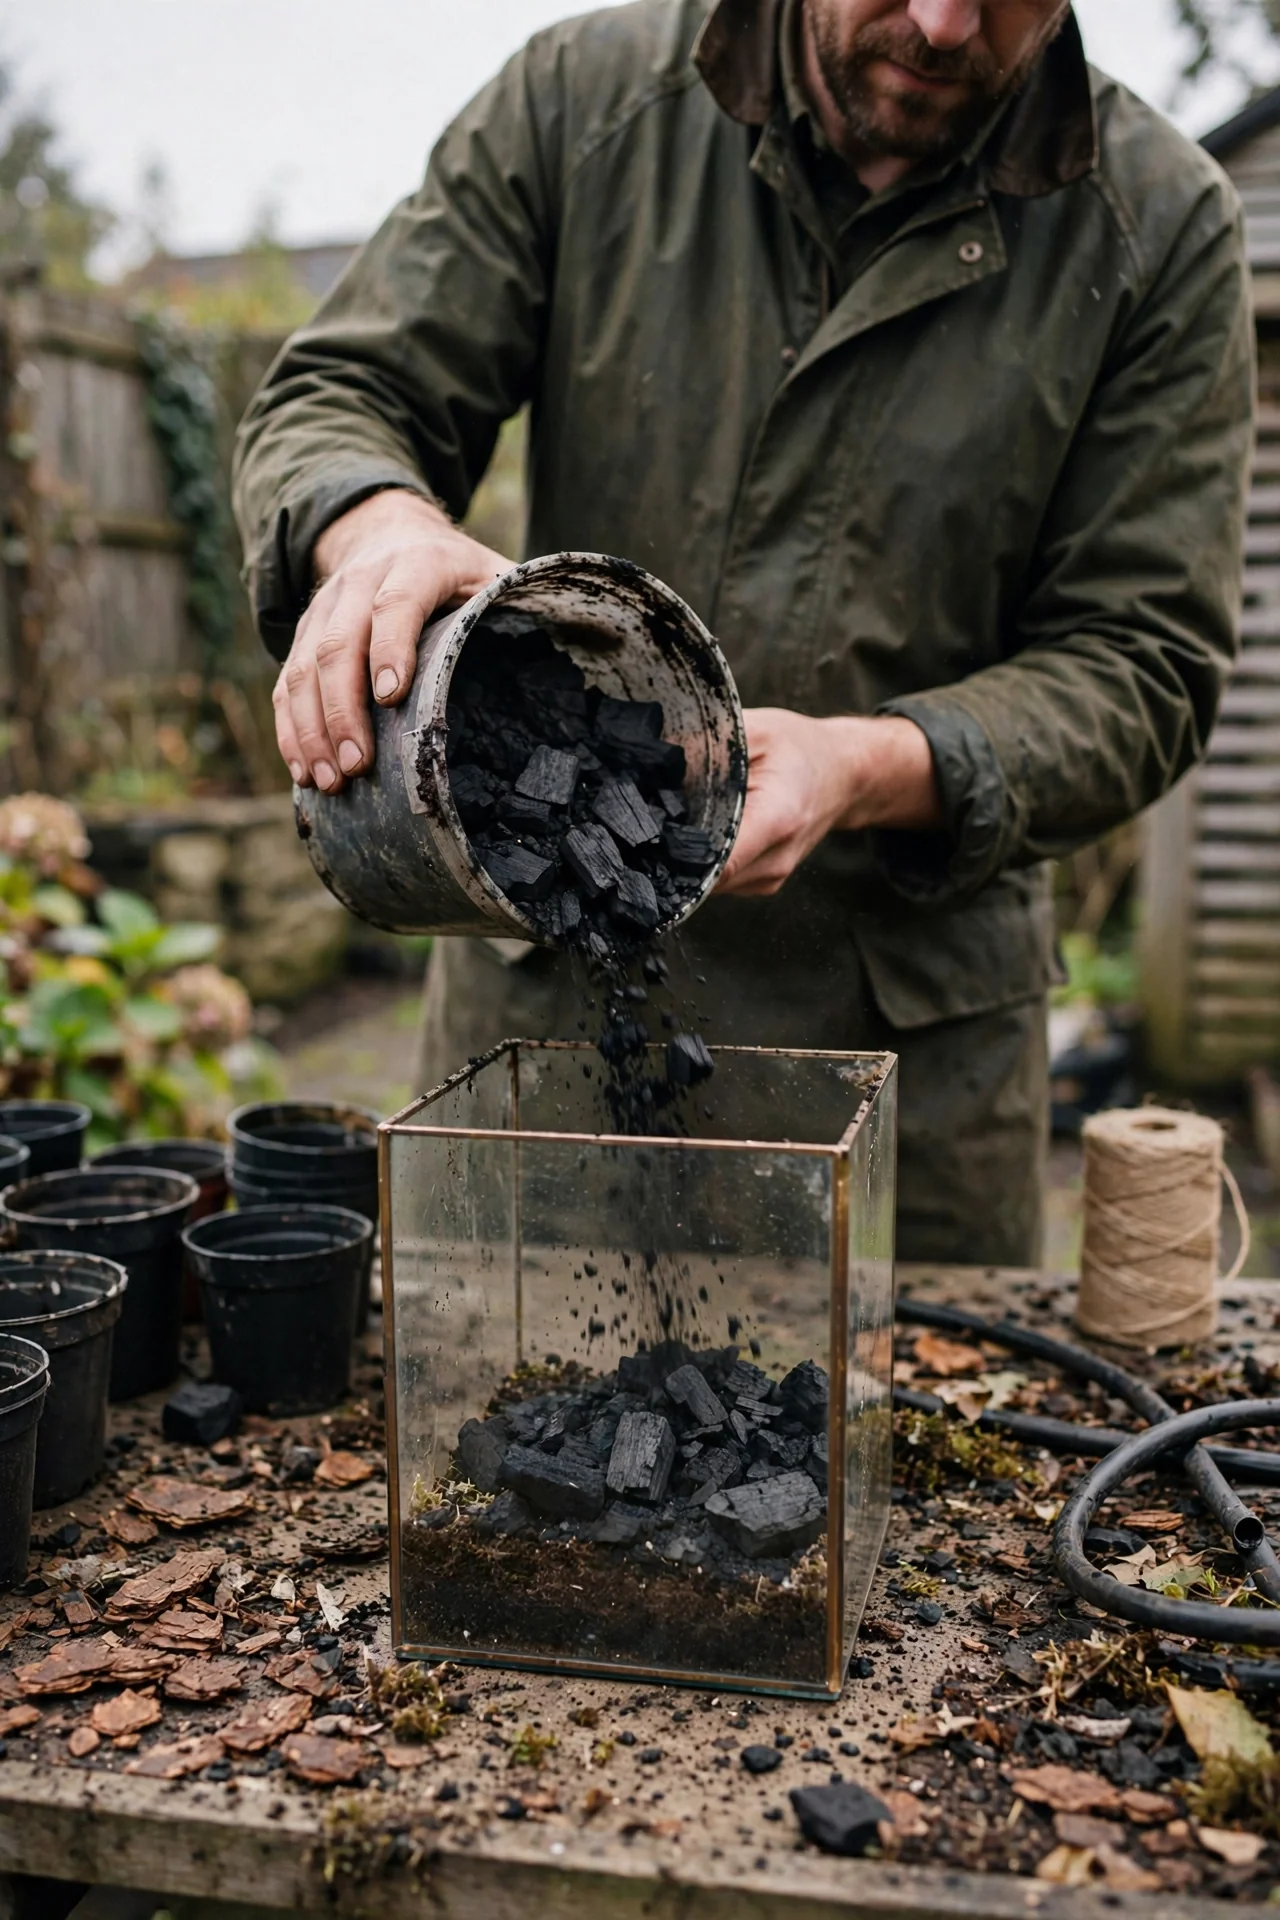
Best for: Branch 3
Use vs skip: Use when the terrarium has a distinct water section, a sump, or a paludarium filter compartment. Skip it for purely soil-based closed terrariums, because its high adsorption can temporarily bind micronutrients before the soil biology stabilizes. A critical constraint: In water with high dissolved organic load, activated carbon exhausts within 2–4 weeks and then becomes a debris trap unless replaced. See our paludarium ideas for examples where this matters.
3. Lump Hardwood Charcoal
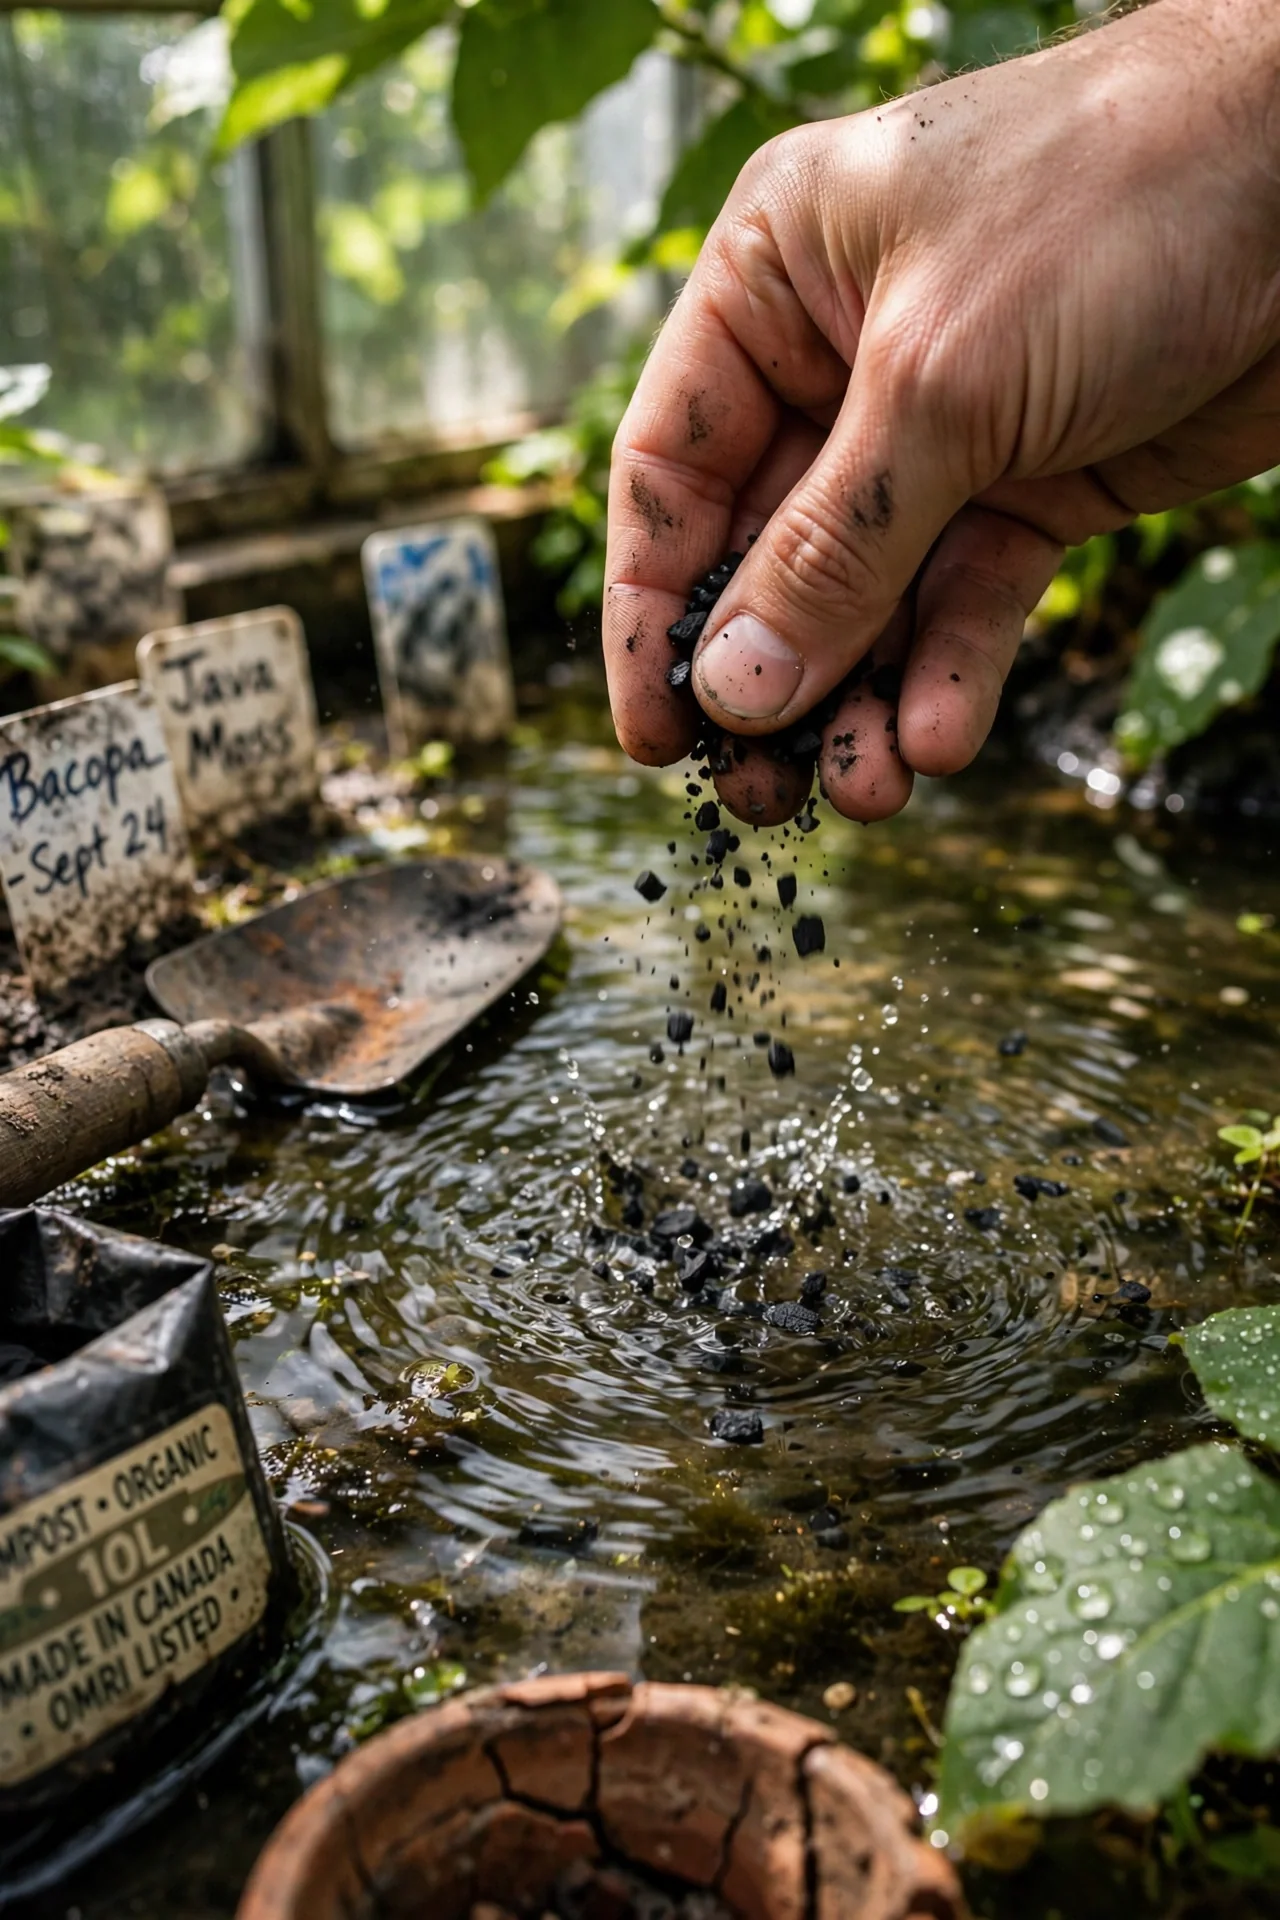
Best for: Branch 2
Threshold rule: Particle size is non-negotiable. For open succulent terrariums, select chunks in the 1–2 cm range. Pieces smaller than 0.5 cm can sift down and clog the drainage void, while anything larger than 3 cm creates uneven bridging. Also test pH before use: soak a sample in distilled water for 24 hours. If the resulting pH exceeds 8.0, rinse and soak again or choose a different batch. High-ash lump charcoal is the main culprit. In an arid scape, that alkalinity can suppress root function in acid-loving plants. For layout inspiration, see our open terrarium ideas.
4. Coconut Shell Charcoal
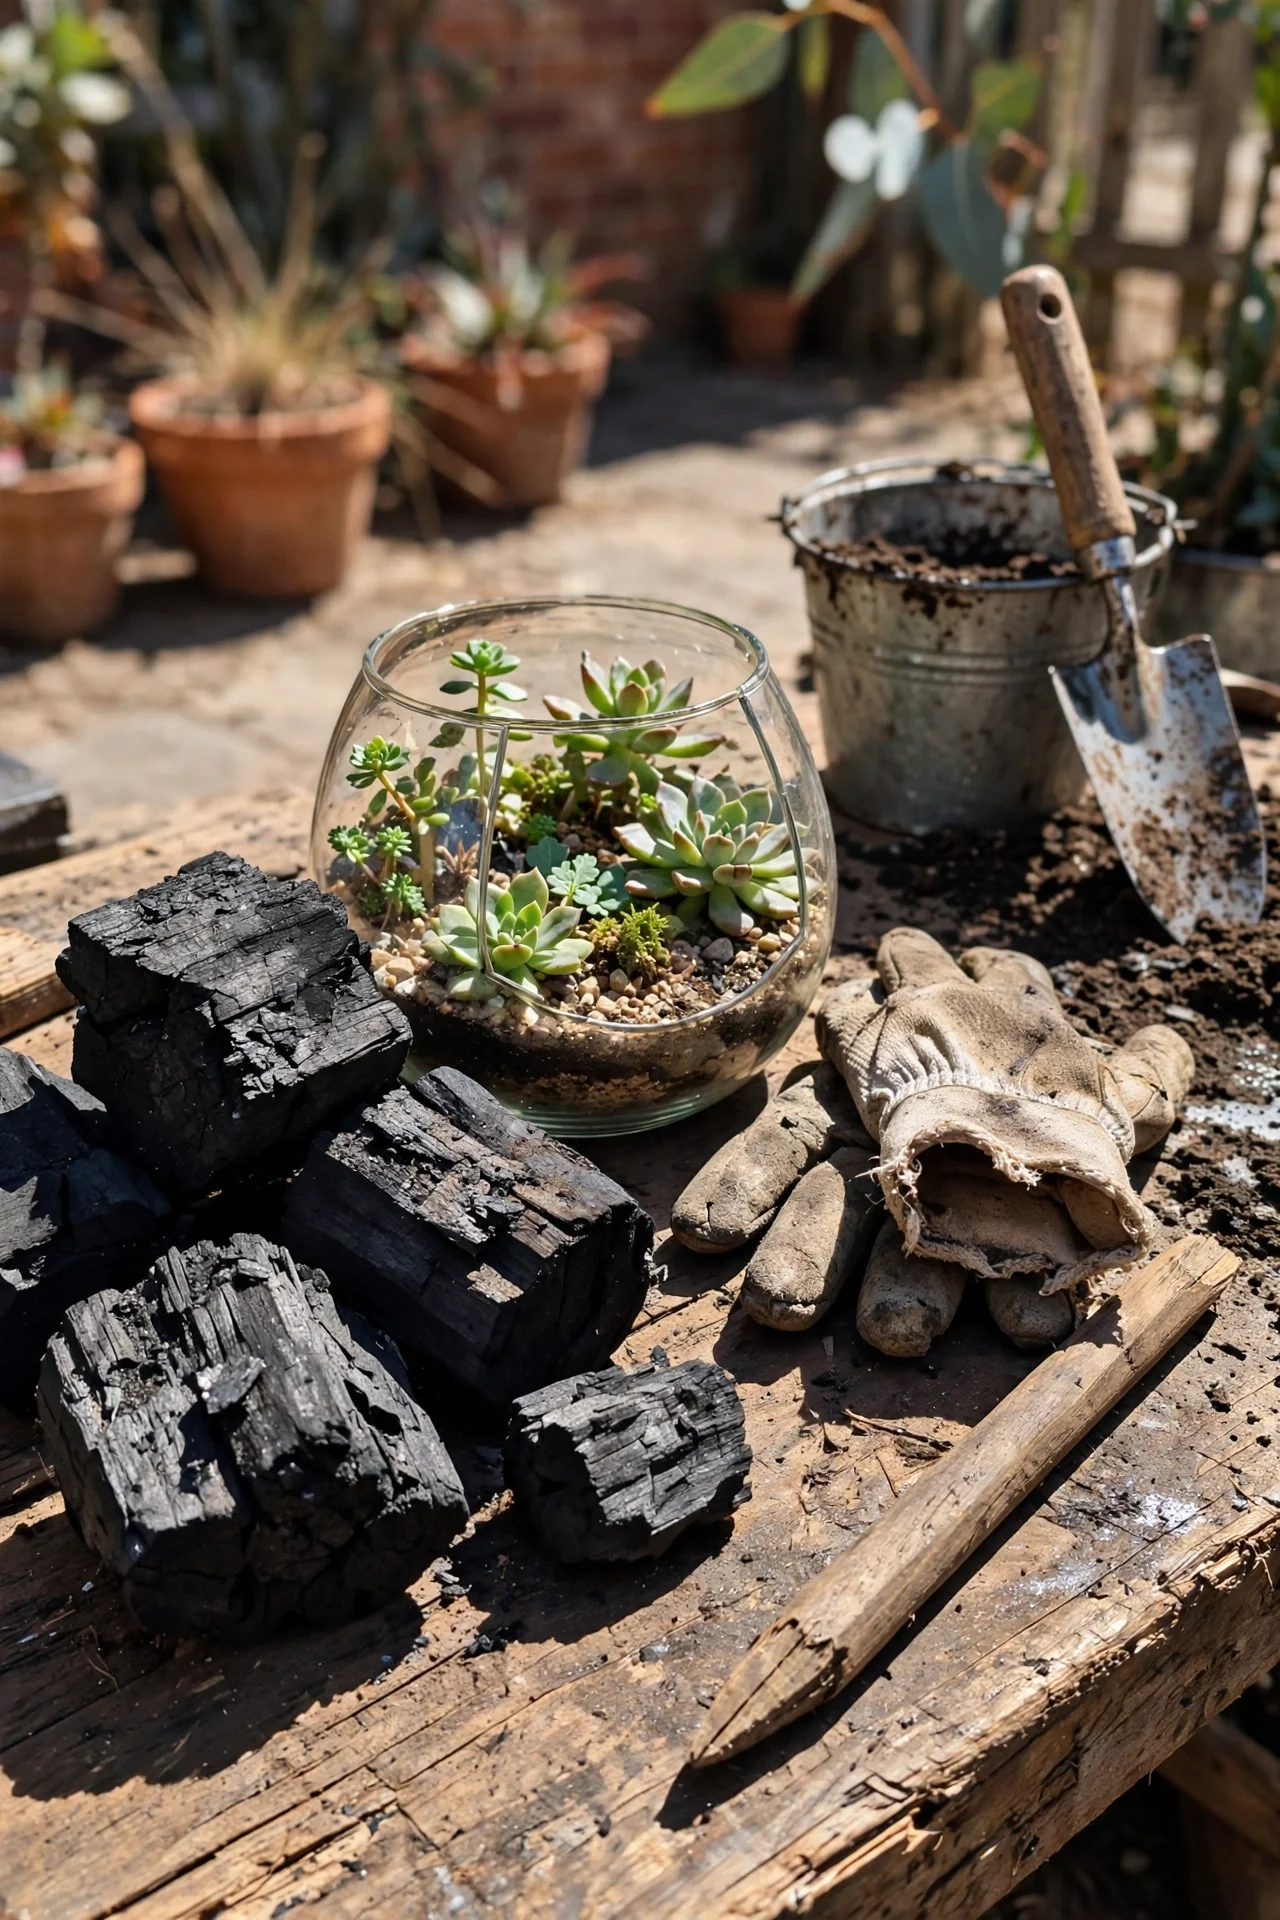
Best for: Branch 1
10-minute workflow: Coconut shell charcoal arrives dusty. (1) Dump the amount you need into a bowl of dechlorinated water and let it soak for 10 minutes. (2) Agitate, then pour off the grey water. Repeat until the water stays clear. (3) Spread it as a 2 cm layer over your false bottom. (4) Add a thin blanket of sphagnum moss on top to prevent soil from sifting into the pores. Upgrade option: If you have a water table that fluctuates, place a carbon-infused weed barrier between the charcoal and the moss to lock the particles in place. The high microporosity of coconut carbon makes it effective at reducing hydrogen sulfide smells that can develop in long-sealed moss terrariums. For moss-focused builds, browse moss terrarium ideas.
5. Biochar (Inoculated)
Best for: Branch 2
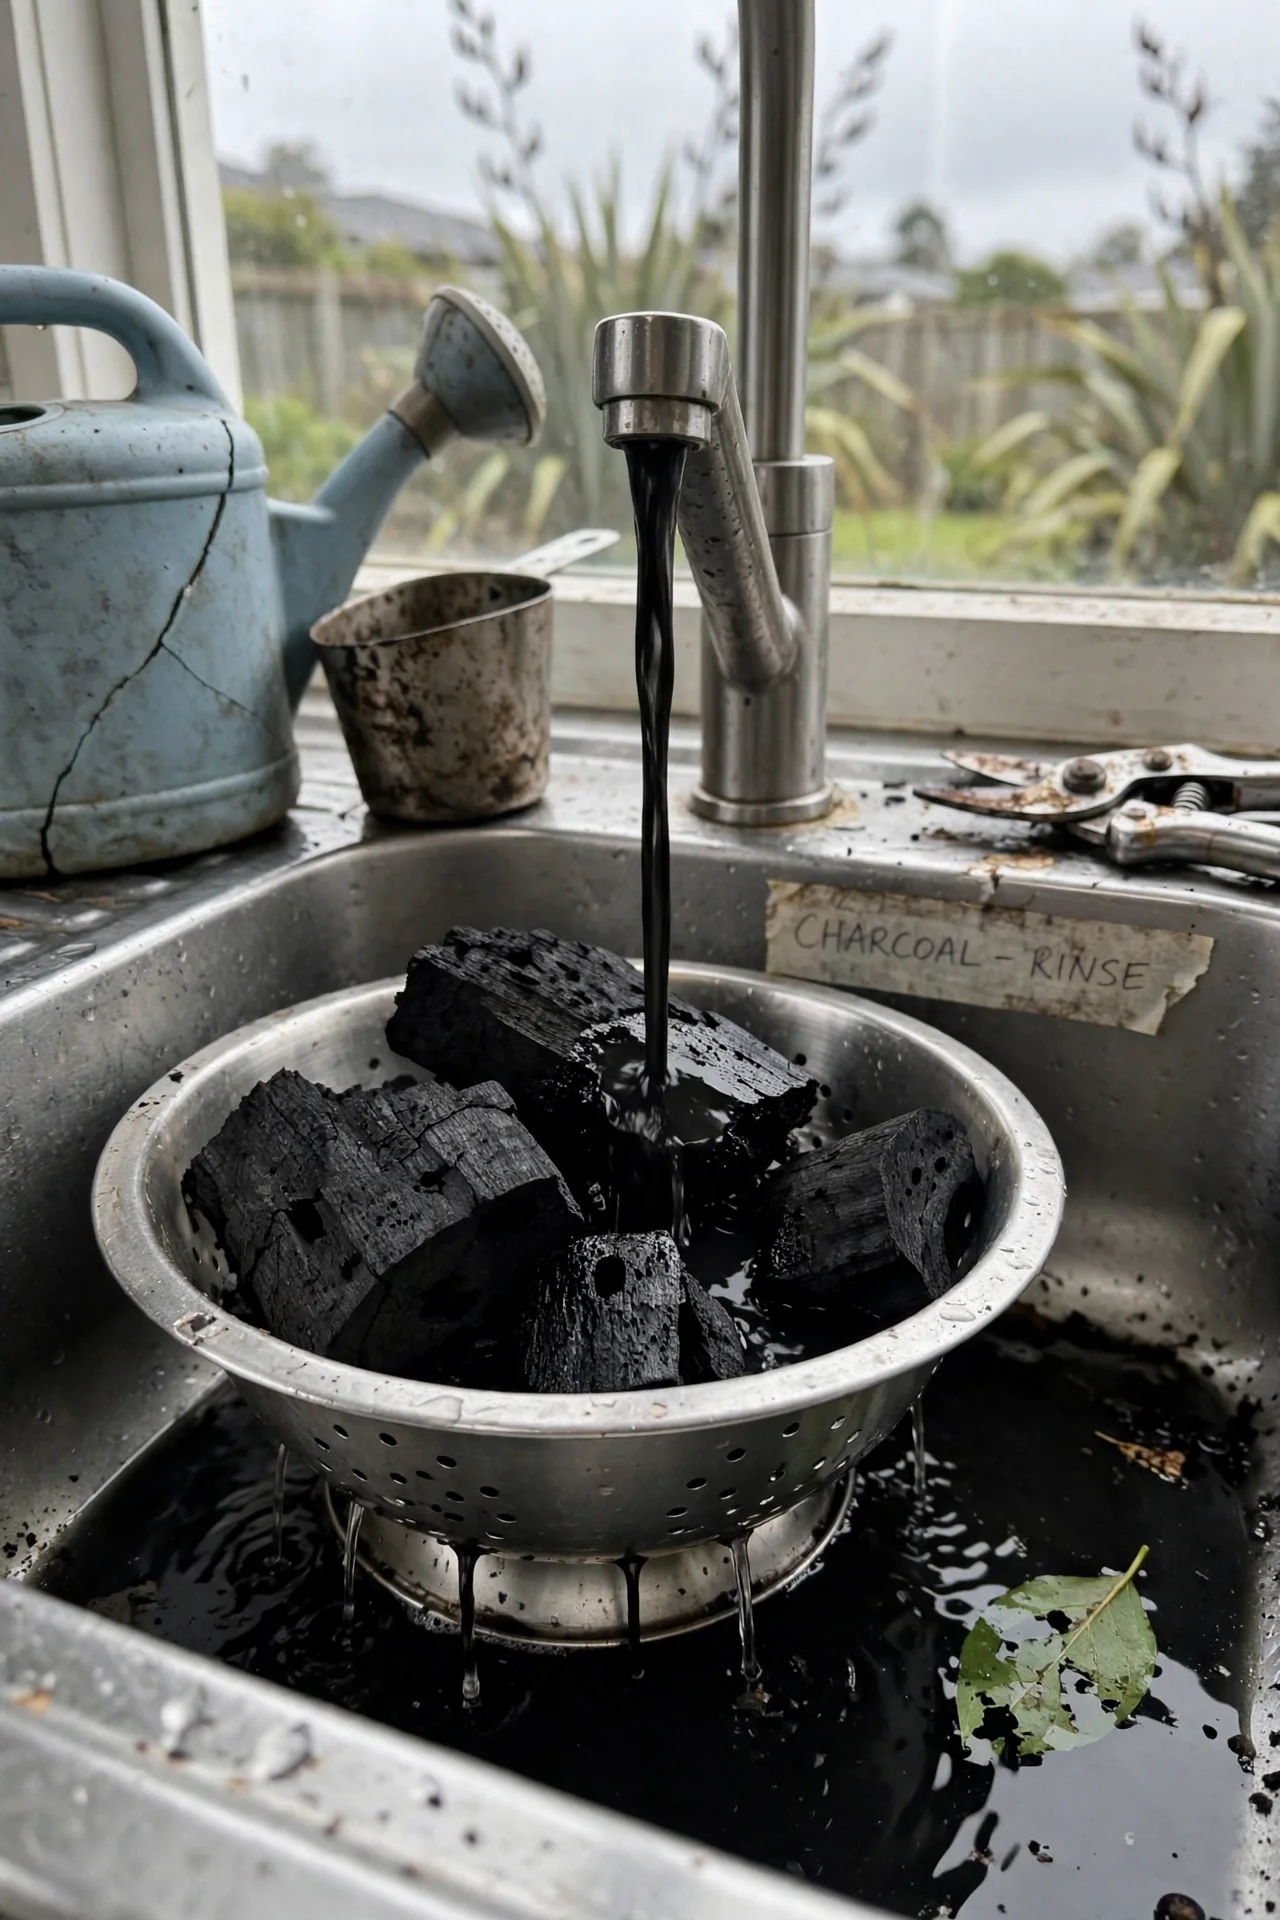
Blueprint: Use only biochar that has been charged with nutrients. Raw, un-inoculated biochar will pull nitrogen from the soil for weeks. Soak it in a diluted compost tea or balanced liquid fertilizer (NPK near 3-1-2) for 14 days, then mix into the substrate at 5–10% by volume. An edge constraint: Over 15% biochar can make the mix too water-retentive for arid plants, defeating the drainage goal.
6. Charcoal Sand (Pre-Mixed)
Best for: Branch 1
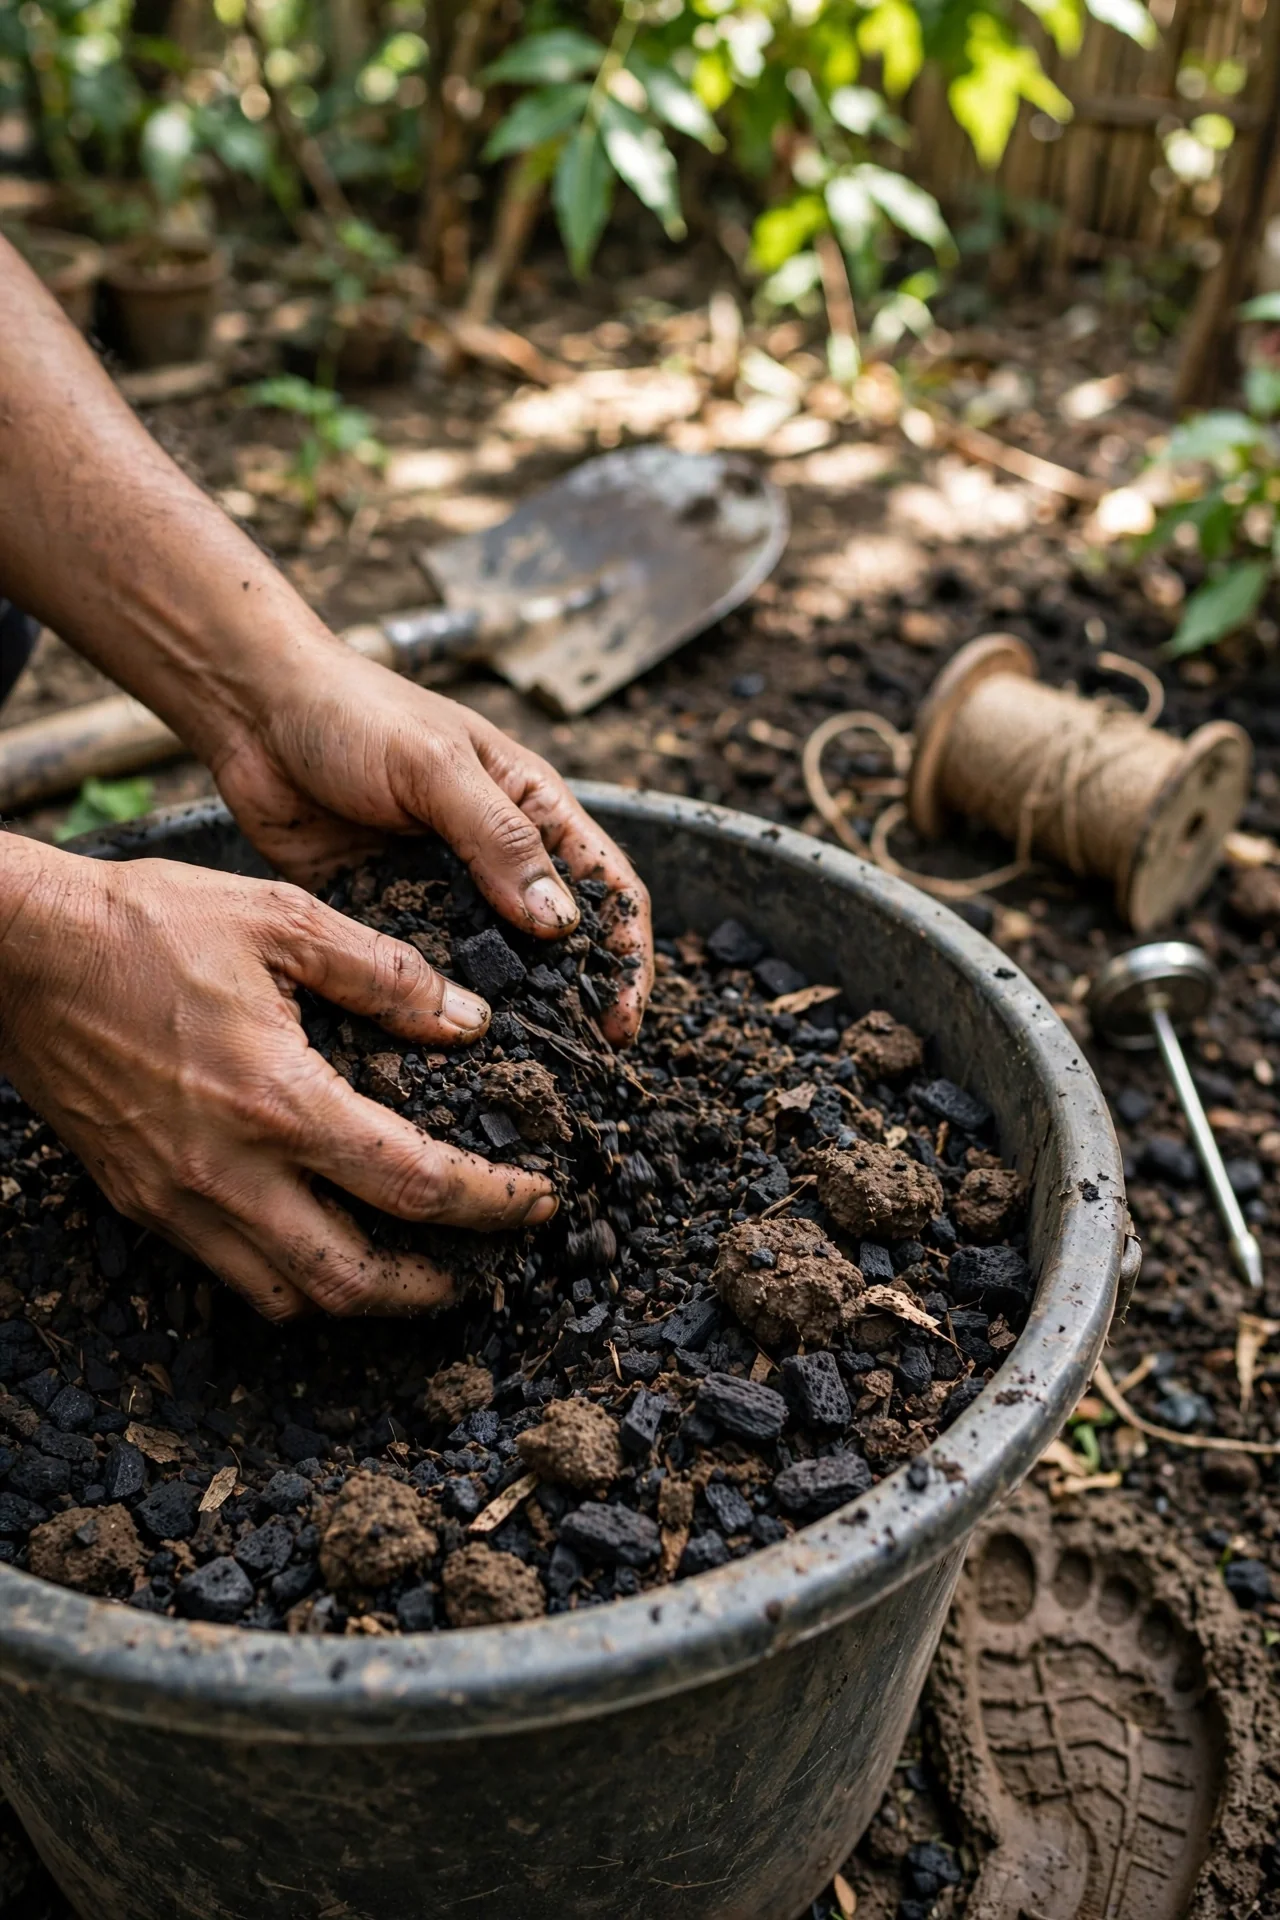
Use vs skip: Use charcoal sand when building a false bottom in containers narrower than 10 cm, such as small jars, where a layered system is hard to place. The granular mix pours evenly and does not leave large air pockets. Skip it if your design relies on a visible, distinct charcoal band for aesthetic contrast. Watch for one failure mode: fine charcoal sand particles can migrate through mesh openings smaller than 1 mm, gradually clouding the water reservoir. For tiny builds, check jar terrarium ideas.
7. Charcoal Pellets
Best for: Branch 3
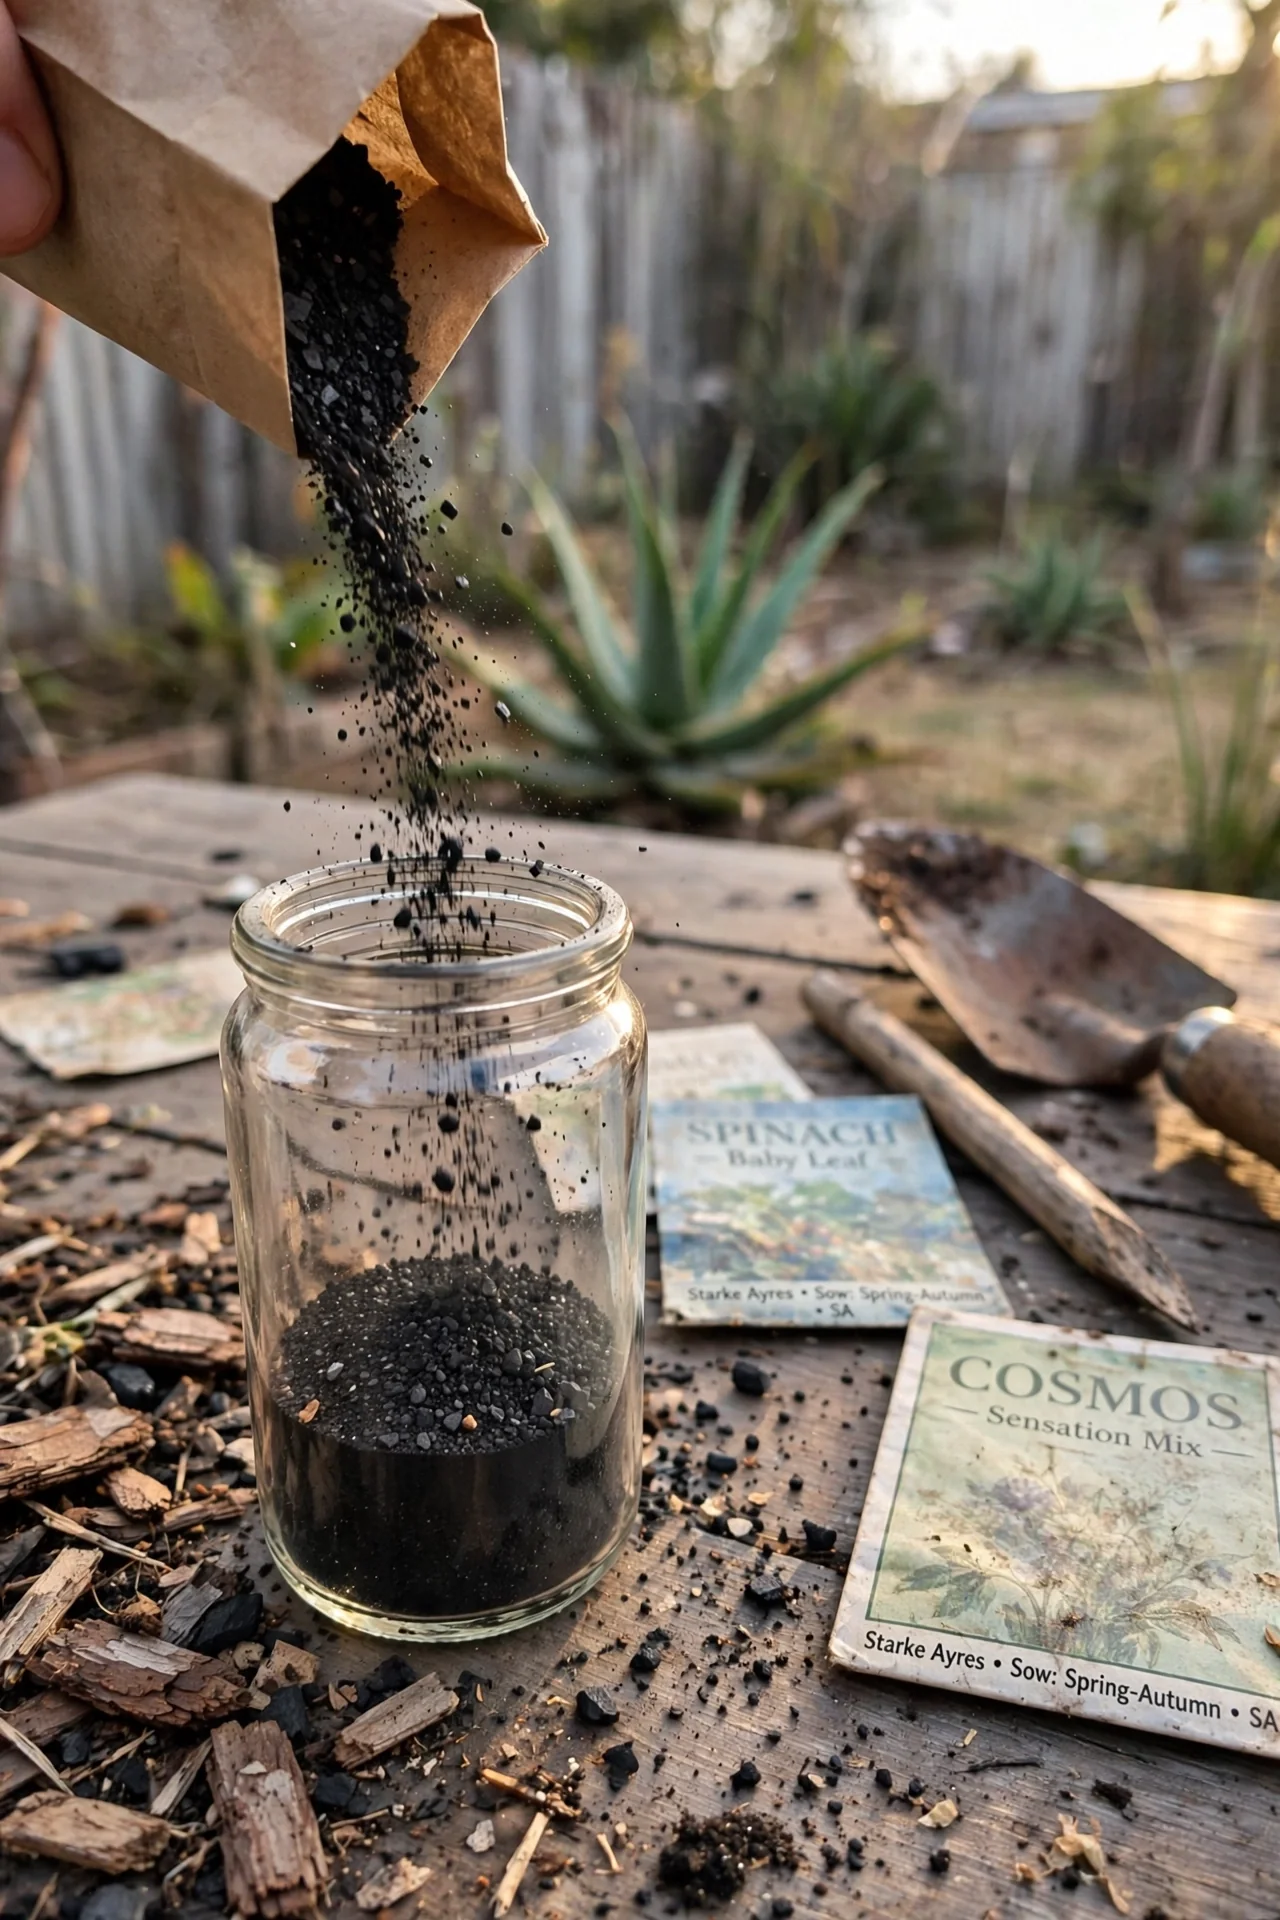
Threshold rule: Pellet diameter must stay between 4–6 mm for submerged or trickle-filter use. Smaller pellets pack too tightly and restrict water flow. Larger pellets create channeling where water bypasses the carbon. In a high-bioload paludarium with fish or shrimp, replace the pellets every 3–4 months. Monitor with a sniff test; a sulfur or rotten odor indicates the carbon’s pores are saturated and need swapping. If your water feature hangs in a hanging terrarium design, secure the pellets inside a fine mesh bag so they do not shift when the vessel swings.
8. DIY Charcoal from a Fire Pit
Best for: Branch 2
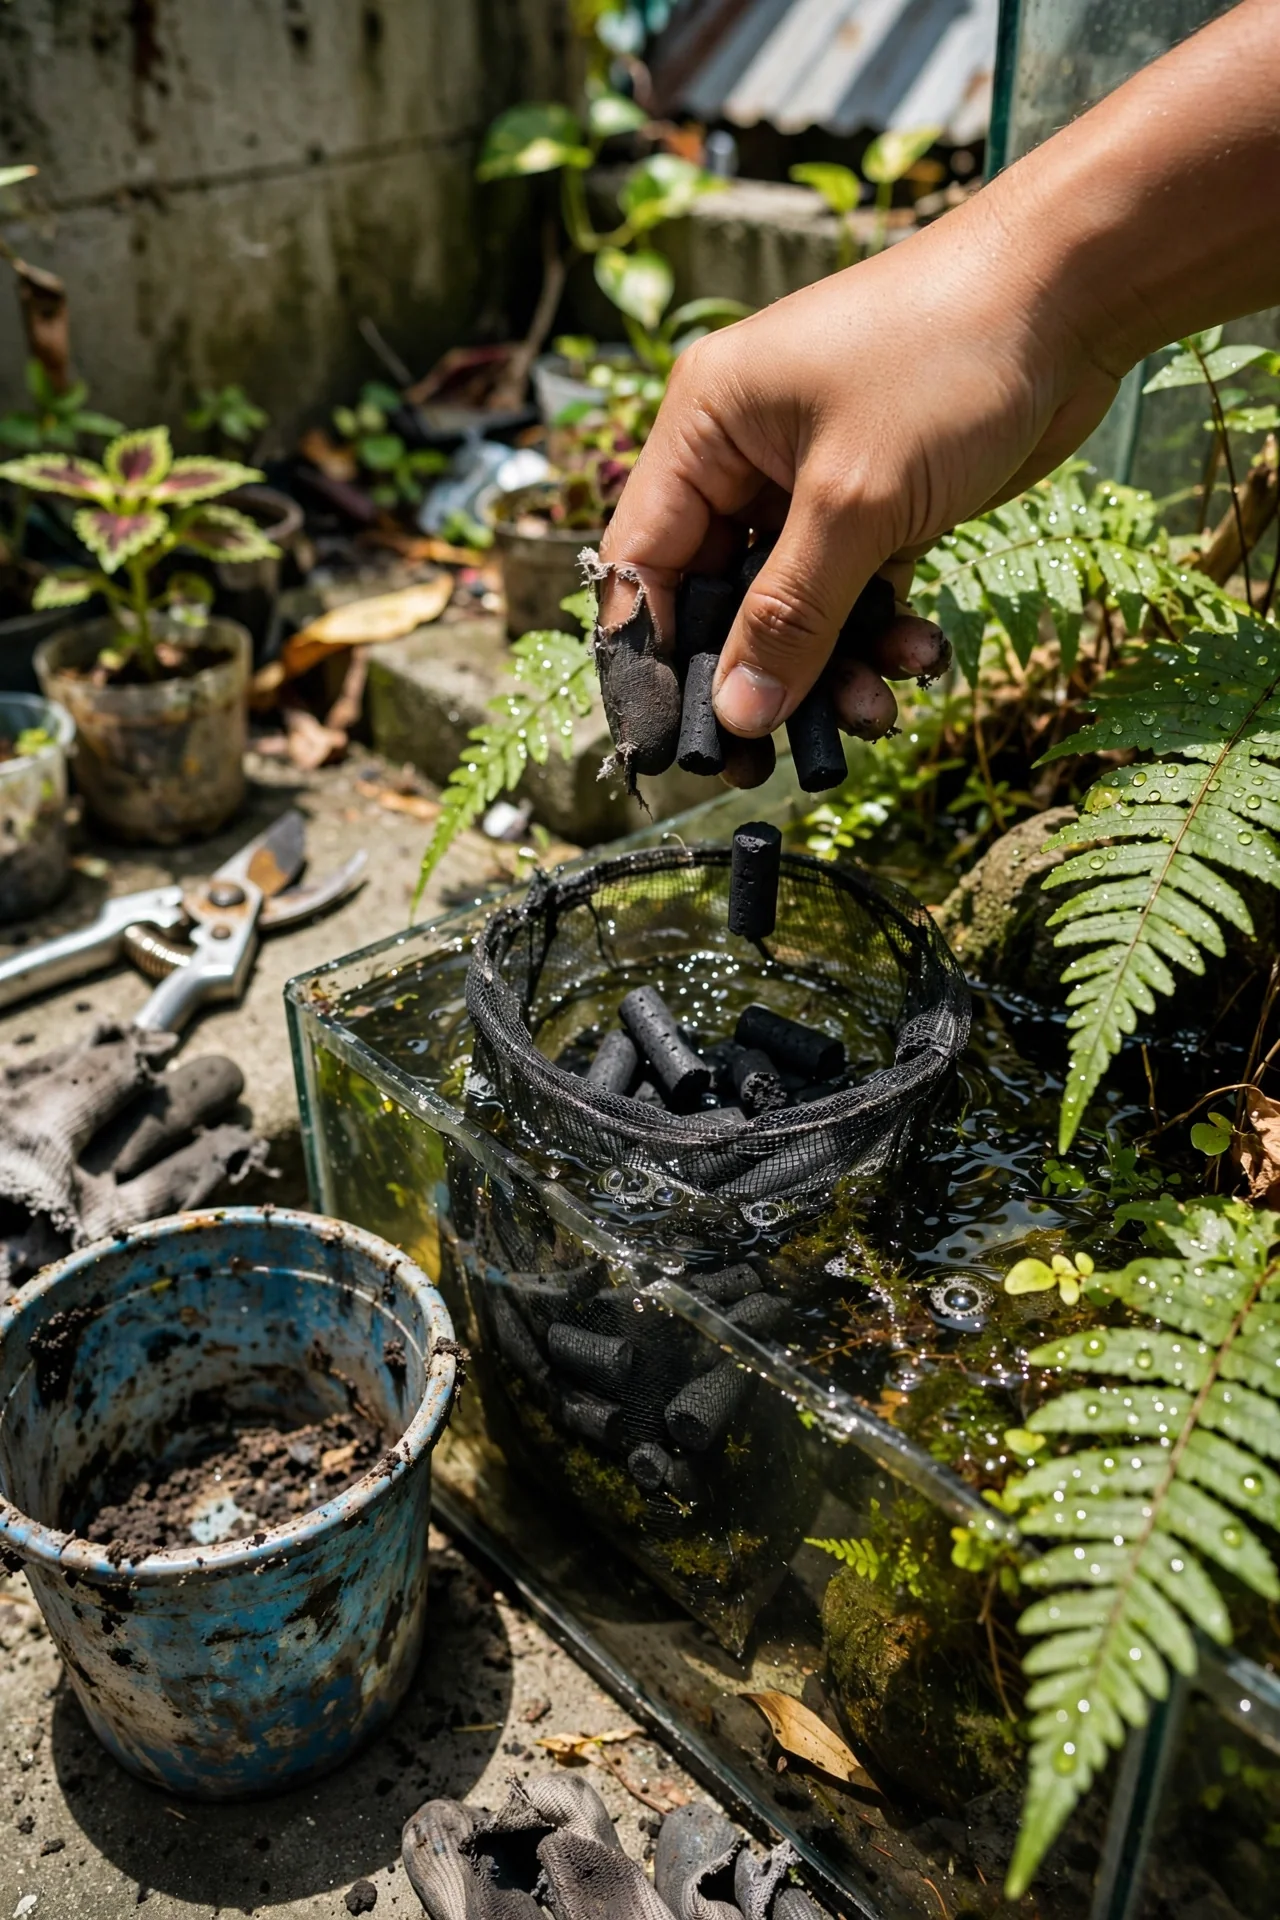
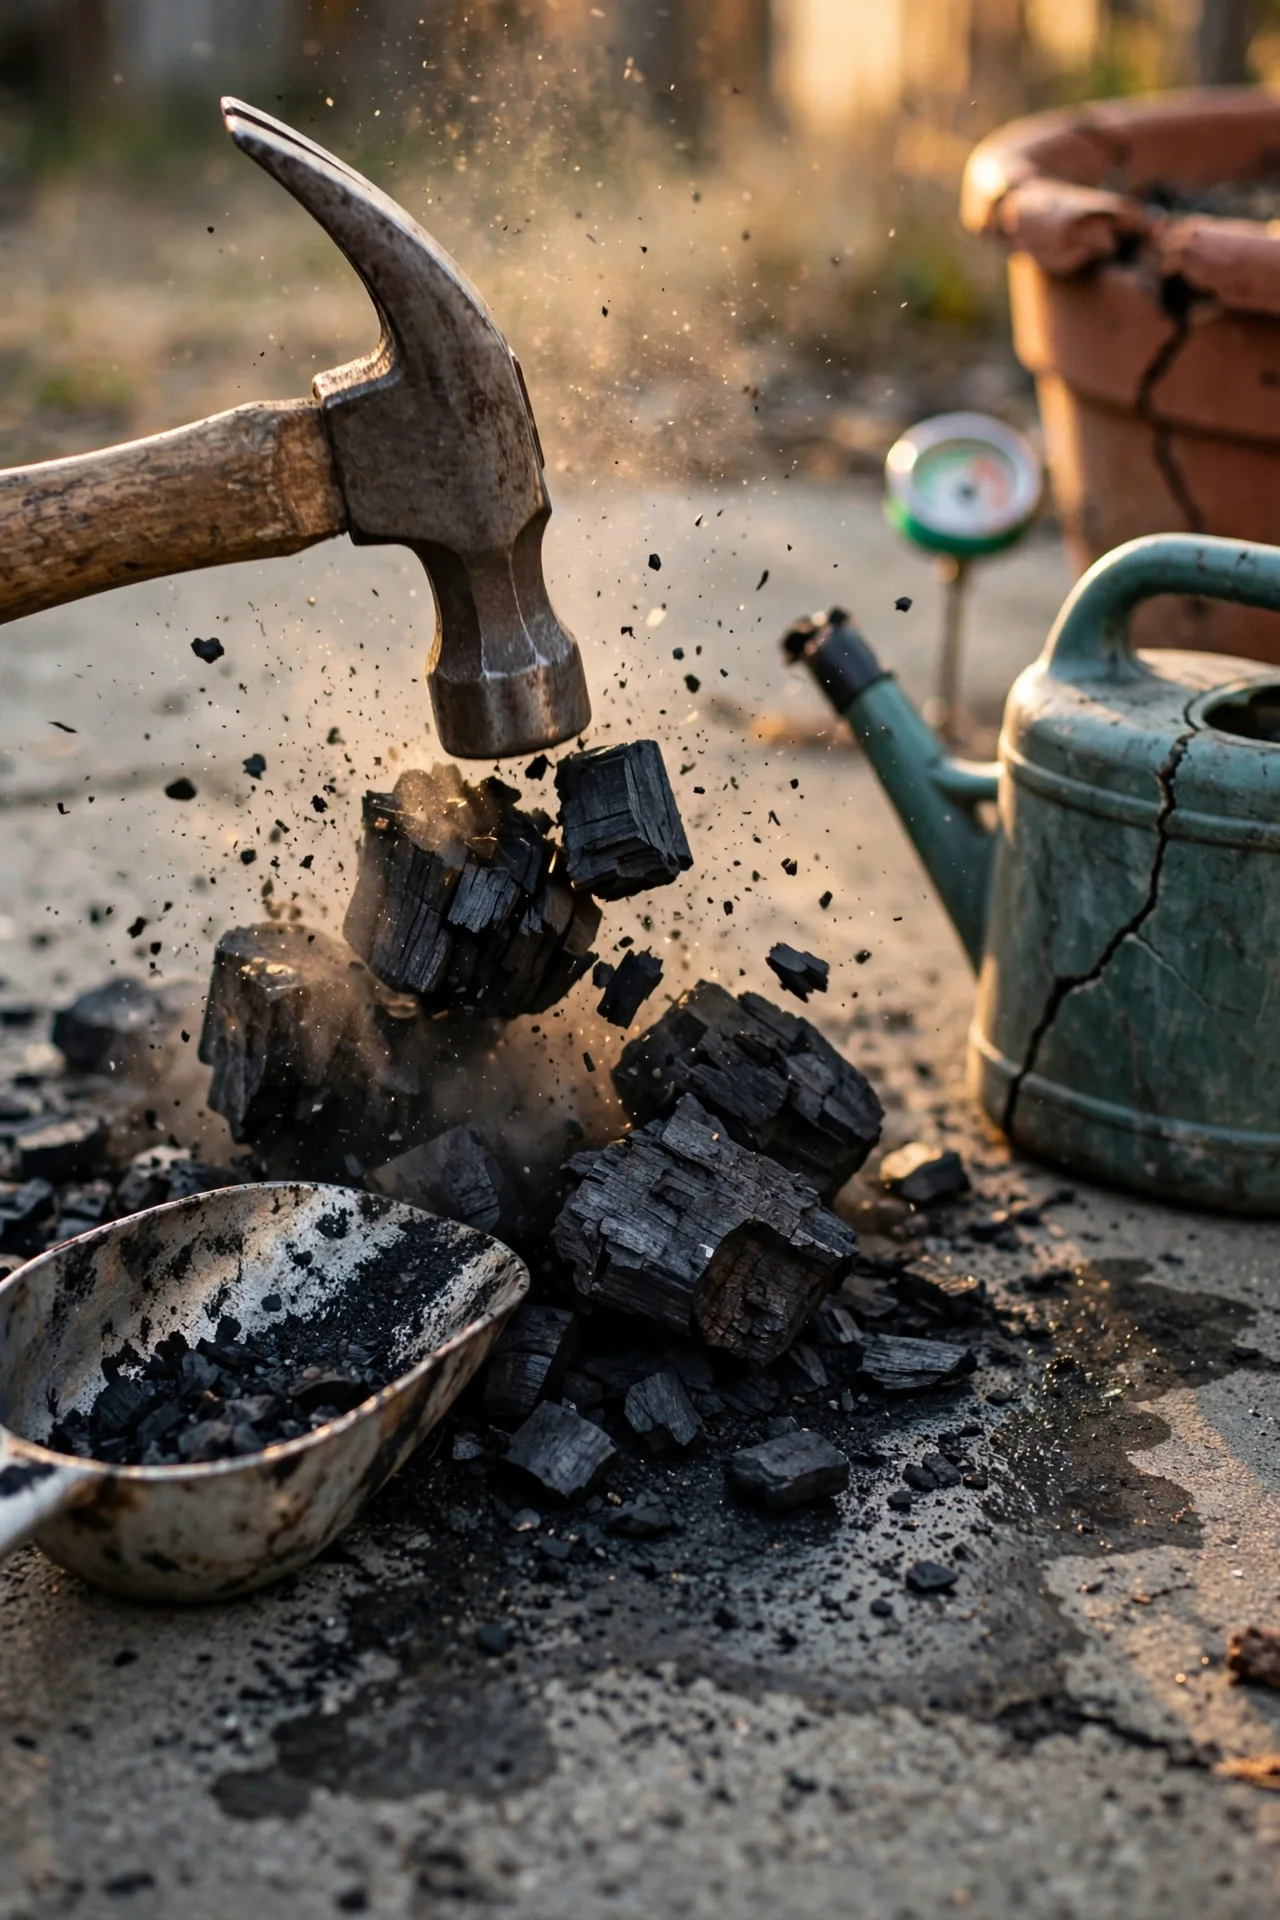
10-minute workflow: (1) Quench fully ashed hardwood coals with water. (2) Once cool, crush with a hammer to 1–2 cm pieces. (3) Rinse repeatedly in a bucket until the water is no longer black. (4) Soak for one hour, then test pH. If above 7.5, boil for 10 minutes and rinse again. Upgrade: For delicate plants, do a final soak in dechlorinated water for 24 hours. This method fits rustic fairy garden terrariums where budget matters.
9. Carbon-Infused Drainage Mesh
Best for: Branch 2
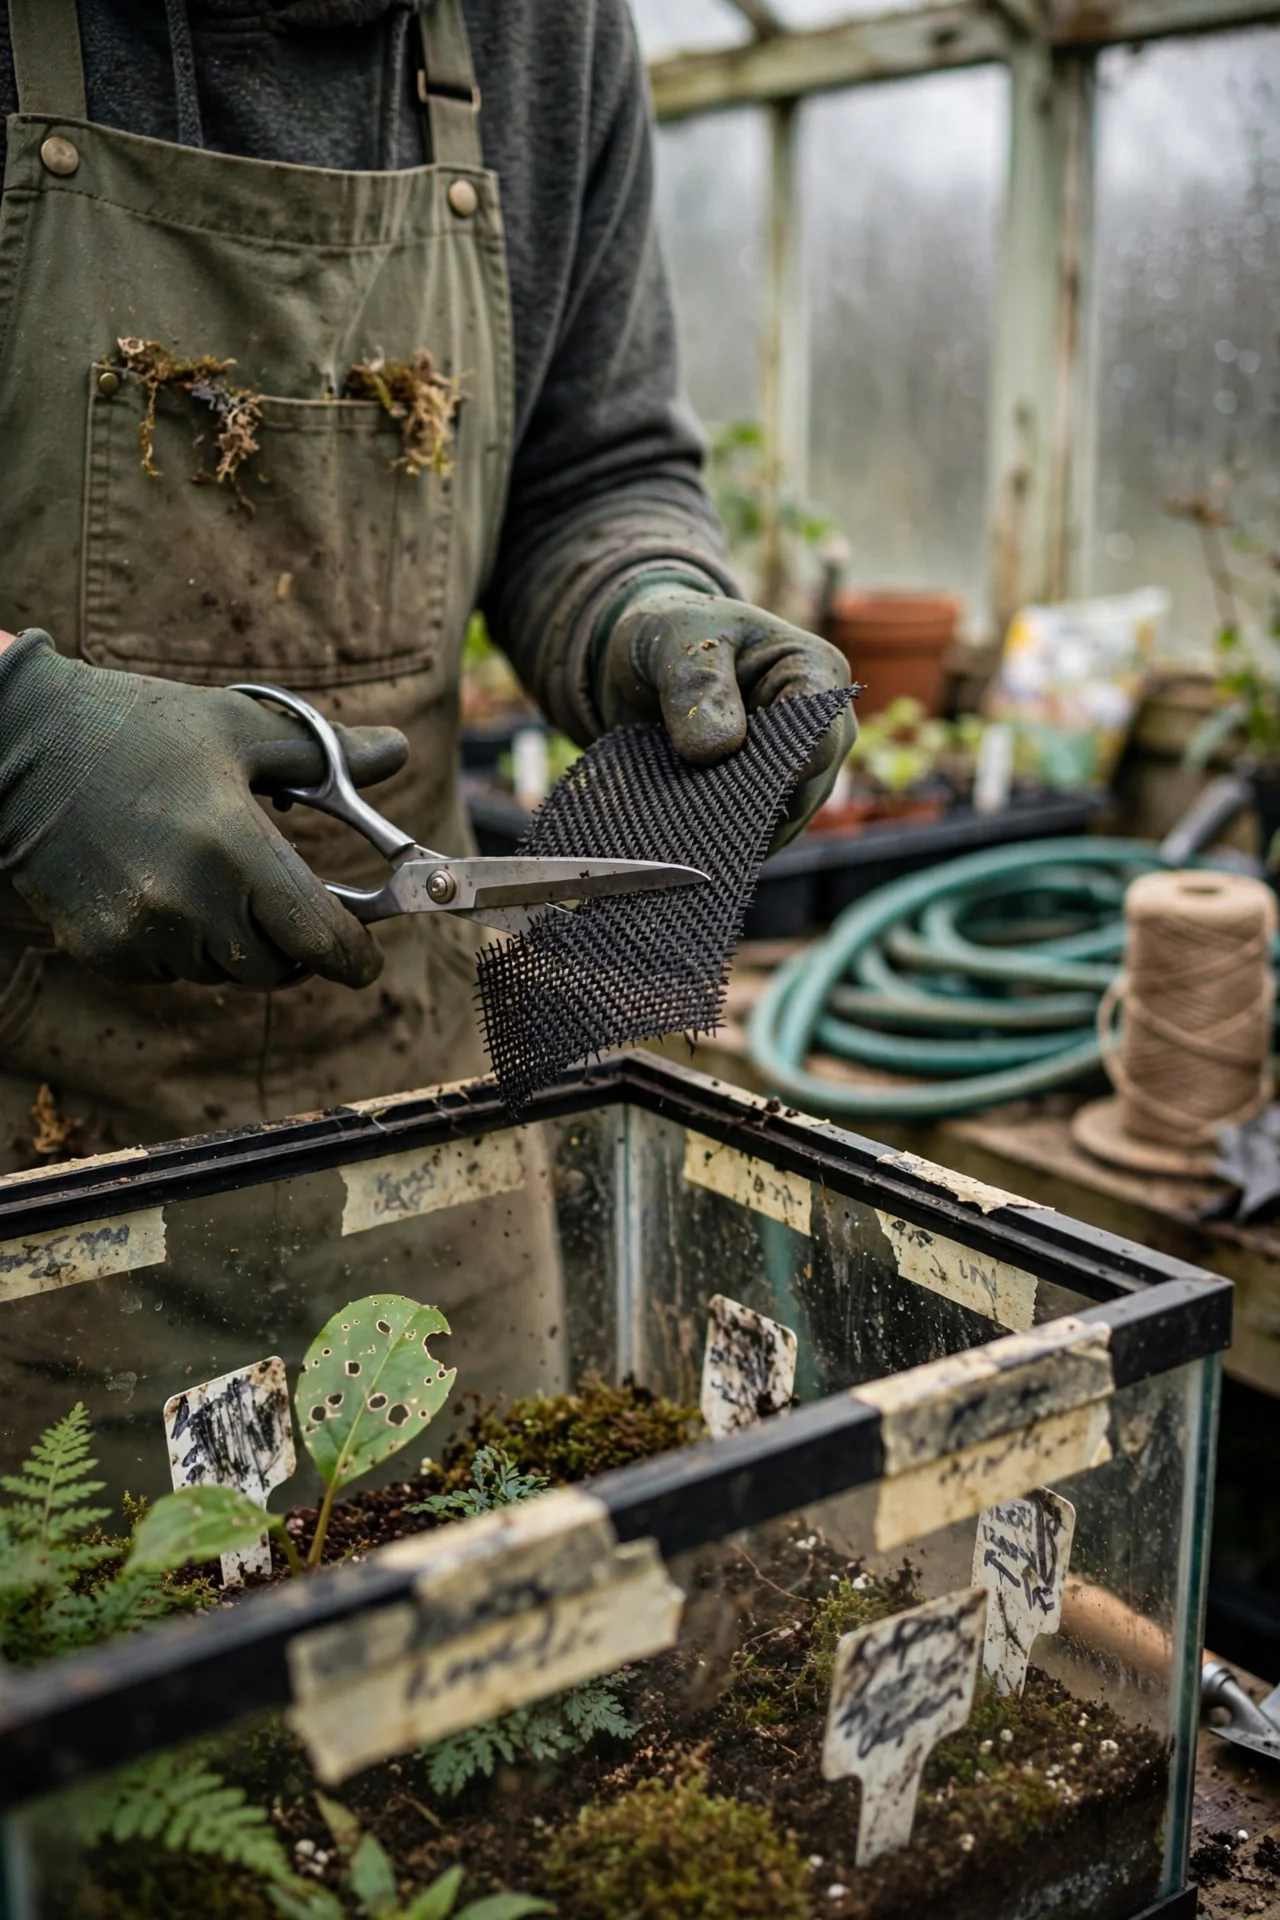
Blueprint: Use this fabric as a separation layer between the drainage aggregate and the substrate. Choose a product with a pore size of 0.5–1 mm to block soil particles while allowing water to pass. Installation: (1) Cut the mesh to the terrarium footprint. (2) Lay it directly on top of the charcoal or LECA layer. (3) Press edges gently against the glass to prevent soil creep. Common mistake: A mesh that is too tight can hold a perched water table, keeping the substrate base soggy. In an open arid terrarium, this kills succulents.
10. Zeolite as a Charcoal Alternative
Best for: Branch 3
Use vs skip: Use clinoptilolite zeolite in paludarium water sections to bind ammonia, especially when livestock is present. Unlike charcoal, zeolite does not contribute to drainage structure; it is a chemical filtration medium, not a soil amendment. Skip it entirely for dry or soil-only terrariums, where it provides no benefit and may raise water hardness. A hidden limitation: Zeolite reaches ammonia saturation and must be recharged in a salt solution or replaced. In a planted paludarium with a healthy nitrogen cycle, you can often omit it. Measure ammonia levels before adding; if readings stay at zero without intervention, the zeolite would be redundant.
Starter Stack (What to Choose First)
Branch 1: Sealed High-Humidity Build
Start with horticultural charcoal (Item 1) as your drainage base and add a thin layer of coconut shell charcoal (Item 4) directly under the moss barrier. The horticultural charcoal provides structural stability, while the coconut carbon handles the early off-gassing that can cause that “swamp” smell in the first month. Cost: roughly $8–$15 for both. Time: rinse both in one session, about 15 minutes.
Branch 2: Open Arid Setup
Combine lump hardwood charcoal (Item 3) with inoculated biochar (Item 5) mixed into the substrate. The lump charcoal keeps the false bottom aerated, and the biochar in the soil holds just enough moisture to reduce watering frequency without waterlogging roots. Estimated cost: $10–$18. Budget an extra two weeks for biochar inoculation before planting.
Branch 3: Paludarium or Water Feature
Begin with activated charcoal granules (Item 2) in a filter bag within the water pump compartment, and use charcoal pellets (Item 7) in a static submerged basket. The granules grab dissolved discolorations early, while the pellets provide a longer-term odor buffer. Expect to spend $12–$22 and schedule a replacement alert every 3 months.
When This Won’t Work
Charcoal cannot compensate for a drainage layer that is too shallow. If your false bottom height is under 1 cm, even the best charcoal will sit in standing water continuously, losing its structural role and turning anaerobic. In that scenario, stop adding charcoal and instead increase the drainage volume with LECA or egg crate until you have at least 2.5 cm of air space beneath the charcoal.
Using charcoal that carries chemical residues, such as briquettes with binders or fire pit charcoal exposed to accelerants, will damage sensitive terrarium plants. The failure often appears as a sudden tip burn on ferns or moss browning within days of sealing. If you suspect contamination, remove all substrate, wash the vessel thoroughly, and start over with untreated horticultural charcoal only. For builds that integrate water sections, charcoal alone does not replace biological filtration; see aquarium terrarium ideas for systems where a mature cycle is required.
Choosing the Right Option for Your Situation
Budget Threshold
If your total spend must stay under $10, choose the DIY crushed charcoal route (Item 8) and pair it with a reusable mesh barrier. Rinse thoroughly and test pH, because cost savings require extra labor. A $5 bag of pre-washed horticultural charcoal (Item 1) is the safer low-cost bet when time is short.
Time Threshold
If you can spare only a single setup session and no ongoing monitoring, charcoal sand (Item 6) or carbon-infused mesh (Item 9) demand almost zero follow-up. They do not need replacement or rinsing cycles. Activated charcoal (Item 2) and pellets (Item 7), by contrast, commit you to a monthly or quarterly schedule.
Technical Constraint: pH Sensitivity
Acid-loving plants like certain miniature orchids, ferns, and carnivorous species react badly to high-ash charcoal. Under those conditions, avoid lump charcoal unless you have verified its pH is below 7.5. Coconut shell charcoal and standard horticultural charcoal tend to be more pH-neutral out of the bag.
Yes/No Checklist:
Is your false bottom deeper than 2 cm? If no, deepen it before adding charcoal.
Will the charcoal sit submerged in standing water for days? If yes, pick only Branch 3 materials.
Can you rinse the charcoal until water runs clear today? If no, postpone the build.
Are you using store-bought barbecue briquettes? If yes, discard them and get horticultural grade.
Expert Q&A
Can I use charcoal briquettes from a grill?
No. Grill briquettes often contain coal dust, borax, starch binders, and lighter fluid residues. Even “natural” briquettes may include fillers that leach into the terrarium’s closed loop. Only use charcoal sold as horticultural grade or clean lump charcoal from a known hardwood source.
Does charcoal lower terrarium pH?
Quality hardwood charcoal is generally pH-neutral. However, some coconut shell carbon and activated carbon can be slightly alkaline initially, and high-ash lump charcoal can push pH above 8. Always test after a rinse soak. If the rinse water pH spikes, repeat rinses until it stabilizes.
Will charcoal stop mold in a closed terrarium?
Charcoal does not actively kill mold spores. It can reduce odors from anaerobic decay and provide a surface for beneficial microorganisms that outcompete some fungi. In a properly balanced terrarium, springtails are far more effective at mold control than charcoal alone.
Can I reuse charcoal after rebuilding a terrarium?
You can reuse it if the previous terrarium had no disease issues. Rinse the old charcoal thoroughly, then bake it at 200°F (93°C) for 30 minutes to drive off volatile organics. Activated carbon that has been submerged in fouled water for months should be replaced, not reused.
Is charcoal absolutely necessary for succulent terrariums?
Not strictly. A coarse mineral drainage layer of pumice or LECA can do the job. Charcoal adds mild odor control and a dark aesthetic layer, but if your container has excellent air flow and you use a fast-draining mix, you can omit charcoal entirely in an open succulent setup.
Conclusion
The charcoal choice that sticks is the one that matches your moisture environment. A sealed build demands stable, dust-free horticultural charcoal. An open arid scape works with chunky lump charcoal or none at all. The number one mistake is skipping the rinse: even “pre-washed” bags hide fine dust that can cloud your false bottom and suffocate roots.
For a display that thrives with minimal intervention, start with a simple open layout. Visit our air plant terrarium ideas for arrangements where charcoal can be a subtle accent rather than a structural requirement.