
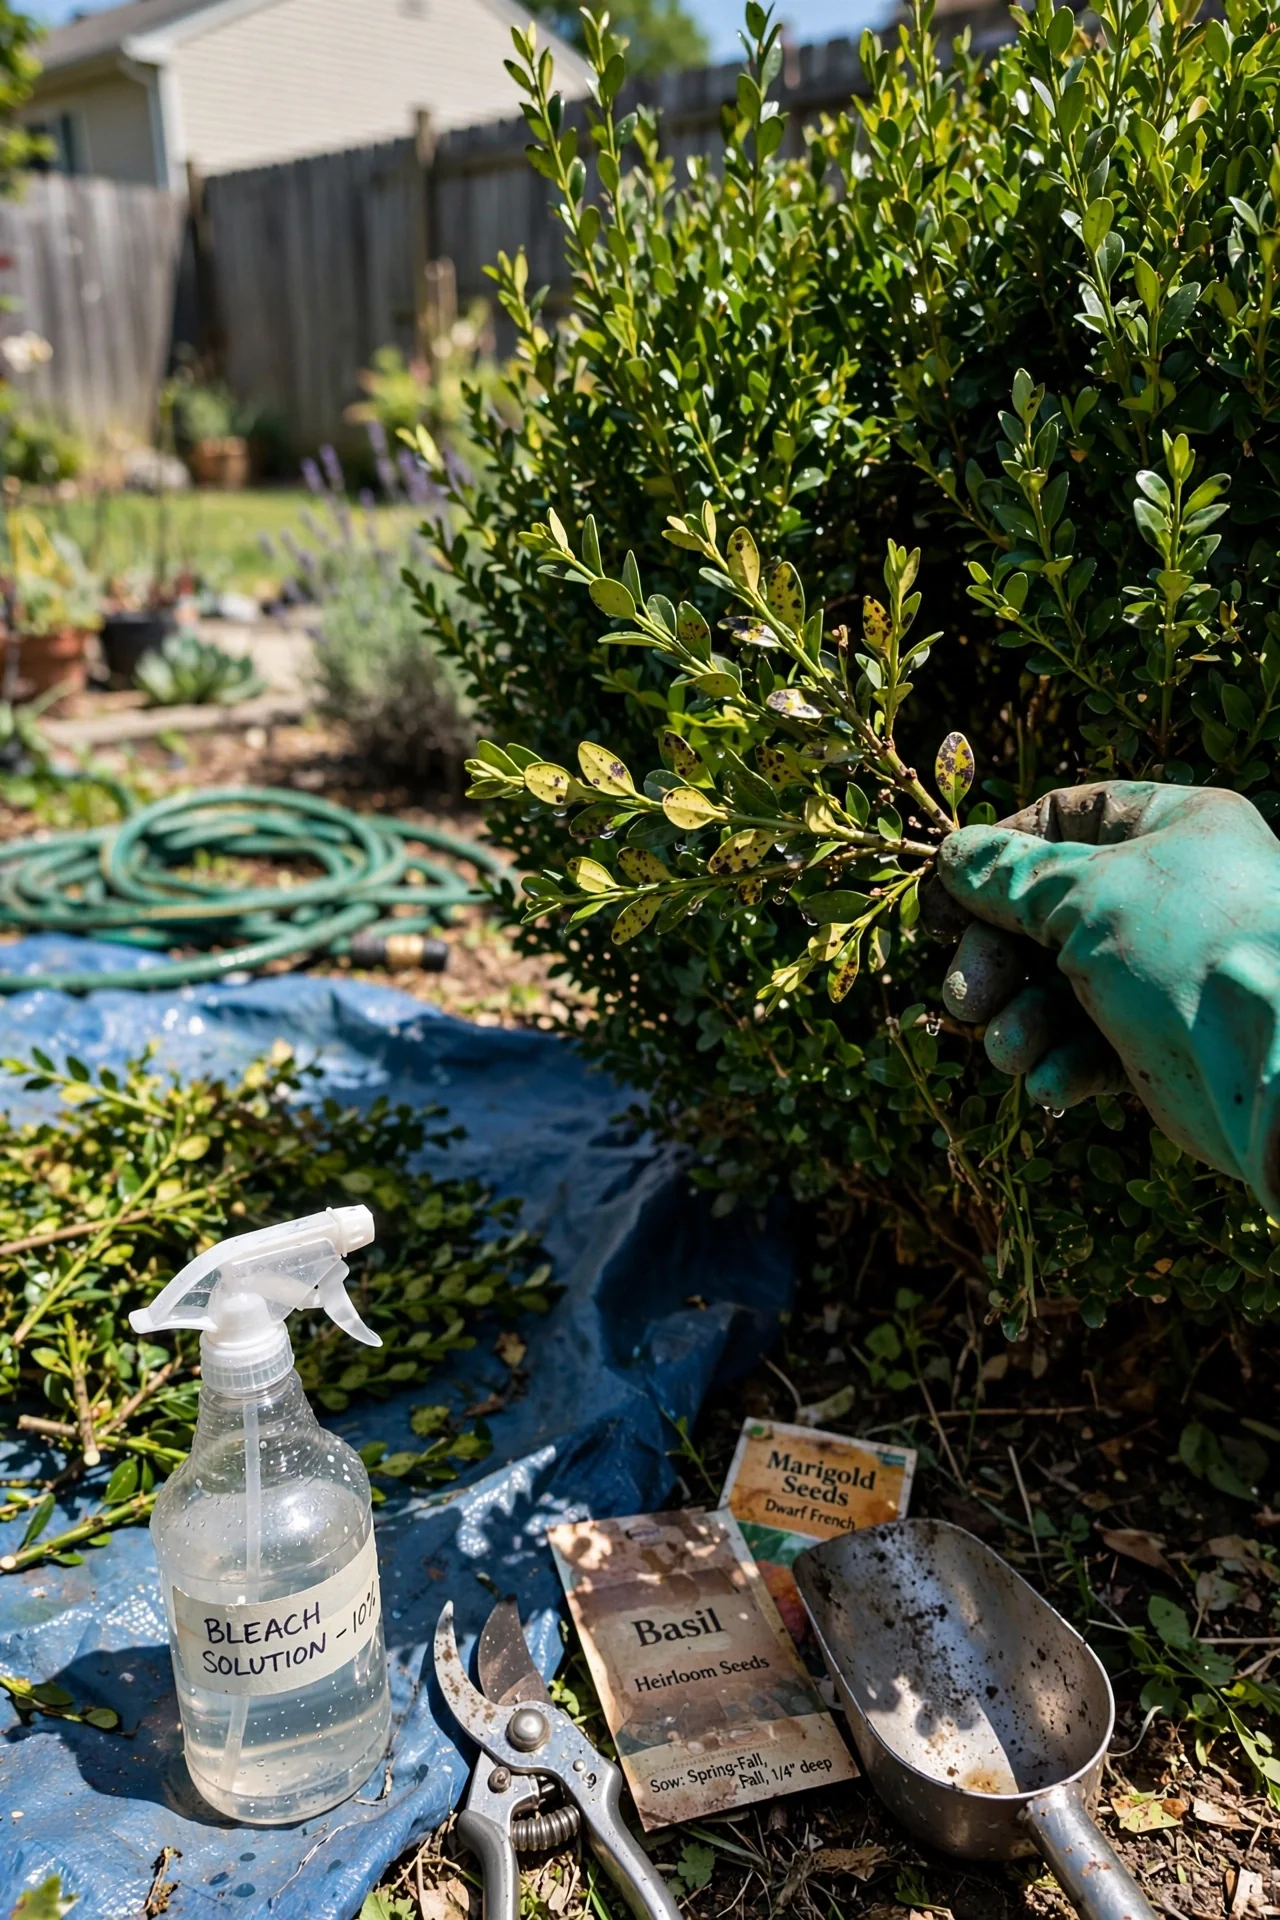
Most boxwood pruning advice treats the task as a shaping exercise. That framing misses the primary reason to make a cut: every pruning wound is either an invitation to pathogens or a deliberate removal of them. Boxwood blight (Calonectria pseudonaviculata), Volutella blight, and Macrophoma leaf spot thrive in dense, stagnant canopies. Pruning that opens the interior, removes suspicious tissue before sporulation, and hardens cuts during the right weather window transforms a routine chore into a plant health intervention.
This guide covers the full decision chain: when to prune based on your climate zone, which cuts prevent disease carryover, how to handle overgrown or blighted specimens, and what tools reduce pathogen spread. It excludes propagation from cuttings and boxwood planting; those are separate topics addressed elsewhere on The Yield Grid.
By the end, you will be able to look at any boxwood and immediately classify it into one of three actionable states: healthy and manageable, overgrown but salvageable, or actively diseased. You will also know exactly which pruning mode to apply and when to walk away and wait.
Bottom line: If you remove only one thing from your boxwood this season, make it the interior branches that block light and trap humidity.
The Yield Grid Decision Grid
Before you pick up a tool, run your boxwood through this three-branch sorting system. The branch you land on determines everything that follows: timing, tool sanitation protocol, and how aggressive you can be.
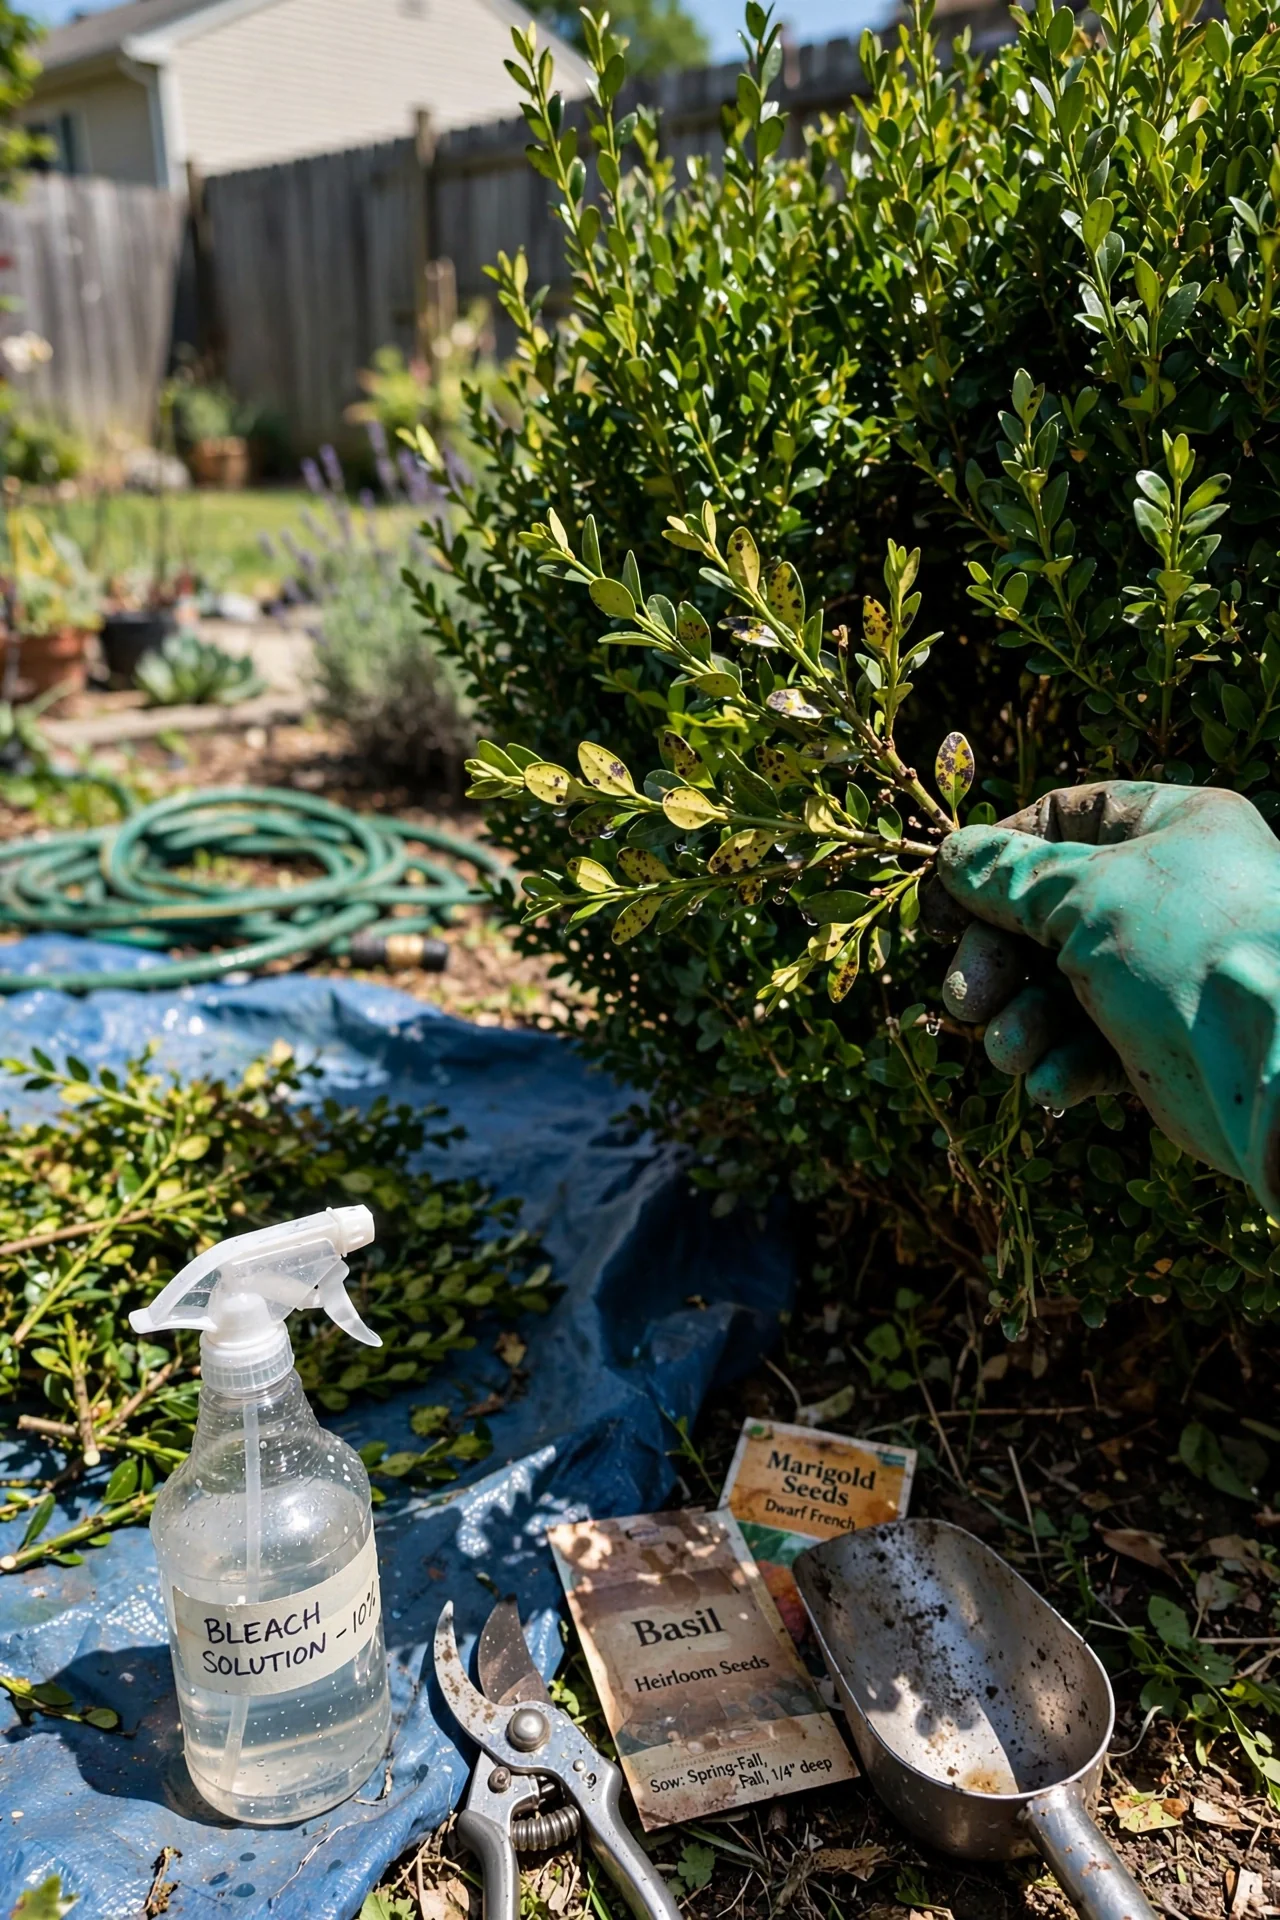
Branch 1: Disease-visible pruning. You see leaf spots with dark borders, stem cankers, or sections of dieback. The shrub needs immediate sanitary pruning regardless of the calendar. Cut 4 to 6 inches below any visible lesion and sterilize tools between cuts with a 10% bleach solution or 70% isopropyl alcohol. Recommended: Items 2, 5, 9 below.
Branch 2: Structural thinning (healthy, overgrown). The shrub is green and vigorous but dense to the point where you cannot see through the canopy. The goal is not size reduction but opening interior channels for air and light. This is done only during the spring growth flush window. Recommended: Items 1, 4, 7 below.
Branch 3: Maintenance shaping. The boxwood is already well-structured and you are maintaining a formal hedge, globe, or topiary form. Light shearing is acceptable here, but only if thinning has already been addressed. Recommended: Items 3, 6, 10 below. For more on shaping evergreens into defined forms, see our guide on topiary pruning techniques.
Quick Comparison Table
| Option | Key Mechanism | Best For | Decision Grid Branch | Effort Score (1–5) |
|---|---|---|---|---|
| 1. Early Spring Thinning | Removing entire interior stems at origin | Dense, healthy shrubs needing air and light | Branch 2 | 2 |
| 2. Disease Removal Pruning | Cutting below lesions, tool sterilization | Shrubs with active leaf spot or cankers | Branch 1 | 4 |
| 3. Shearing for Formal Hedges | Uniform tip removal with hedge shears | Established formal hedges with open interiors | Branch 3 | 3 |
| 4. Rejuvenation Pruning | Staged reduction of overgrown wood over 2–3 years | Leggy, oversized shrubs still healthy | Branch 2 | 3 |
| 5. Deadwooding | Removing entirely dead or dying stems to base | All boxwoods, any season | Branch 1 | 1 |
| 6. Mid-Summer Touch-Up | Light trimming of errant shoots after hardening | Shaped shrubs needing minor correction | Branch 3 | 2 |
| 7. Winter Structure Pruning | Dormant-season visibility for major cuts | Overgrown shrubs in zones 6–8 where winter damage is minimal | Branch 2 | 2 |
| 8. Tool Sanitation Protocol | Disinfectant rotation to kill fungal spores | Any pruning session where disease is present or suspected | Branch 1 | 4 |
| 9. Post-Pruning Aftercare | Watering, mulching, and monitoring for 30 days | Shrubs after heavy pruning or disease cuts | Branch 1 | 2 |
| 10. Topiary Maintenance Pruning | Frequent light shearing within a defined shape template | Formal topiary that receives annual thinning | Branch 3 | 3 |
1. Early Spring Thinning
Best for: Branch 2 (Structural thinning)
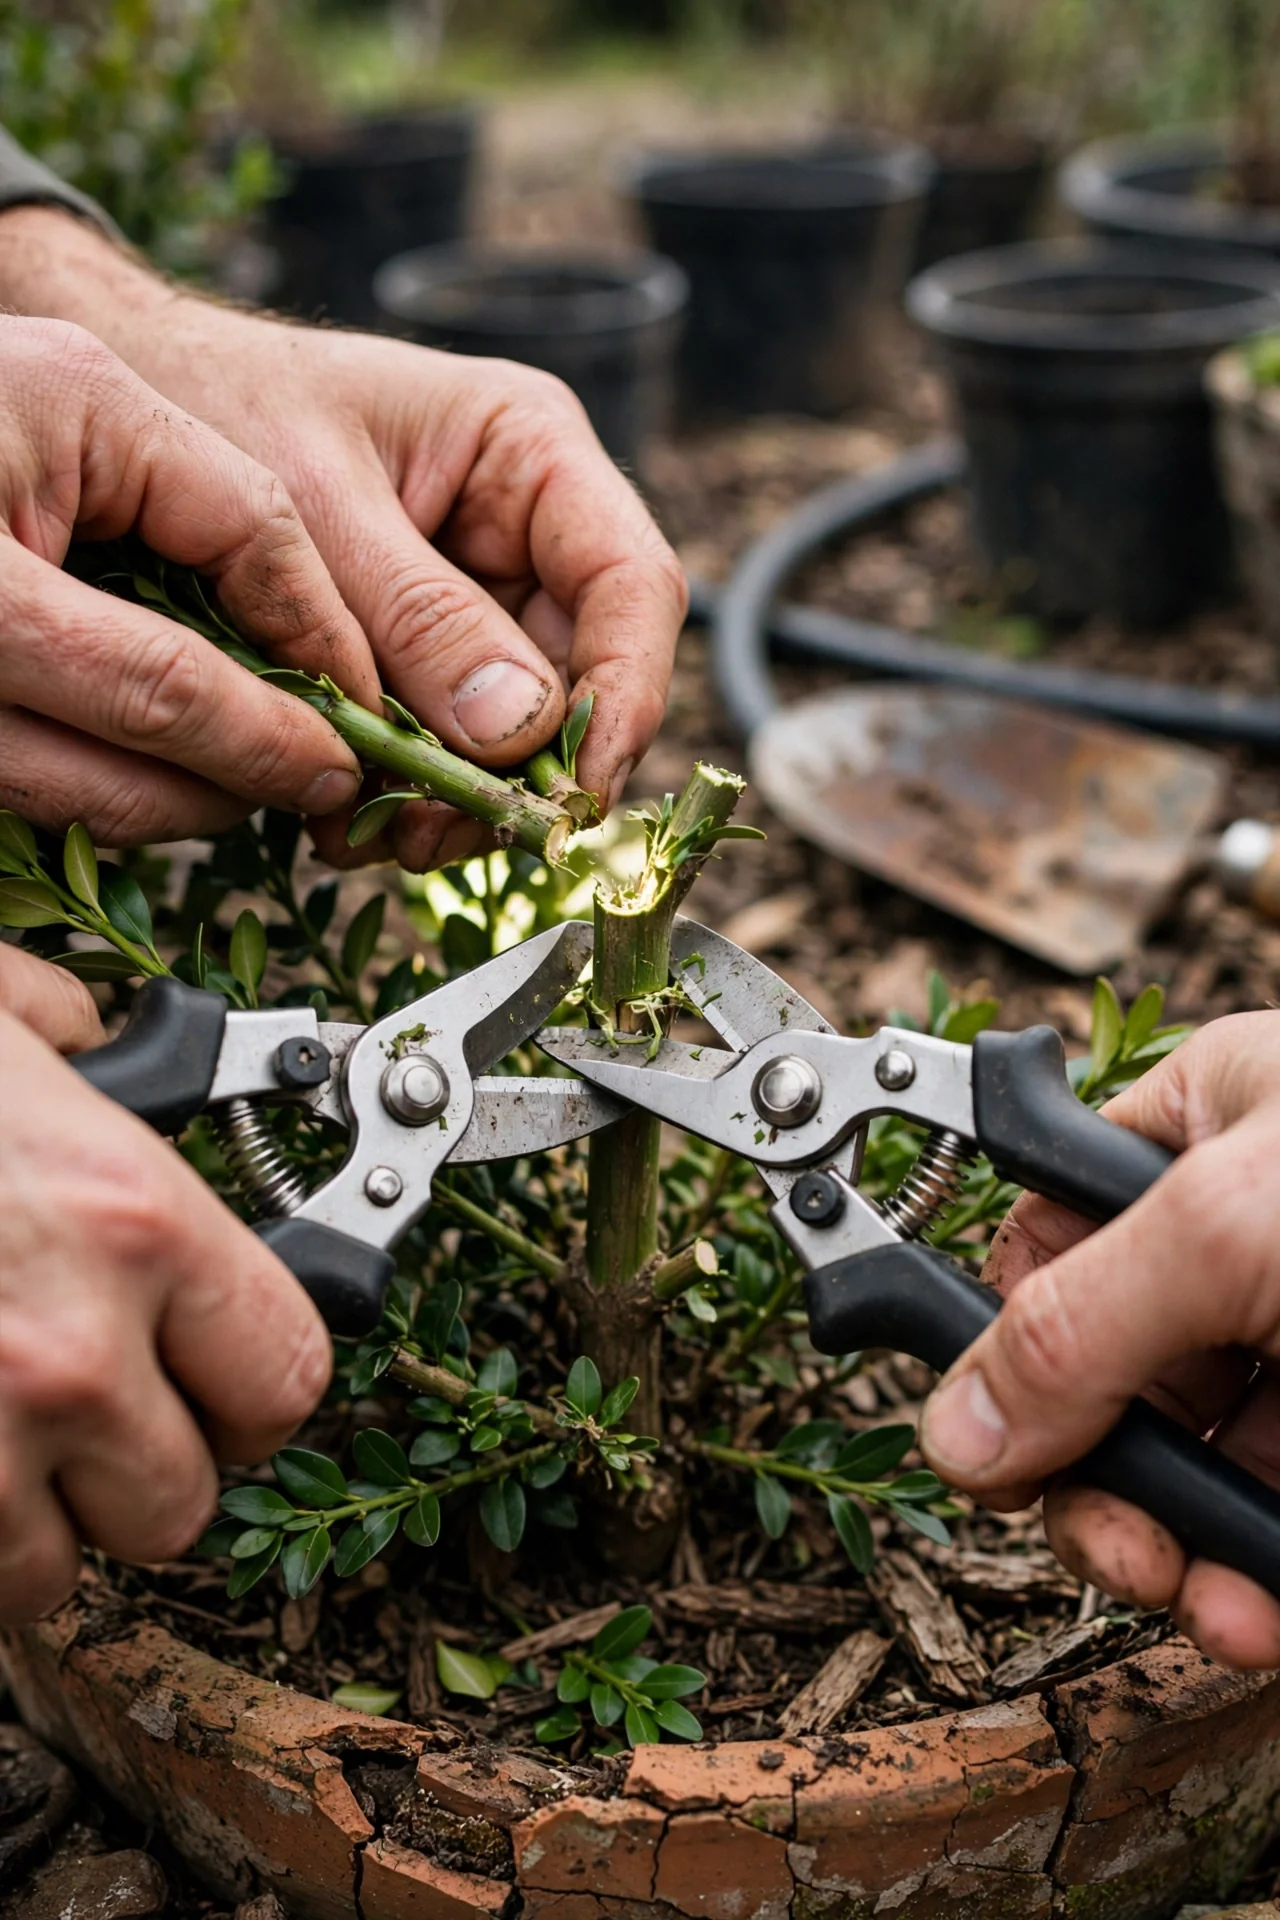
What it is: Thinning means removing entire branches at their point of origin deep inside the shrub, not clipping tips. This is the single highest-impact action for boxwood health because it permanently reduces interior humidity, the primary driver of fungal infection.
When to do it: The window opens when new growth reaches 2 to 3 inches in length and has begun to harden slightly, typically April in USDA zone 7, May in zone 5. Do not thin during August through October; tender regrowth triggered late in the season will not lignify before frost and becomes a winter-kill entry point for canker fungi.
How to do it: Reach into the canopy with bypass pruners and remove roughly one out of every four interior stems, selecting the oldest, woodiest branches first. Always cut back to a lateral branch or the main trunk; never leave stubs. After thinning, you should be able to see dappled light reaching the center of the shrub.
Common mistake: Confusing thinning with shearing. Shearing creates a dense outer shell while leaving the interior dark and humid, which is exactly the condition boxwood blight exploits. For more on keeping your cutting tools in optimal condition for clean cuts, see our guide on sharpening pruners properly.
2. Disease Removal Pruning
Best for: Branch 1 (Disease-visible pruning)
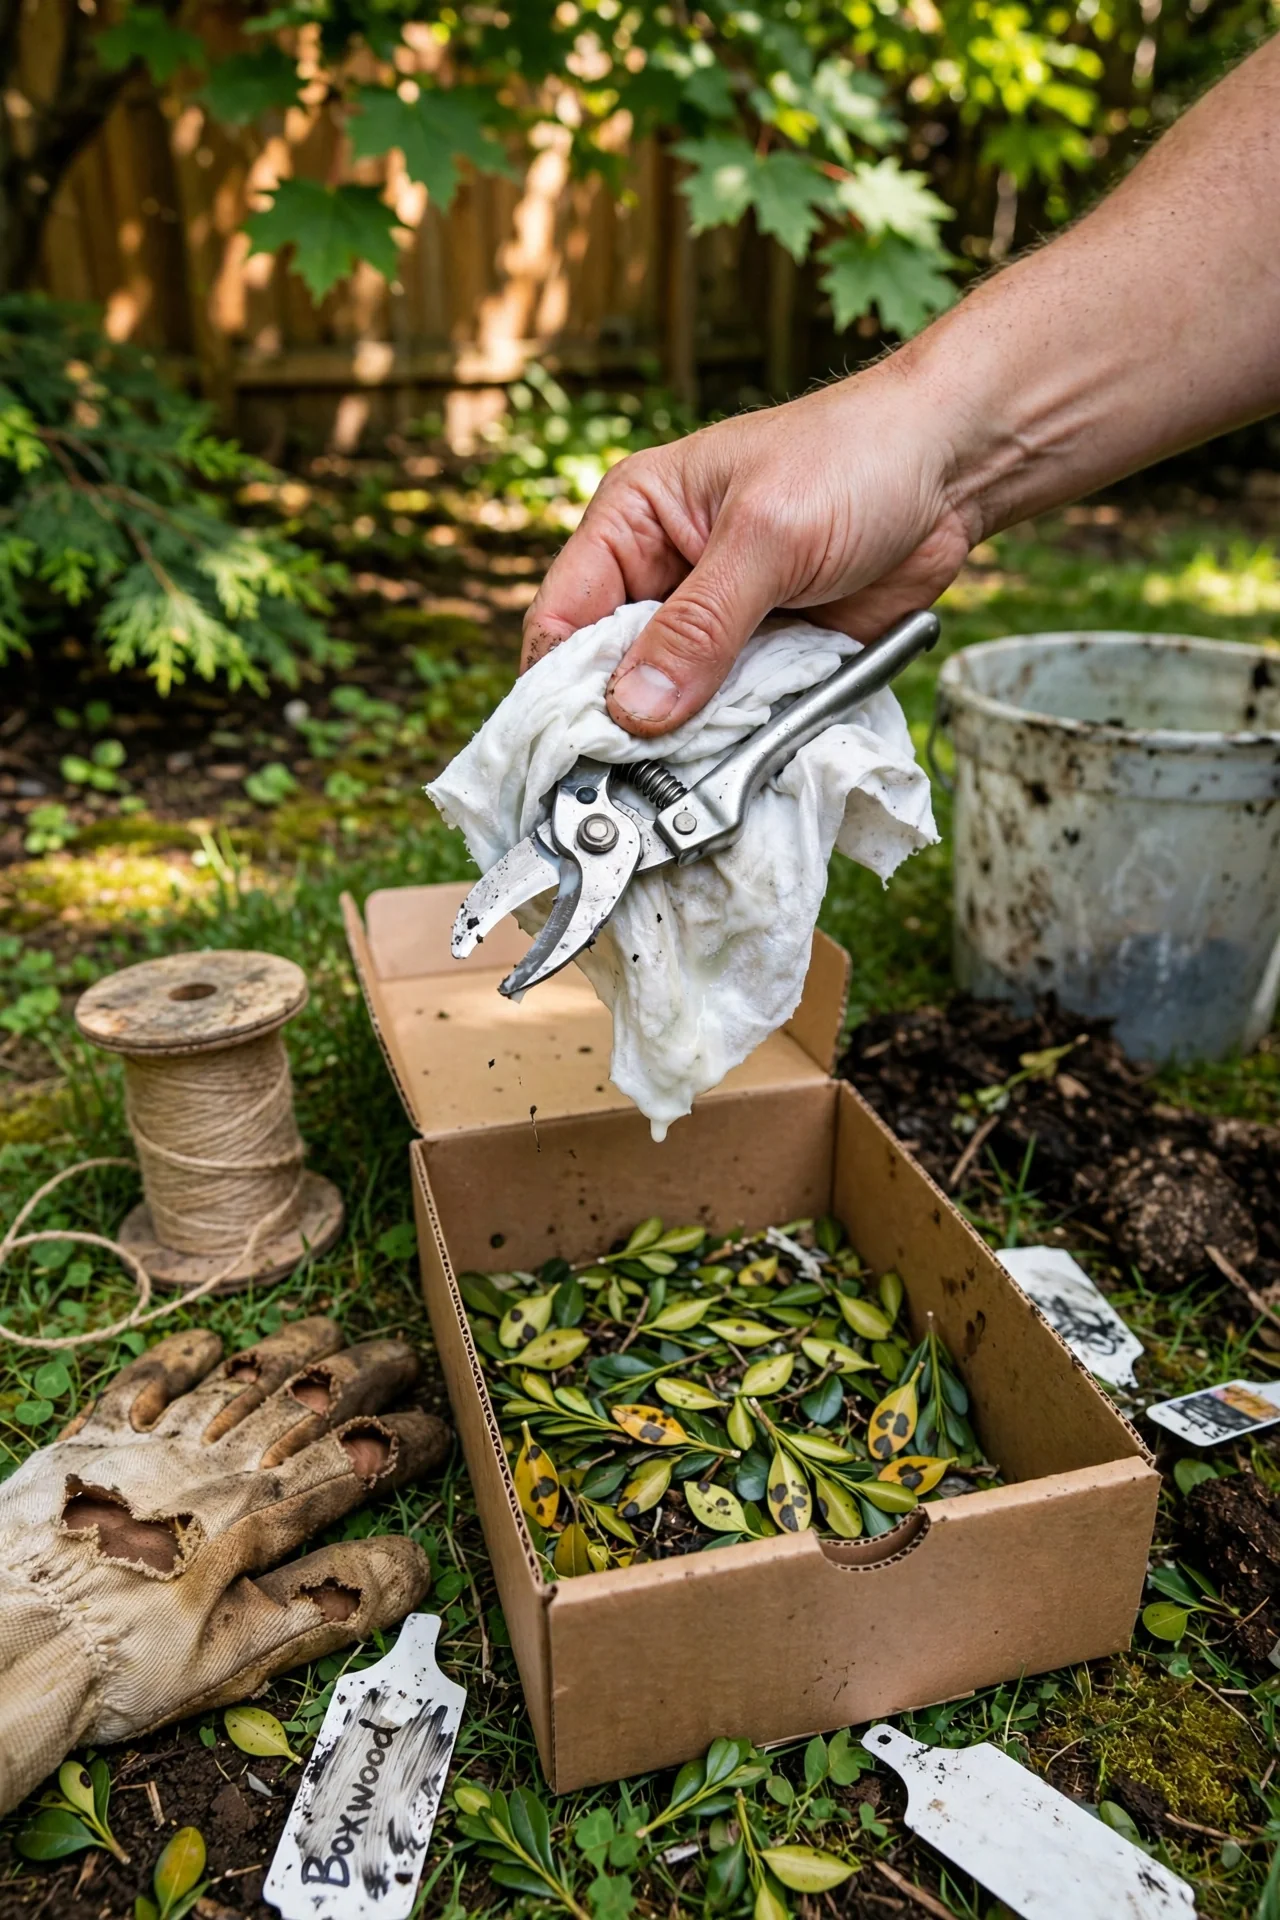
This is not optional. When you see leaf spots with dark margins or stem cankers, prune immediately, regardless of season. Cut 4 to 6 inches below any visible symptom. Bag and dispose of clippings; do not compost them. Sterilize blades between every cut using a 10% household bleach solution (1 part bleach to 9 parts water) or 70% isopropyl alcohol. Bleach solutions degrade after 24 hours, so mix fresh each session. Failure to sterilize between cuts is the most common way Volutella blight spreads across an entire hedge in a single pruning day.
3. Shearing for Formal Hedges
Best for: Branch 3 (Maintenance shaping)
Use it when: Your boxwood hedge already has an open interior from prior thinning and you are maintaining a crisp, formal edge. Shearing is a finishing step, not a primary pruning method.
Skip it when: The interior is congested. Shearing without thinning first creates the classic “hollow shell” that collapses under snow load or succumbs to blight. If you cannot see into the shrub, thin first.
Technique: Always shear so the base is slightly wider than the top. This batter (roughly 2 to 3 inches of taper per foot of height) ensures lower branches receive enough light to retain foliage. Flat or inverted sides guarantee bare lower stems within two seasons. For guidance on pruning other flowering evergreens that share similar structural principles, read our article on how to prune rhododendron.
4. Rejuvenation Pruning
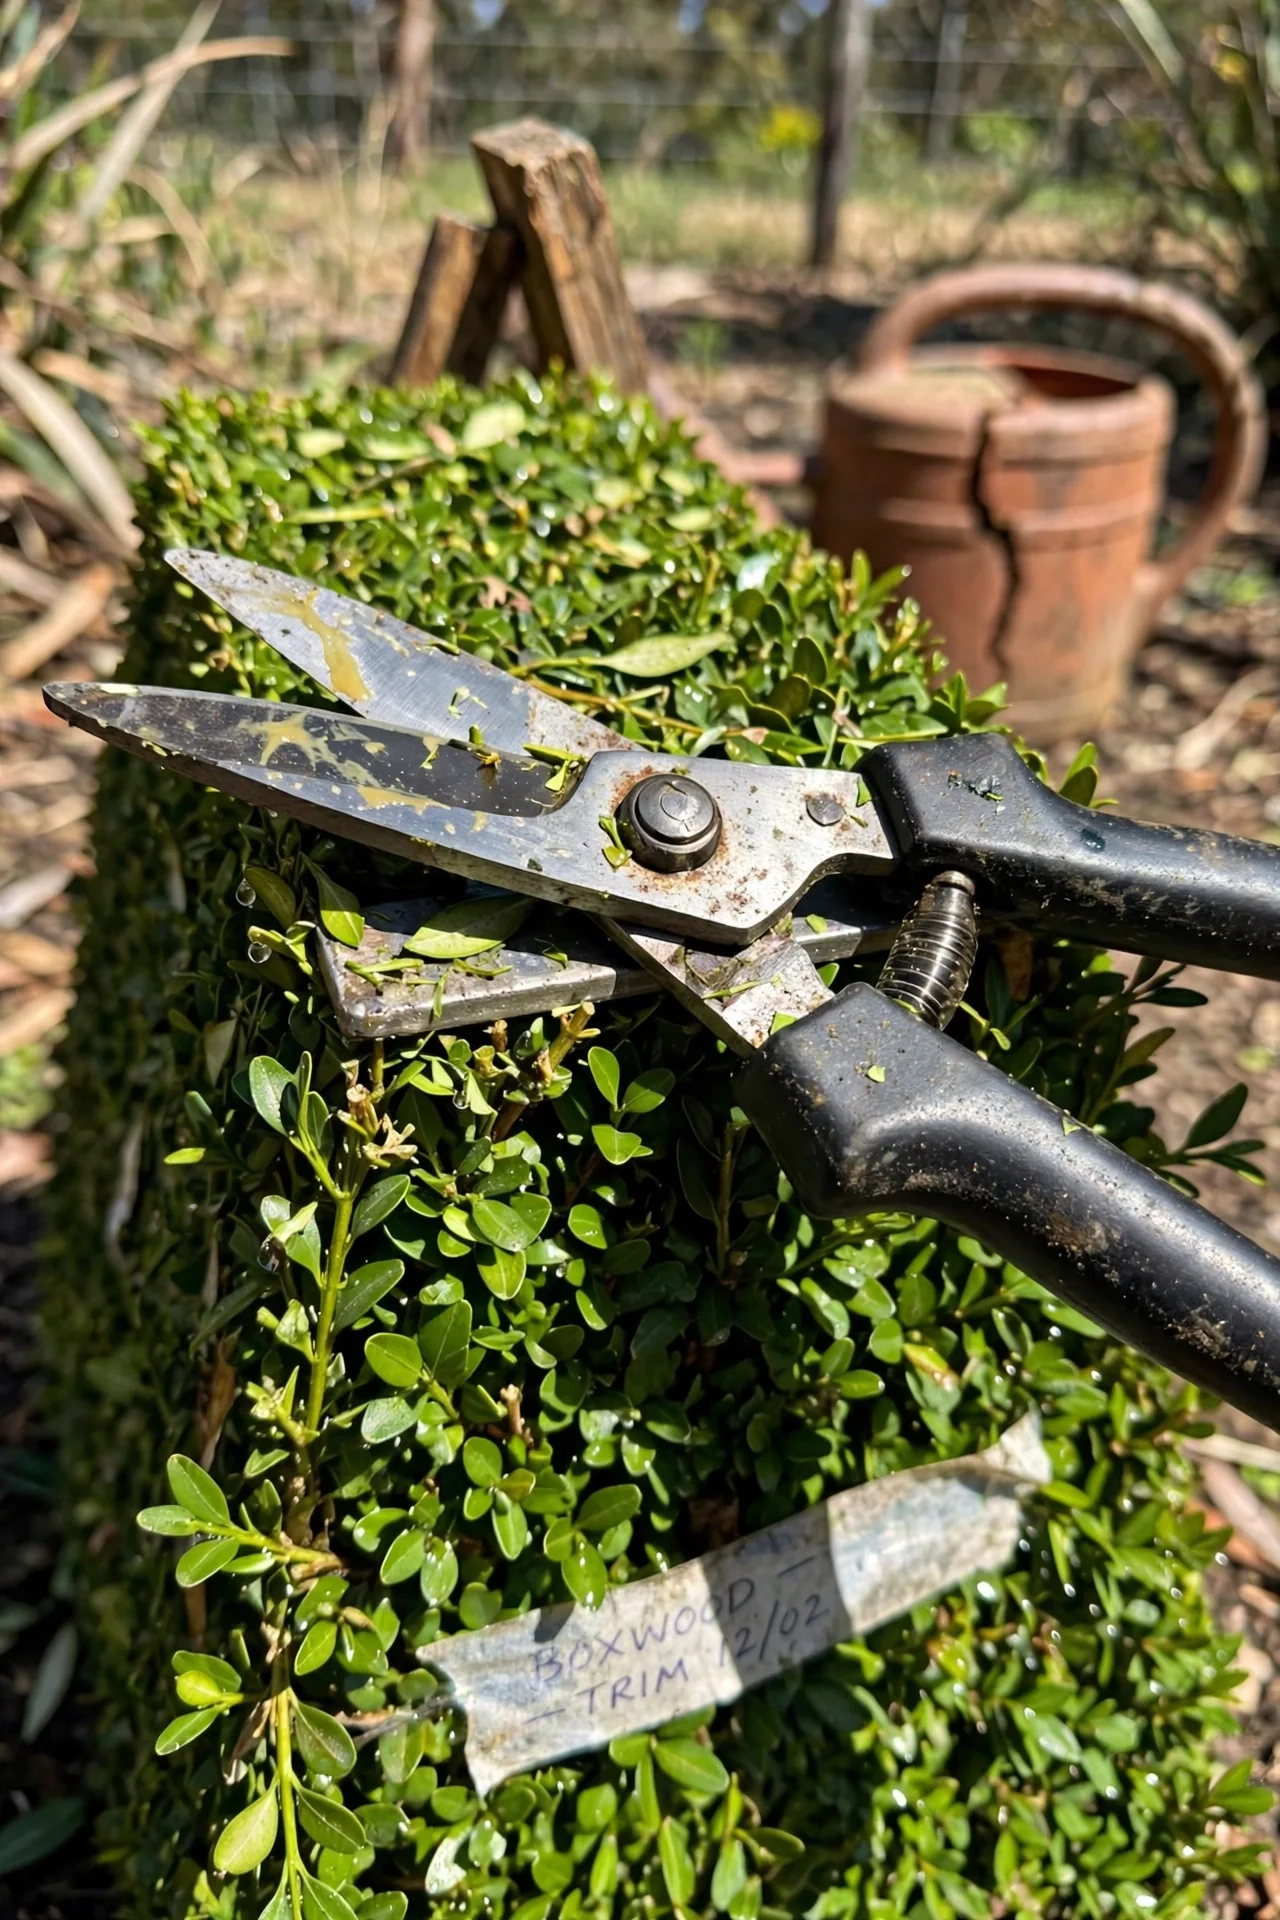
Best for: Branch 2 (Structural thinning)
What it is: A multi-year strategy to bring a leggy, oversized boxwood back to a manageable size without killing it. Boxwoods do not reliably regenerate from bare wood the way many deciduous shrubs do, so you cannot cut them to the ground and expect uniform regrowth.
Year 1: In early spring, remove no more than one-third of the oldest stems, cutting them back to 6 to 12 inches above ground level. Select stems that are thick, bark-covered, and have sparse foliage. Leave at least two-thirds of the canopy intact to fuel recovery.
Year 2: Assess regrowth. New shoots should have emerged from the stubs. If they have, remove another one-third of the remaining old wood. If regrowth is sparse, wait an additional season before cutting again.
Edge case: Boxwoods planted in deep shade may not regenerate at all after hard cuts. If your shrub receives fewer than 4 hours of direct sun daily, do not attempt rejuvenation; relocate the plant or accept its size. Shrubs that flower on old wood and require similar staged renewal are covered in our piece on pruning lilacs.
5. Deadwooding
Best for: Branch 1 (Disease-visible pruning)
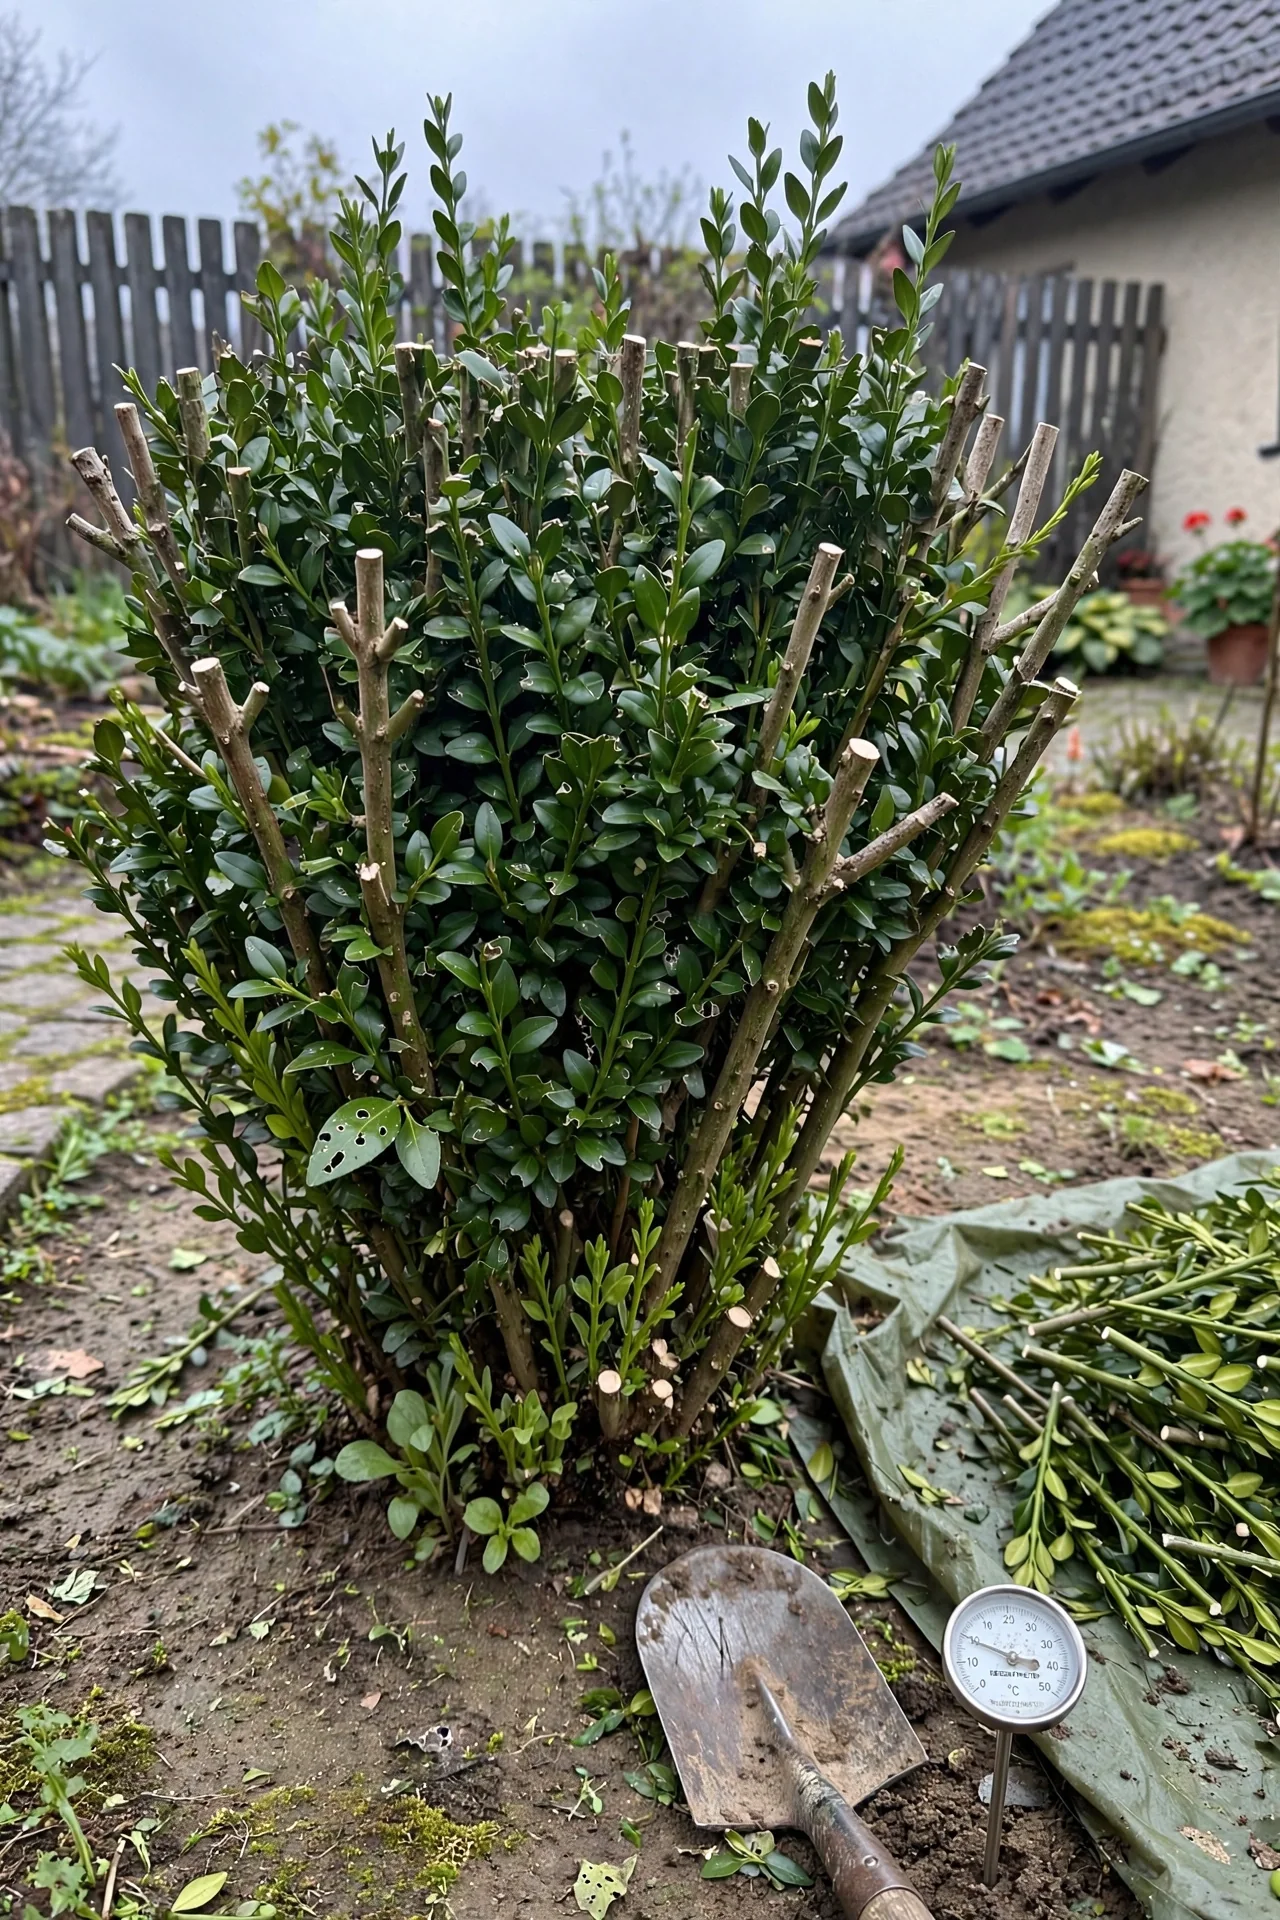
Deadwood removal is the only pruning safe to perform any month of the year. Cut dead stems back to the base or to the first live lateral branch. Dead branches feel brittle, snap cleanly when bent, and show tan or gray bark. Live wood is pliable and green under the bark. Removing dead material eliminates sporulation sites for Macrophoma leaf spot and prevents bark beetles from establishing. This task takes under 10 minutes for most residential shrubs and requires only bypass pruners and a tarp.
6. Mid-Summer Touch-Up
Best for: Branch 3 (Maintenance shaping)
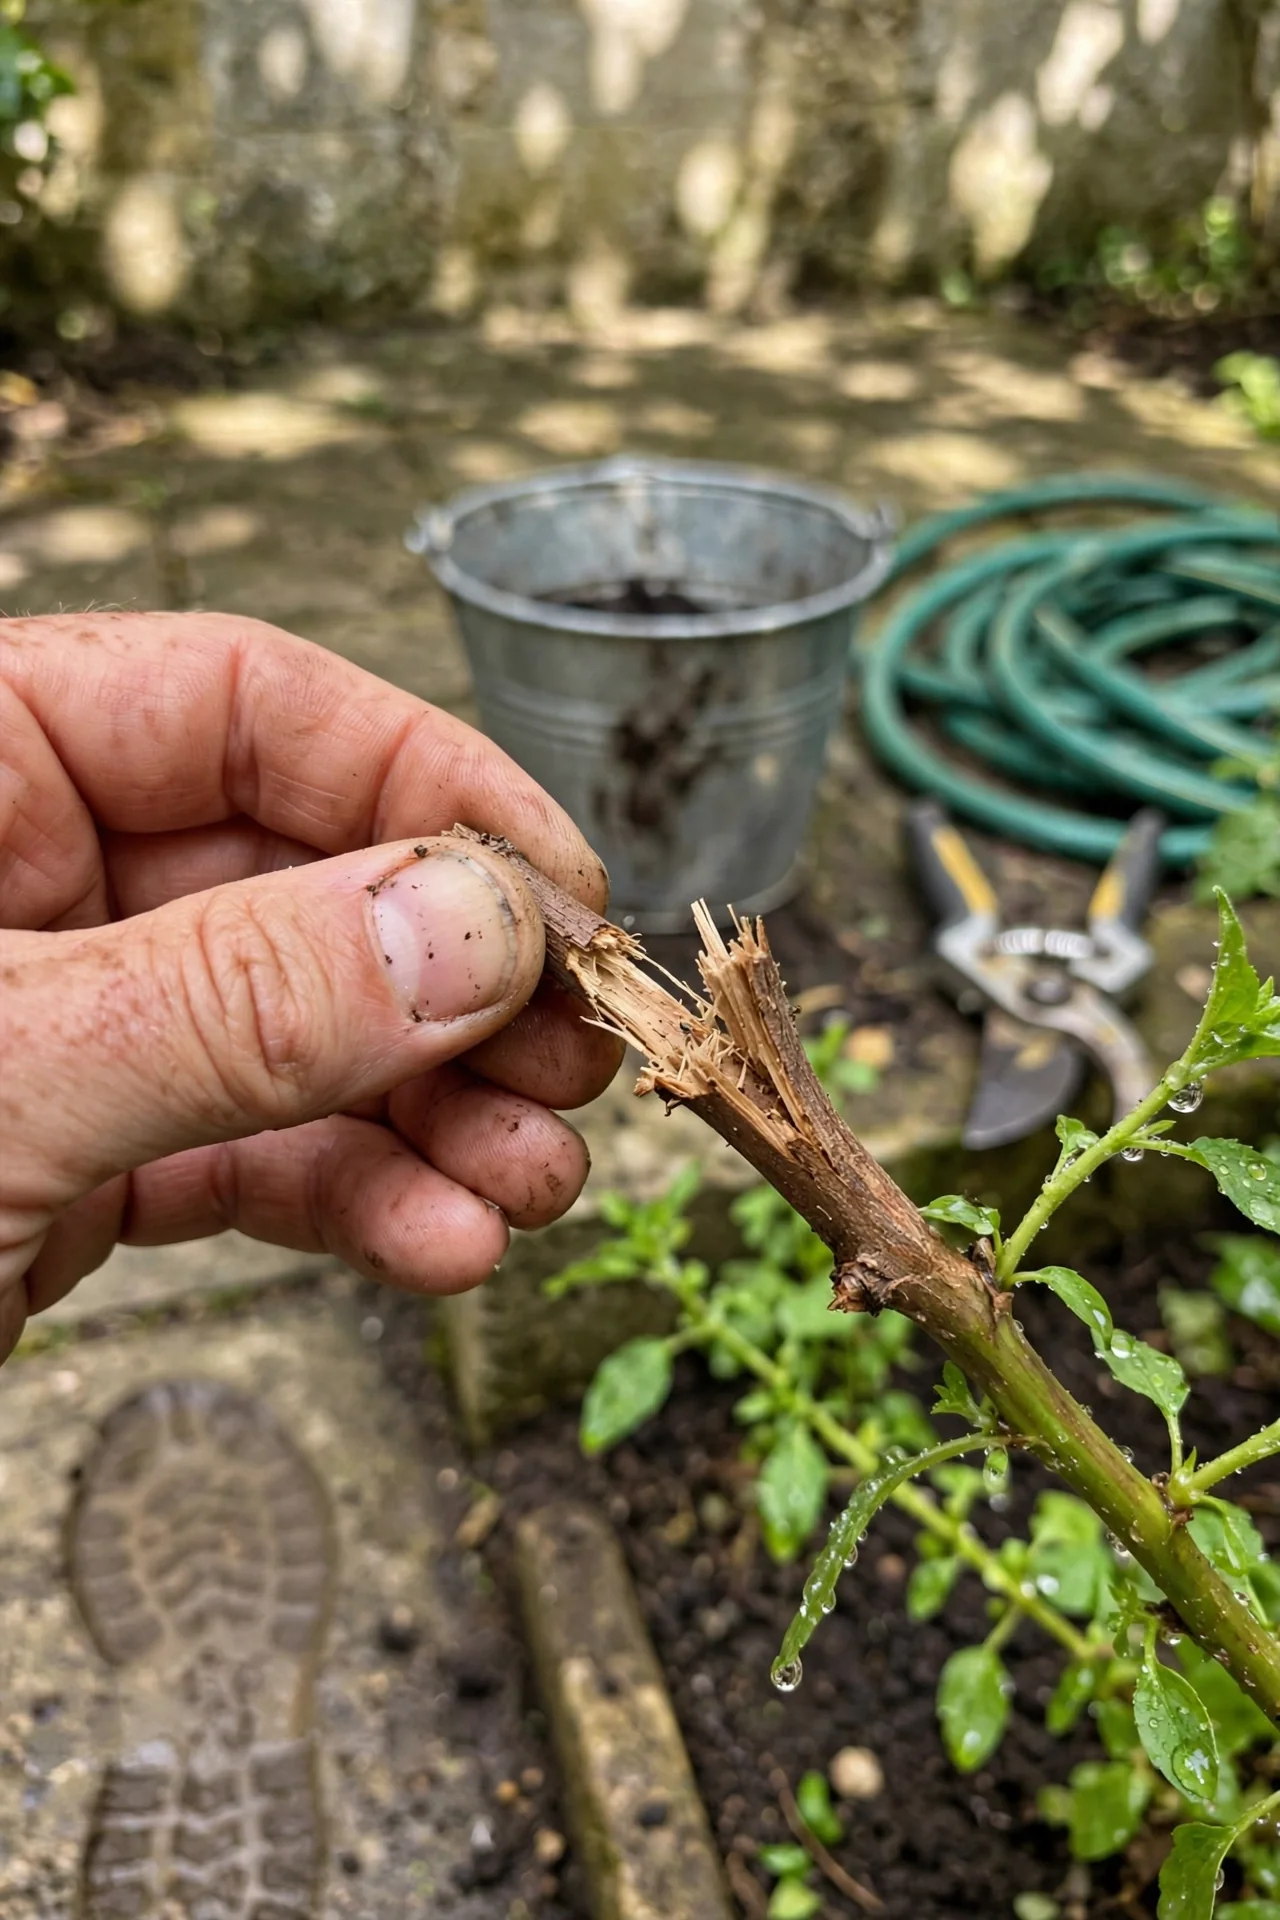
Threshold rule: Touch-up pruning is safe only after the spring growth flush has fully hardened, which you can test by bending a new shoot. If it snaps rather than folds, the tissue is lignified and ready. This typically occurs 4 to 6 weeks after the initial growth surge, around late June to mid-July in most temperate regions.
Adjustment: In zones 7 and warmer, a second light flush may appear in late summer. If daytime temperatures exceed 85°F (29°C) consistently, postpone any cutting until temperatures drop, as pruning during heat stress opens wounds that seal slowly and attract fungal pathogens. For insight into shaping other evergreens with similar heat sensitivity, see how to prune azaleas.
7. Winter Structure Pruning
Best for: Branch 2 (Structural thinning)
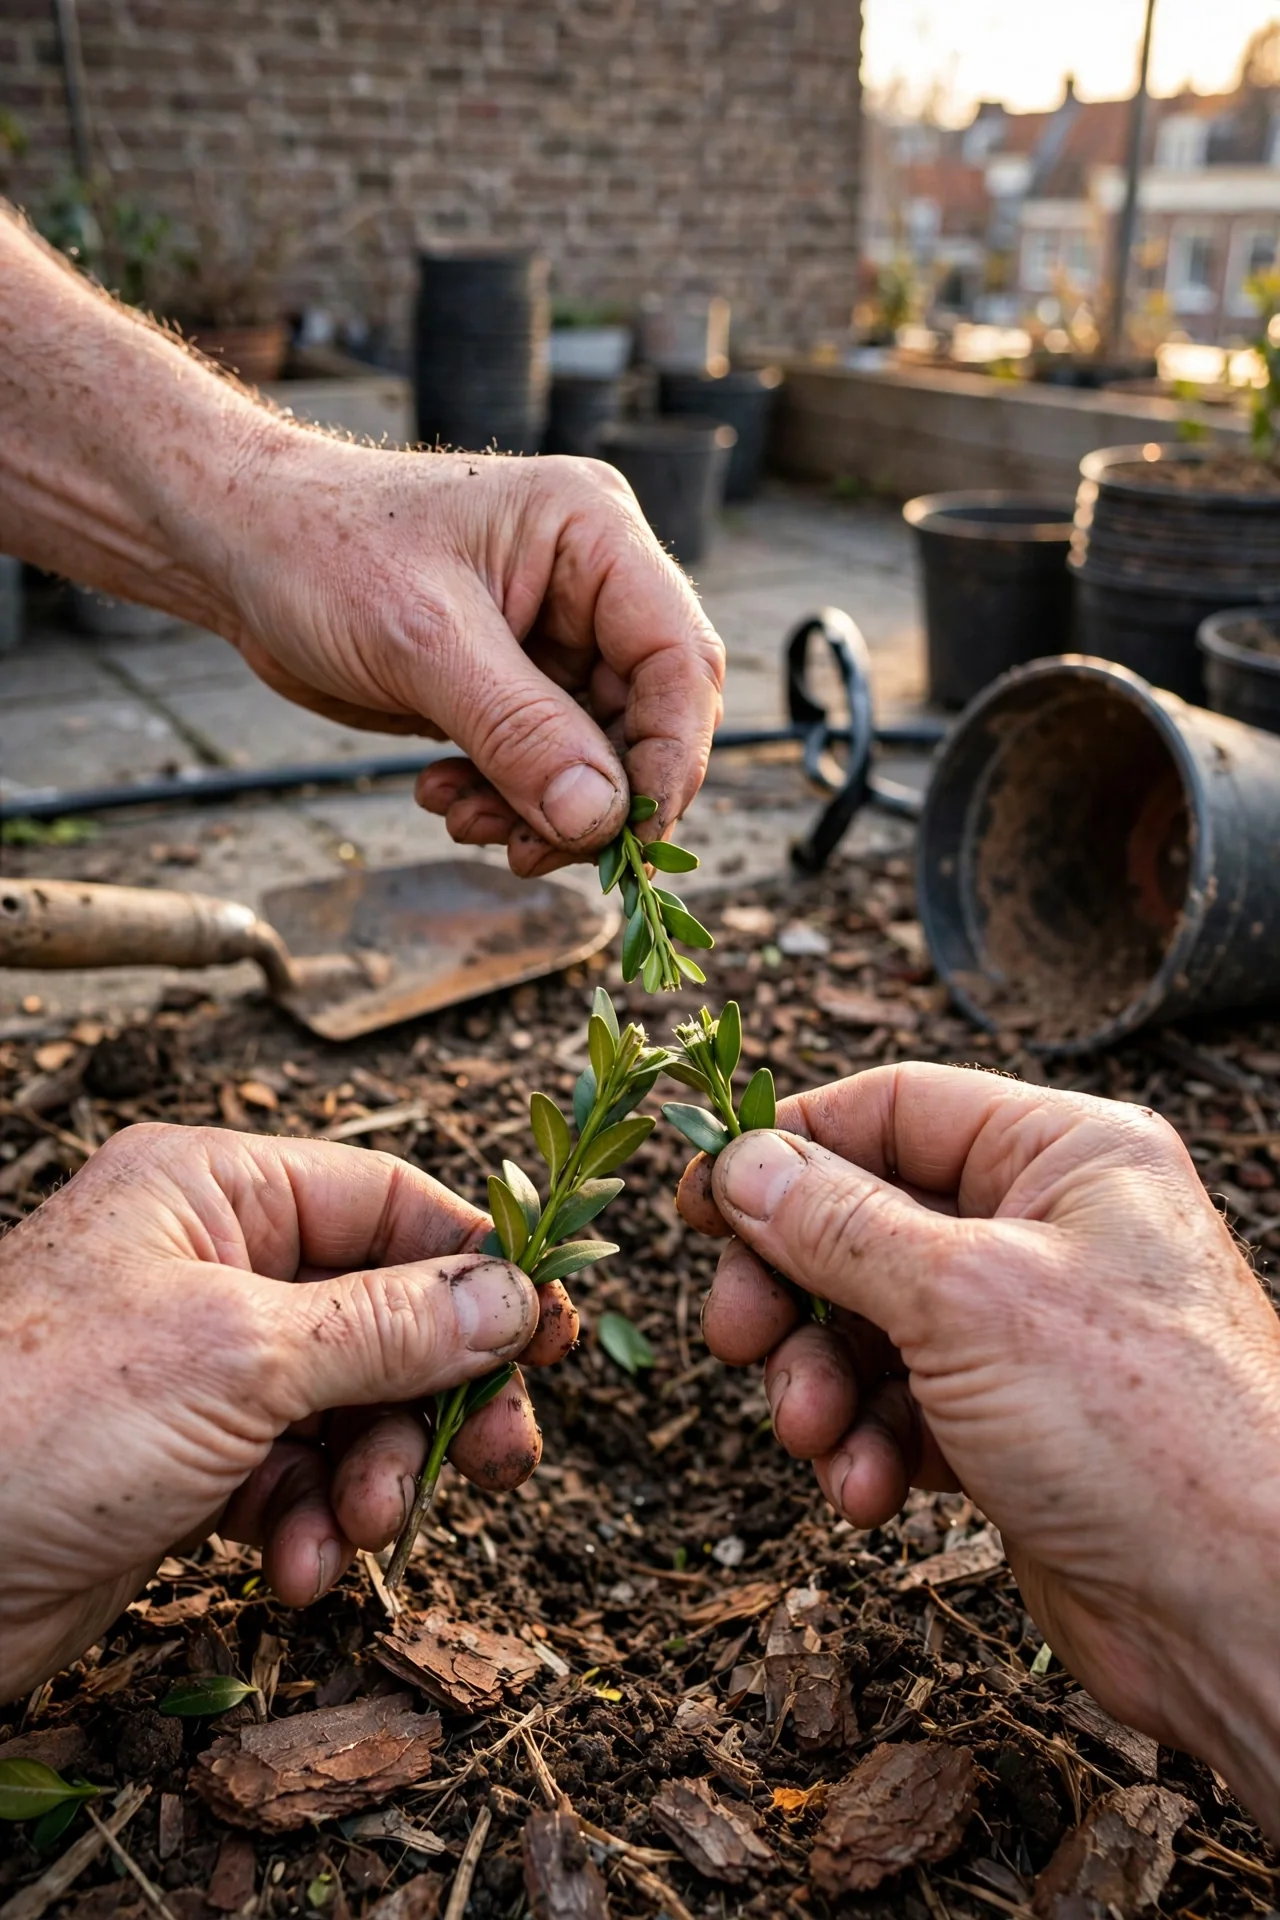
What it is: Using the dormant season’s bare-visibility advantage to make major structural cuts on overgrown boxwoods. Without foliage, you can clearly see crossing branches, dead interior wood, and the overall framework.
Constraint: This method is only advisable in USDA zones 6 through 8 where winter temperatures rarely drop below 0°F (-18°C). In zones 4 and 5, winter pruning exposes cut surfaces to desiccating winds and freeze damage that can kill cambium tissue back several inches beyond the cut. If you garden in zone 5 or colder, confine structural pruning to early spring just before bud break.
Workflow: On a dry day above freezing, remove dead and crossing branches first. Then reduce height by cutting leaders back to a lateral branch, never leaving a stub. Do not remove more than one-quarter of the total canopy in a single winter session. For another shrub that benefits from winter structural attention, read our guide on pruning forsythia.
8. Tool Sanitation Protocol
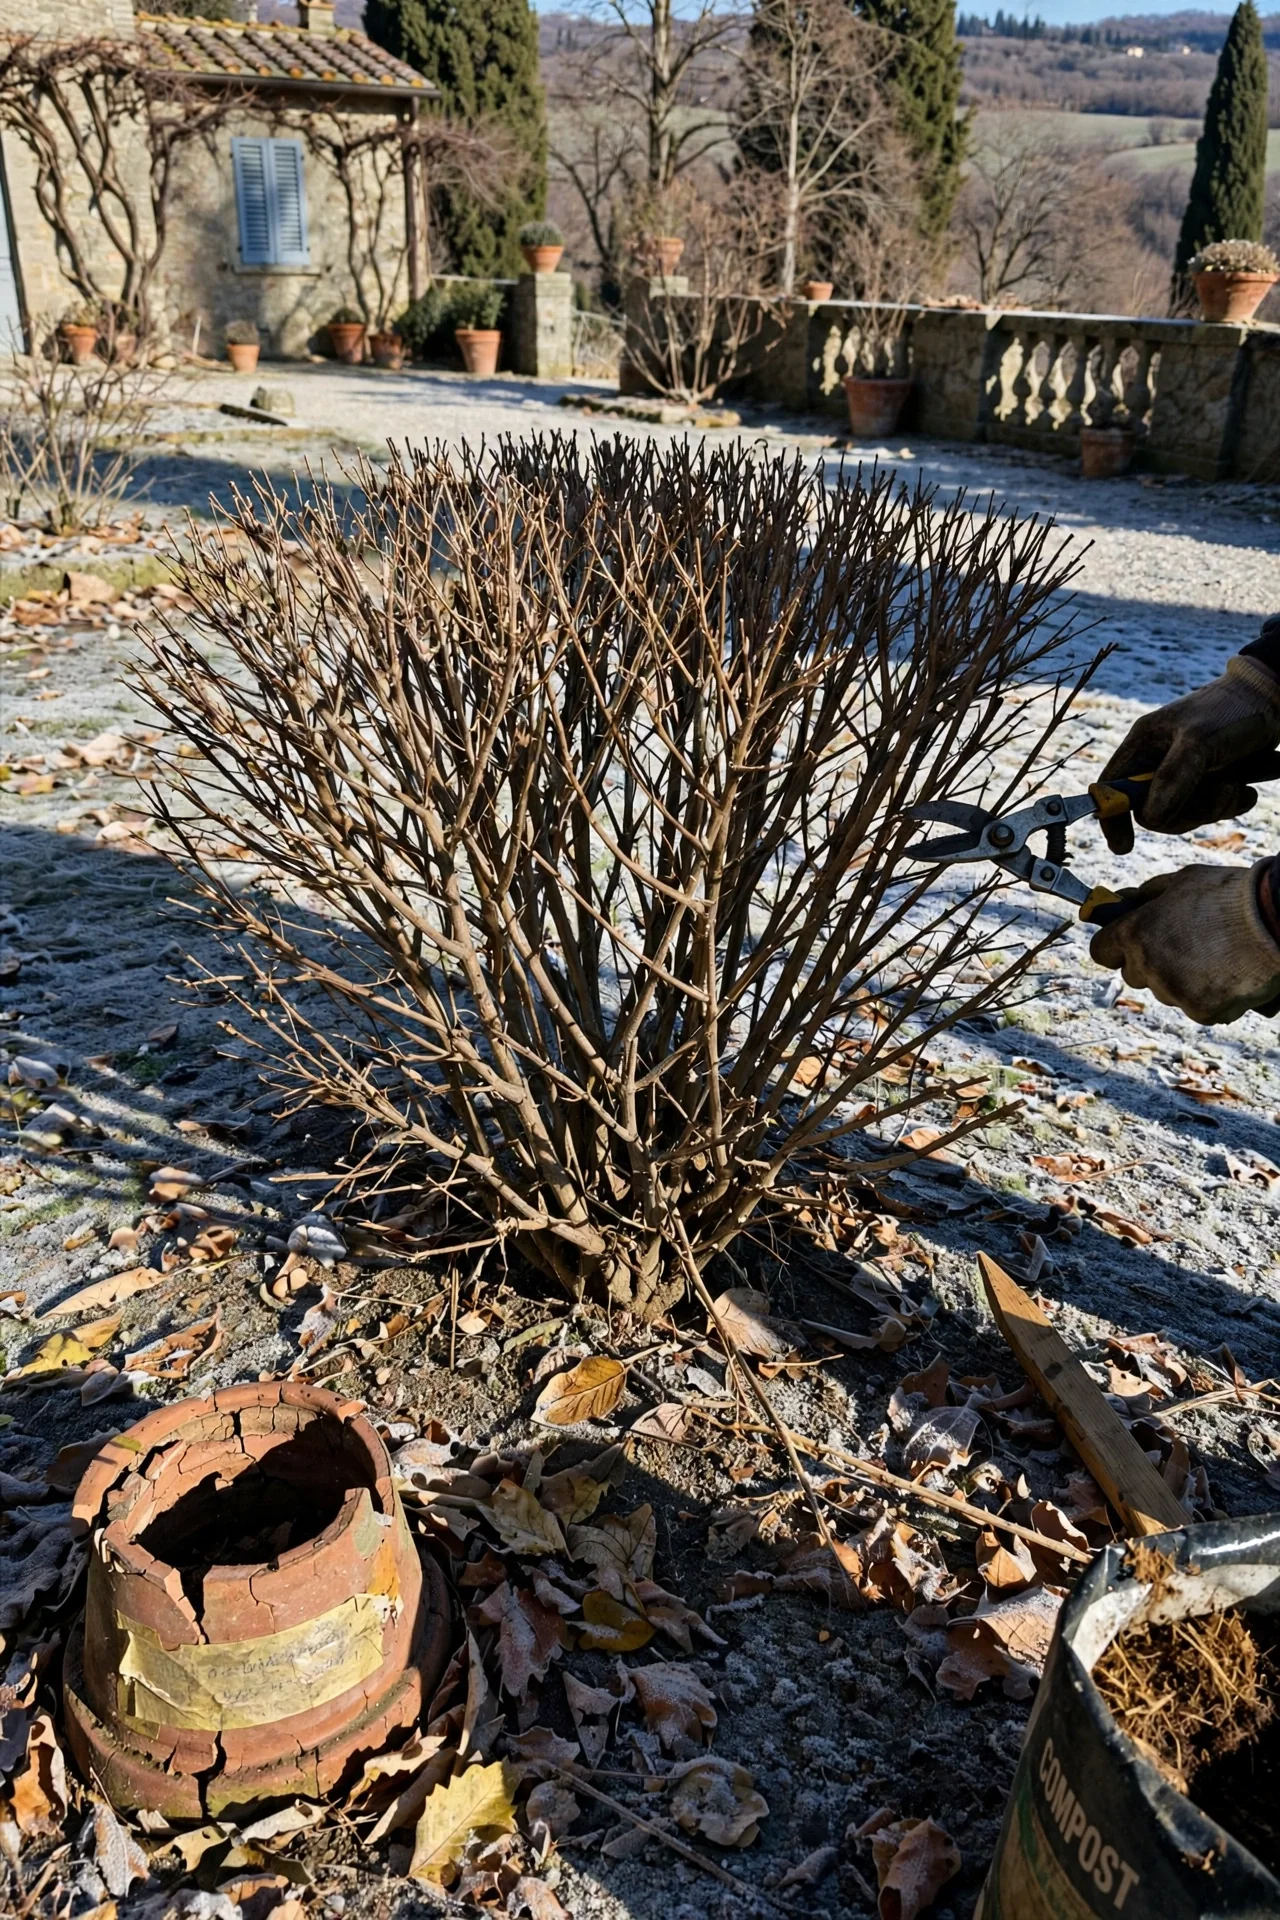
Best for: Branch 1 (Disease-visible pruning)
Dirty tools are the primary vector for boxwood blight within a property. Between shrubs, dip blades in a 10% bleach solution or wipe with 70% isopropyl alcohol. Bleach corrodes metal over time; rinse and oil blades after the session. If you are pruning multiple boxwoods and any show disease symptoms, prune the healthy plants first, then the diseased ones last. For a deeper dive into tool maintenance that extends blade life and cut quality, see topiary tool selection and care.
9. Post-Pruning Aftercare

Best for: Branch 1 (Disease-visible pruning)
Threshold rule: After any pruning session that removes more than 10% of the canopy, water the shrub deeply (1 inch of water, measured by placing a tuna can under the drip line) to reduce transplant-style shock. Apply a 2-inch layer of organic mulch starting 3 inches away from the trunk to moderate soil temperature and retain moisture.
Monitoring window: Inspect the shrub every 5 to 7 days for 4 weeks post-pruning. Look for oozing from cuts, new leaf spots, or wilting shoots. If any appear, revert to the disease removal protocol (Item 2) immediately. Do not fertilize for 30 days after pruning; nitrogen stimulates tender growth that is highly susceptible to fungal infection during the recovery period.
10. Topiary Maintenance Pruning
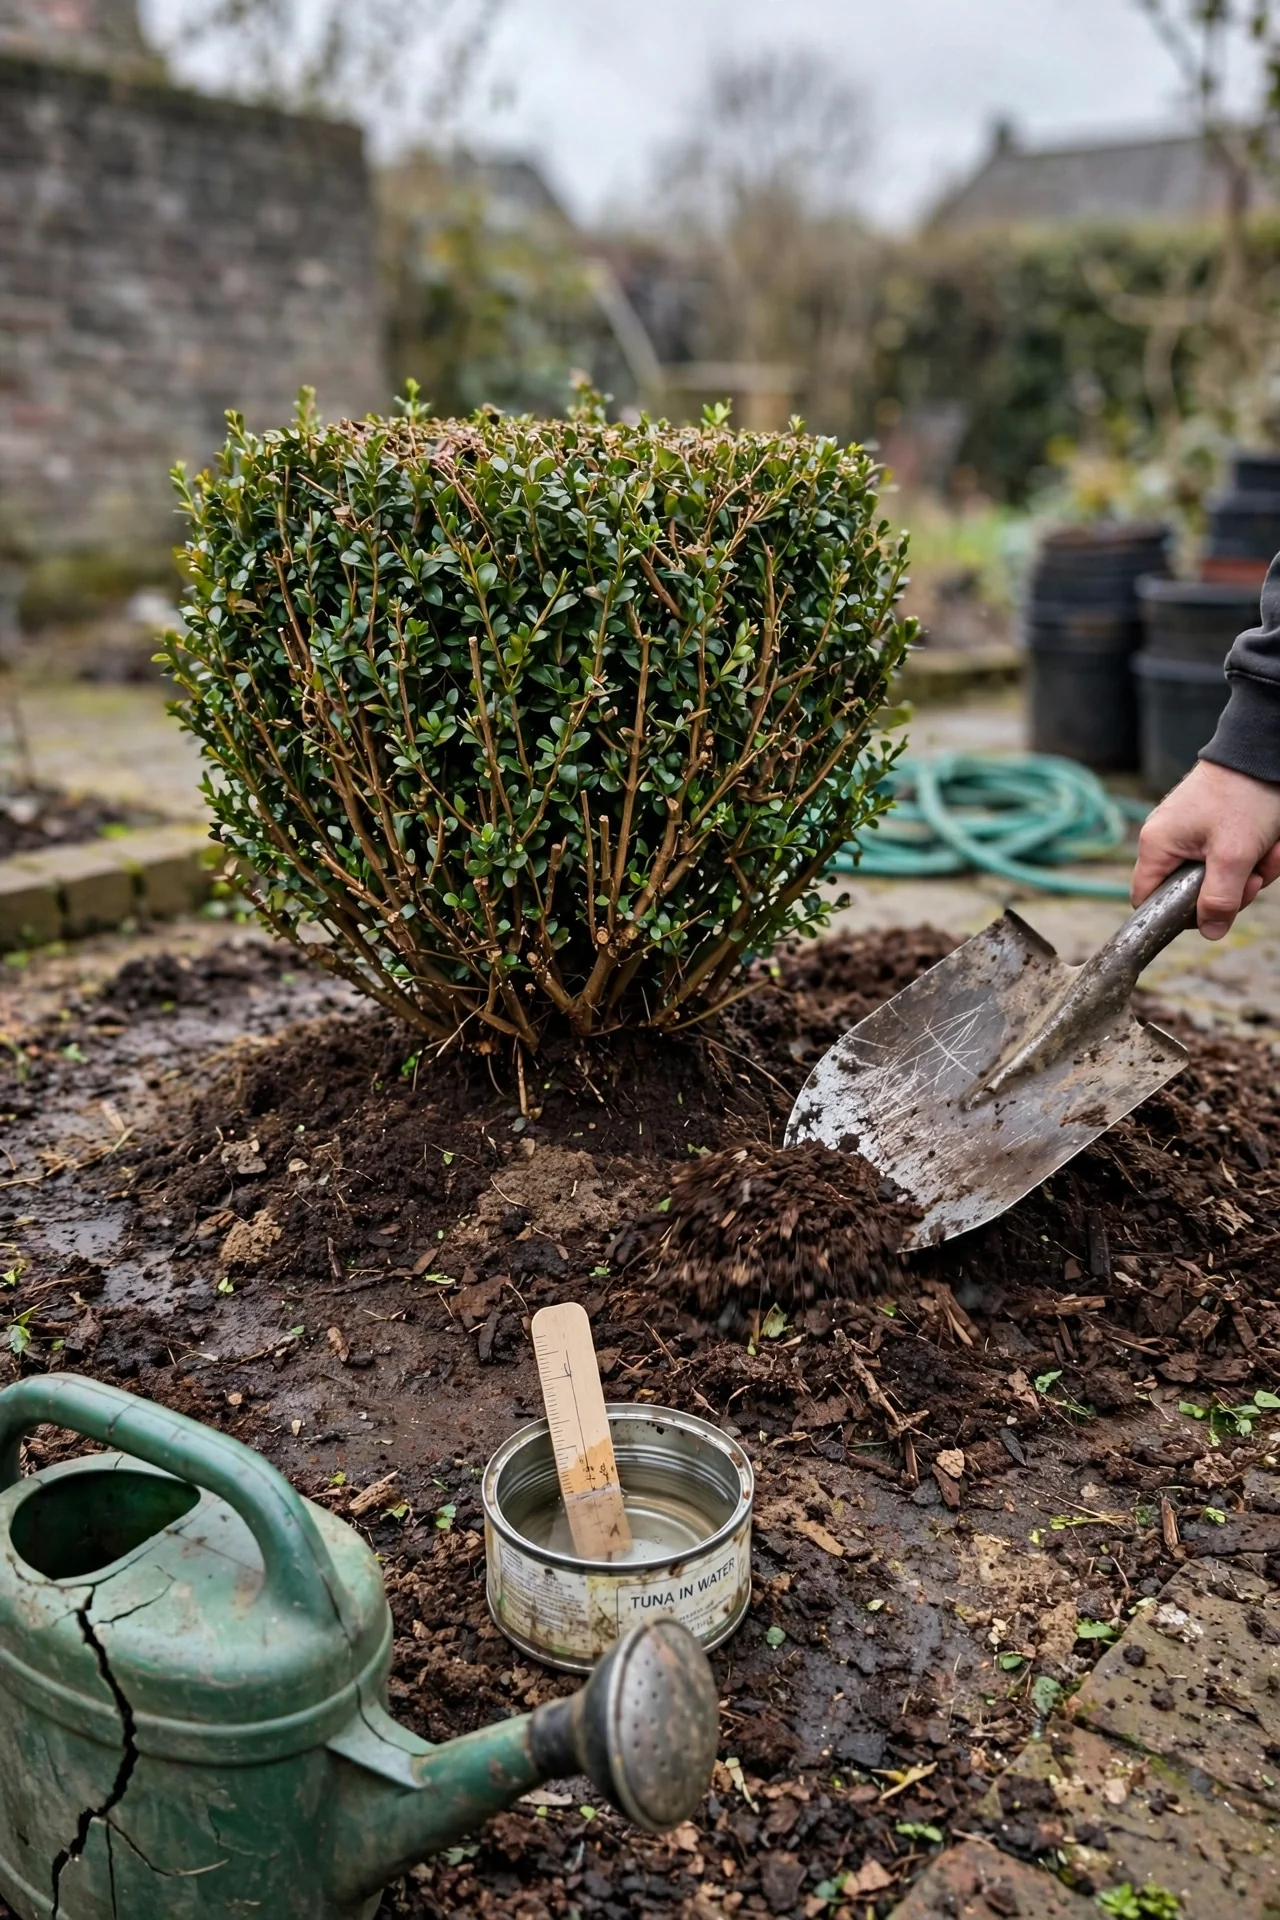
Best for: Branch 3 (Maintenance shaping)
What it is: A frequent, light-touch shearing cadence designed to hold a defined geometric form—sphere, cone, spiral, or animal shape—without creating a dense outer shell. Unlike hedge shearing, topiary pruning requires a template or frame for consistency.
Cadence: Begin after the spring flush hardens (see Item 6). Shear lightly every 4 to 6 weeks through the growing season, removing no more than 1 inch of new growth per pass. In zones 7 and warmer, a final light pass in early September is acceptable; in zones 6 and colder, stop all shearing by mid-August to allow regrowth to harden before frost.
Upgrade option: Replace hedge shears with sheep shears for topiary work. The shorter blades offer finer control on tight curves, and the reduced leverage prevents over-cutting, the most frequent cause of bare patches in shaped boxwoods.
Common mistake: Shearing the same topiary shape year after year without ever thinning interior growth. Even the most meticulously shaped topiary needs interior stems removed every 2 to 3 years. If you skip this, the inner canopy dies back and a single mis-cut can expose bare wood that may never fill in.
Starter Stack (What to Choose First)
Branch 1 Starter: Disease Response Kit
Begin with Item 2 (Disease Removal Pruning) and Item 5 (Deadwooding). Remove all dead and visibly diseased tissue in one session using a fresh 10% bleach solution for sterilization. This two-step sequence stops active pathogen spread immediately. Estimated time: 30 to 45 minutes for a single 3-foot shrub. Cost: under $15 for bleach and disposable gloves if you already own bypass pruners.
Branch 2 Starter: Structural Reset
Pair Item 1 (Early Spring Thinning) with Item 4 (Rejuvenation Pruning) if your shrub is overgrown. Thinning opens the interior immediately; rejuvenation provides the multi-year framework to bring size back under control without risking bare wood dieback. For a shrub under 4 feet tall, expect to spend 20 to 30 minutes on initial thinning. If only moderate thinning is needed, skip rejuvenation and thin annually.
Branch 3 Starter: Shape Maintenance
Combine Item 6 (Mid-Summer Touch-Up) with Item 3 (Shearing for Formal Hedges). First, verify the interior is open by doing a quick thinning pass if needed. Then shear the outer profile, keeping the base wider than the top. This pairing maintains crisp lines without creating the hollow-shell problem. Budget 10 to 15 minutes per shrub per session during the growing season.
When This Won’t Work
Condition 1: The boxwood is more than 50% defoliated and remaining leaves are yellowing uniformly. This pattern suggests root rot (Phytophthora) rather than a canopy issue. Pruning will not save a plant with a compromised root system. The correct action is to remove the shrub entirely, solarize the soil if replanting in the same location, and test drainage before installing a replacement. Boxwoods require well-drained soil with a pH between 6.5 and 7.5; standing water for more than 24 hours is fatal.
Condition 2: You are in USDA zone 3 or 4 and winter temperatures regularly drop below -20°F (-29°C). In these climates, any pruning between September and April creates wounds that desiccate and crack, leading to dieback that can kill the entire shrub over a single winter. If you garden in these zones, restrict all pruning to a narrow window in May after the last hard frost. For gardeners managing fruit trees in similarly cold conditions, our apple tree pruning calendar offers parallel timing logic.
Choosing the Right Option for Your Situation
Budget Threshold
If your budget for tools and supplies is under $30, focus on Items 1, 2, and 5. These require only bypass pruners (a one-time purchase) and household bleach. Skip powered hedge trimmers entirely; they are unnecessary for health-focused pruning and can cause more damage than they prevent in untrained hands.
Time Threshold
If you can only prune once per year, choose Item 1 (Early Spring Thinning). A single annual thinning session provides more long-term disease protection than multiple shearing passes. Reserve 45 minutes per shrub. If you cannot commit to even one session, do not plant boxwood; substitute a low-maintenance evergreen like inkberry holly.
Technical Constraint: Cold Climate Pruning Windows
In USDA zones 4 and 5, your safe pruning window is approximately May 1 through June 15. After June 15, new growth will not harden sufficiently before the first fall frost. Before May 1, late freezes can kill exposed cambium. If this window conflicts with your schedule, limit pruning to deadwood removal only (Item 5), which is safe year-round.
Quick Yes/No Checklist:
1. Can you see light through the interior of the shrub? If no, thin first (Item 1).
2. Are there any leaf spots or stem cankers? If yes, prune diseased tissue now (Item 2).
3. Is it between August and March in zone 5 or colder? If yes, do only deadwood removal (Item 5).
4. Are you shearing without having thinned in the last 2 years? If yes, stop and thin first (Item 1).
Expert Q&A
Can I prune boxwood in the rain?
No. Wet foliage makes it harder to see diseased tissue, and moisture on cut surfaces slows wound closure. Fungal spores also spread more readily in wet conditions. Wait for a dry day with at least 24 hours of dry weather forecasted afterward.
How do I know if my boxwood has blight versus winter burn?
Boxwood blight causes circular leaf spots with dark borders and black streaking on stems. Winter burn produces uniform browning of leaf tips and margins without defined spots. Blight also causes rapid leaf drop; winter-burned leaves often remain attached. If you see stem streaking, treat as blight immediately.
Is there any boxwood variety that needs less pruning?
Yes. Dwarf varieties like Buxus microphylla var. japonica ‘Morris Midget’ and Buxus sempervirens ‘Suffruticosa’ (English boxwood) grow slowly and naturally maintain a dense, compact form. They require thinning every 2 to 3 years rather than annually. Avoid fast-growing varieties like ‘Winter Gem’ if you want minimal pruning.
What is the one-third rule and does it apply to boxwood?
The one-third rule states you should never remove more than one-third of a plant’s total canopy in a single growing season. It applies to boxwood, but with a stricter interpretation: because boxwood regenerates slowly from bare wood, removing more than one-quarter of the canopy in a single session risks permanent bare patches.
Can I use wound sealant on boxwood cuts?
No. Wound sealants trap moisture and create an environment where fungal spores germinate. Boxwood cuts seal naturally within 24 to 48 hours in dry weather. The only exception is if you are pruning during an unexpected rain event; in that case, a very thin application of Bordeaux paste may help, but it is rarely necessary.
Conclusion
The decision that determines whether your boxwood thrives or declines happens before you make the first cut: are you pruning for health first, or for shape? If you prioritize opening the interior canopy every spring and respond to any sign of disease with immediate, sanitized cuts, your boxwood will outlast most landscapes. The single mistake that cascades into failure is shearing repeatedly without ever thinning, which creates a dark, humid core that pathogens exploit.
Your next step: identify one boxwood on your property and run it through the Decision Grid above. If it lands in Branch 2, schedule a thinning session for your next available spring weekend. For a broader view of how pruning timing shifts across different fruit-bearing and ornamental plants, see our fruit tree pruning calendar.