
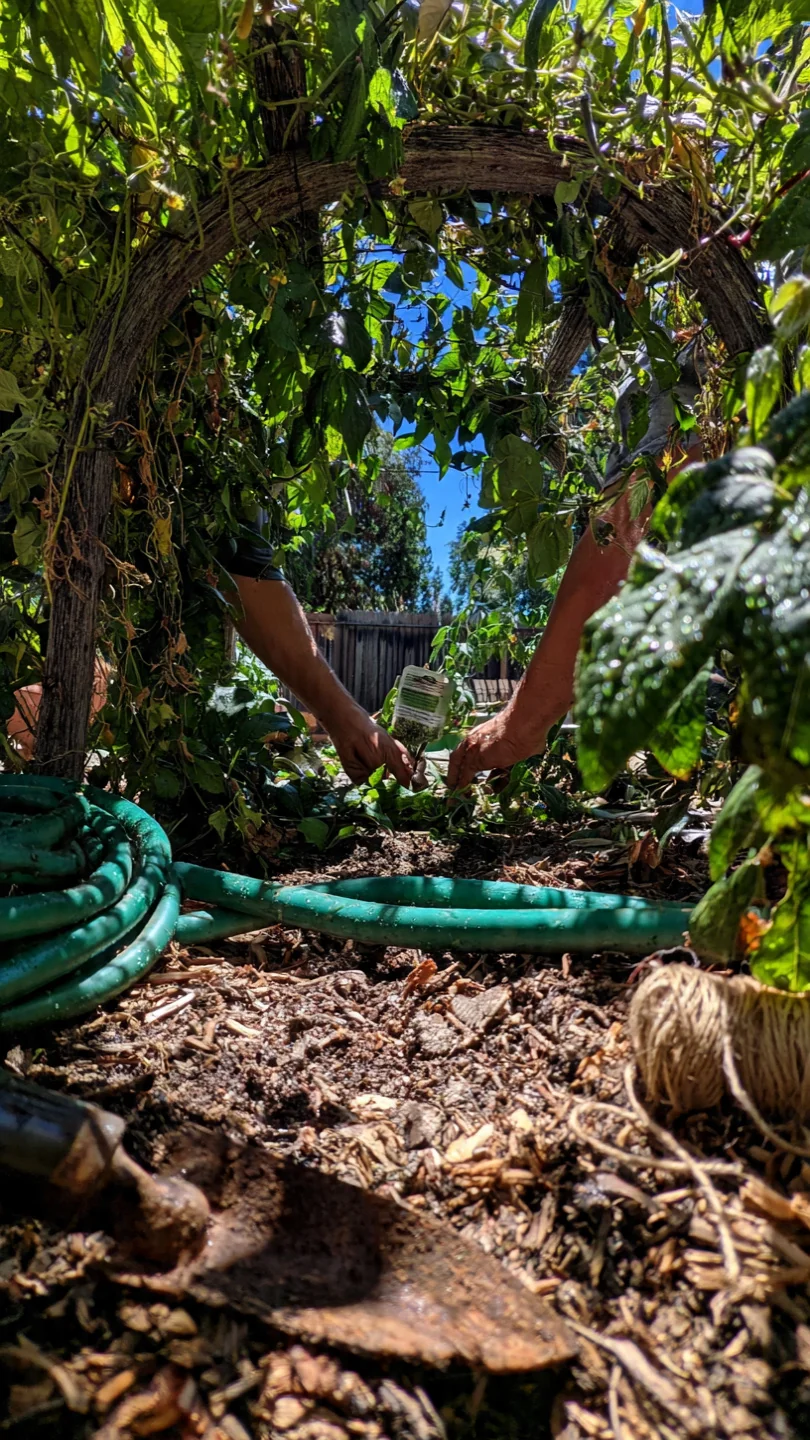
Arbor ideas succeed when they function as connectors between garden zones rather than standalone decorations. This reframing turns a simple arch into a tool that defines pathways, supports climbers in low light, and creates usable transitions in open spaces.
This listicle covers nine designs suited to ornamental gardening. It focuses on integration with layout constraints such as pathway width, sunlight hours, and open area scale. Full construction blueprints, commercial kit reviews, and non-ornamental applications fall outside the scope.
The decision grid and table below let you match an arbor to your measured conditions. You gain clear next steps on materials, placement, and pairing with nearby features to create vertical layers without disrupting flow.
Bottom line: Match your arbor to the primary spatial constraint in your garden to add structure and plant support in one targeted installation.
The Yield Grid Decision Grid
Branch 1: Primary pathways or entries measure 5 feet wide or narrower. Compact footprints prevent crowding while maintaining headroom of at least 7 feet. Recommended: Items 1, 4, 7 below. For overhead extensions see pergola ideas.
Branch 2: Garden sections receive fewer than 6 hours of direct sunlight daily. Open or wireframe tops allow filtered light and climber attachment. Recommended: Items 2, 5, 8 below.
Branch 3: Open lawns or patios larger than 300 square feet need visual definition. Arched or seated forms create zones while supporting privacy or focal planting. Recommended: Items 3, 6, 9 below.
Quick Comparison Table
| Option | Key mechanism | Best for | Decision Grid Branch | Budget Tier |
|---|---|---|---|---|
| Compact Wooden Lattice Arbor | Interlocking lattice panels for vine grip and airflow | Narrow pathways | Branch 1 | Low |
| Open-Top Wireframe Arbor | Lightweight wire grid that maximizes light penetration | Shaded climber zones | Branch 2 | Medium |
| Arched Gated Arbor | Integrated gate and arch for zone separation | Open area definition | Branch 3 | Medium |
| Slim Metal Freestanding Arbor | Powder-coated steel frame with adjustable width | Narrow pathways | Branch 1 | Medium |
| Curved Wooden Vine Arbor | Curved top rails that direct climber growth upward | Partial shade sections | Branch 2 | Low |
| Bench-Topped Arbor | Seating platform beneath arch for immediate use | Privacy and seating zones | Branch 3 | High |
| Low-Profile Bamboo Arbor | Flexible bamboo poles lashed for natural flex | Tight entry transitions | Branch 1 | Low |
| Trellis-Backed Shade Arbor | Flat back panel that doubles as climber support | Low-light boundaries | Branch 2 | Medium |
| Tall Statement Arbor for Open Spaces | Tall vertical posts that frame distant views | Large lawn anchors | Branch 3 | High |
1. Compact Wooden Lattice Arbor
Best for: Branch 1
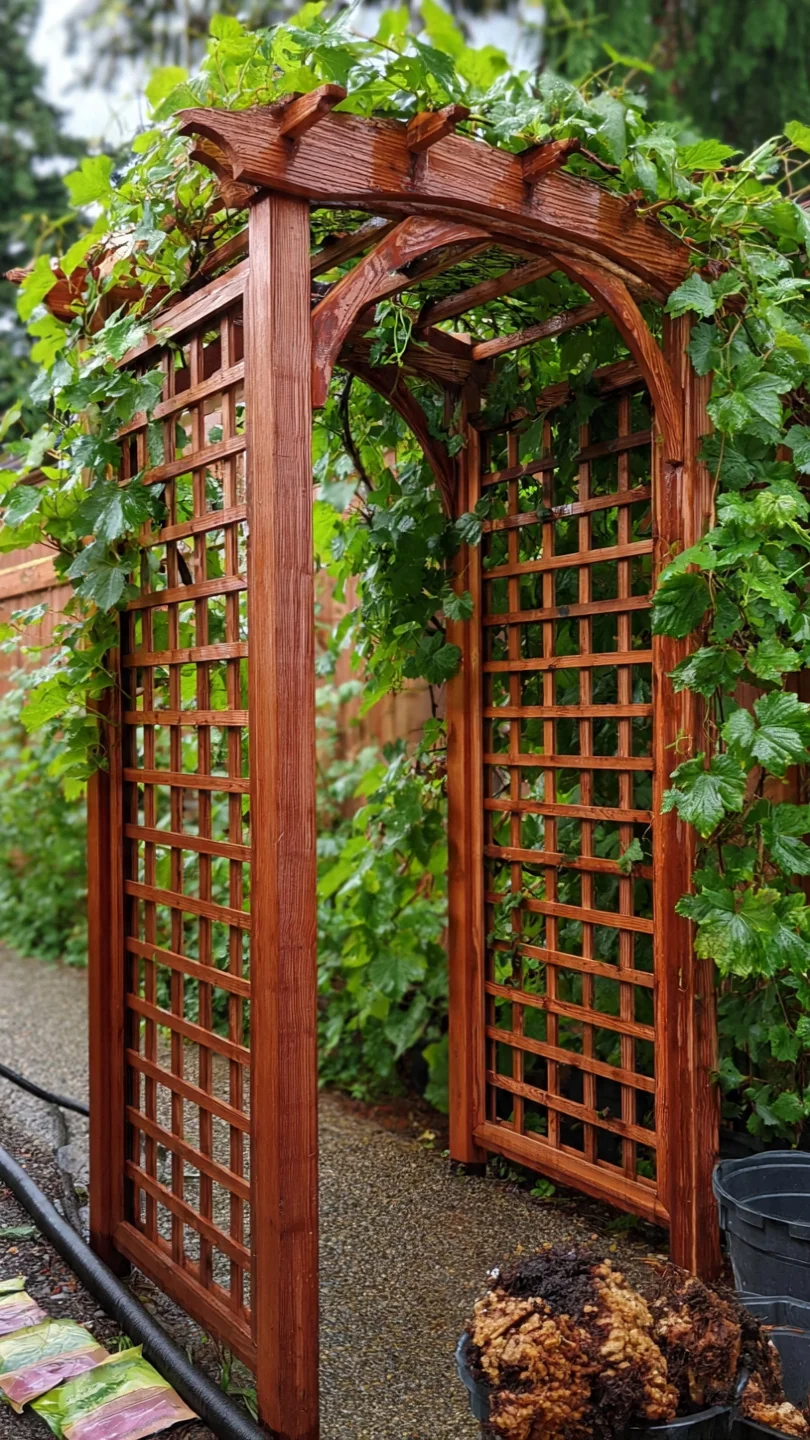
This arbor uses cedar 4×4 posts set 36 inches into the ground with lattice panels on the sides. The lattice creates grip points for vines while allowing air circulation that reduces fungal risk on foliage. Build steps include leveling the site, setting posts with gravel base for drainage, attaching pre-cut lattice with exterior screws, and capping the top rail at 8 feet for head clearance. The design fits pathways 5 feet wide or narrower without blocking movement. A common mistake is skipping the gravel base, which leads to post settling in clay soils. Pair the lattice panels with complementary trellis ideas for added vertical interest along the sides. Total material cost stays low when sourcing standard lumber from local suppliers.
2. Open-Top Wireframe Arbor
Best for: Branch 2
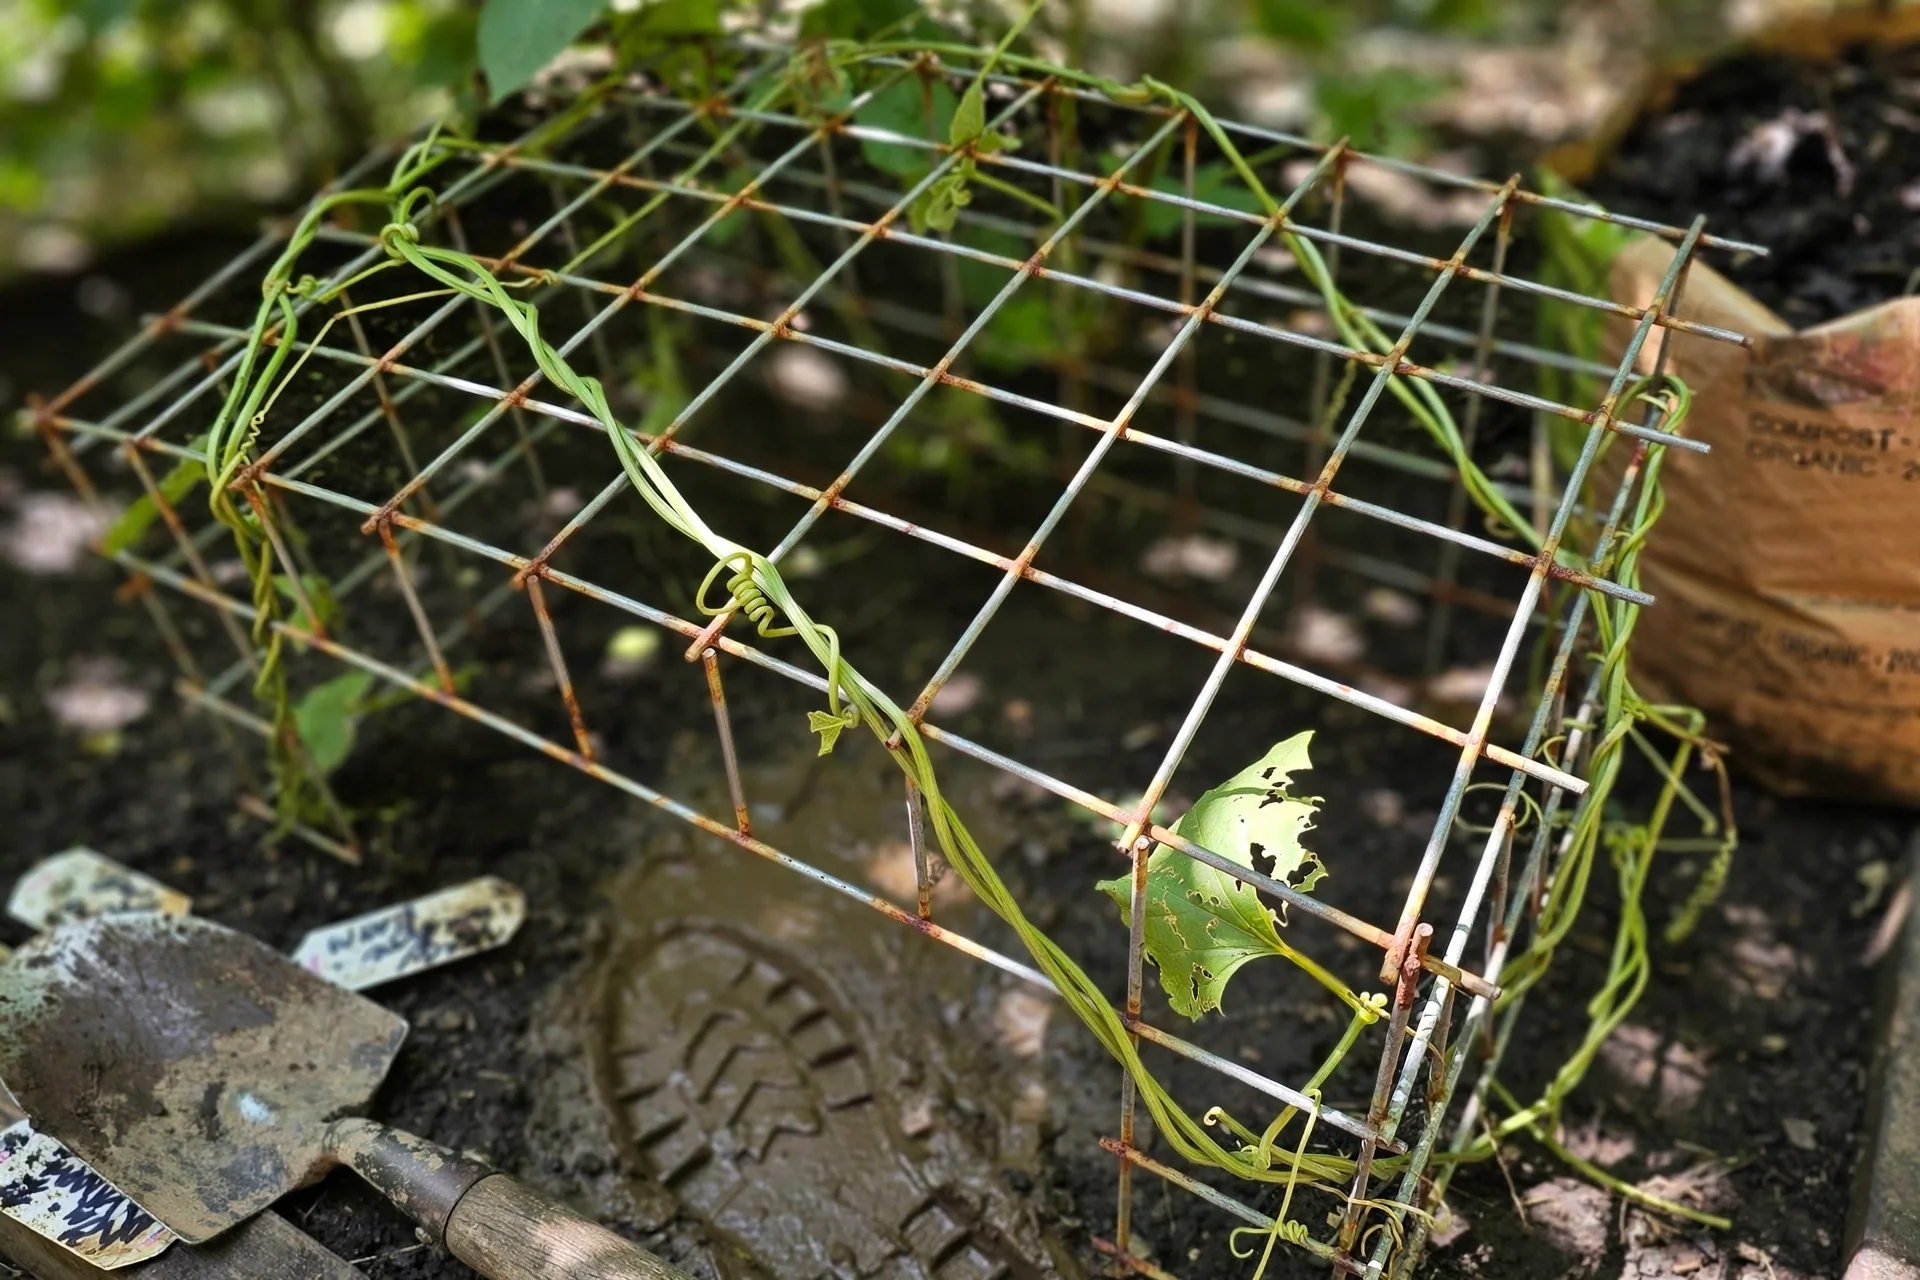
Use this arbor when sunlight is limited. Pros include quick assembly from pre-welded sections and maximum light reaching climbers below. Cons involve lower privacy compared with solid panels. Edge case: heavy wet snow in northern zones can bend lighter frames. Skip if your garden already has dense overhead canopy that blocks more than 70 percent of light.
3. Arched Gated Arbor
Best for: Branch 3
Choose this design when open space exceeds 300 square feet and needs clear division. Threshold rule: maintain 7 feet of headroom under the arch and 4 feet of gate width for wheelbarrow access. Adjust post spacing by 6 inches if soil is sandy to increase stability. The gate swings on heavy-duty hinges and can latch to prevent deer entry in rural settings. This form also supports light vines along the arch without overloading the structure.
4. Slim Metal Freestanding Arbor
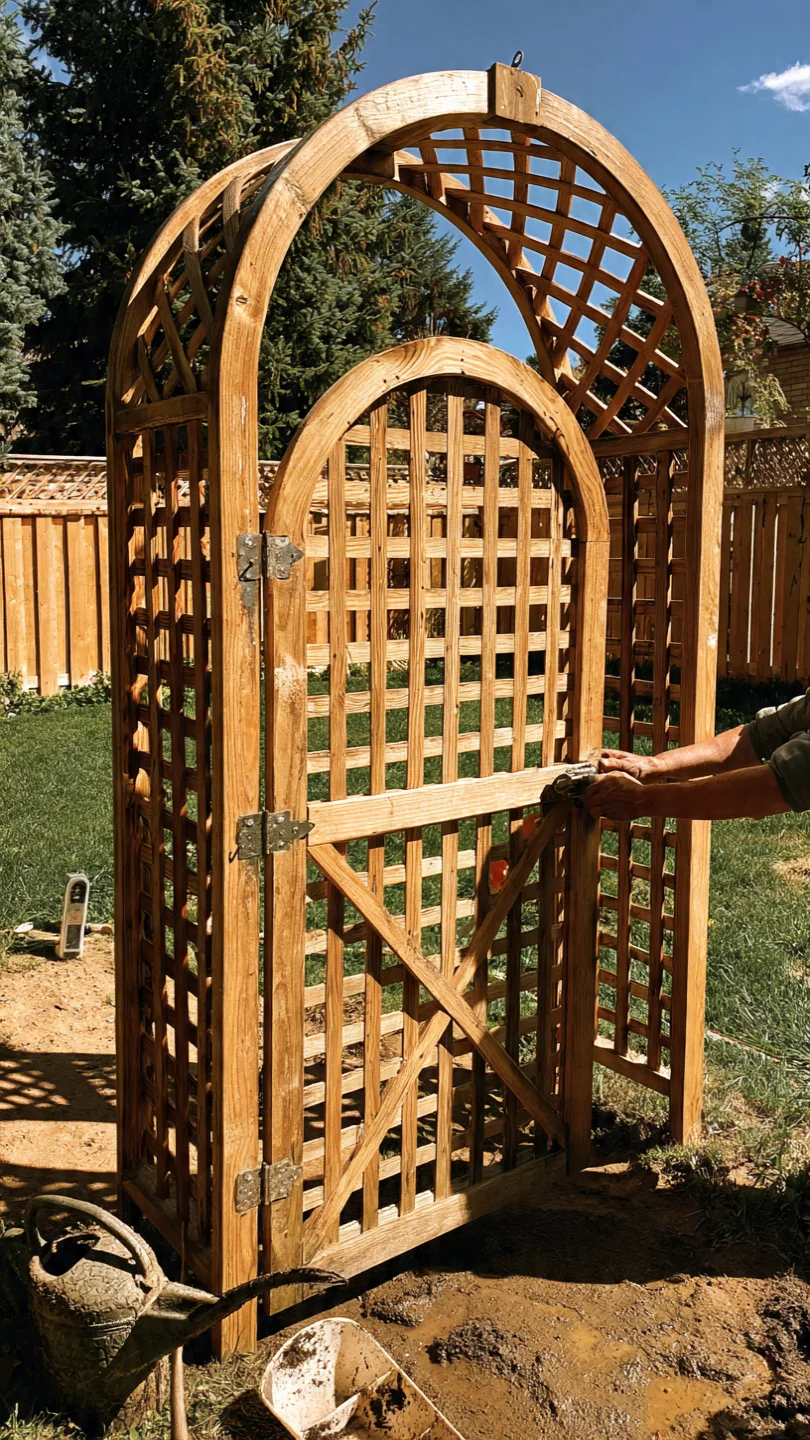
Best for: Branch 1
Assemble in under 10 minutes with these steps: unpack powder-coated panels, align base plates on leveled ground, secure with provided bolts, and drive ground stakes through pre-drilled holes. Upgrade option: add diagonal braces if wind gusts exceed 30 mph regularly. The slim 3-foot depth fits narrow pathways while the adjustable width accommodates uneven borders. No concrete footings required for standard residential use.
5. Curved Wooden Vine Arbor
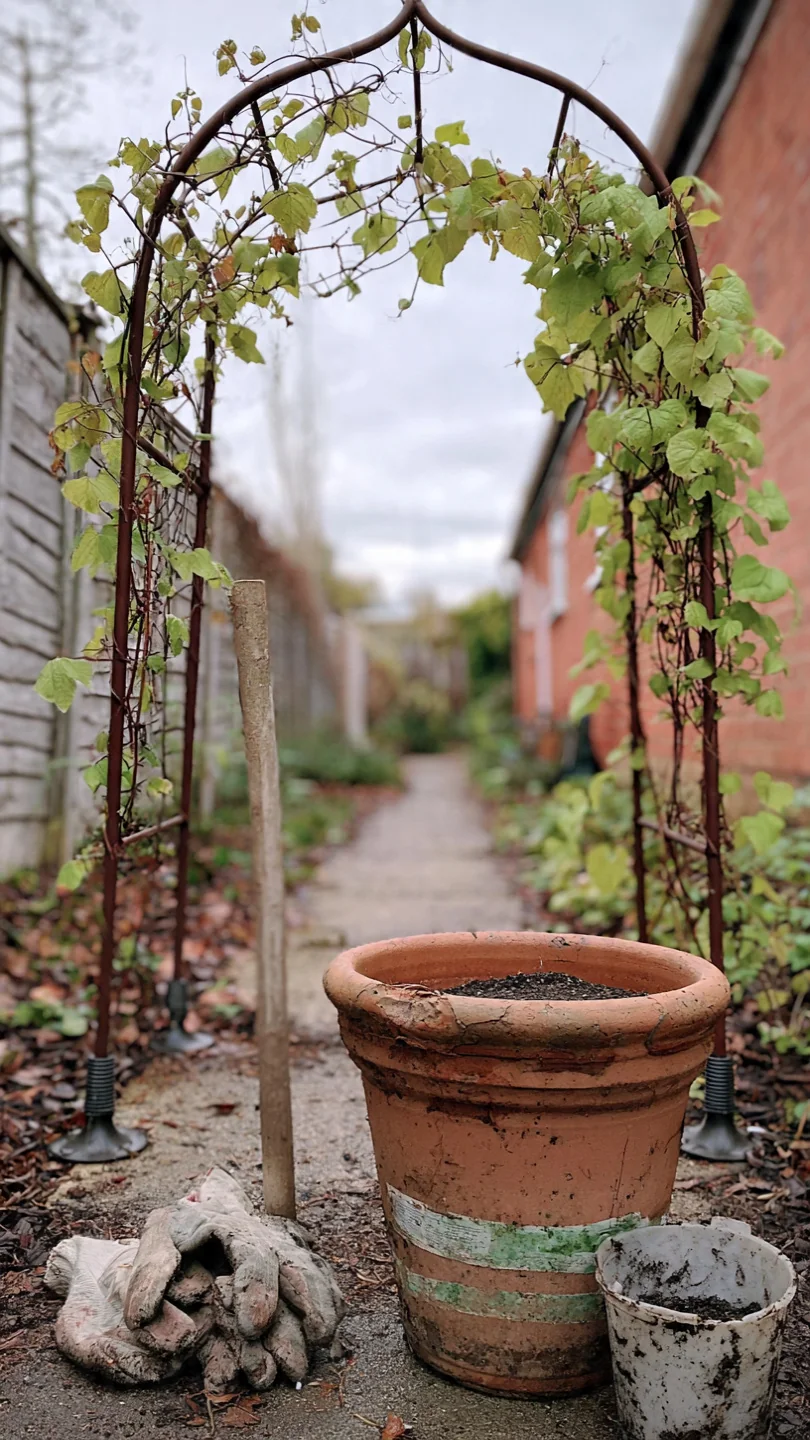
Best for: Branch 2
Curved top rails direct vine growth upward in partial shade. Use pressure-treated lumber or cedar for the frame and attach rails with carriage bolts. The open curve allows filtered light to reach underplantings while providing 8 feet of vertical support for clematis or honeysuckle. Site preparation requires only a flat 4-by-6-foot area.
6. Bench-Topped Arbor
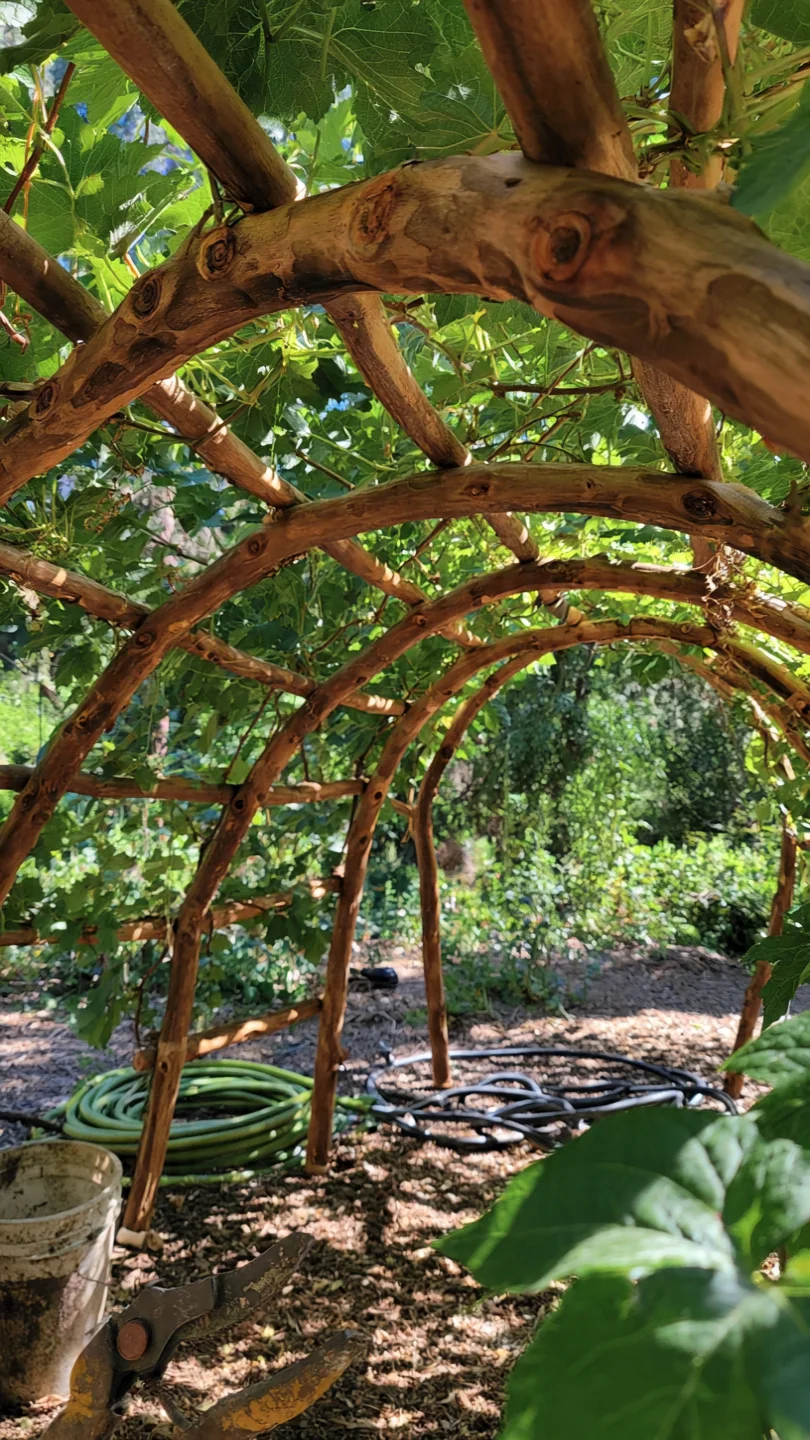
Best for: Branch 3
Use versus skip: this arbor adds immediate seating under the arch for afternoon shade, yet requires more assembly time than freestanding models. Edge case: works best on flat patios where the bench does not block mower access. Combine with nearby plantings for layered privacy without full fencing.
7. Low-Profile Bamboo Arbor
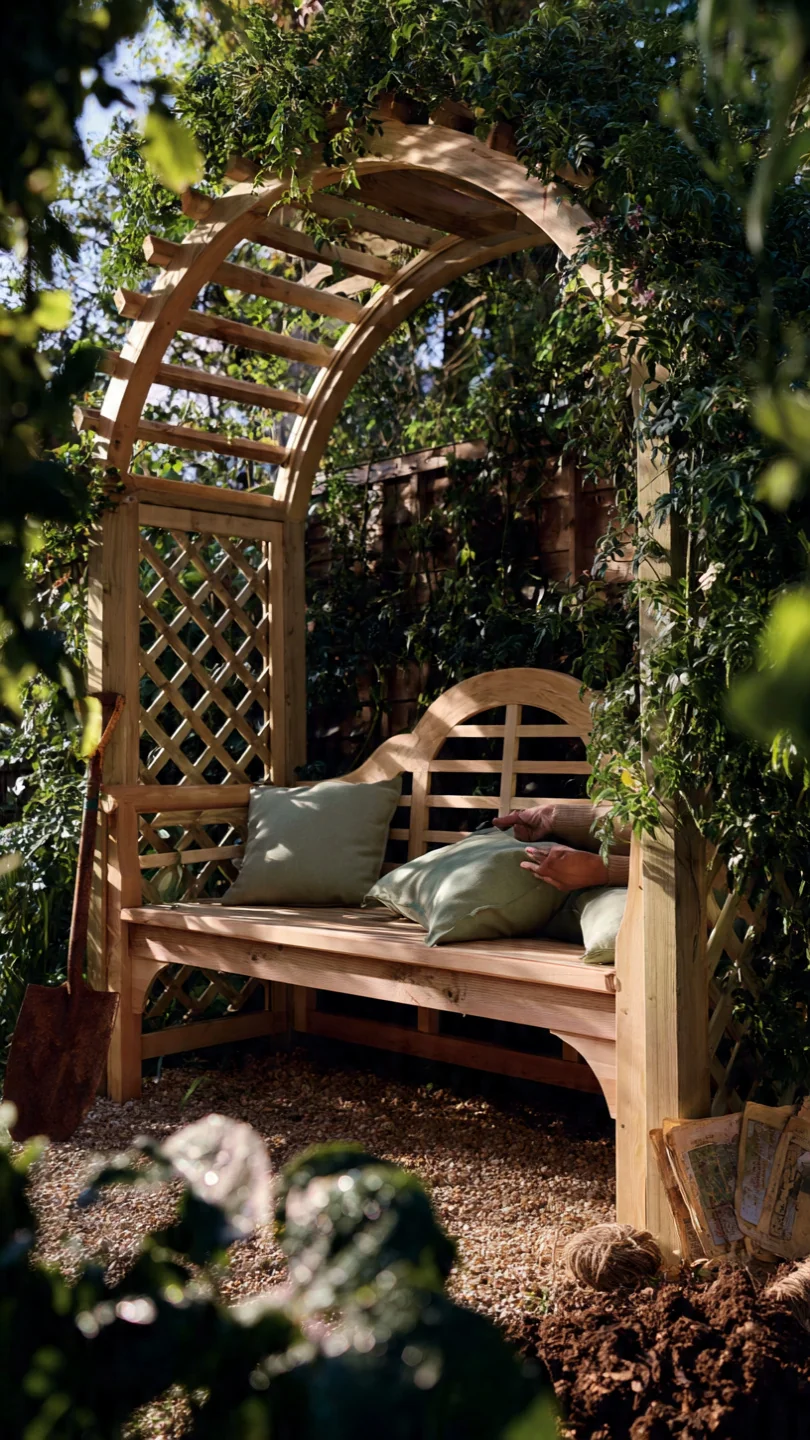
Best for: Branch 1
Threshold rule: select this arbor when entry width stays under 4.5 feet and you prefer natural materials that weather to silver-gray. Lash poles with weatherproof cord at 12-inch intervals for flex that withstands minor ground shift. Adjust height down to 7 feet in windy corridors to lower center of gravity. The lightweight frame installs without heavy equipment and suits small backyards where permanent structures feel oversized.
8. Trellis-Backed Shade Arbor
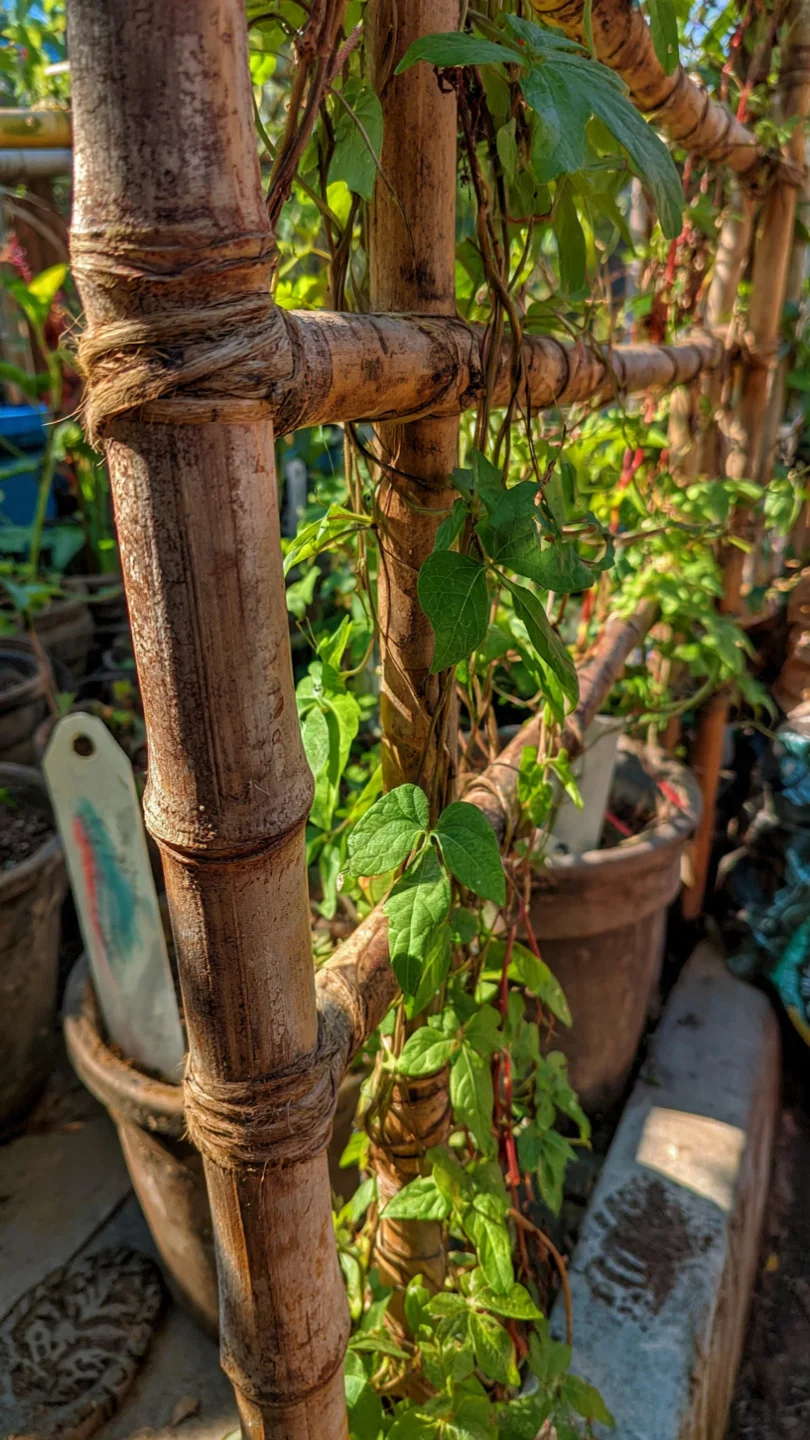
Best for: Branch 2
Flat back panel doubles as climber support in low-light boundaries. Wire or lattice backing attaches directly to the frame and holds vines away from walls or fences. The design creates a living screen that filters light while defining the edge of a shade bed.
9. Tall Statement Arbor for Open Spaces
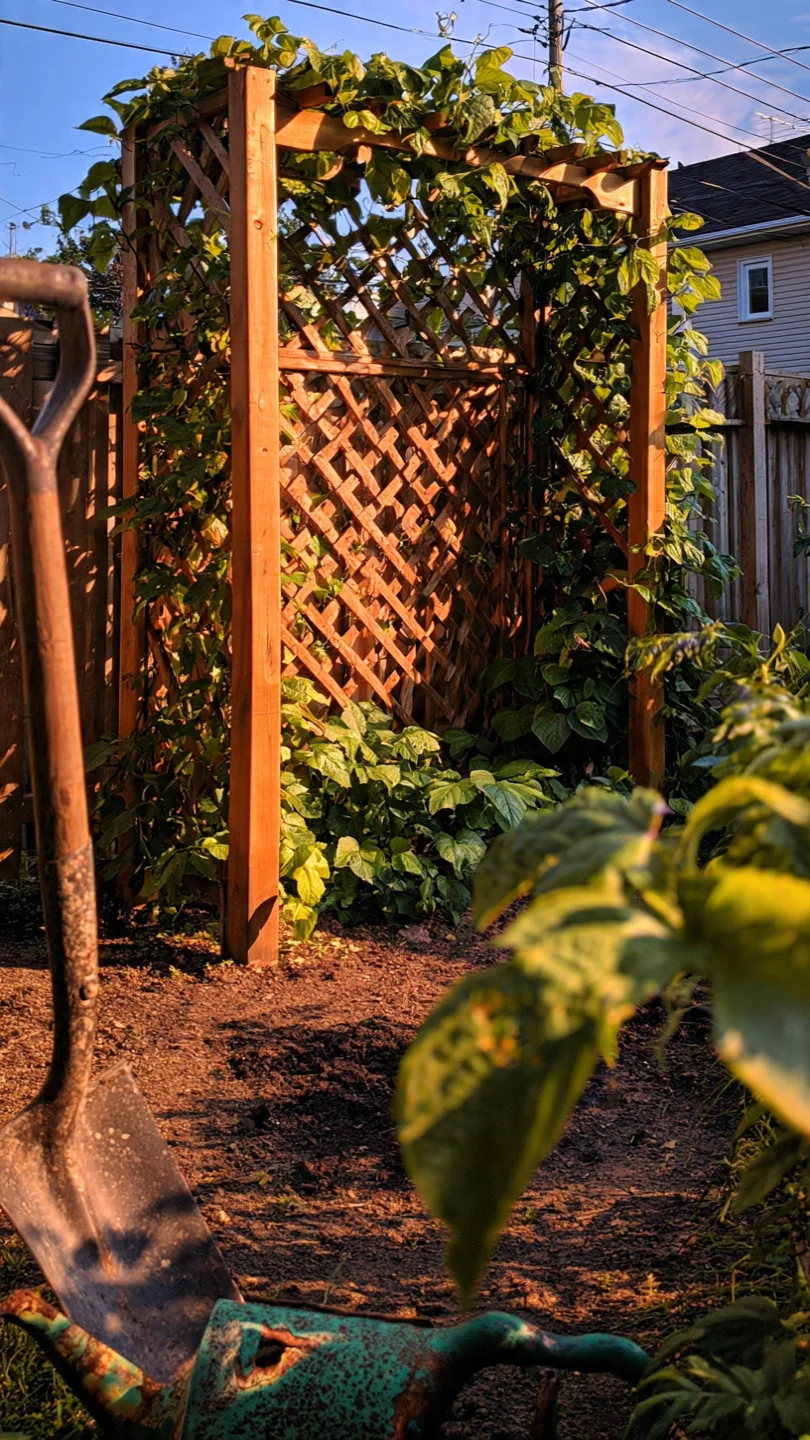
Best for: Branch 3
Tall vertical posts frame distant views across large lawns. The 9-foot height creates dramatic scale without blocking sightlines when placed at lawn centers. Anchor with 4×4 posts buried 3 feet and braced diagonally for stability. This arbor anchors ornamental schemes by drawing the eye through layered plantings.
Starter Stack (What to Choose First)
Branch 1: Narrow Pathways
Start with items 1 and 4. The compact wooden lattice provides vine support while the slim metal version adds quick structure. Synergy comes from placing them 10 to 15 feet apart to guide movement along the path. Materials and basic tools: 4 to 6 hours total, 100 to 350 USD.
Branch 2: Shaded Climber Zones
Begin with items 2 and 5. Open-top wireframe allows light while the curved wooden version directs growth. Together they create layered vertical interest across the low-light area. Materials and tools: 3 to 5 hours total, 150 to 300 USD.
Branch 3: Open Area Definition
Select items 3 and 6 first. The gated arch defines zones while the bench-topped version adds seating. Combined they turn open space into functional rooms. Materials and tools: 6 to 8 hours total, 300 to 700 USD.
When This Won’t Work
Arbors fail in areas with poor drainage where standing water exceeds 1 inch after rain for more than 24 hours. Wood posts rot within two seasons under those conditions. Switch to powder-coated metal frames set on raised concrete pads or elevate the entire structure 6 inches.
Tall designs also shift in high-wind zones with sustained gusts over 35 mph if unbraced. Add diagonal supports or choose lower-profile models under 7 feet. For windbreak alternatives explore patio privacy ideas.
Choosing the Right Option for Your Situation
Budget Threshold
If materials stay under 200 USD, select low-tier wooden or bamboo options that use standard lumber and basic fasteners.
Time Threshold
If installation fits one weekend or less, choose metal or pre-cut kits that require only leveling and bolting.
Climber Compatibility Constraint
For heavy flowering vines that add substantial weight when mature, verify post diameter of at least 4 inches and use galvanized hardware.
Yes/No checklist:
– Is your primary pathway 5 feet wide or narrower?
– Does your garden section receive fewer than 6 hours of direct sun?
– Does your open area need visual definition or seating?
– Can you commit to anchoring posts at least 36 inches deep?
Expert Q&A
How do arbors influence microclimates for ornamental plants?
Arbors create shaded pockets beneath the arch that lower soil temperature by 5 to 8 degrees Fahrenheit in summer. The vertical structure also reduces wind speed at ground level, which helps retain humidity around root zones of shade-loving perennials. Position the arbor to cast afternoon shade on heat-sensitive beds for measurable growth improvement.
What maintenance differences exist between wood and metal arbors in humid climates?
Wood requires annual sealing with exterior stain to prevent rot, especially on lower posts. Metal needs only spot checks for rust at joints every two years if powder-coated. In humid zones metal holds up longer with zero sanding or recoating, while wood demands inspection after every heavy rainy season.
Can arbors integrate with existing rock garden features?
Yes. Place low-profile bamboo or slim metal arbors at the edge of rock groupings so the base aligns with stone borders. The structure then frames rock plantings without competing for space. Use gravel mulch around posts to match the rock aesthetic and improve drainage at the same time.
What anchoring methods work best for arbors on sloped ground?
On slopes under 10 percent grade, extend the uphill posts 6 inches deeper than downhill ones and add a leveling cross brace. For steeper slopes cut custom post lengths to keep the arch level. Always compact soil or gravel backfill in layers to prevent settling over the first winter.
How do arbors enhance focal points in cottage-style ornamental gardens?
Arbors draw the eye along pathways by creating a vertical frame that contrasts with low mounded perennials. In cottage layouts the arch softens straight bed lines and supports rambling roses or clematis that spill color at eye level. Site the arbor at path intersections to guide movement while highlighting specimen plants beyond.
Conclusion
The right arbor solves a single measured constraint such as narrow width or limited sun rather than adding generic decoration. The most frequent mistake is installing without checking post depth or soil drainage, which shortens service life. Measure your pathway, sunlight, and open space first to select the matching design.
Next step: review garden seating ideas to pair your chosen arbor with benches or resting spots that extend its functional value.