
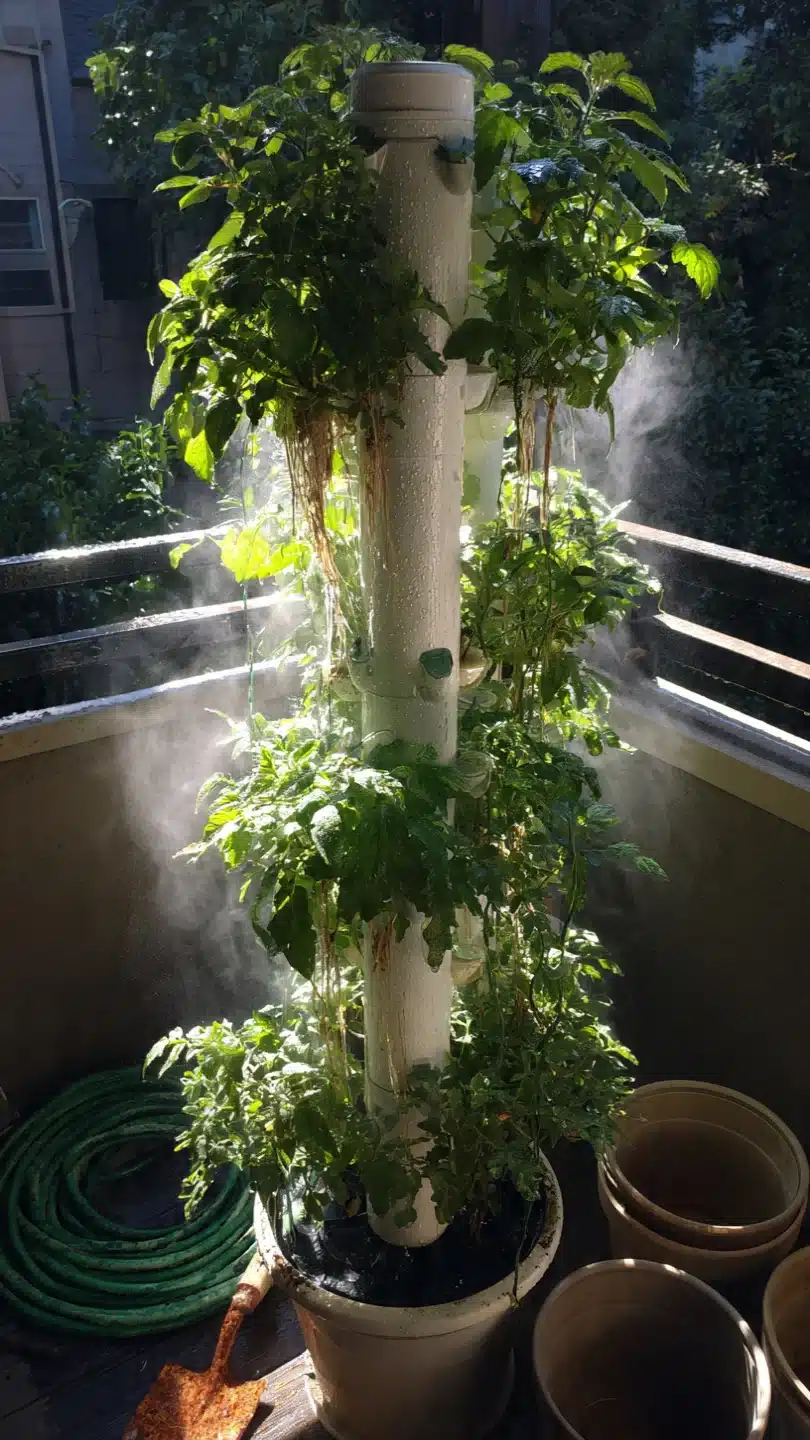
Aeroponic tower gardens deliver nutrient mist directly to exposed roots in vertical columns, but success in urban balconies or apartments hinges on one overlooked factor: alignment between the system’s pump runtime and your actual electricity access plus weekly availability for reservoir checks. Most comparisons focus only on plant count or footprint. This one starts with your setup constraints instead.
The guide evaluates nine aeroponic tower garden systems and configurations suitable for vertical gardening in tight spaces. It covers pre-built units, outdoor-rated towers, and one accessible DIY build. Soil-based or purely passive systems fall outside scope.
Follow the decision grid below to identify your branch, review the comparison table, then read the matching items. You will exit with a shortlist of two systems that fit your conditions and clear next steps for setup.
Bottom line: Identify your decision grid branch first, then select only from the three recommended items in that branch.
The Yield Grid Decision Grid
Branch 1 (Power-constrained apartments): Standard grounded outlet within 10 feet of the planned tower location and 60 to 90 minutes available weekly for water level and pH checks. No outdoor exposure or extension cords through doorways. Recommended: Items 1, 5, 8 below.
Branch 2 (Balcony or patio with stable power): Weather-protected outlet available and 2 to 4 hours weekly for checks plus occasional nutrient adjustments. Suitable for semi-outdoor use. Recommended: Items 2, 4, 7 below. For deeper comparison of aeroponic towers to other vertical systems, see our hydroponic vertical garden guide.
Branch 3 (Dedicated indoor space): Reliable outlet plus tolerance for daily visual spot checks and automation setup. Full control over lighting and climate. Recommended: Items 3, 6, 9 below.
Quick Comparison Table
| Option | Key mechanism | Best for | Decision Grid Branch | Effort Score |
|---|---|---|---|---|
| Tower Garden HOME Unit | Central pipe nutrient misting on exposed roots | Home herbs and leafy greens | Branch 1 and 2 | 3 |
| Aerospring 27-Plant Tower | Low-pressure aeroponic misting with WiFi timer option | Outdoor balconies with larger loads | Branch 2 | 4 |
| ALTO Garden HX Tower | Aeroponic misting integrated with grow lights | Indoor setups needing supplemental light | Branch 3 | 3 |
| EXO Tower System | Modular aeroponic columns with pump recirculation | Scalable indoor or protected outdoor | Branch 2 and 3 | 4 |
| DIY PVC Pipe Aeroponic Tower | Custom-drilled PVC with submersible pump and timer | Budget custom fits | Branch 1 | 5 |
| Compact Aeroponic Herb Tower | Small-diameter misting column optimized for herbs | Kitchen or balcony herb focus | Branch 3 | 2 |
| Vertical Strawberry Aeroponic Tower | Wide-spacing mist ports for fruiting crops | Strawberries and compact fruits | Branch 2 | 4 |
| Modern Vertical Aeroponic Tower | Sleek column design with quiet pump | Aesthetic indoor living areas | Branch 1 and 3 | 3 |
| Vegetable-Focused Aeroponic Tower | Higher-capacity misting for heavier feeders | Leafy vegetables and peppers | Branch 3 | 4 |
Tower Garden HOME Unit
Best for: Branch 1 and 2
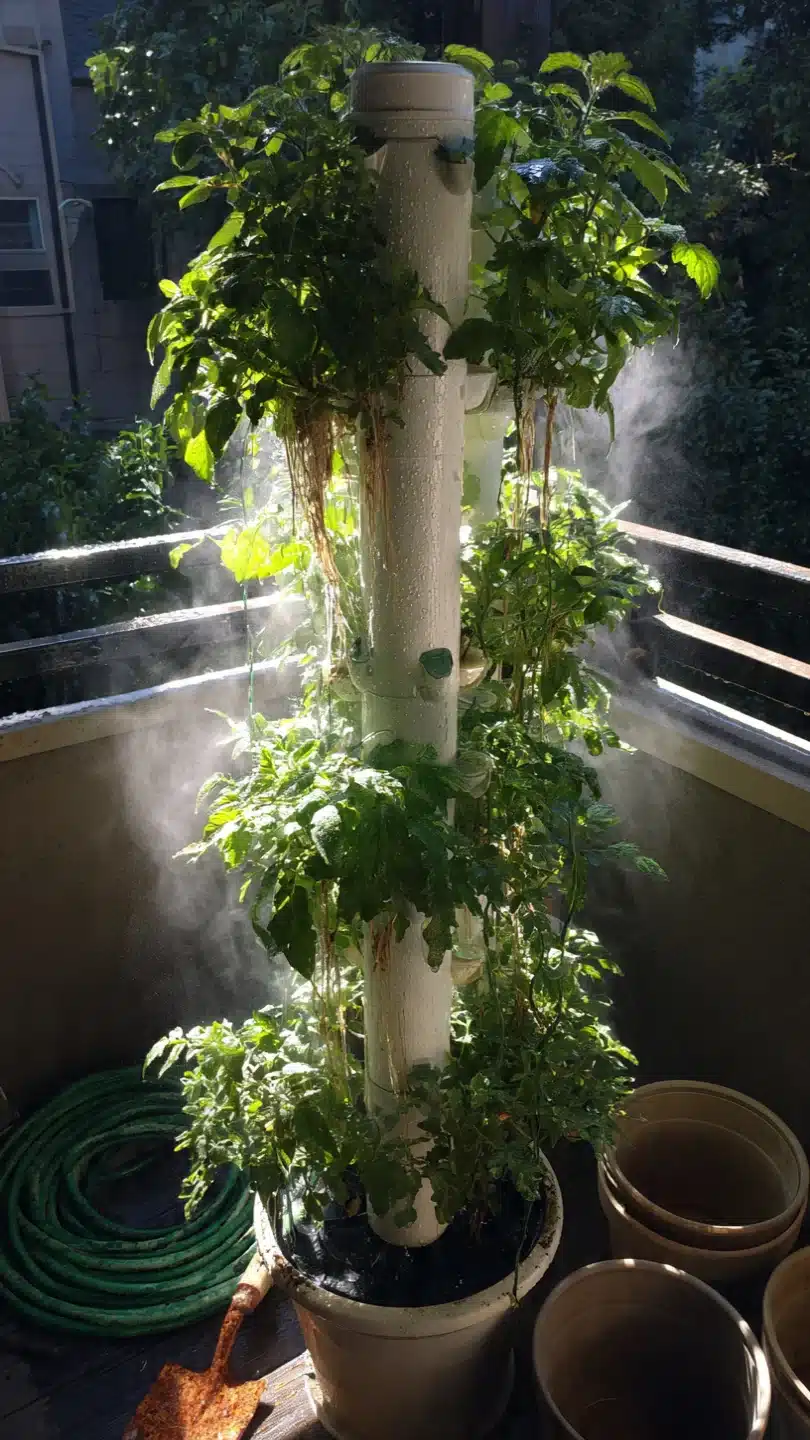
This pre-assembled aeroponic tower uses a central pipe to deliver timed nutrient mist directly to dangling roots, allowing full oxygen exposure at every level. The blueprint starts with the base reservoir, adds the vertical column sections, installs the submersible pump, and connects the timer. Assembly takes under two hours with basic tools. Key constraint: the pump requires consistent power, so place it near an outlet. Common mistake is overfilling the reservoir beyond the marked line, which reduces misting efficiency. The system supports herbs, leafy greens, and some fruiting plants in a compact vertical footprint ideal for balconies or indoor corners. Pair it with rockwool or net pots for stable plant anchoring. Maintenance involves checking water level twice weekly and adjusting pH to the 5.5 to 6.5 range using standard test strips.
Aerospring 27-Plant Tower
Best for: Branch 2
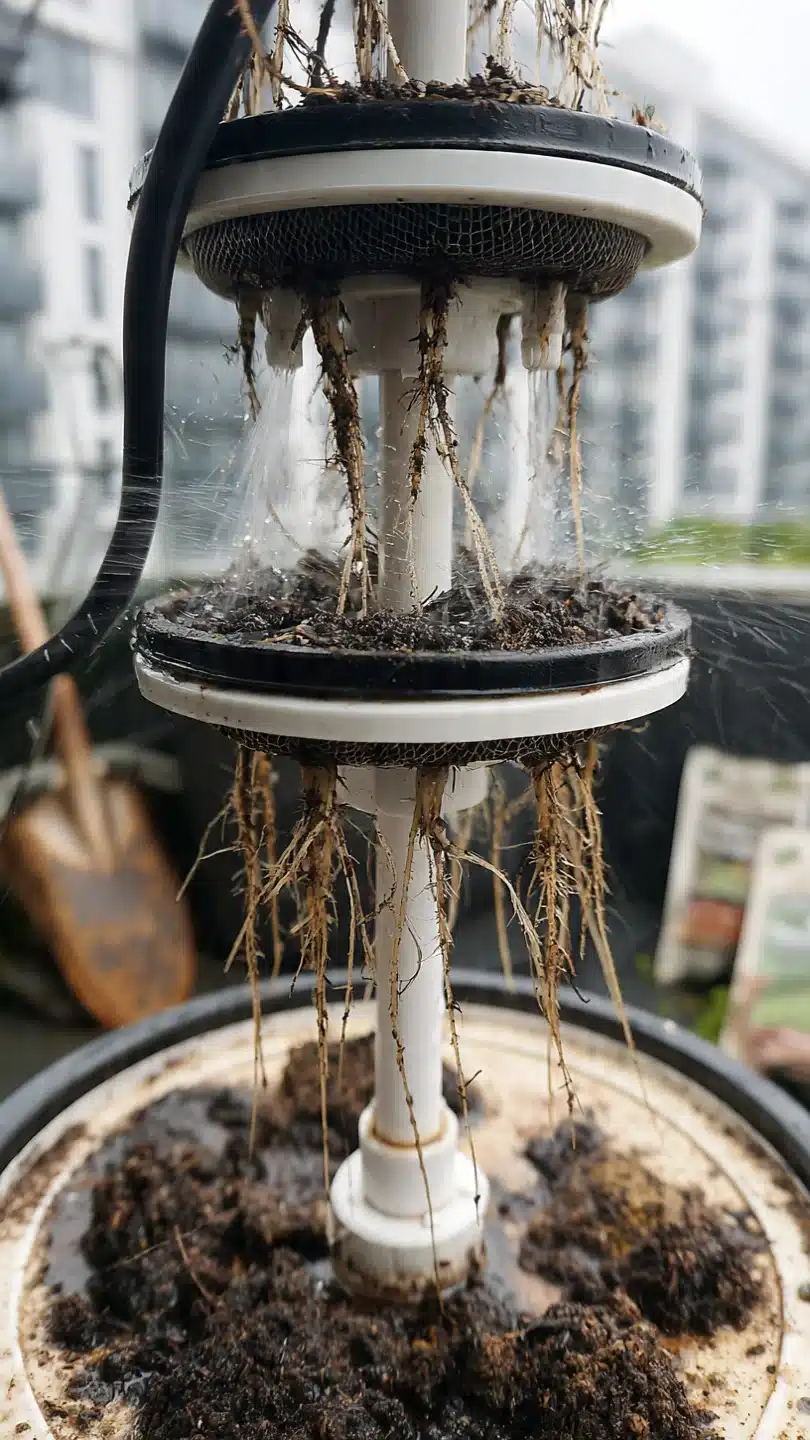
Use this low-pressure aeroponic tower when your balcony has a stable outlet and you want capacity for 27 plants without daily intervention. Skip it if power access is unreliable or if you prefer fully indoor use, because the outdoor-rated design performs best with natural light and occasional weather exposure. Edge case: in high-wind areas, secure the base to prevent tipping.
ALTO Garden HX Tower
Best for: Branch 3
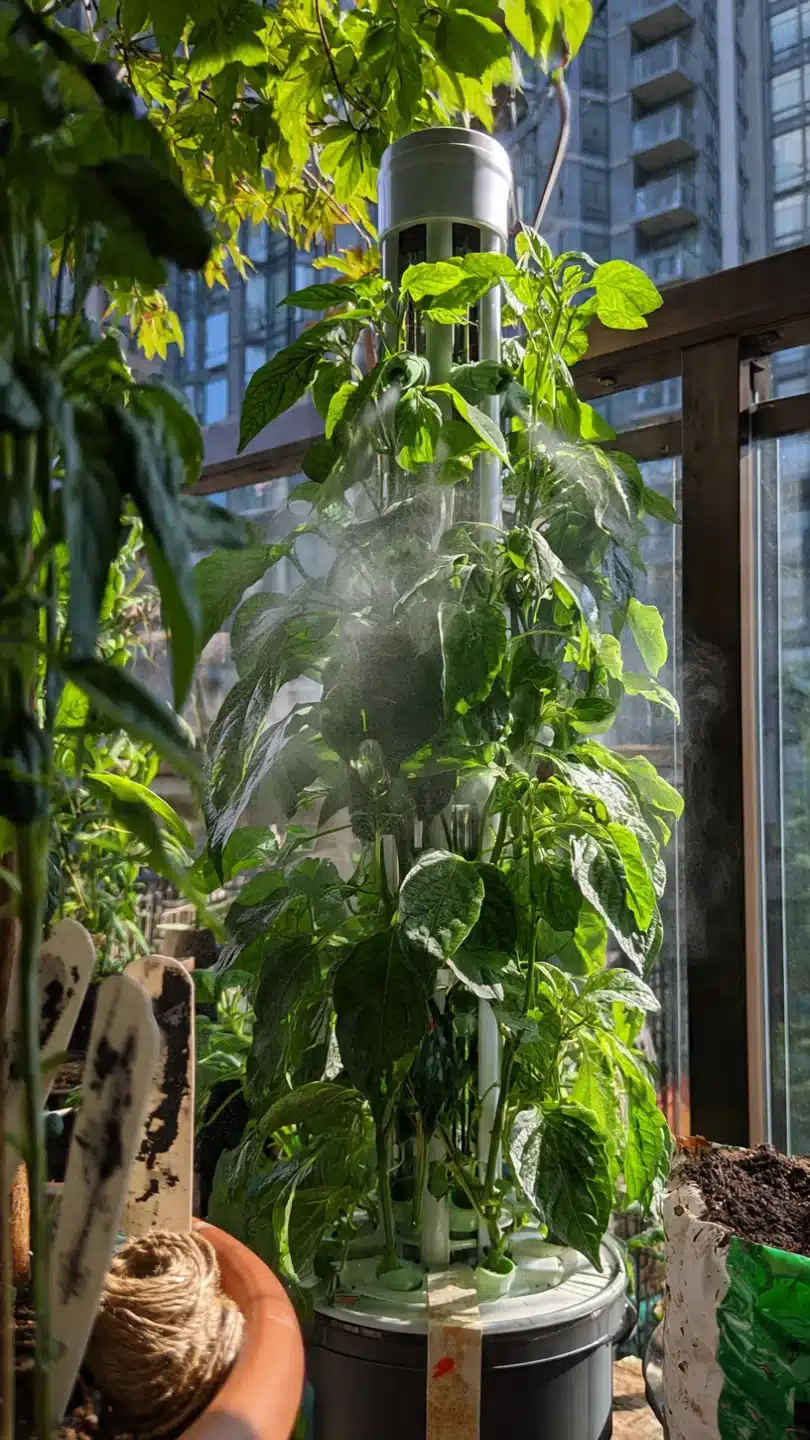
Choose the ALTO Garden HX when your dedicated indoor space lacks natural light. The threshold rule is simple: if your daily light exposure falls below six hours of direct sun, activate the integrated grow lights on a 14-hour timer. Keep pH between 5.5 and 6.5 and top off the reservoir every seven to ten days. This setup avoids root drying during short power fluctuations better than basic models because the lights and pump share a single control panel.
EXO Tower Aeroponic System
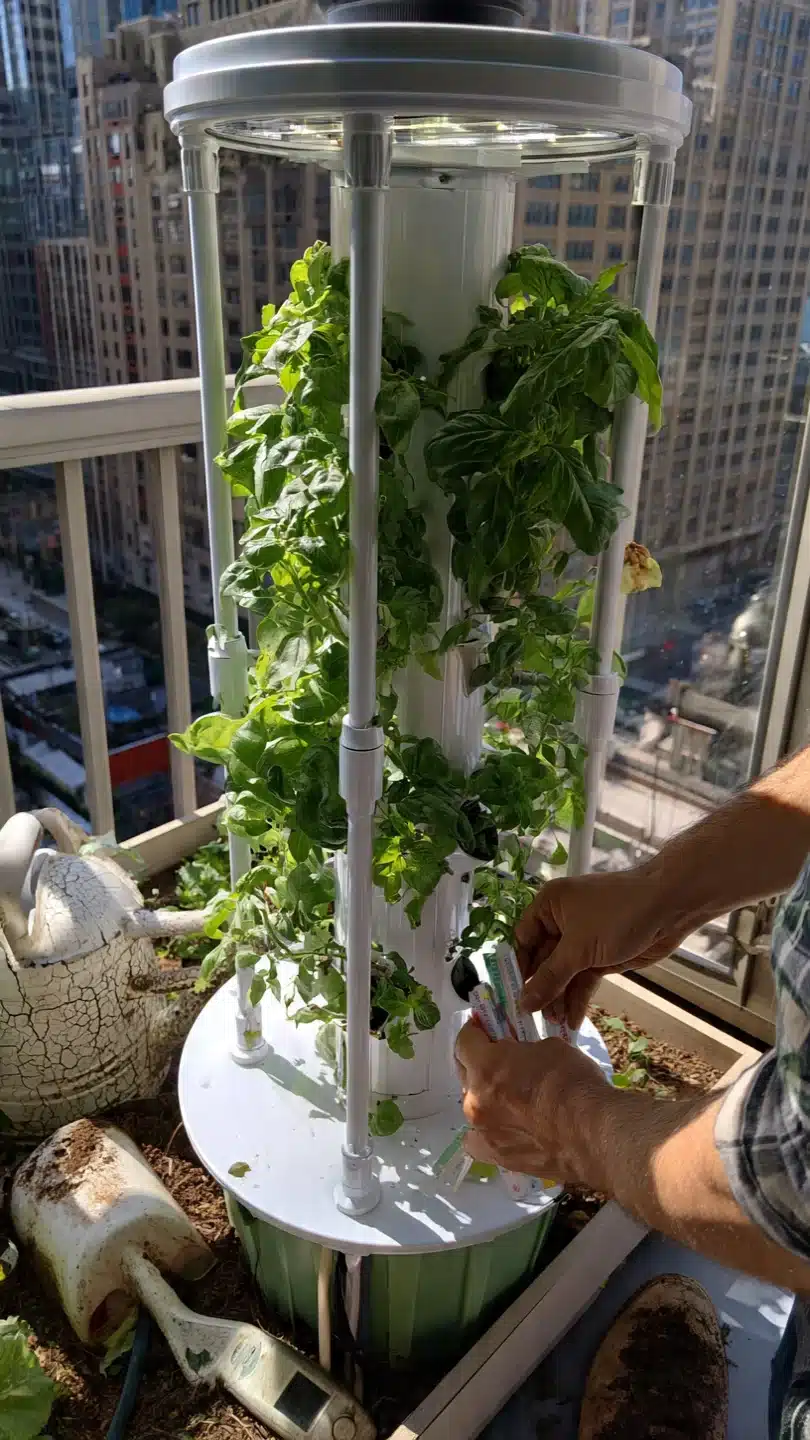
Best for: Branch 2 and 3
The 10-minute workflow for the EXO Tower begins with reservoir filling to the marked line, followed by a quick pH test using strips and adjustment with dilute solutions if outside 5.5 to 6.5. Run the pump timer for 15 minutes every two hours during daylight periods. Upgrade option: add a secondary timer for night cycles in indoor setups. Modular columns allow expansion without full disassembly. The system recirculates nutrient solution efficiently, suiting protected patios or indoor corners where space scales with your needs. Monitor root health visually once weekly by lifting a net pot.
DIY PVC Pipe Aeroponic Tower
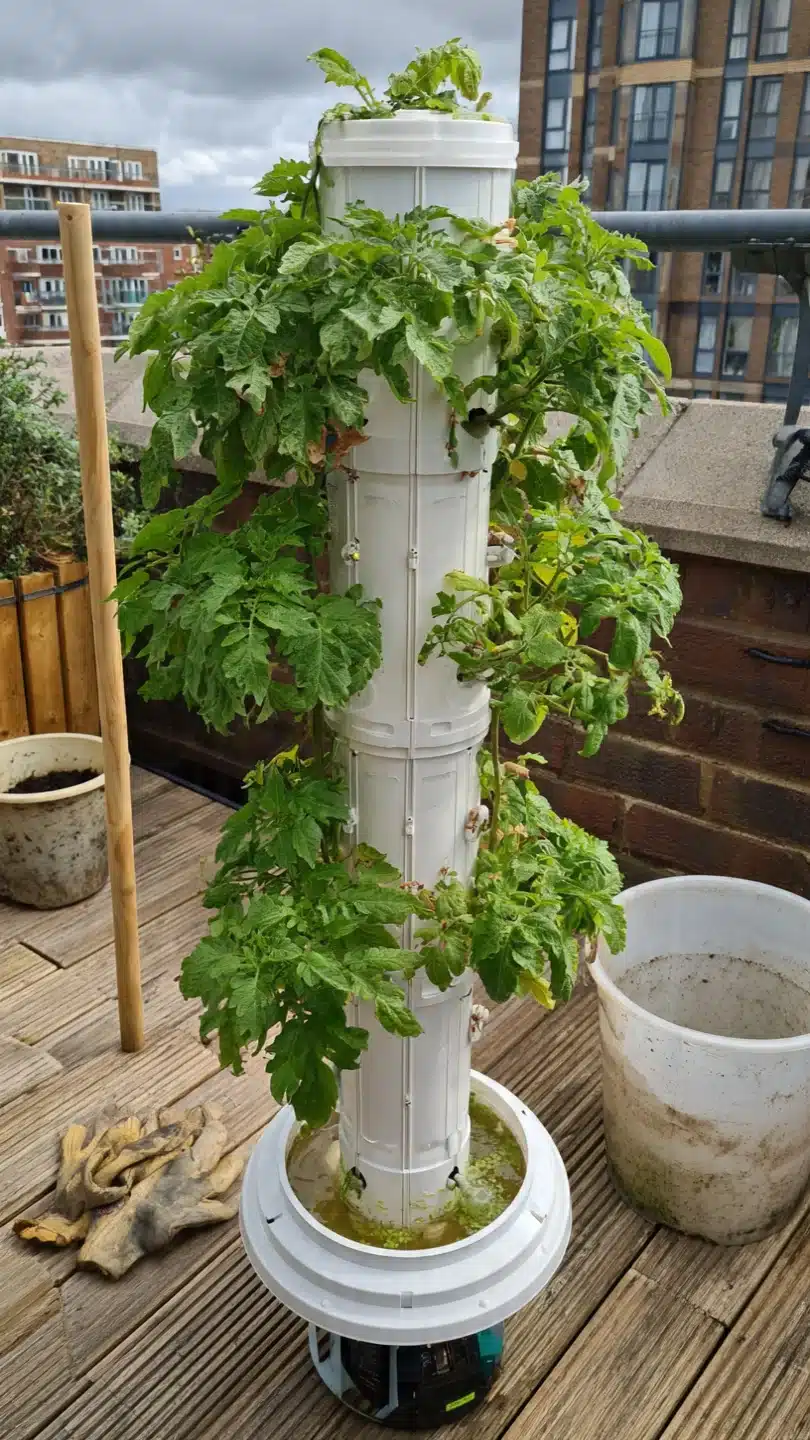
Best for: Branch 1
Build this custom aeroponic tower from standard PVC pipe, a submersible pump, and a digital timer when budget or exact dimensions matter. Drill planting holes at 6-inch intervals, seal joints with PVC cement, and mount the pump inside the base reservoir. The constraint is precise hole sizing: too large and net pots slip; too small and roots get pinched. Full build takes one afternoon with basic plumbing tools. See the detailed steps in our PVC pipe vertical garden guide.
Compact Aeroponic Herb Tower
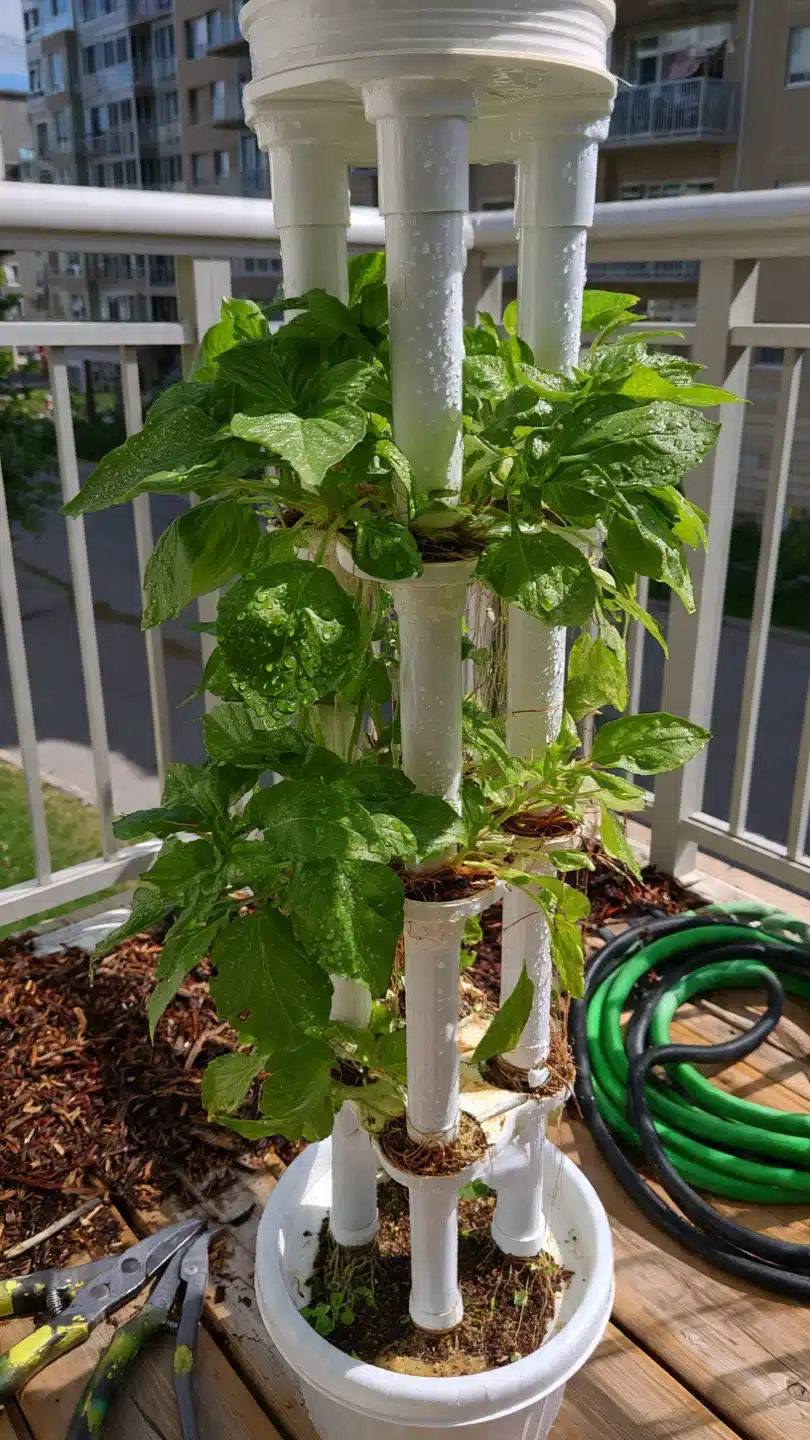
Best for: Branch 3
Use this compact aeroponic herb tower when your kitchen or indoor corner needs fresh basil, mint, and cilantro within arm’s reach. Skip larger systems if counter space is under 2 square feet. It pairs well with daily visual checks for mist coverage on roots. Edge case: in low-humidity rooms, add a small humidifier nearby to prevent tip burn on delicate leaves.
Vertical Strawberry Aeroponic Tower

Best for: Branch 2
Threshold rule: select this tower only if your balcony receives at least four hours of direct sun or equivalent grow lights and you accept wider spacing between ports. Strawberries require extra root aeration, which the misting ports deliver when set to 12-minute cycles every three hours. Adjust nutrient strength slightly higher for fruiting crops while keeping pH locked at 5.5 to 6.5. See our vertical strawberry tower guide for spacing templates.
Modern Vertical Aeroponic Tower
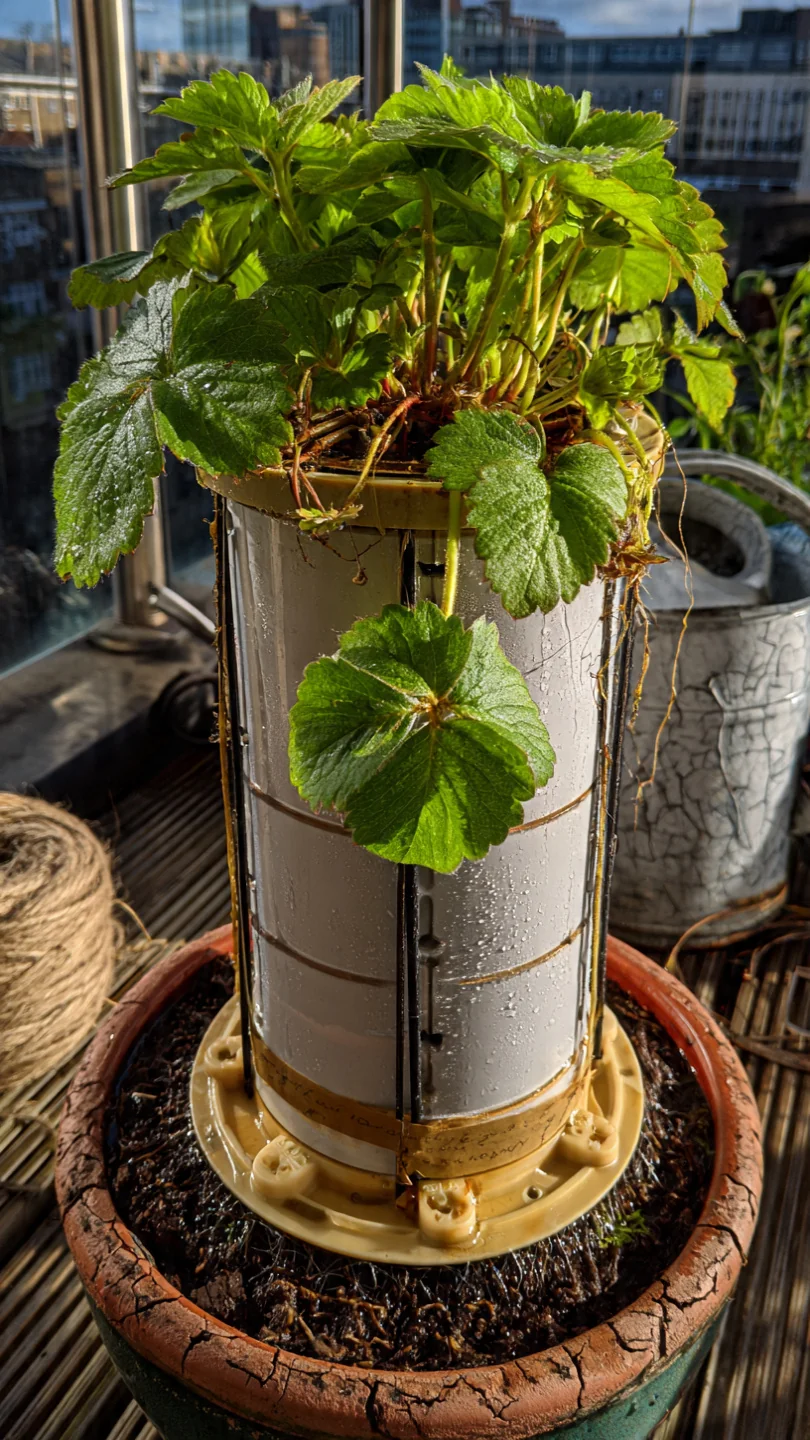
Best for: Branch 1 and 3
This sleek aeroponic column features a quiet pump and minimalist design that blends into living areas. The 10-minute workflow includes reservoir top-off, pH strip test, and visual root inspection through the access ports. Upgrade option: integrate a smart plug for remote timer control. The system excels where aesthetics matter alongside function, supporting up to 20 plants in a narrow footprint.
Vegetable-Focused Aeroponic Tower
Best for: Branch 3
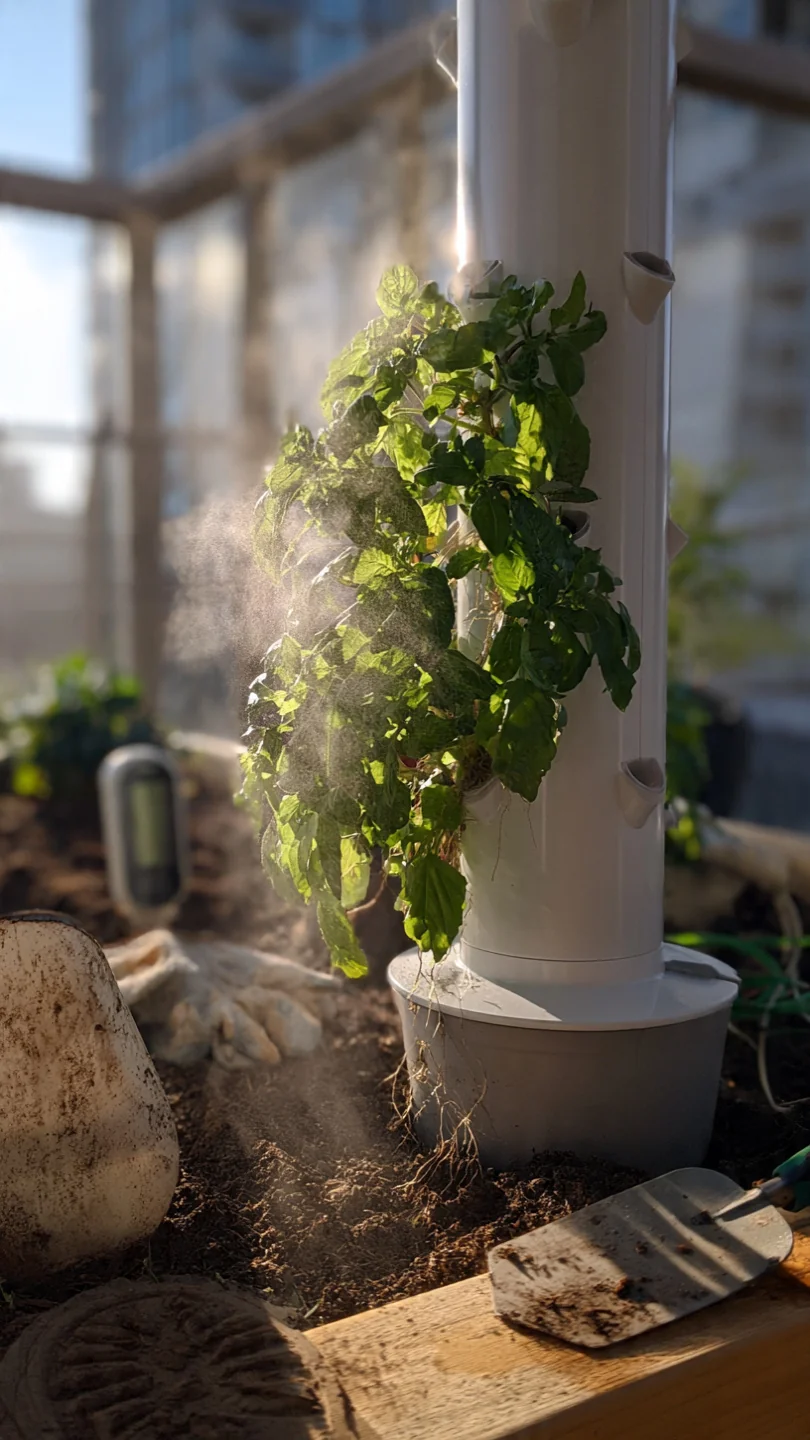
Choose the vegetable-focused aeroponic tower when your indoor setup targets leafy greens and compact peppers. The mechanism uses higher-volume mist ports to feed heavier nutrient users. Blueprint steps include base assembly, column stacking, pump installation, and initial nutrient mix at standard strength. Monitor for leaf yellowing as the first sign of pH drift outside 5.5 to 6.5. See our vertical vegetable garden guide for crop rotation ideas.
Starter Stack (What to Choose First)
For Branch 1: Power-Constrained Apartments
Start with the Tower Garden HOME Unit paired with the DIY PVC Pipe Aeroponic Tower. The pre-built unit provides immediate results while the DIY version adds custom height without extra outlet needs. Initial setup ranges from 90 minutes to 3 hours total. Ongoing weekly time stays under 90 minutes.
For Branch 2: Balcony or Patio Setups
Begin with the Aerospring 27-Plant Tower and the Vertical Strawberry Aeroponic Tower. The outdoor-rated Aerospring handles weather while the strawberry configuration fills fruiting gaps. Combined initial cost falls in the mid-range bracket. Weekly maintenance totals 2 to 3 hours across both.
For Branch 3: Dedicated Indoor Spaces
Launch with the ALTO Garden HX Tower and the Compact Aeroponic Herb Tower. Integrated lights on the ALTO cover low-light rooms while the herb tower keeps daily harvests close. Setup time ranges from 45 minutes to 2 hours. Weekly checks require 60 to 90 minutes total.
When This Won’t Work
Aeroponic tower gardens fail when electricity access drops for more than two hours, because the misting pump stops and exposed roots dry rapidly. Another measurable condition is consistent pH drift outside the 5.5 to 6.5 range without weekly testing and correction. Both lead to wilted plants within days.
In those cases, switch to passive vertical systems that require no power for misting. One strong alternative is stackable planters that rely on gravity watering. See our stackable planters guide for low-effort options.
Choosing the Right Option for Your Situation
Budget Threshold
Under 400 dollars favors the DIY PVC Pipe Aeroponic Tower or basic compact models. Mid-range 400 to 1200 dollars opens pre-built units like the Tower Garden HOME or Aerospring. Above 1200 dollars unlocks systems with integrated lights and timers such as the ALTO Garden HX.
Time Threshold
Under 90 minutes weekly points to low-effort compact towers with simple reservoir checks. Two to four hours weekly supports mid-capacity balcony towers with occasional nutrient top-ups. Over four hours weekly allows full indoor systems with daily monitoring and expansion.
Technical Constraint: Outlet Distance
If your outlet sits more than 10 feet away, limit choices to battery-backup compatible or short-cord models and avoid long extension runs. Confirm your space has a grounded outlet before final selection.
Quick Yes/No Checklist
Does your space have an outlet within 10 feet? Yes/No
Can you commit to weekly pH checks? Yes/No
Is your light exposure under six hours daily? Yes/No
Ready to start with two matched items from your branch? Yes/No
Expert Q&A
How does aeroponics differ from hydroponics inside tower designs?
Aeroponics mists roots suspended in air for maximum oxygen uptake while hydroponics keeps roots in circulating nutrient water. Towers can use either method, but aeroponic versions often show faster root development when the mist cycle runs correctly.
What pH range keeps most aeroponic tower roots healthy?
Maintain 5.5 to 6.5 using test strips and dilute adjustment solutions. Test twice weekly because nutrient uptake slows outside this window regardless of tower model.
Which crops perform best in aeroponic towers versus other vertical setups?
Leafy greens, herbs, and compact strawberries thrive because roots access oxygen freely. Heavier root crops or large fruiting plants may need wider spacing or hybrid support.
How do you handle short power outages in an aeroponic tower?
Install a small uninterruptible power supply for the pump or switch to a gravity-fed backup reservoir for up to four hours. Resume normal timer cycles immediately after power returns.
Can aeroponic towers scale for a family of four?
Yes, by combining two mid-capacity towers or adding extension rings to a modular system. Focus on high-turnover crops like lettuce and herbs to match weekly harvest needs.
Conclusion
Aeroponic tower gardens deliver reliable vertical production in small urban spaces once you match the system to your exact power access and weekly time budget. The number-one mistake is buying based on plant count alone instead of verifying outlet location and maintenance tolerance first.
Your next step is to pick your decision grid branch and order the two starter-stack items that fit. For ongoing care tips across all vertical setups, read our vertical garden maintenance guide.