
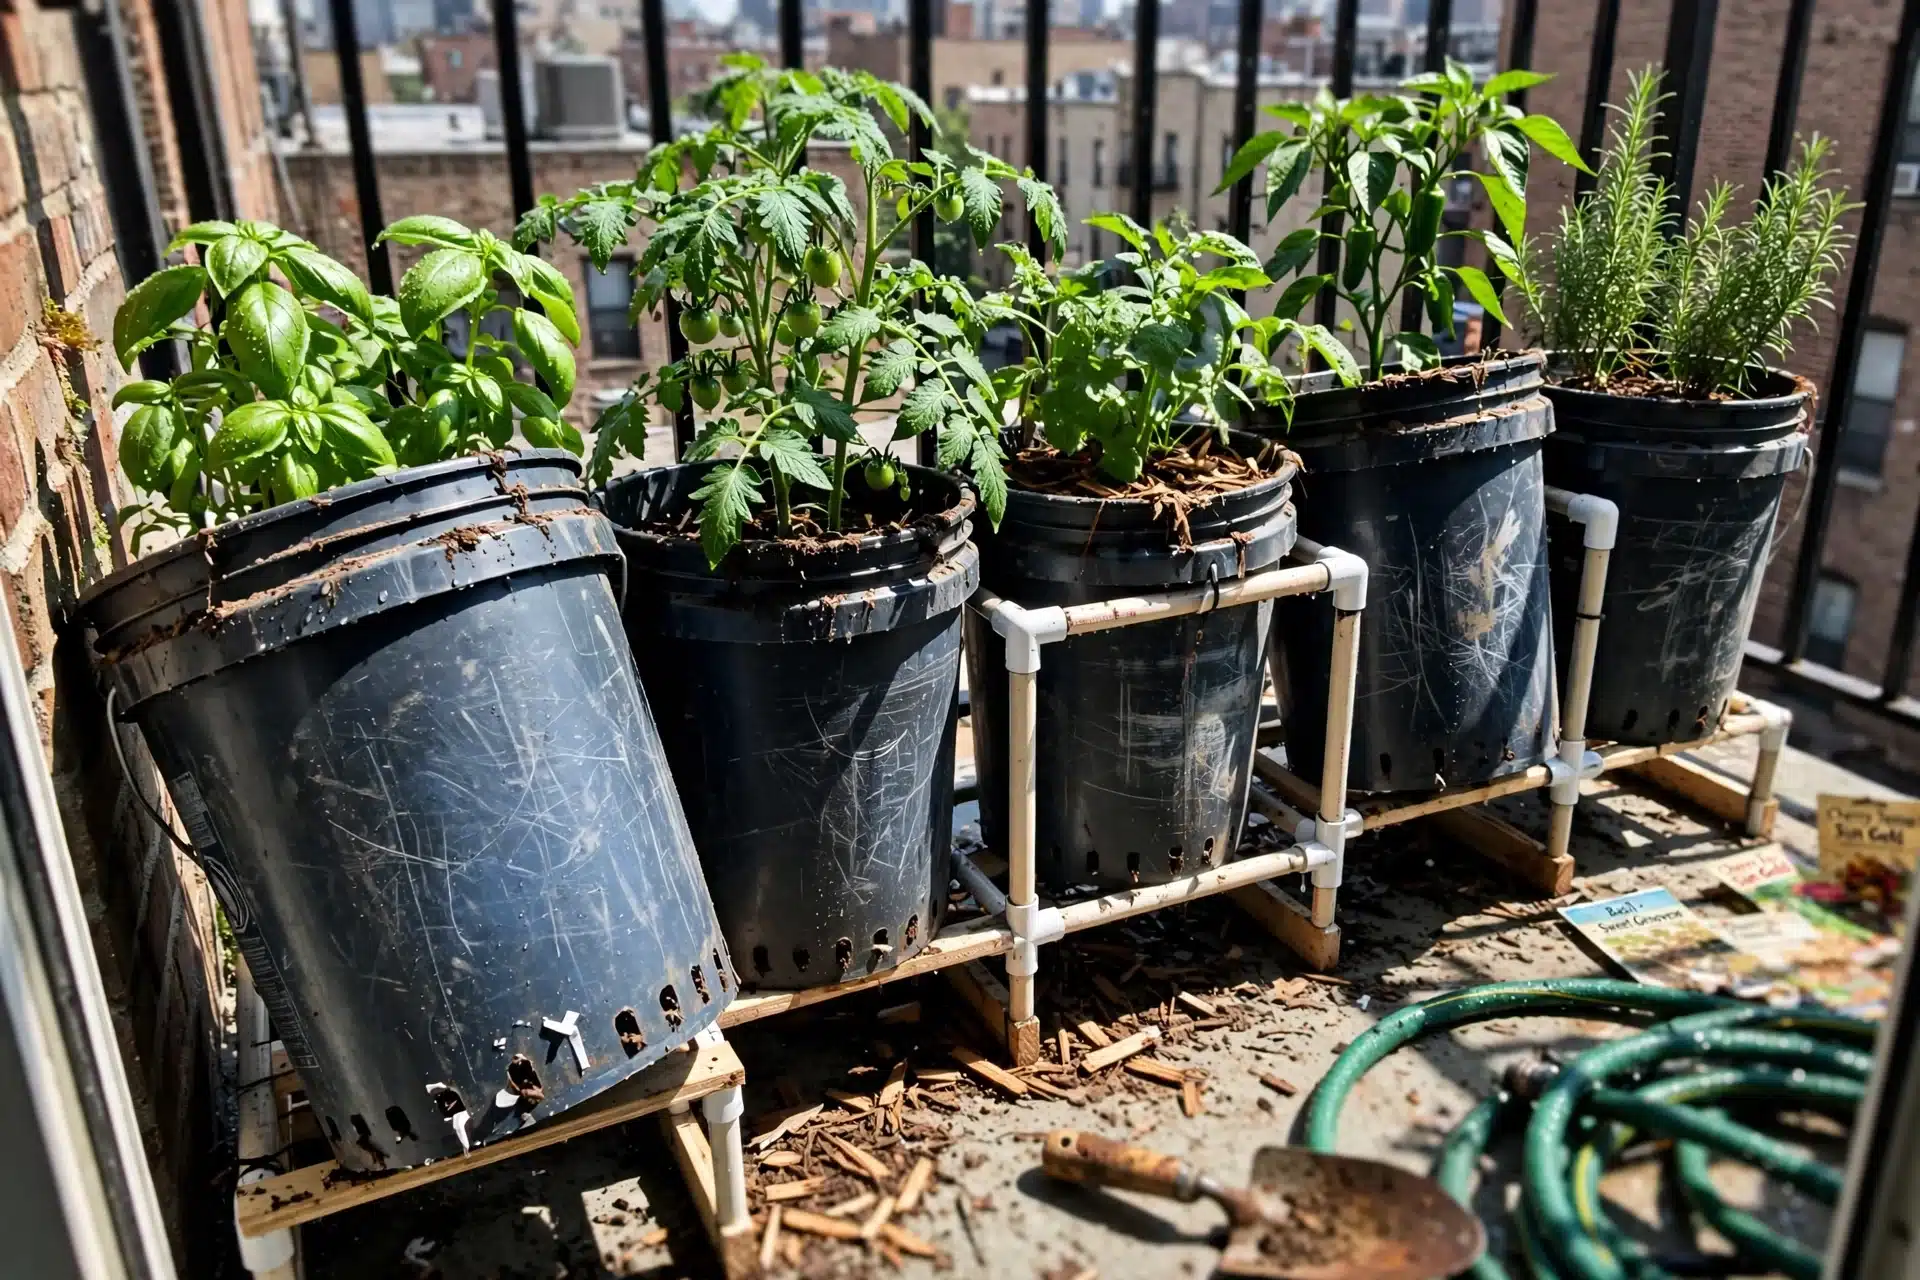
The 5 gallon bucket garden succeeds when each bucket operates as a tailored module tuned to one dominant urban constraint rather than a one-size-fits-all container. Most guides list generic planting instructions and miss this engineering step, resulting in waterlogged roots, collapsed supports, or excessive maintenance.
This article details nine distinct configurations for vegetables, herbs, and compact fruits suited to balconies, patios, and small decks. It focuses exclusively on food-grade 5 gallon buckets and excludes large woody plants, in-ground conversion, or advanced hydroponic systems.
Readers gain a precise selection process that aligns bucket modifications, soil layering, and support features with mobility needs, watering frequency, and structural demands. The outcome is fewer failures and faster establishment of a functional small-space system.
Bottom line: Identify your primary constraint first, then select the matching bucket setup to establish a productive container garden immediately.
The Yield Grid Decision Grid
If your primary constraint is frequent relocation (buckets moved more than twice per season or permanent floor space under 10 square feet): Recommended: Items 1, 4, 7 below.
If irregular watering (fewer than three sessions weekly or average daily highs above 85F): Recommended: Items 2, 5, 8 below.
If vining crops or windy exposure (plants expected to exceed 3 feet tall or in open balconies): Recommended: Items 3, 6, 9 below.
For foundational container principles that apply across all setups, see our guide to container gardening for beginners.
Quick Comparison Table
| Option | Key mechanism | Best for | Decision Grid Branch | Effort Score |
|---|---|---|---|---|
| 1. Portable Drilled Bucket Setup | Bottom drainage holes plus 2-inch aeration layer | Single-plant vegetables on balconies | Branch 1 | 1 |
| 2. Nested Self-Watering Bucket | Inner reservoir with wicking fabric | Herbs and leafy greens in hot conditions | Branch 2 | 3 |
| 3. Reinforced Trellis Bucket | Sidewall anchors plus external support frame | Vining crops in exposed spots | Branch 3 | 2 |
| 4. Lightweight Multi-Crop Bucket | Perforated sides with loose-fill mix | Herb clusters that relocate easily | Branch 1 | 1 |
| 5. Moisture-Retaining Root Crop Bucket | Bottom moisture barrier plus coarse drainage | Carrots and radishes with limited watering | Branch 2 | 2 |
| 6. Fruiting Plant Support Bucket | Internal cage slots with reinforced rim | Determinate tomatoes and peppers | Branch 3 | 2 |
| 7. Upcycled Mobile Bucket Mod | Handle reinforcement and stackable base | Seasonal rotation across patios | Branch 1 | 1 |
| 8. Insulated Heat-Control Bucket | Double-wall liner with reflective wrap | Any crop in full sun above 85F | Branch 2 | 3 |
| 9. Vertical Vining Bucket Configuration | Base plate with overhead tether points | Cucumbers and beans in tight vertical space | Branch 3 | 2 |
1. Portable Drilled Bucket Setup
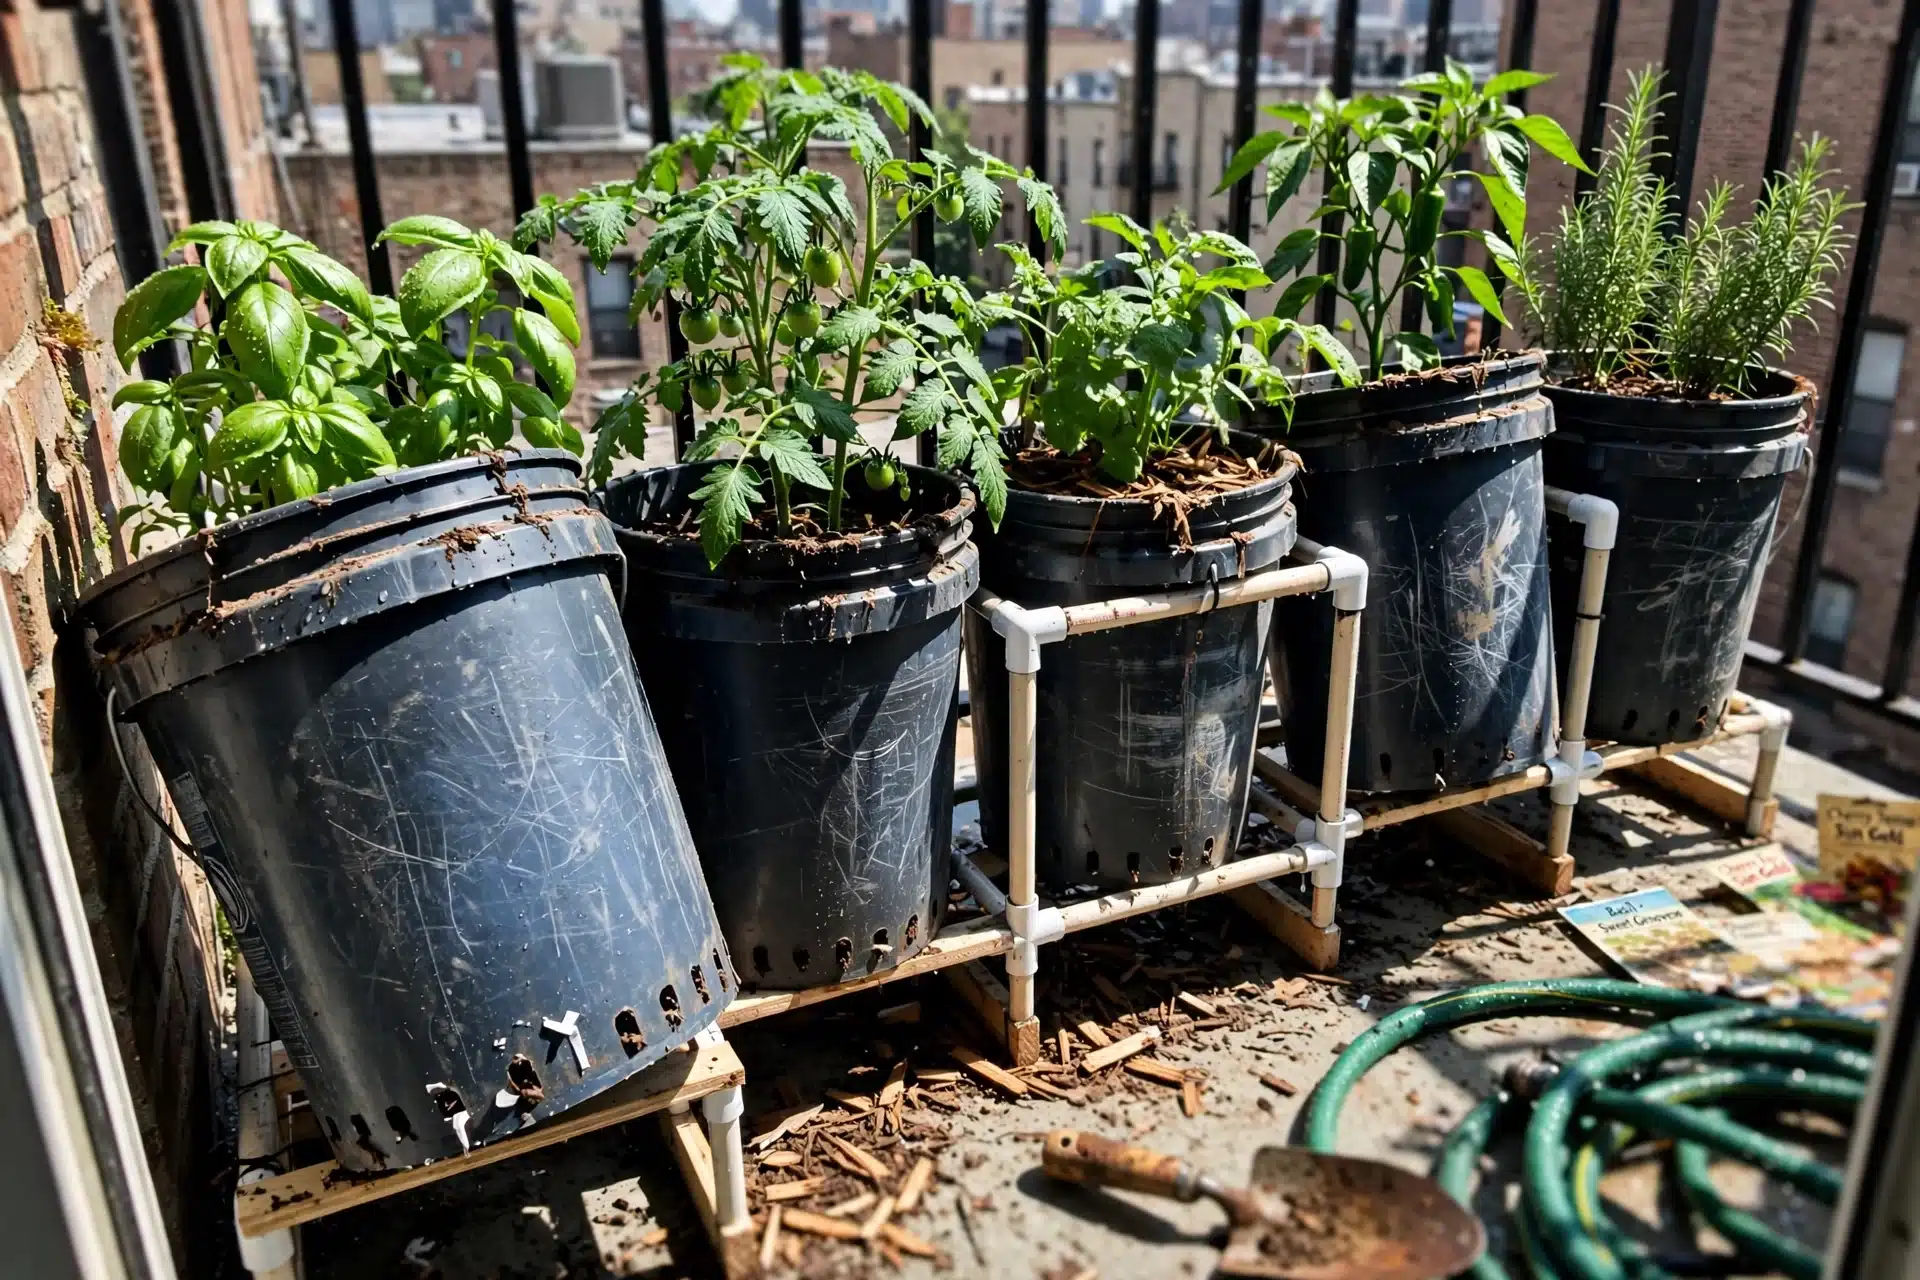
Best for: Branch 1 (Mobility-focused setups)
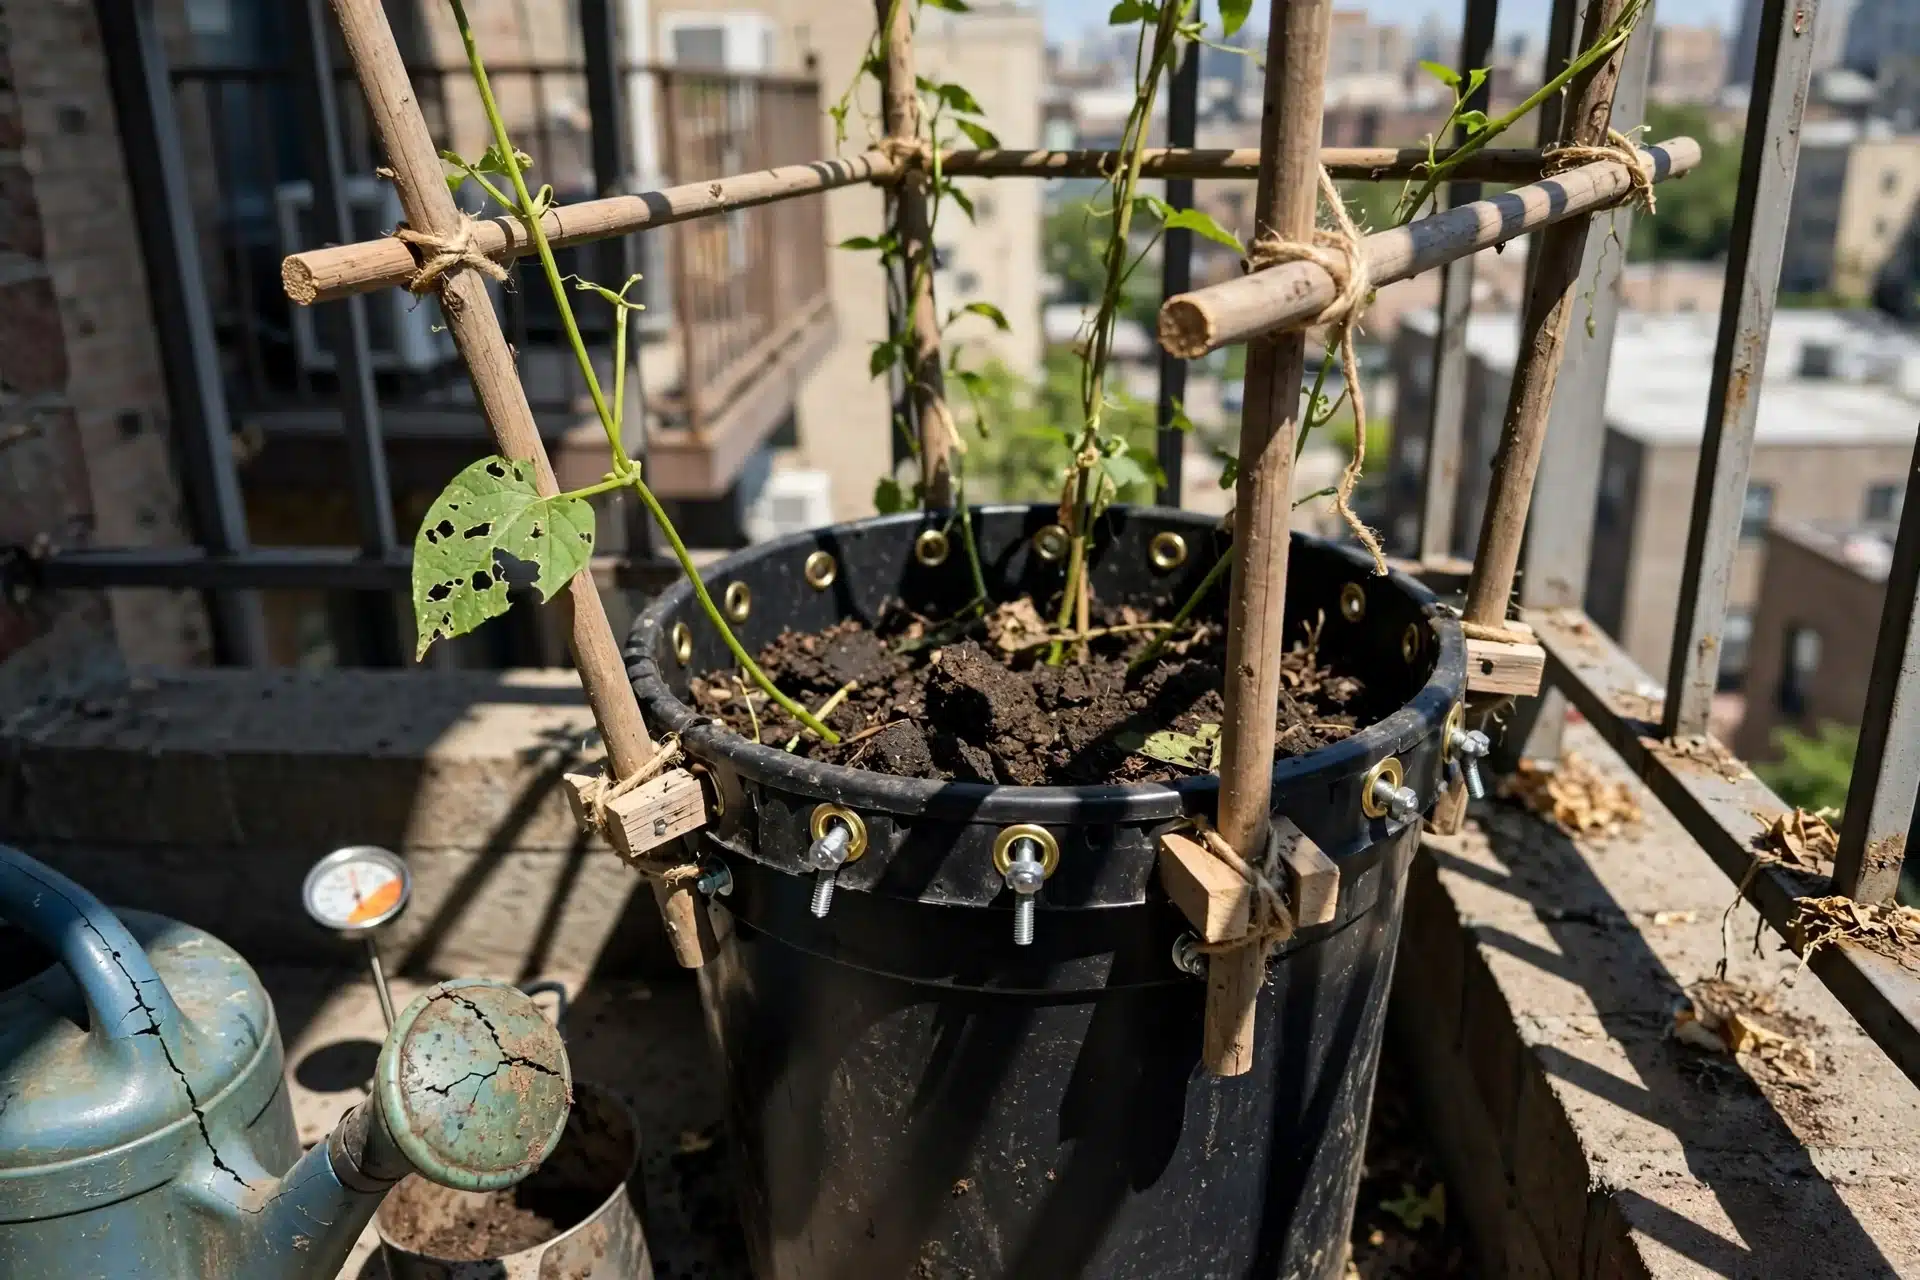
This configuration treats the 5 gallon bucket as a fully independent, movable unit for single large plants. It prioritizes quick relocation without disturbing roots. The blueprint starts with food-grade buckets only. Drill four to six 1/4-inch holes evenly across the bottom. Add a 2-inch layer of clean gravel or broken terracotta shards for immediate aeration. Fill to 1 inch below the rim with potting mix. Plant one compact vegetable or herb directly in the center. The edge case arises in windy balconies: secure the bucket rim with a bungee cord to the railing during transport. Common mistake: skipping the aeration layer, which leads to compacted soil after the first heavy rain. Pair with the right soil for container gardening to maintain structure during moves. Setup takes under 15 minutes and remains stable for one full season without adjustment.
2. Nested Self-Watering Bucket
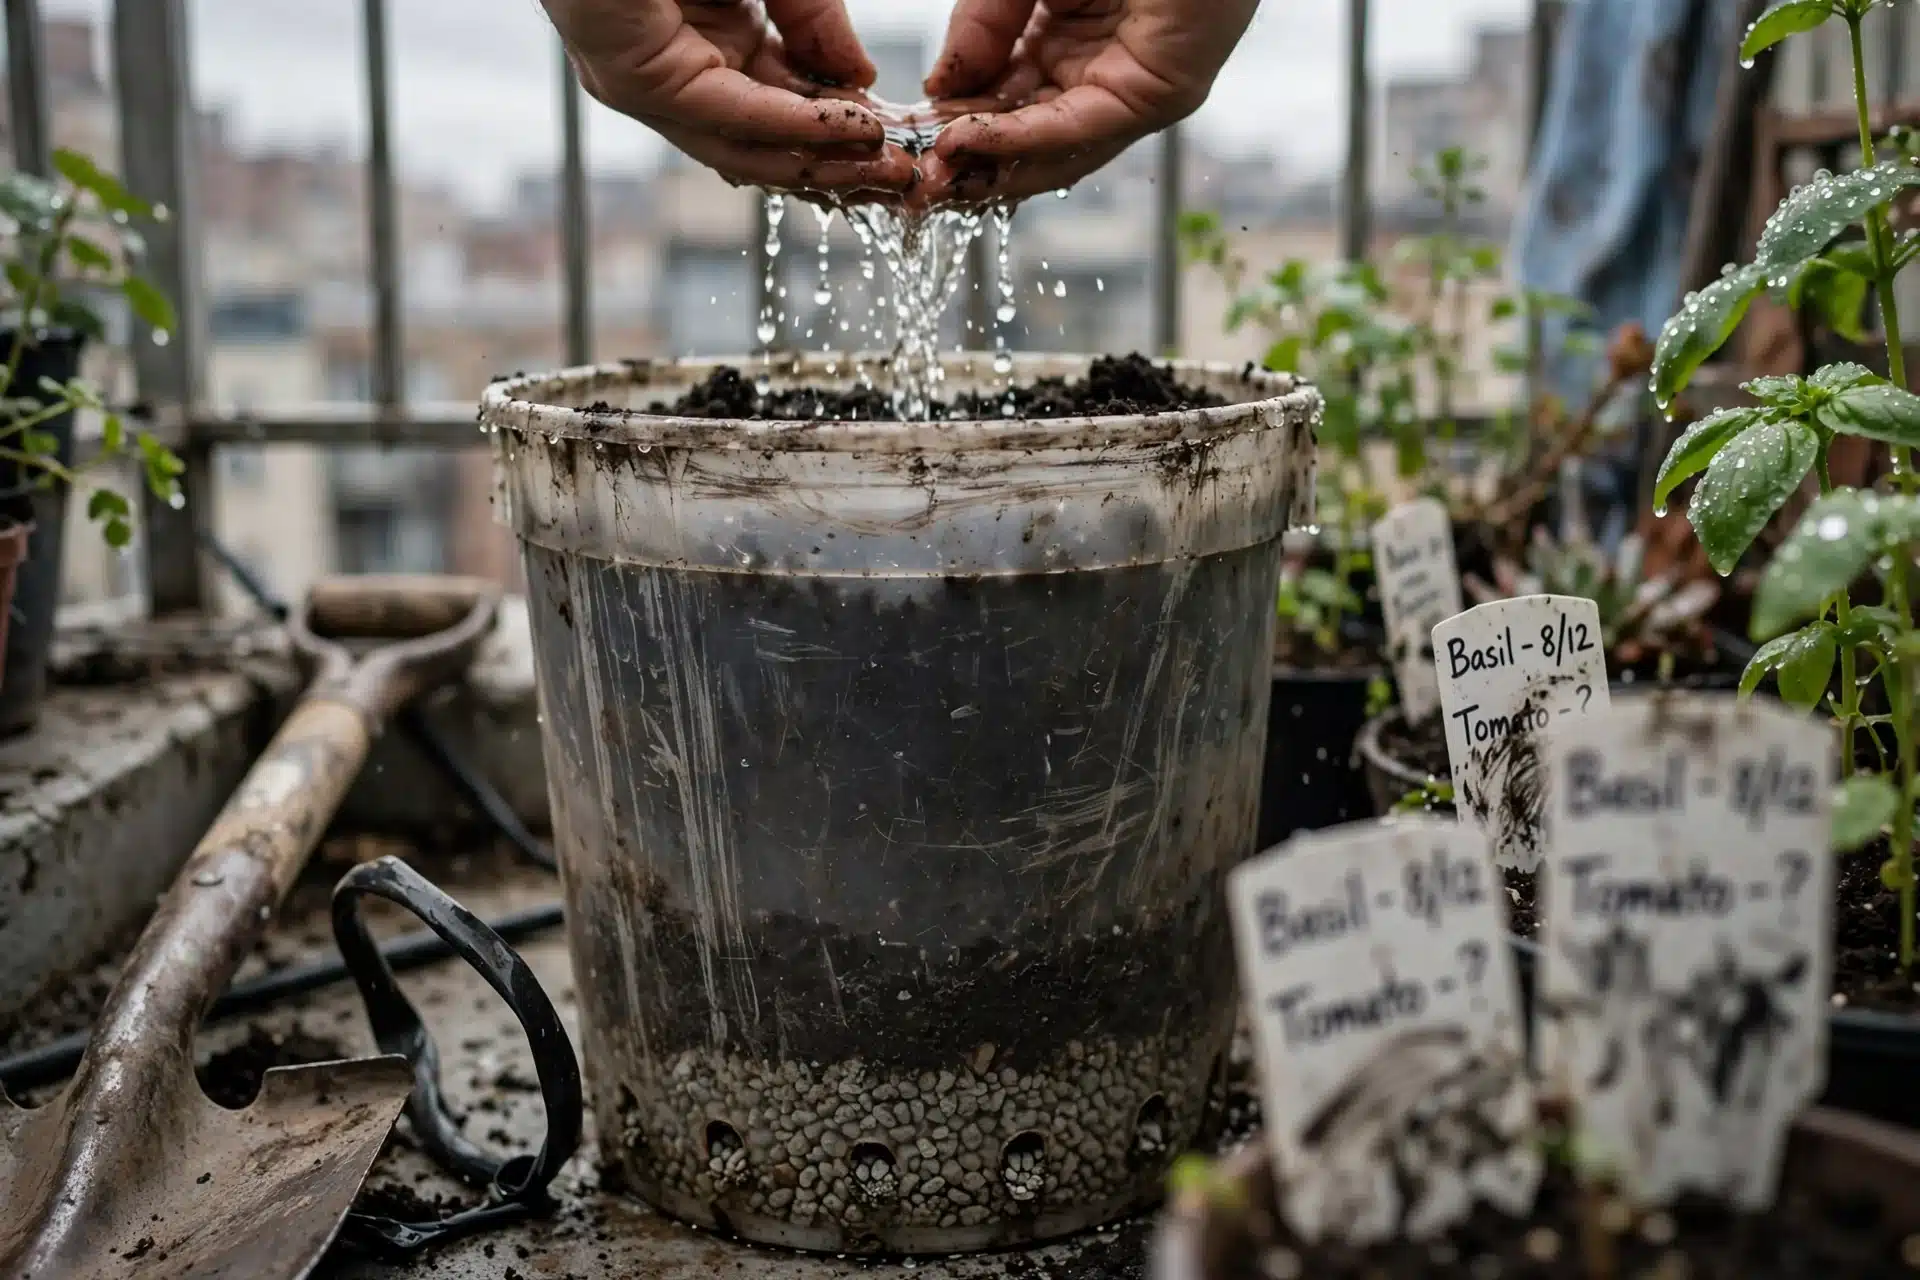
Best for: Branch 2 (Water efficiency priority)
Use this when watering access drops below three sessions weekly. Skip it if you already maintain daily checks or grow deep-rooted crops that outgrow the reservoir. The inner bucket sits inside an outer reservoir bucket with wicking strips cut from old cotton fabric. Fill the reservoir to the overflow hole level. This keeps soil moisture consistent without daily top-ups in temperatures up to 85F.
3. Reinforced Trellis Bucket
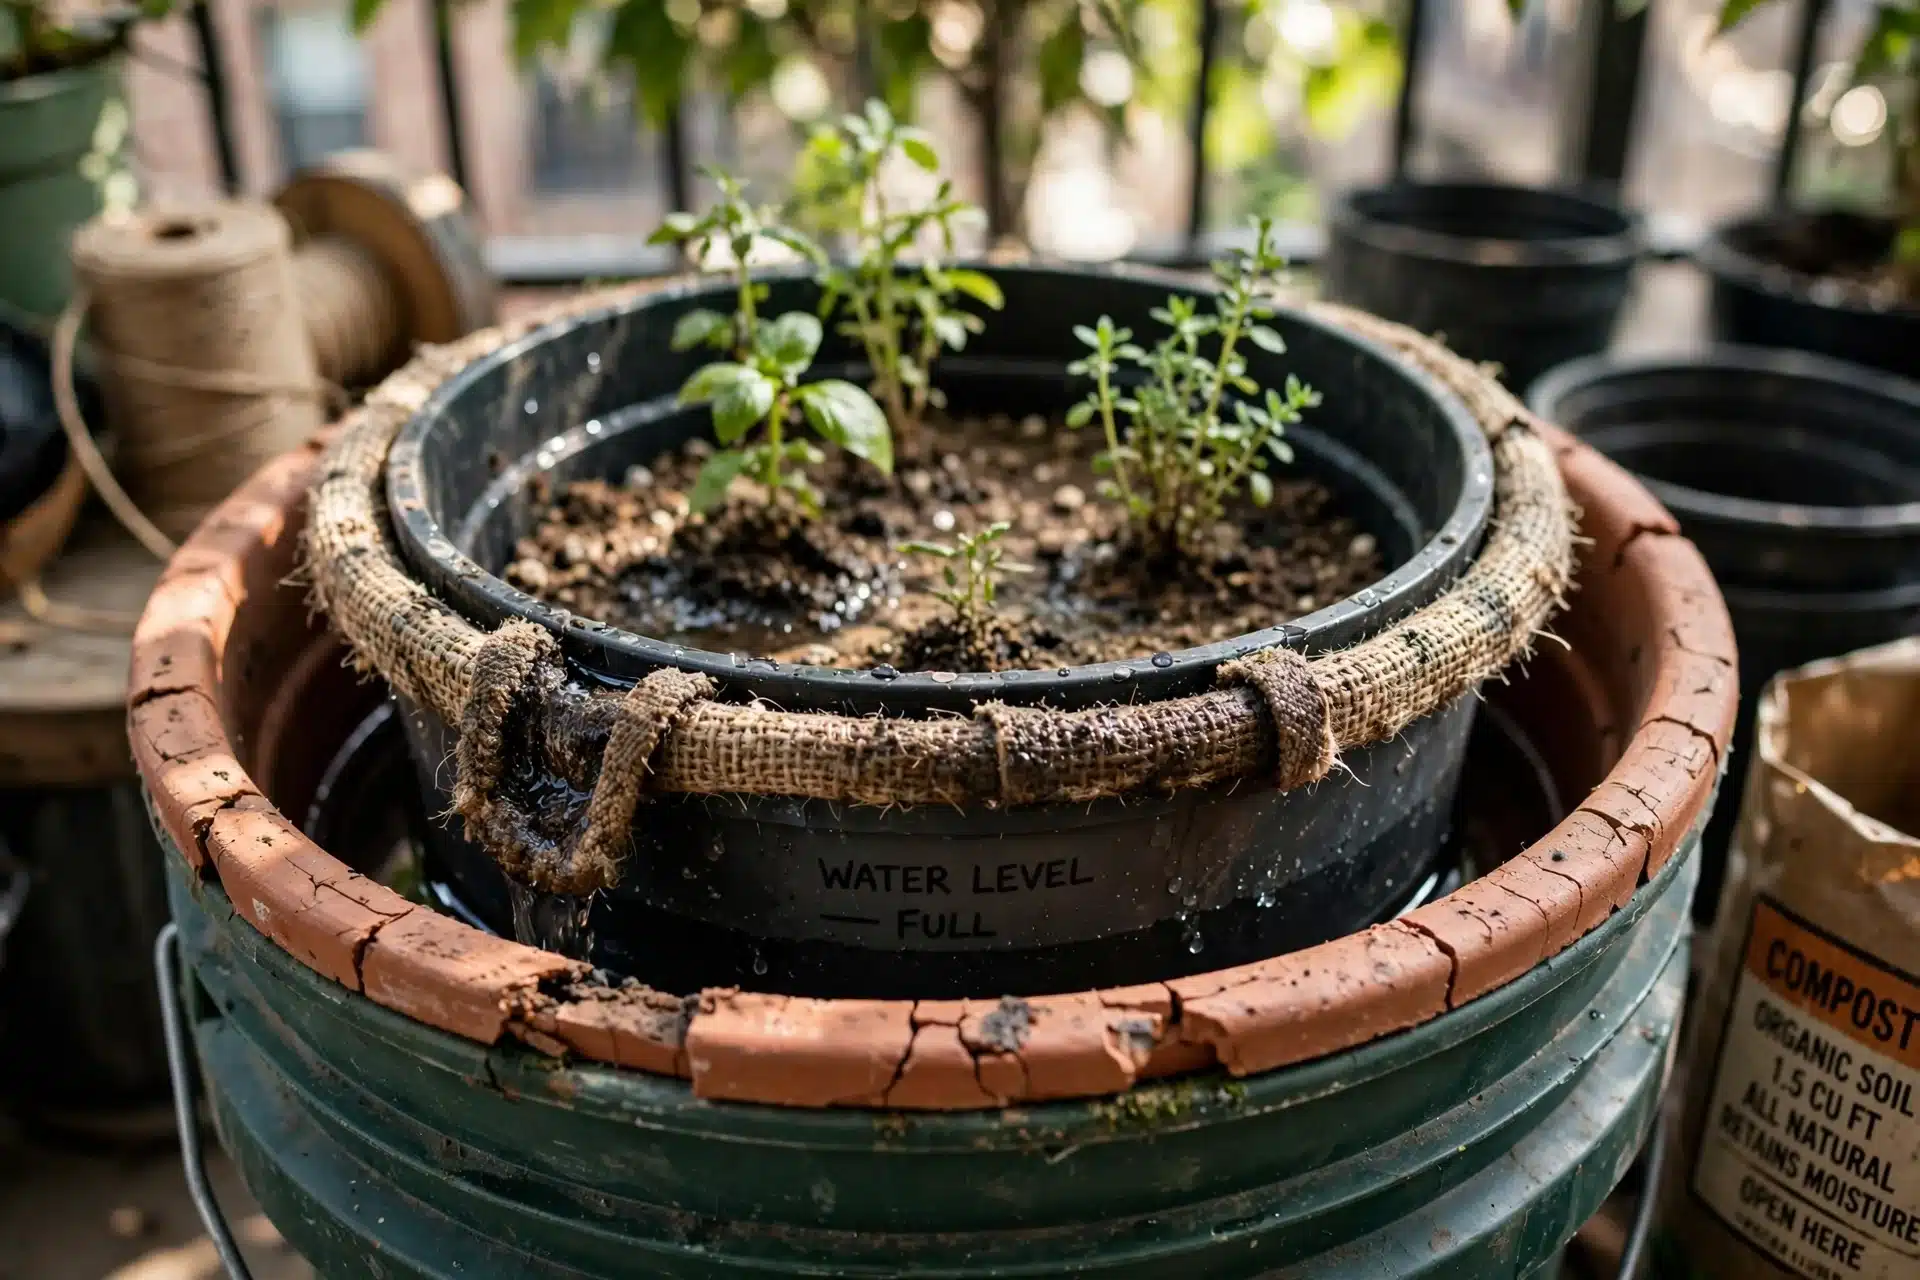
Best for: Branch 3 (Structural-support focused)
Apply the threshold rule here: use only when plants will exceed 3 feet or wind speeds regularly top 15 mph. Below that height or in sheltered spots, the extra reinforcement adds unnecessary weight. Drill two 1/2-inch holes on opposite sides 2 inches below the rim. Insert sturdy dowels or rebar through the holes and secure externally to a trellis frame. This prevents tipping once vines load the structure. Adjust tie points every 10 days as growth continues.
4. Lightweight Multi-Crop Bucket
Best for: Branch 1 (Mobility-focused setups)
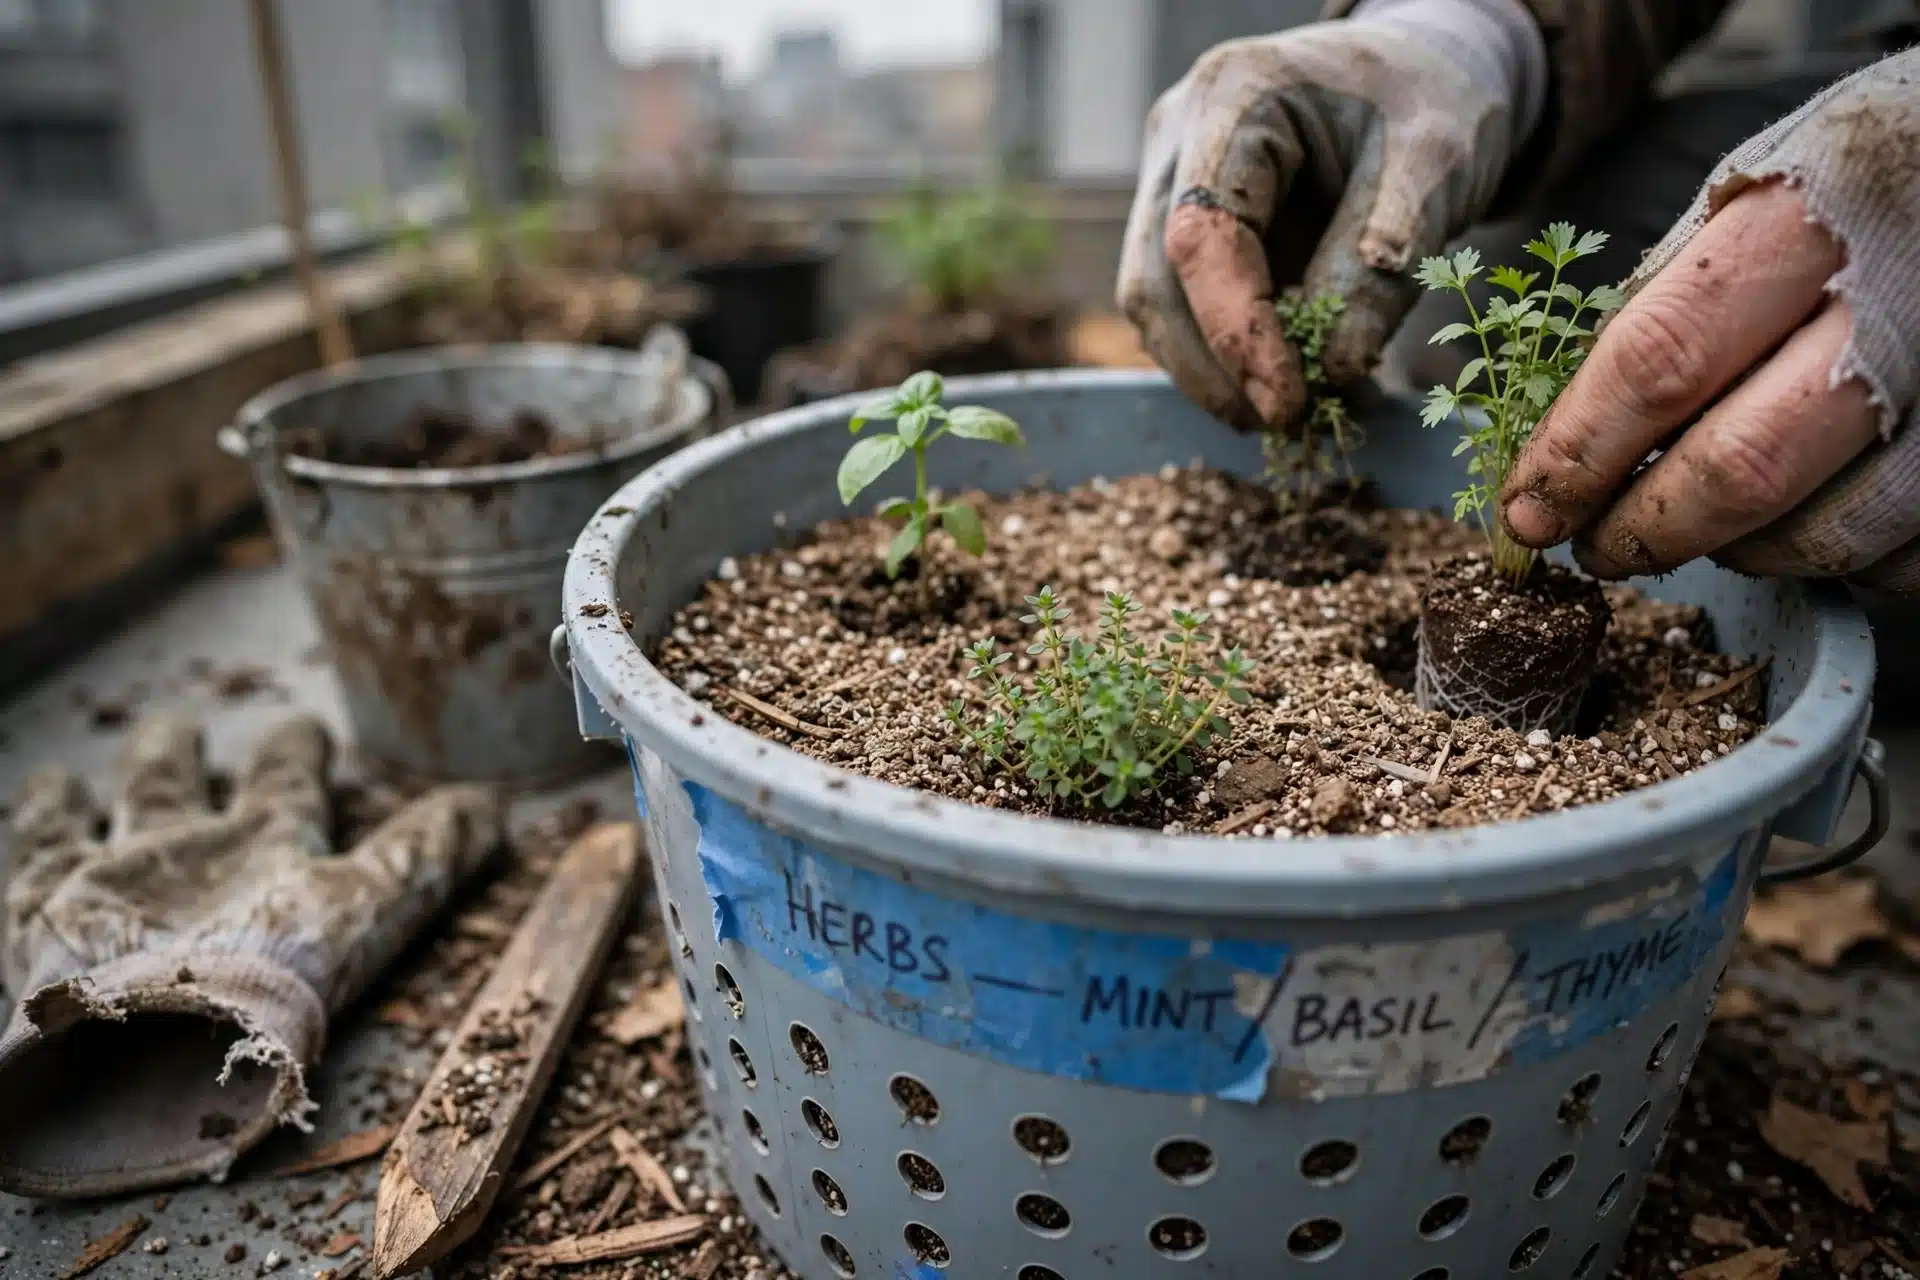
This setup converts one bucket into a portable herb cluster for gardeners who rotate crops between sun and shade zones. Begin with the same drilling process as the standard setup but add side perforations every 4 inches around the lower third for extra air flow. Fill with a lighter mix that drains rapidly. Plant three to five compact herb varieties around the perimeter with one central taller specimen. The synergy comes from staggered harvest times that keep the bucket weight under 25 pounds loaded. Relocate the entire unit in seconds. For details on compatible crop combinations, consult best vegetables for containers. The configuration stays mobile across an entire season with zero soil amendments required after initial filling.
5. Moisture-Retaining Root Crop Bucket
Best for: Branch 2 (Water efficiency priority)
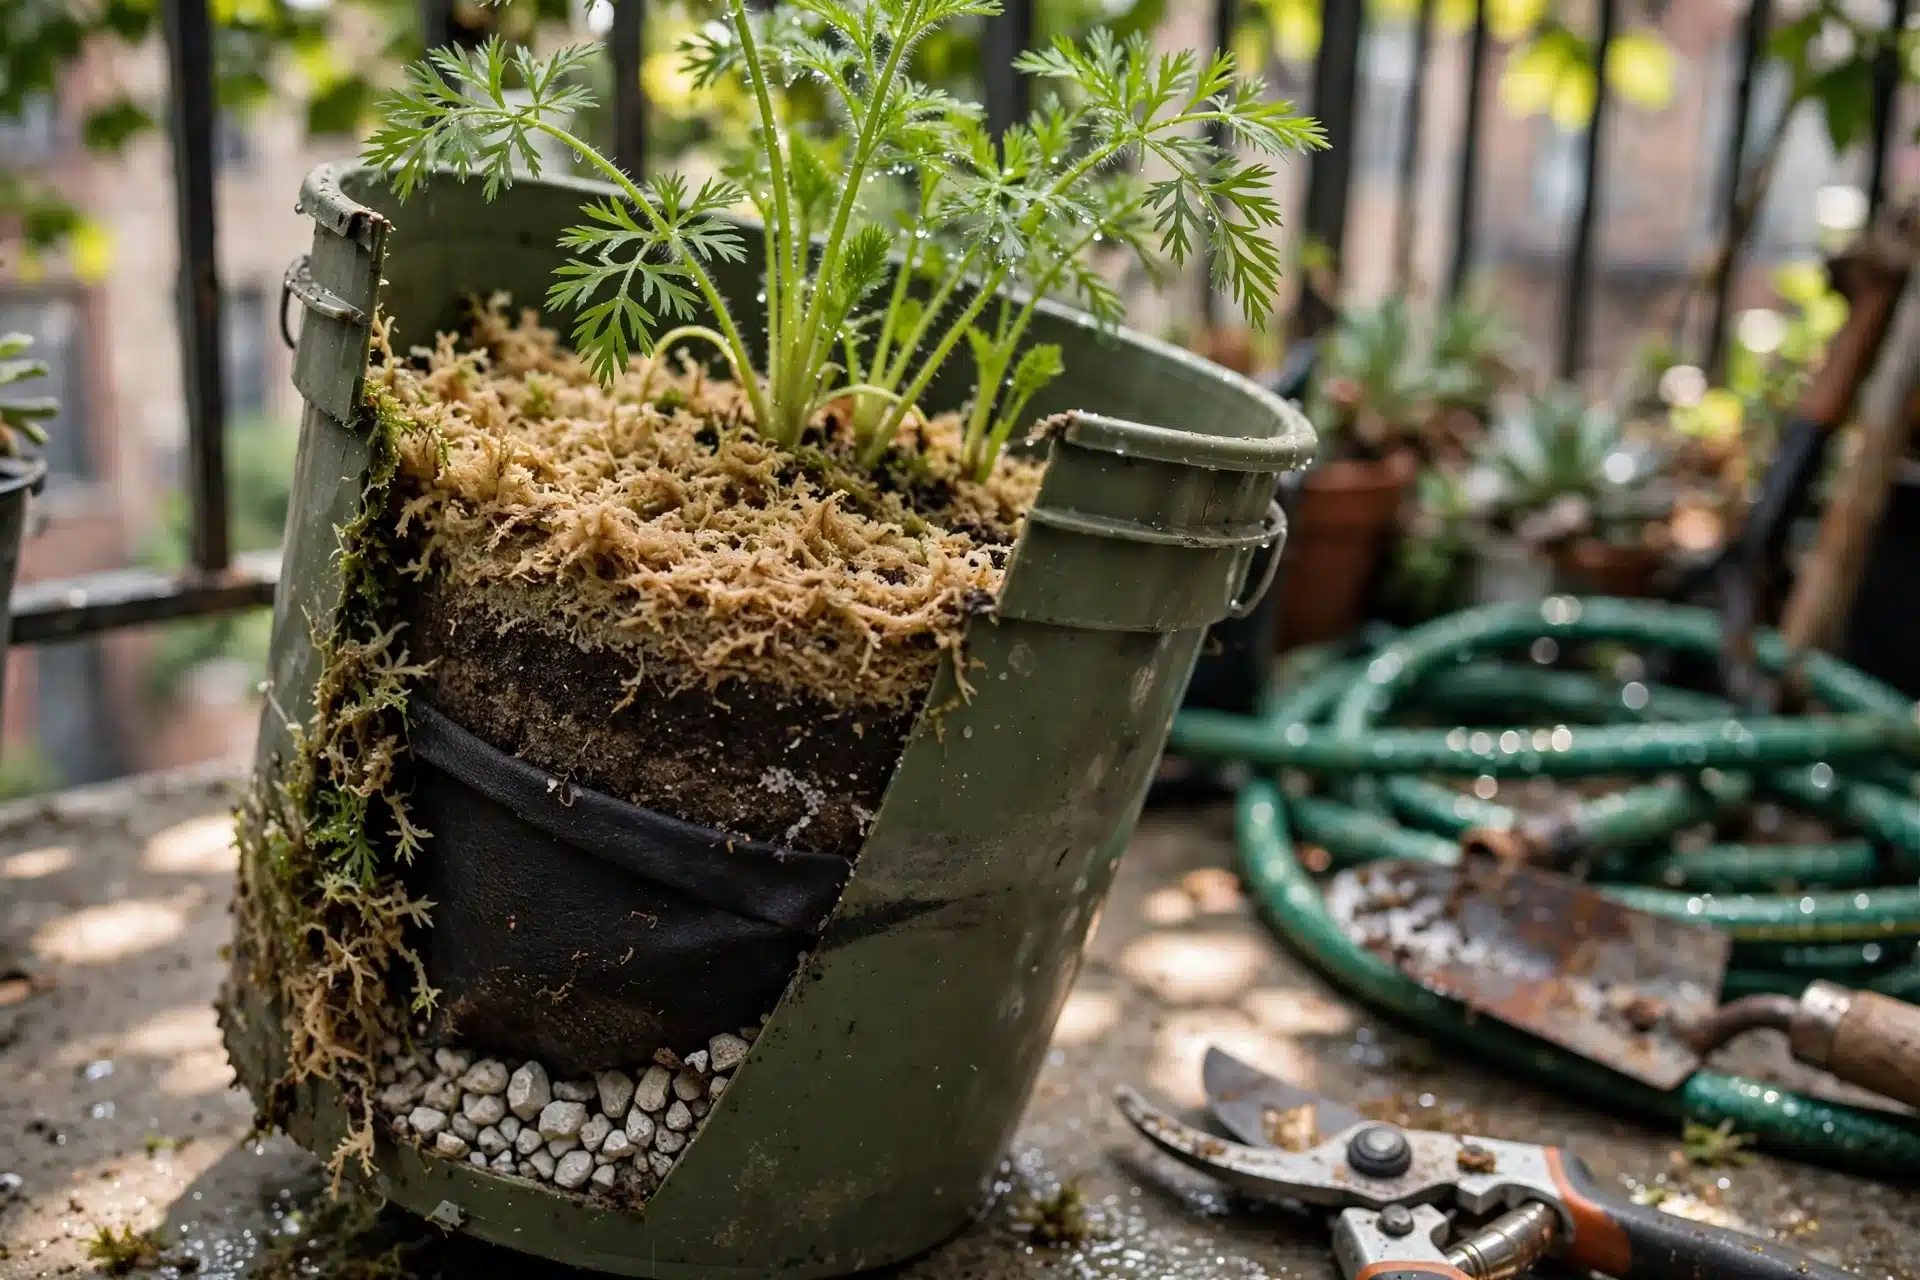
Reserve for carrots, radishes, or beets when watering falls below three sessions weekly. Skip for leafy greens that demand constant surface moisture. Place a 1-inch layer of sphagnum moss at the base before adding coarse drainage material. This barrier slows evaporation while still allowing excess water to escape.
6. Fruiting Plant Support Bucket
Best for: Branch 3 (Structural-support focused)
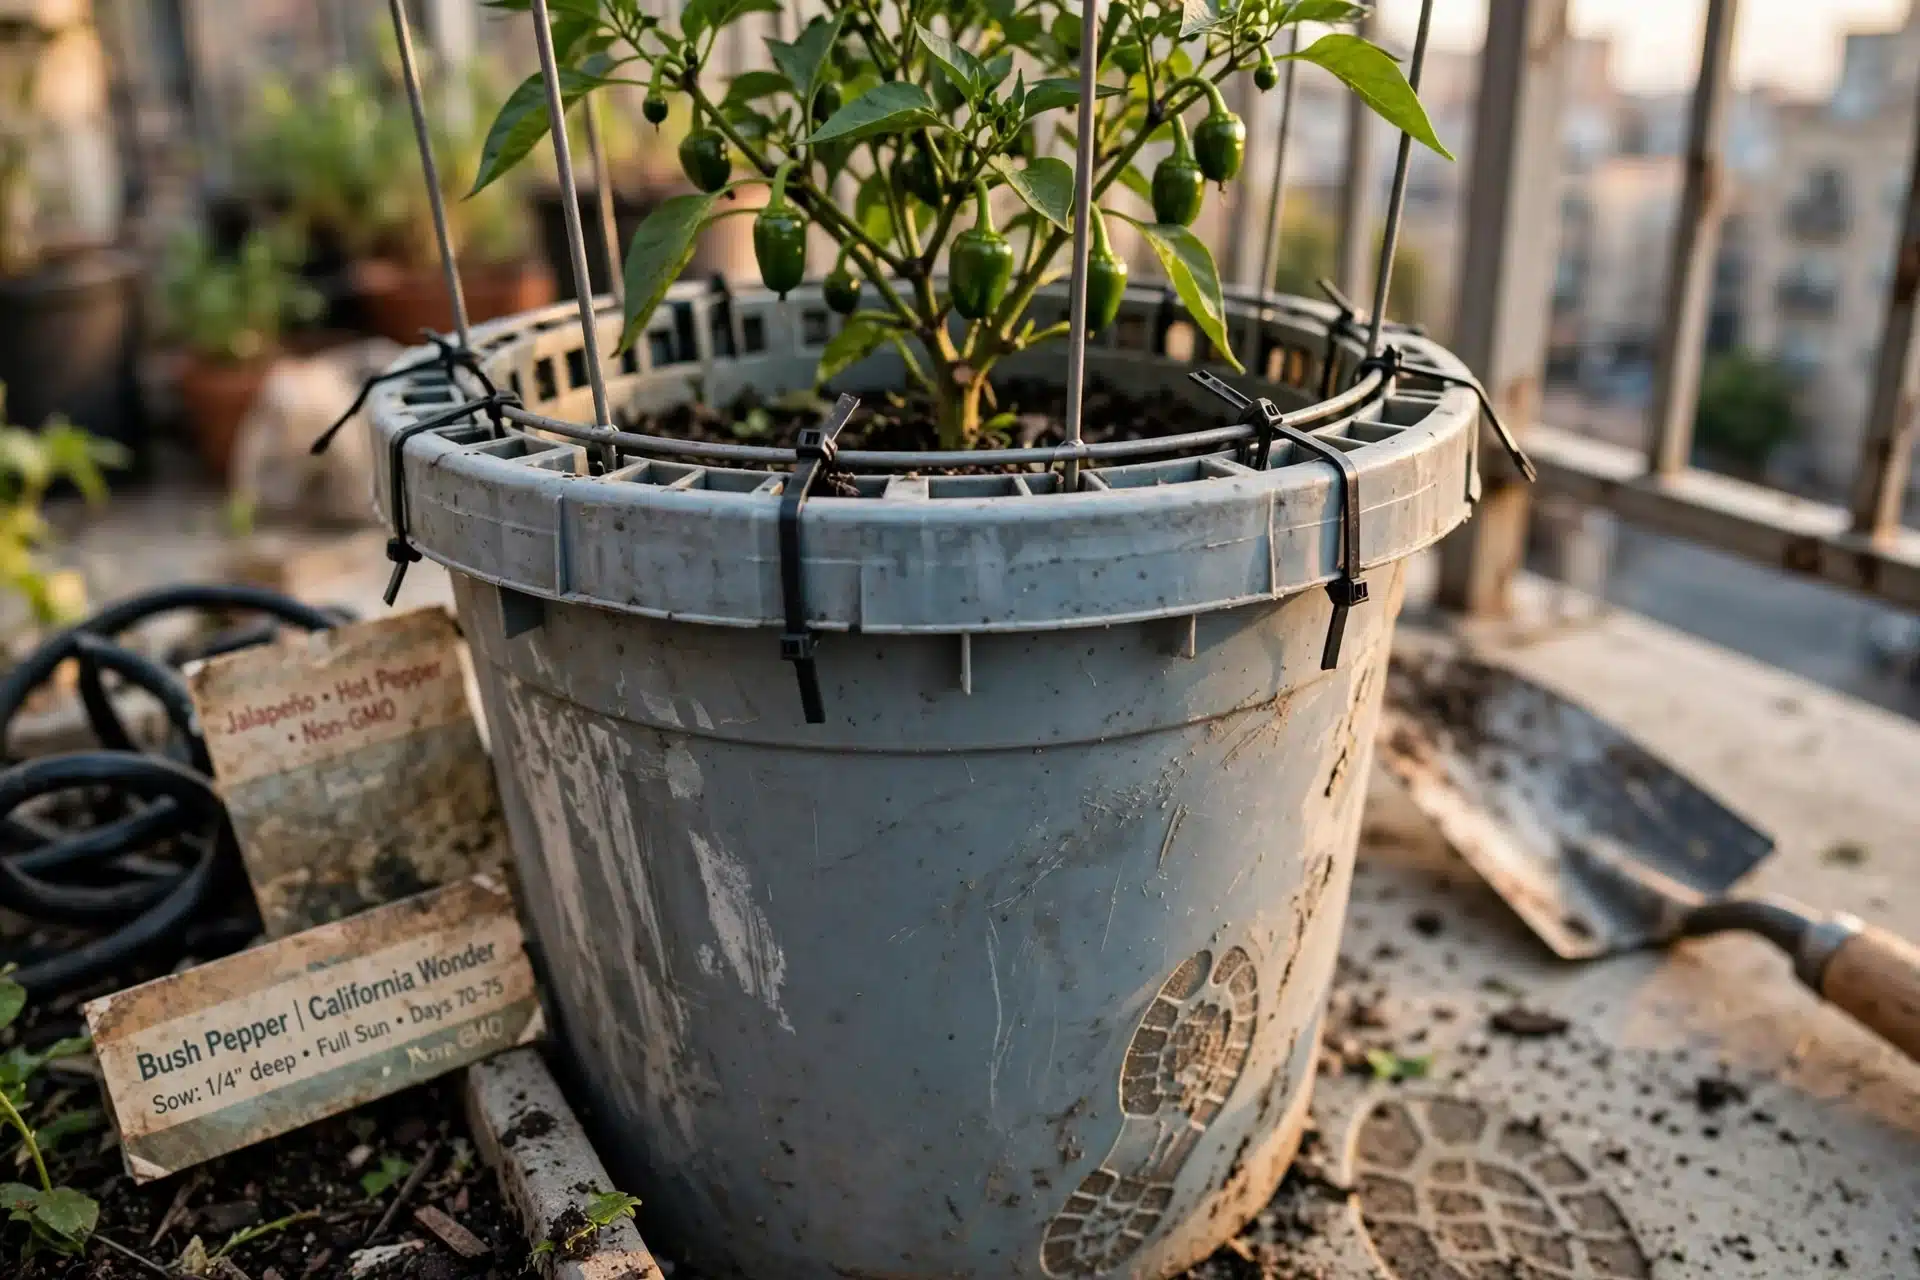
Slot a commercial tomato cage directly into pre-cut rim notches or use zip ties through side holes for custom support. This works for determinate tomatoes and bush peppers that stay under 4 feet. The reinforced rim distributes weight evenly so the bucket does not deform under fruit load. Place in full sun and secure the cage base with soil backfill. For variety-specific timing, see tomatoes in pots. Water at soil level to keep foliage dry and reduce disease pressure.
7. Upcycled Mobile Bucket Mod
Best for: Branch 1 (Mobility-focused setups)
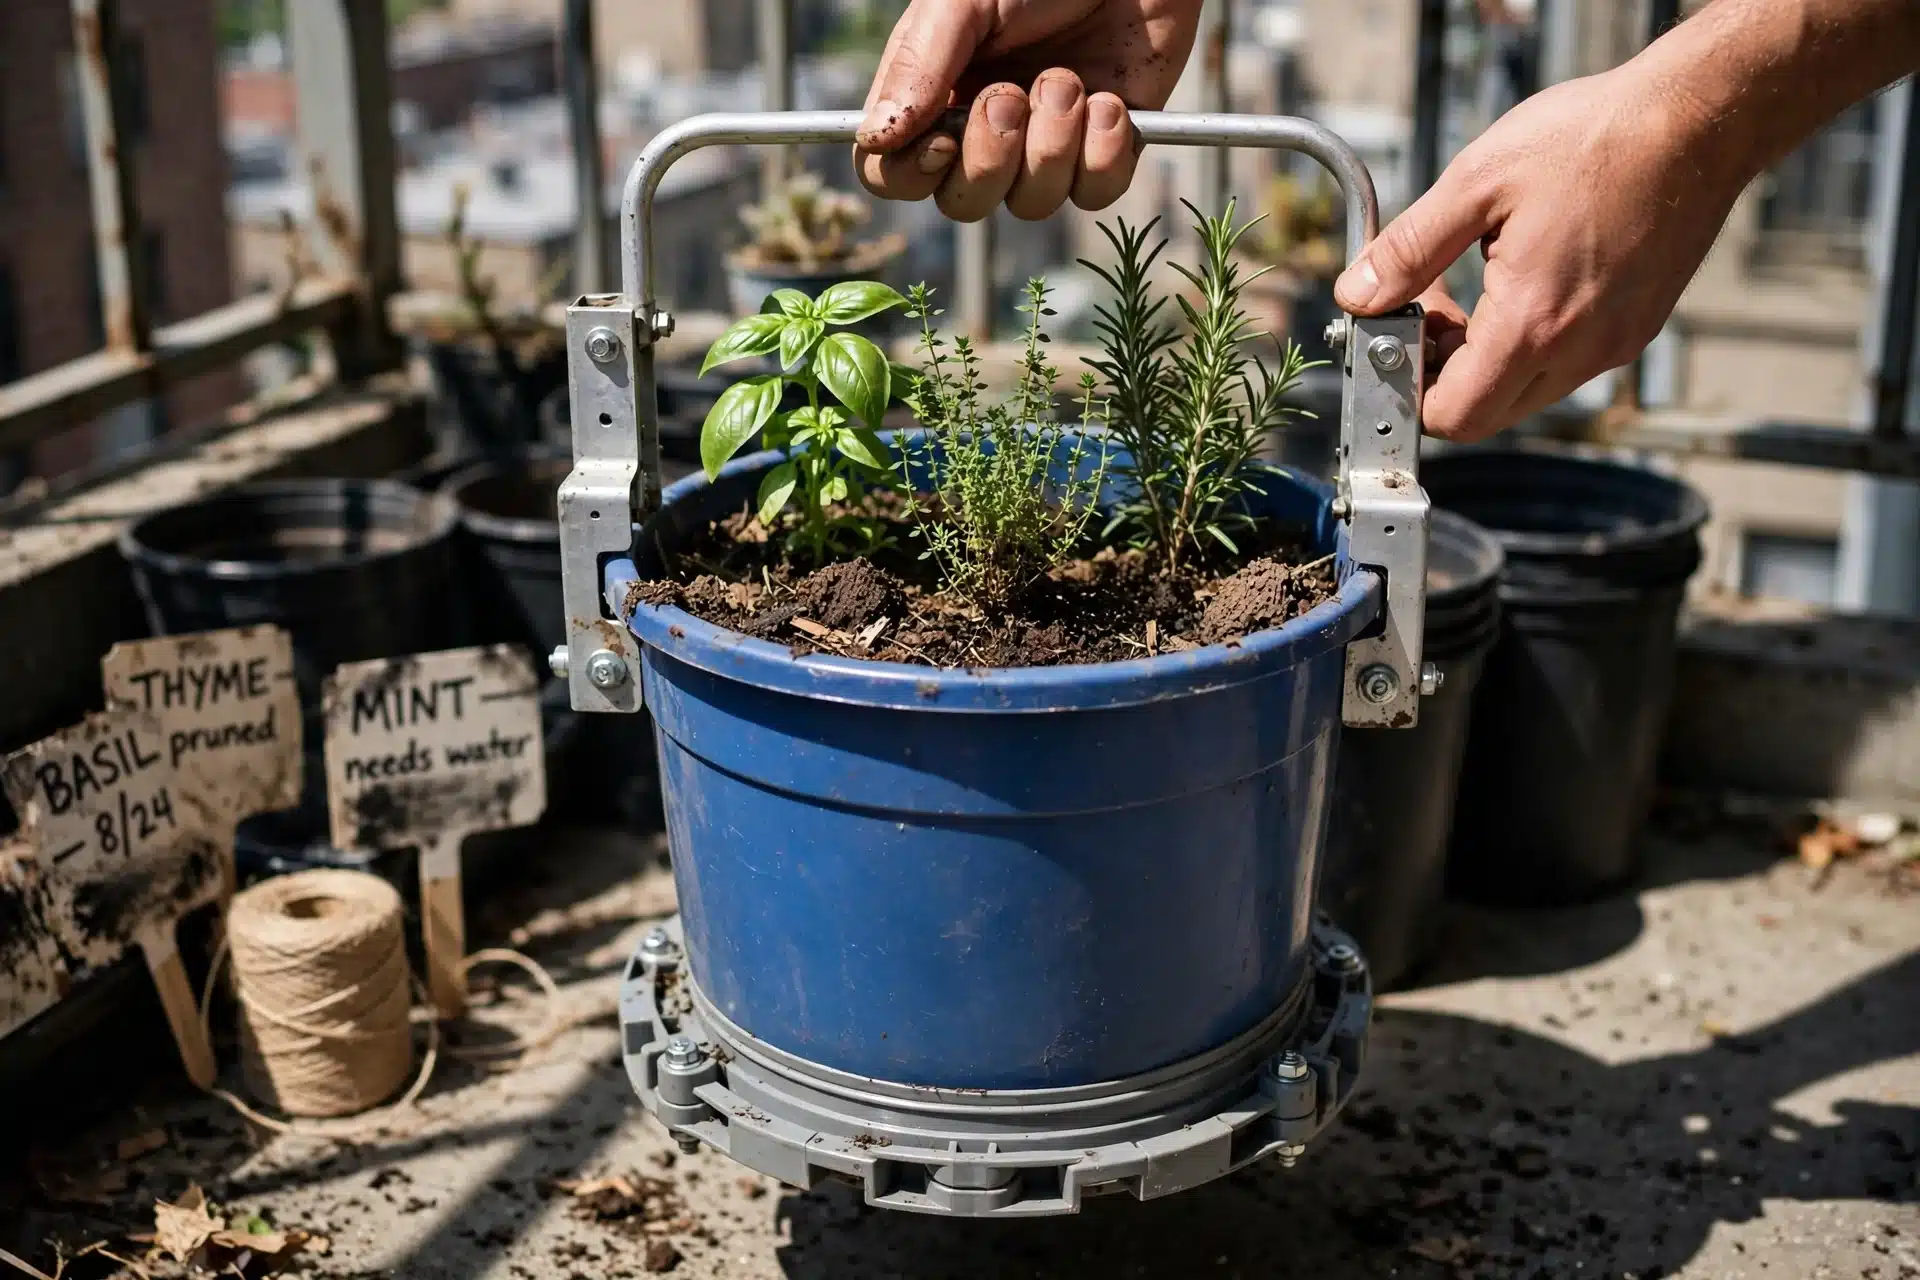
Start with clean food-grade buckets that already have molded handles. Reinforce the handle attachment points with exterior brackets if the plastic shows wear. Add a flat plywood or plastic base plate cut to fit the bottom for stackable storage when not in use. This allows vertical stacking of empty units between seasons. Fill and plant as in the standard drilled setup. The entire assembly moves as one unit on a hand truck or dolly. The design maintains full drainage while keeping total loaded weight low enough for one person to carry. It remains the simplest option for gardeners who change locations seasonally or test different microclimates on the same patio.
8. Insulated Heat-Control Bucket
Best for: Branch 2 (Water efficiency priority)
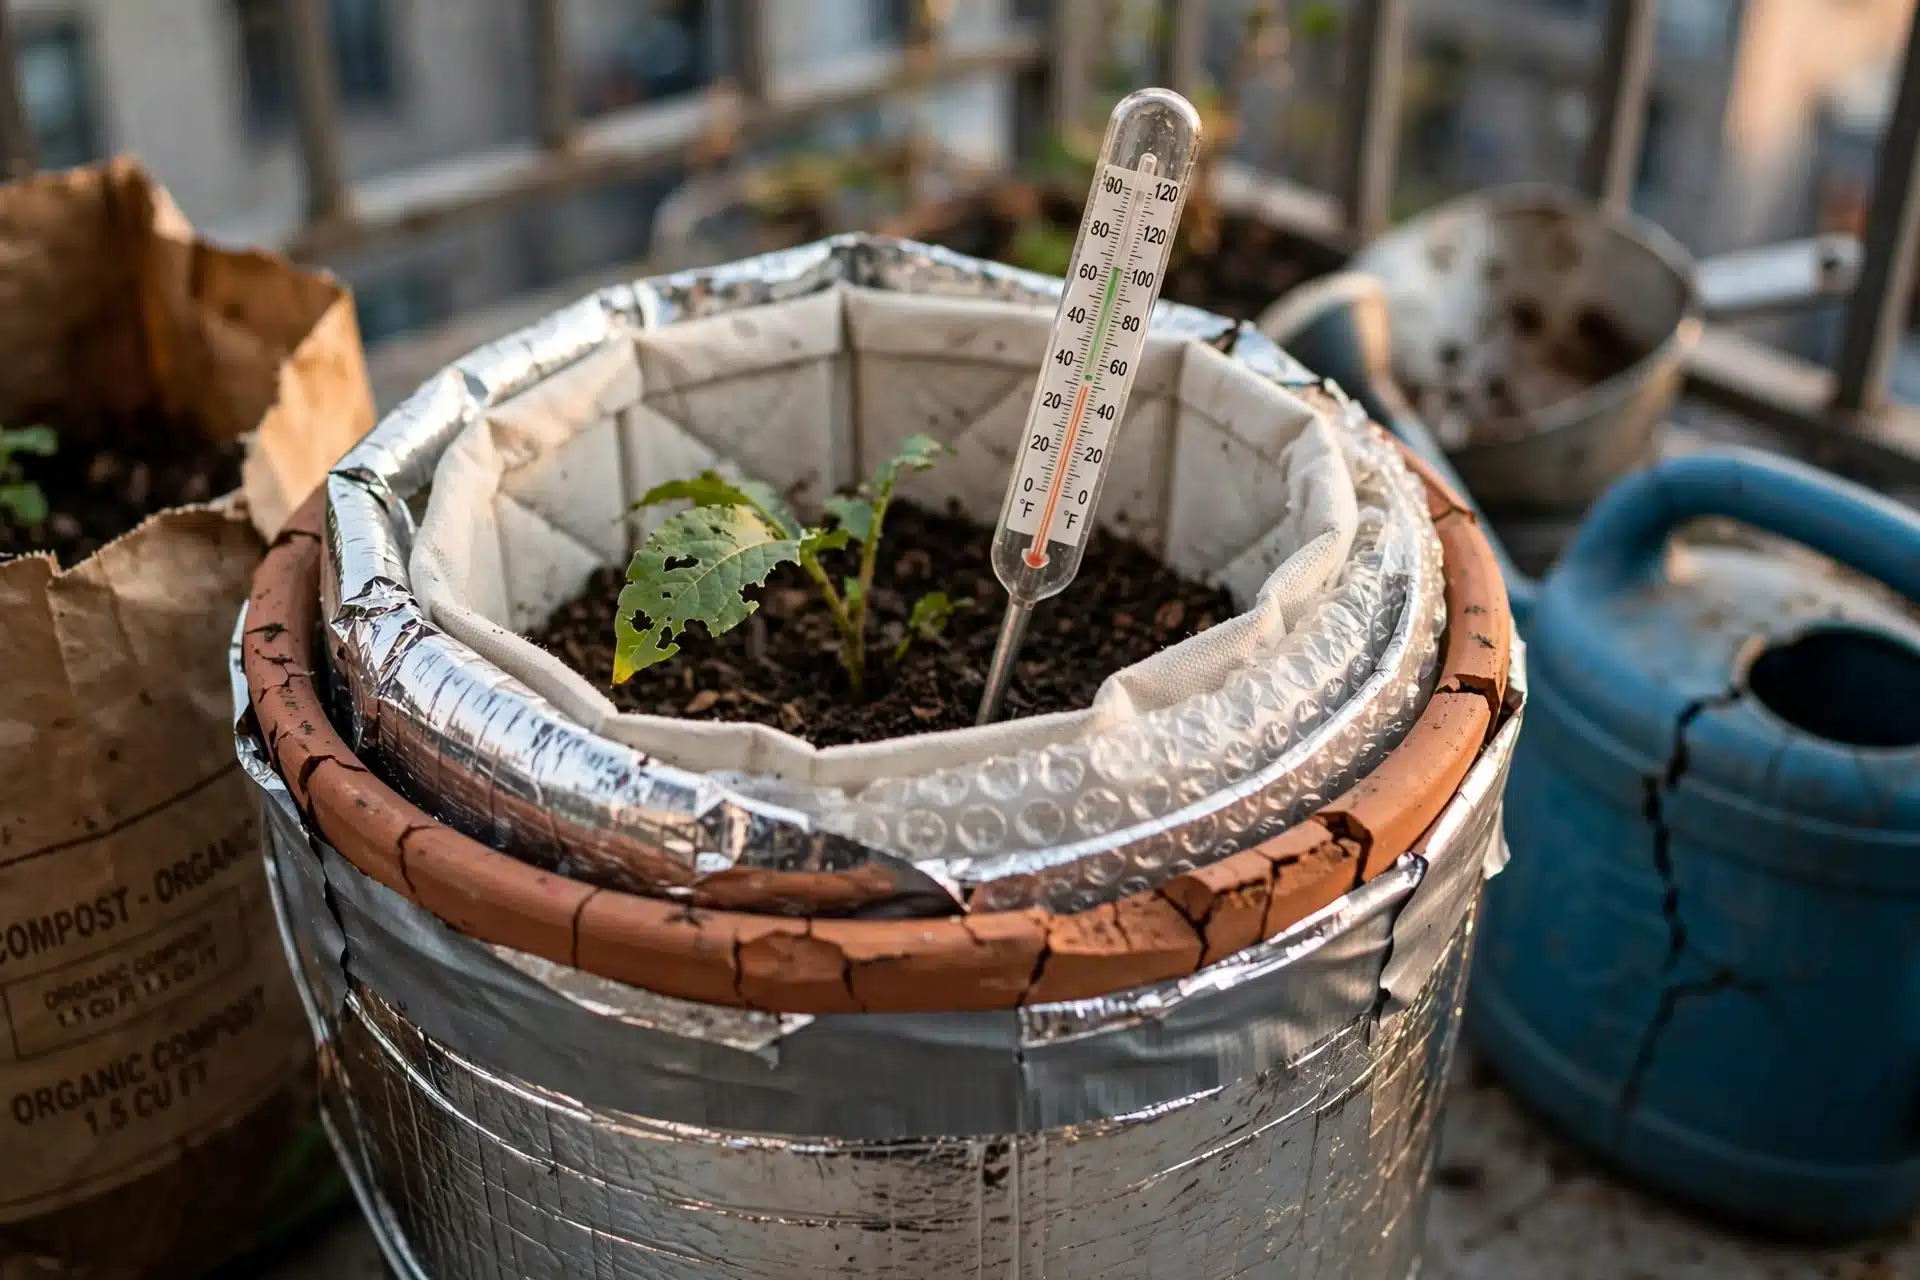
Wrap the exterior with reflective bubble insulation or line the inner walls with a light-colored fabric barrier before adding soil. This reduces soil temperature spikes above 85F. Combine with the nested reservoir for extended intervals between waterings. Monitor reservoir level every 10 to 14 days rather than daily.
9. Vertical Vining Bucket Configuration
Best for: Branch 3 (Structural-support focused)
Secure a base plate to the bucket bottom and run two vertical tethers from the rim to an overhead anchor point. This keeps the bucket upright while allowing vines to climb without pulling the container over. Plant one vining crop per bucket and train stems upward immediately. The setup occupies the same footprint as a single pot but delivers vertical yield in tight spaces.
Starter Stack (What to Choose First)
For Branch 1 (Mobility-focused setups)
Begin with Item 1 (Portable Drilled Bucket Setup) plus Item 7 (Upcycled Mobile Bucket Mod). The drilled unit handles one heavy feeder while the upcycled version manages lighter herbs. Together they cost 10 to 15 dollars total and require 20 minutes of preparation. Synergy comes from uniform drainage that lets you rotate the entire group without soil disruption.
For Branch 2 (Water efficiency priority)
Select Item 2 (Nested Self-Watering Bucket) plus Item 8 (Insulated Heat-Control Bucket). One provides reservoir storage while the other blocks heat gain. Combined setup range is 15 to 25 dollars and 30 minutes. The pair extends watering intervals to 10 days in summer heat.
For Branch 3 (Structural-support focused)
Start with Item 3 (Reinforced Trellis Bucket) plus Item 6 (Fruiting Plant Support Bucket). The trellis version anchors vines while the fruiting unit supports bush crops. Total cost stays under 20 dollars with 25 minutes of work. The configurations share identical rim reinforcement for consistent stability across the grid.
When This Won’t Work
These 5 gallon bucket setups fail when drainage cannot be added because of rental restrictions that prohibit drilling or when buckets sit in unshaded locations where soil temperatures remain above 95F for more than four consecutive days. In both cases roots either drown or cook before the season ends. Switch immediately to fabric alternatives that allow air pruning and passive cooling.
Another measurable failure condition occurs with non-food-grade buckets that leach residues after two months of sun exposure. Plastic becomes brittle and cracks at the rim under normal handling. Replace the entire set rather than patching.
Choosing the Right Option for Your Situation
Budget Threshold
Under 20 dollars total for three buckets: stay with Items 1, 3, and 7. These rely on basic hardware-store materials and existing buckets. Above 25 dollars: incorporate Items 2 and 8 for reservoir components and insulation.
Time Threshold
Under 20 minutes per bucket: choose Items 1, 4, and 7. Over 25 minutes available: add the nested or insulated versions in Items 2 and 8.
Technical Constraint (Light Exposure)
Full sun over 8 hours daily: prioritize insulated or self-watering options. Under 6 hours: any drilled or trellised setup works without modification.
Yes/No checklist:
– Can you drill or modify the bucket? Yes: proceed with any listed setup.
– Will the bucket move more than twice this season? Yes: select Branch 1 items.
– Do daily highs exceed 85F regularly? Yes: select Branch 2 items.
– Do you grow vines over 3 feet? Yes: select Branch 3 items.
Expert Q&A
How does bucket depth compare with grow bags for root crops?
Five-gallon buckets provide consistent vertical depth that favors straight carrot or radish roots, while grow bags flex and can distort longer roots near the sides. Buckets also maintain shape when moved, but bags dry faster in wind.
What soil temperature range triggers extra monitoring in summer?
Check soil temperature when air highs reach 85F. If the top 2 inches exceed 90F for three days straight, add shade cloth or switch to an insulated configuration to protect shallow feeder roots.
Can you stack buckets vertically without a stand?
Only if each lower bucket has reinforced side handles and you limit the stack to two units. The upper bucket must sit on a flat base plate to distribute weight and preserve drainage in the lower unit.
When should you refresh the entire soil volume?
Refresh after one full growing season or when the mix compacts and drains slower than 30 seconds after a heavy watering. Remove old roots and top-dress with fresh potting mix rather than replacing everything at once.
How do you prevent plastic degradation in sunny climates?
Choose light-colored or white buckets and apply a UV-resistant spray rated for outdoor plastic at the start of each season. Store empty buckets indoors during winter to extend usable life beyond 18 months.
Conclusion
Next step: compare your chosen bucket setups against fabric alternatives for long-term durability in grow bags gardening.