
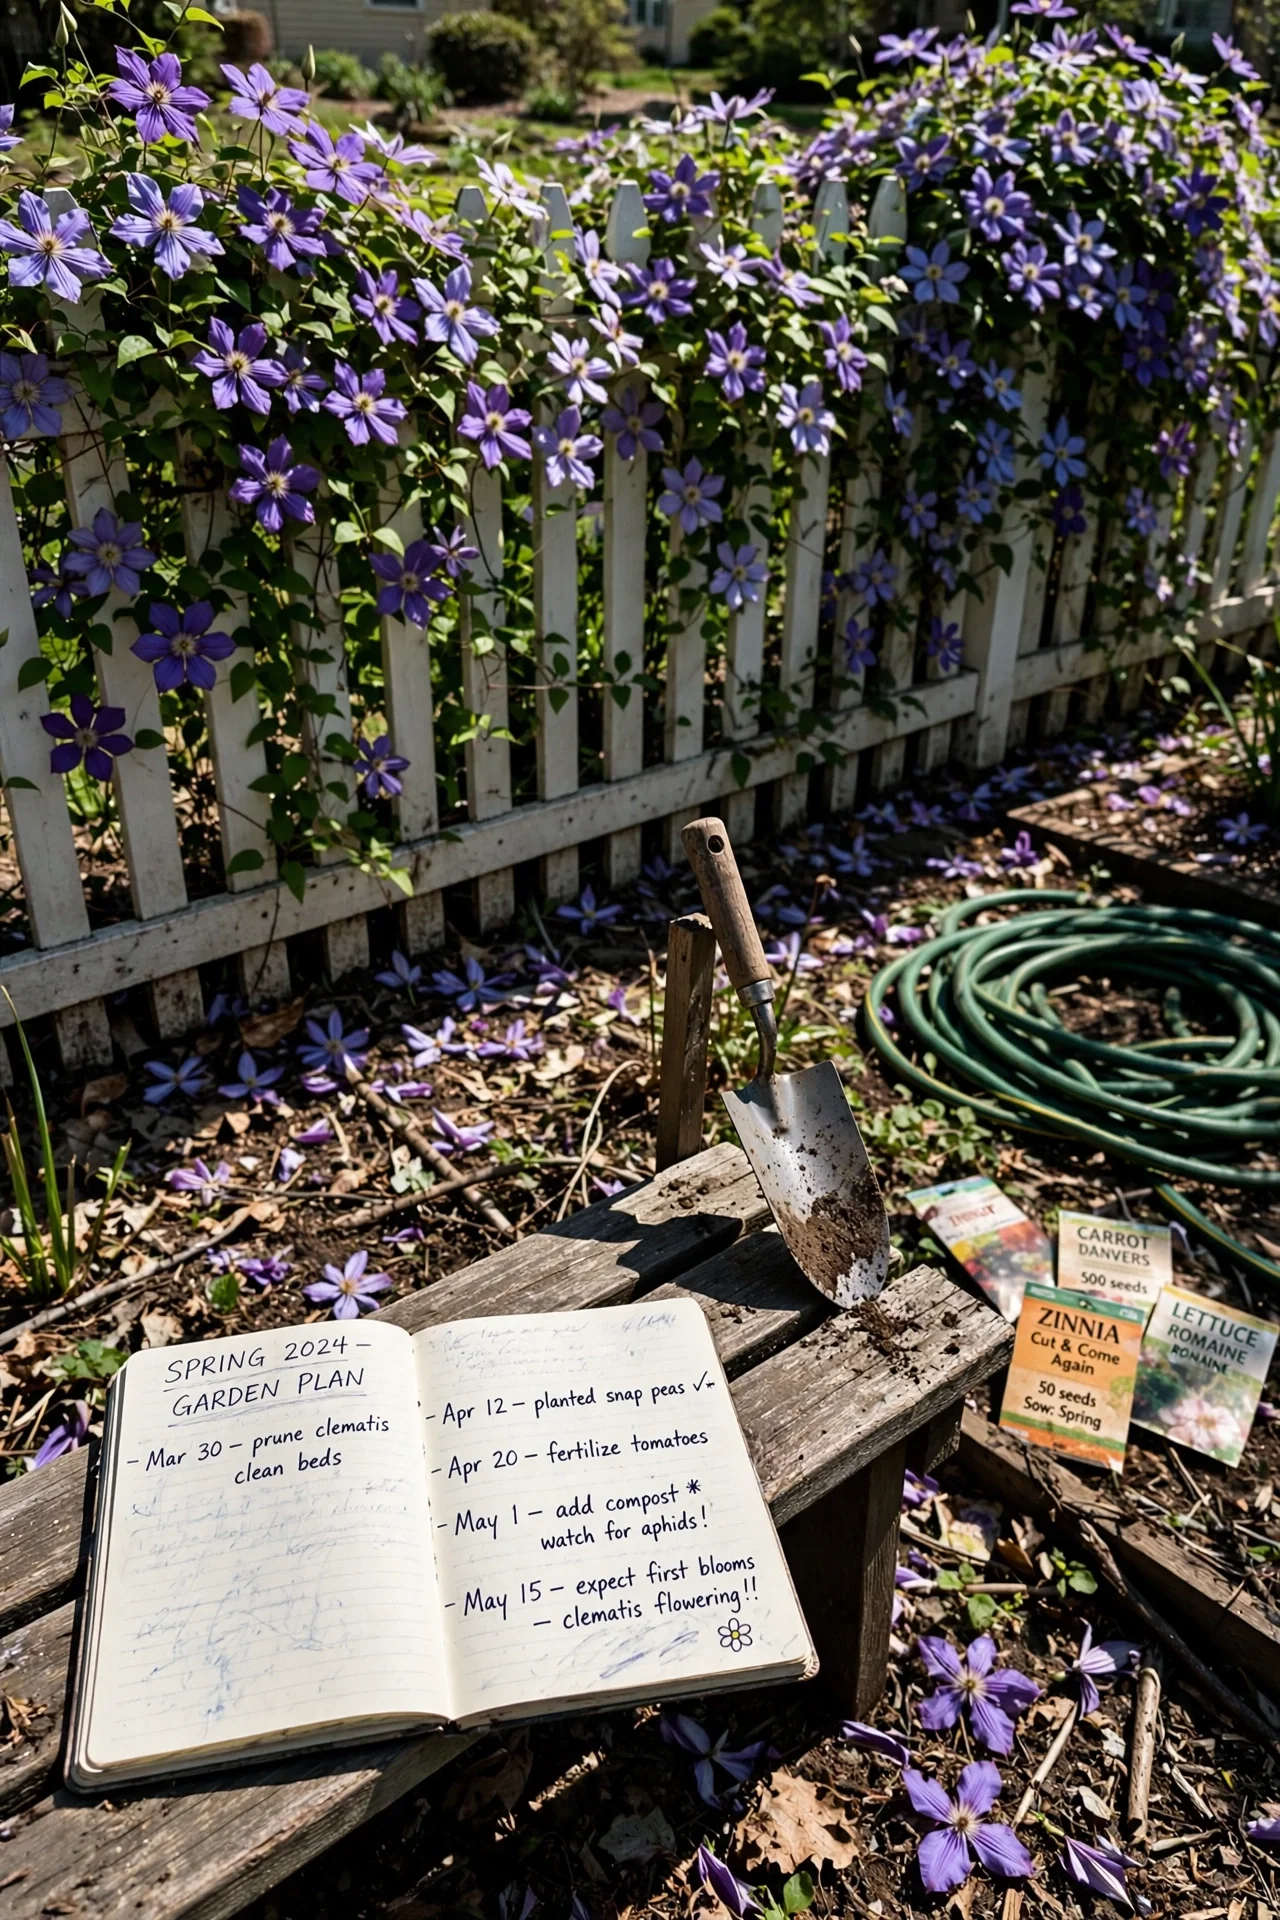
The standard advice says clematis fall into three pruning groups, then hands you a set of cutting rules for each. This framing has the relationship backward. A clematis pruning group does not describe how you should cut. It describes when the plant sets its flower buds. The pruning timing is a consequence of that biology, not the starting point. Once you know which wood carries the flowers and when those buds form, the cutting logic follows without memorization.
This article covers the three flowering patterns that define Groups 1, 2, and 3, plus the universal first-year prune, renovation strategies, and a reliable method for identifying an unlabelled plant. It applies to deciduous and evergreen clematis grown outdoors in USDA zones 4 through 9 and equivalent hardiness bands across the UK, Europe, Australia, and New Zealand. Potted indoor clematis and greenhouse-only forcing are excluded.
By the end, you will be able to assign any clematis to its correct group using flowering time alone, choose the right pruning window with calendar precision, and avoid the single mistake that costs a full season of bloom.
Bottom line: The pruning group is determined by when the flower buds form, not by the blade; identify the flowering window first, and the cutting date locks into place.
The Yield Grid Decision Grid
Answer one question: When does your clematis produce its main display of flowers? The answer places you into one of three branches. Each branch points to the biology driving the pruning schedule, not to a generic cutting rule. For a broader look at how pruning calendars work across multiple woody plants, see our fruit tree pruning calendar.
Branch 1: Flowers open in winter or spring, roughly before the end of May, and the plant does not repeat later in the season. This clematis blooms on stems that grew and hardened the previous summer. Flower buds were set before winter arrived. Pruning in autumn or late winter removes those buds. The only safe window is immediately after flowering finishes. Recommended: Items 1, 2, and 9 below.
Branch 2: First flowers open in May or June, and a second, often smaller flush follows in late summer or early autumn. This plant flowers on short shoots from last year’s wood (first flush) and again on the current season’s growth (second flush). It needs two pruning passes: a light shaping in late winter to position the first blooms, and a post-flower cutback to trigger the second. Recommended: Items 3, 4, and 9 below.
Branch 3: Flowers open from July onward, continuing into autumn, on stems that grew in the same calendar year. This clematis builds its entire flowering structure from scratch each season. Nothing from last year matters except the root system. Cut hard in late winter to force strong new shoots from the base. Recommended: Items 5, 6, and 9 below.
Quick Comparison Table
| Option | Key Mechanism | Best For | Decision Grid Branch | Effort Score (1–5) |
|---|---|---|---|---|
| 1. Group 1: No-Prune Approach | Flowers on old wood; buds set previous summer | Winter/spring bloomers with ample space | Branch 1 | 1 |
| 2. Group 1: Post-Bloom Tidy | Selective cutback after flowering, before new buds set | Overgrown or cramped Group 1 plants | Branch 1 | 2 |
| 3. Group 2: February Framework Prune | Light cut to topmost strong buds on last year’s stems | Large-flowered hybrids, first flush positioning | Branch 2 | 3 |
| 4. Group 2: Summer Deadhead Cutback | Remove spent flowers to strong buds halfway down stems | Triggering repeat bloom on Group 2 plants | Branch 2 | 3 |
| 5. Group 3: Annual Hard Reset | Cut all stems to 15–45 cm above soil in February | Late-summer bloomers, viticellas, jackmanii types | Branch 3 | 1 |
| 6. Group 3: Pinching Upgrade | Pinch shoot tips after 30 cm of new growth to double stems | Gardeners wanting denser Group 3 plants | Branch 3 | 3 |
| 7. First-Year Hard Prune | Universal cut to 30 cm in first spring after planting | All newly planted clematis, any group | All Branches | 1 |
| 8. Renovation Prune | Cut to 15–30 cm from base after flowering; repeat only every 3+ years | Neglected, woody, or bare-based plants | Branch 1 (Group 2 with caution) | 4 |
| 9. Lost-Label Identification | Observe flowering month and wood type; assign group by behavior | Unlabelled or inherited clematis | All Branches | 2 |
1. Group 1: The Hands-Off Approach (No Regular Pruning Required)
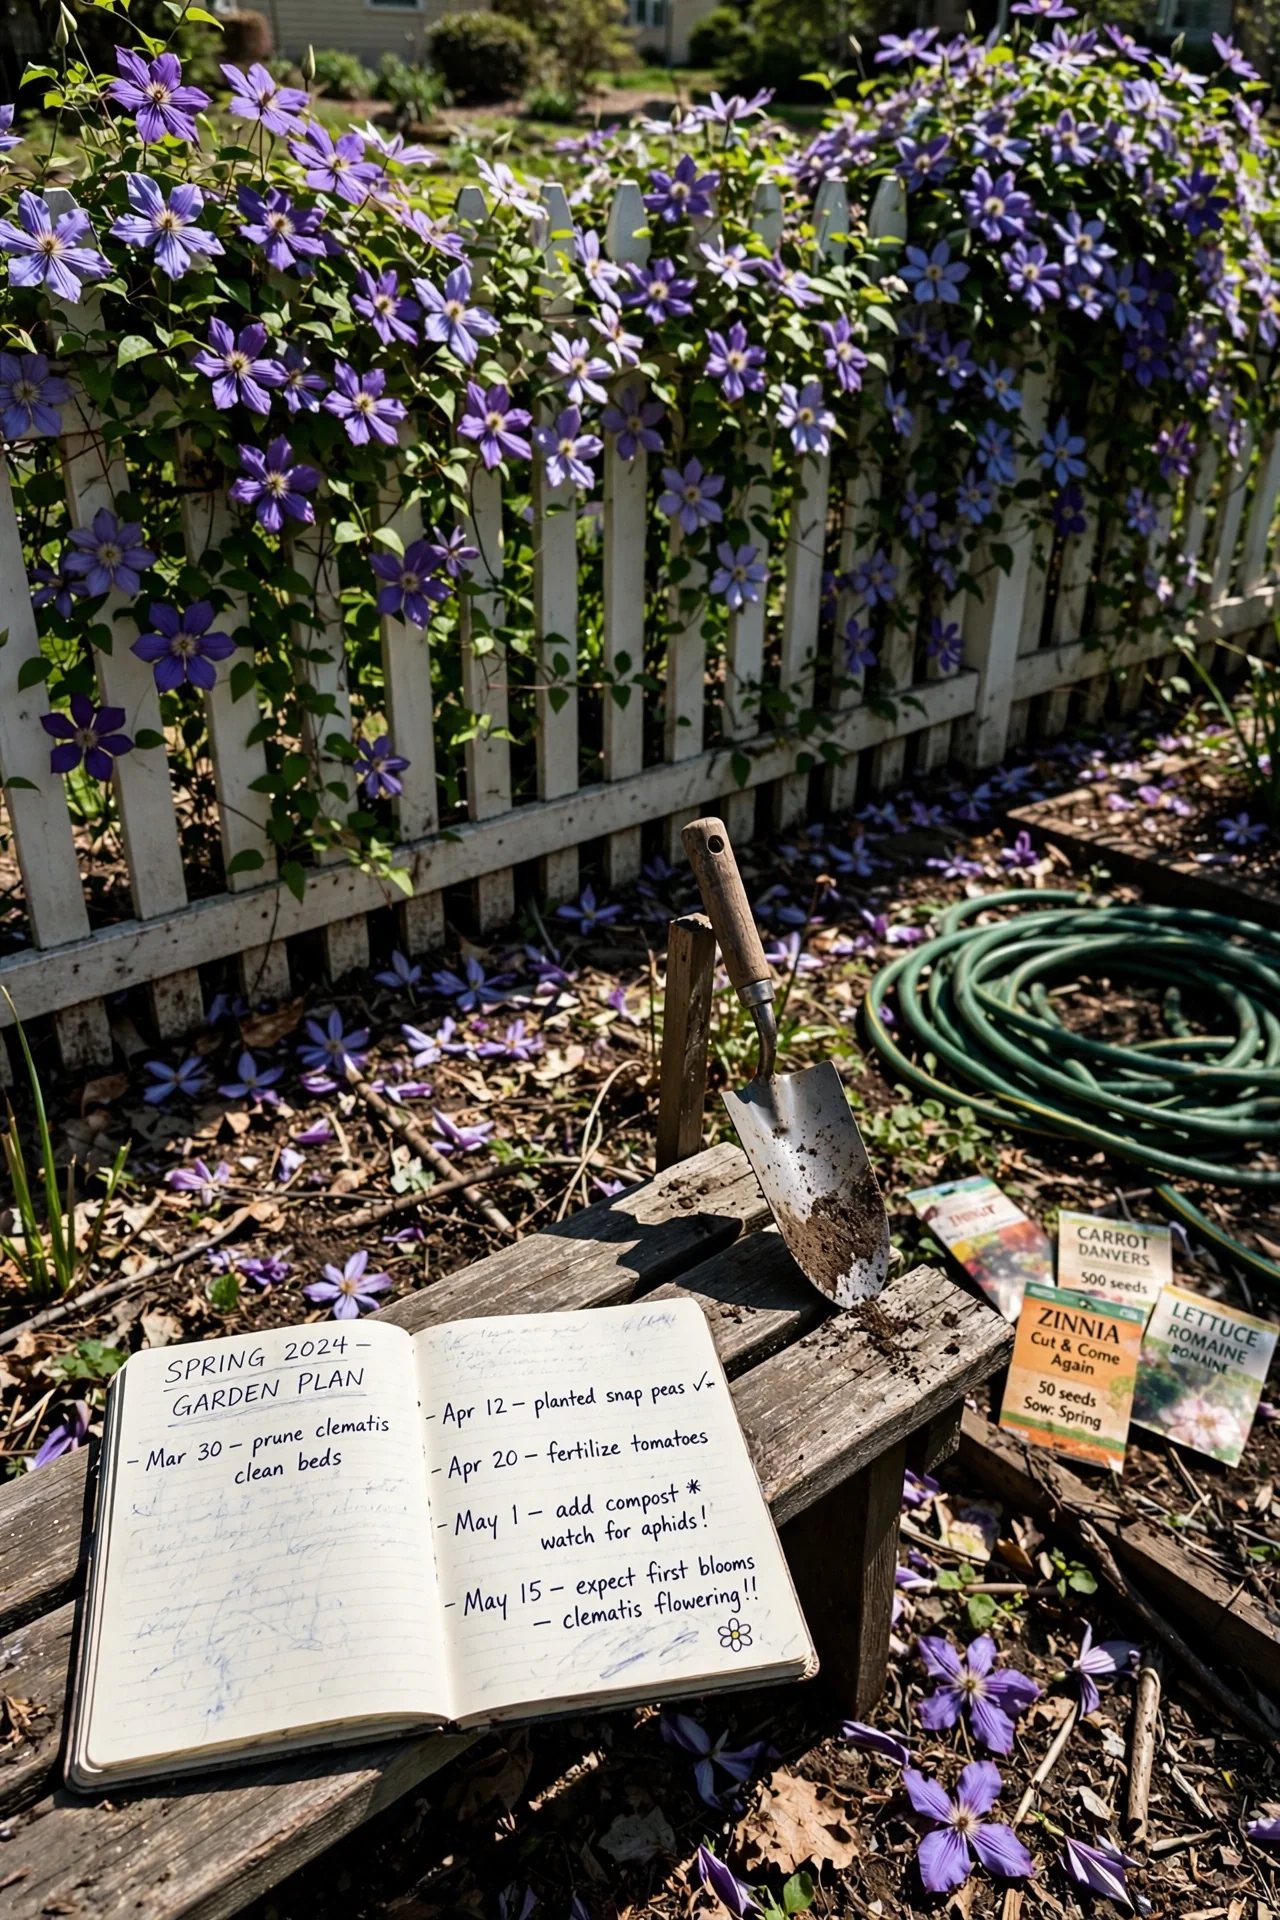
Best for: Branch 1
Group 1 clematis include the vigorous Clematis montana, the dainty alpina and macropetala types, evergreen C. armandii, and winter-flowering C. cirrhosa. All share one trait: they bloom on stems that grew the previous summer and set their flower buds before autumn. Pruning in winter or early spring removes those buds and forfeits the display.
The core protocol is restraint. Do not prune annually. Remove only dead, damaged, or diseased wood when you see it, at any time of year. If the plant fits its space, leave it entirely alone. The most common error is treating these like summer-flowering shrubs and cutting them back in February. That single act eliminates the entire spring show.
For plants that have truly outgrown their position, see Item 2. For those that have become a bare tangle of stems at the base, see Item 8. If you inherited a montana that swallows a fence, know that healthy specimens can reach 12 m in spread, and this is not a sign of neglect but of normal vigour. A related framework for managing woody climbers on support structures appears in our wisteria pruning guide.
2. Group 1: Post-Bloom Tidy (When Space Is Tight)
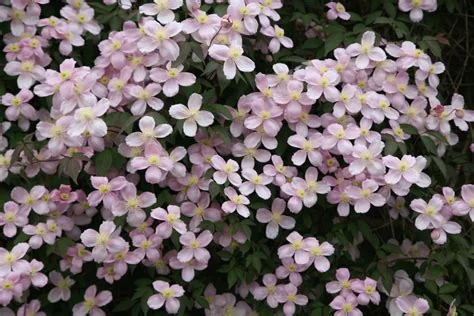
Best for: Branch 1
When a Group 1 clematis has outgrown its allotted space, prune immediately after flowering finishes, and no later than mid-July. Cut overlong stems back to a pair of healthy buds. This timing gives the plant a full growing season to produce the new wood that will carry next year’s flowers. Delay beyond July and you risk removing the bud-bearing wood before it can mature.
3. Group 2: The February Framework Prune (Stage One)
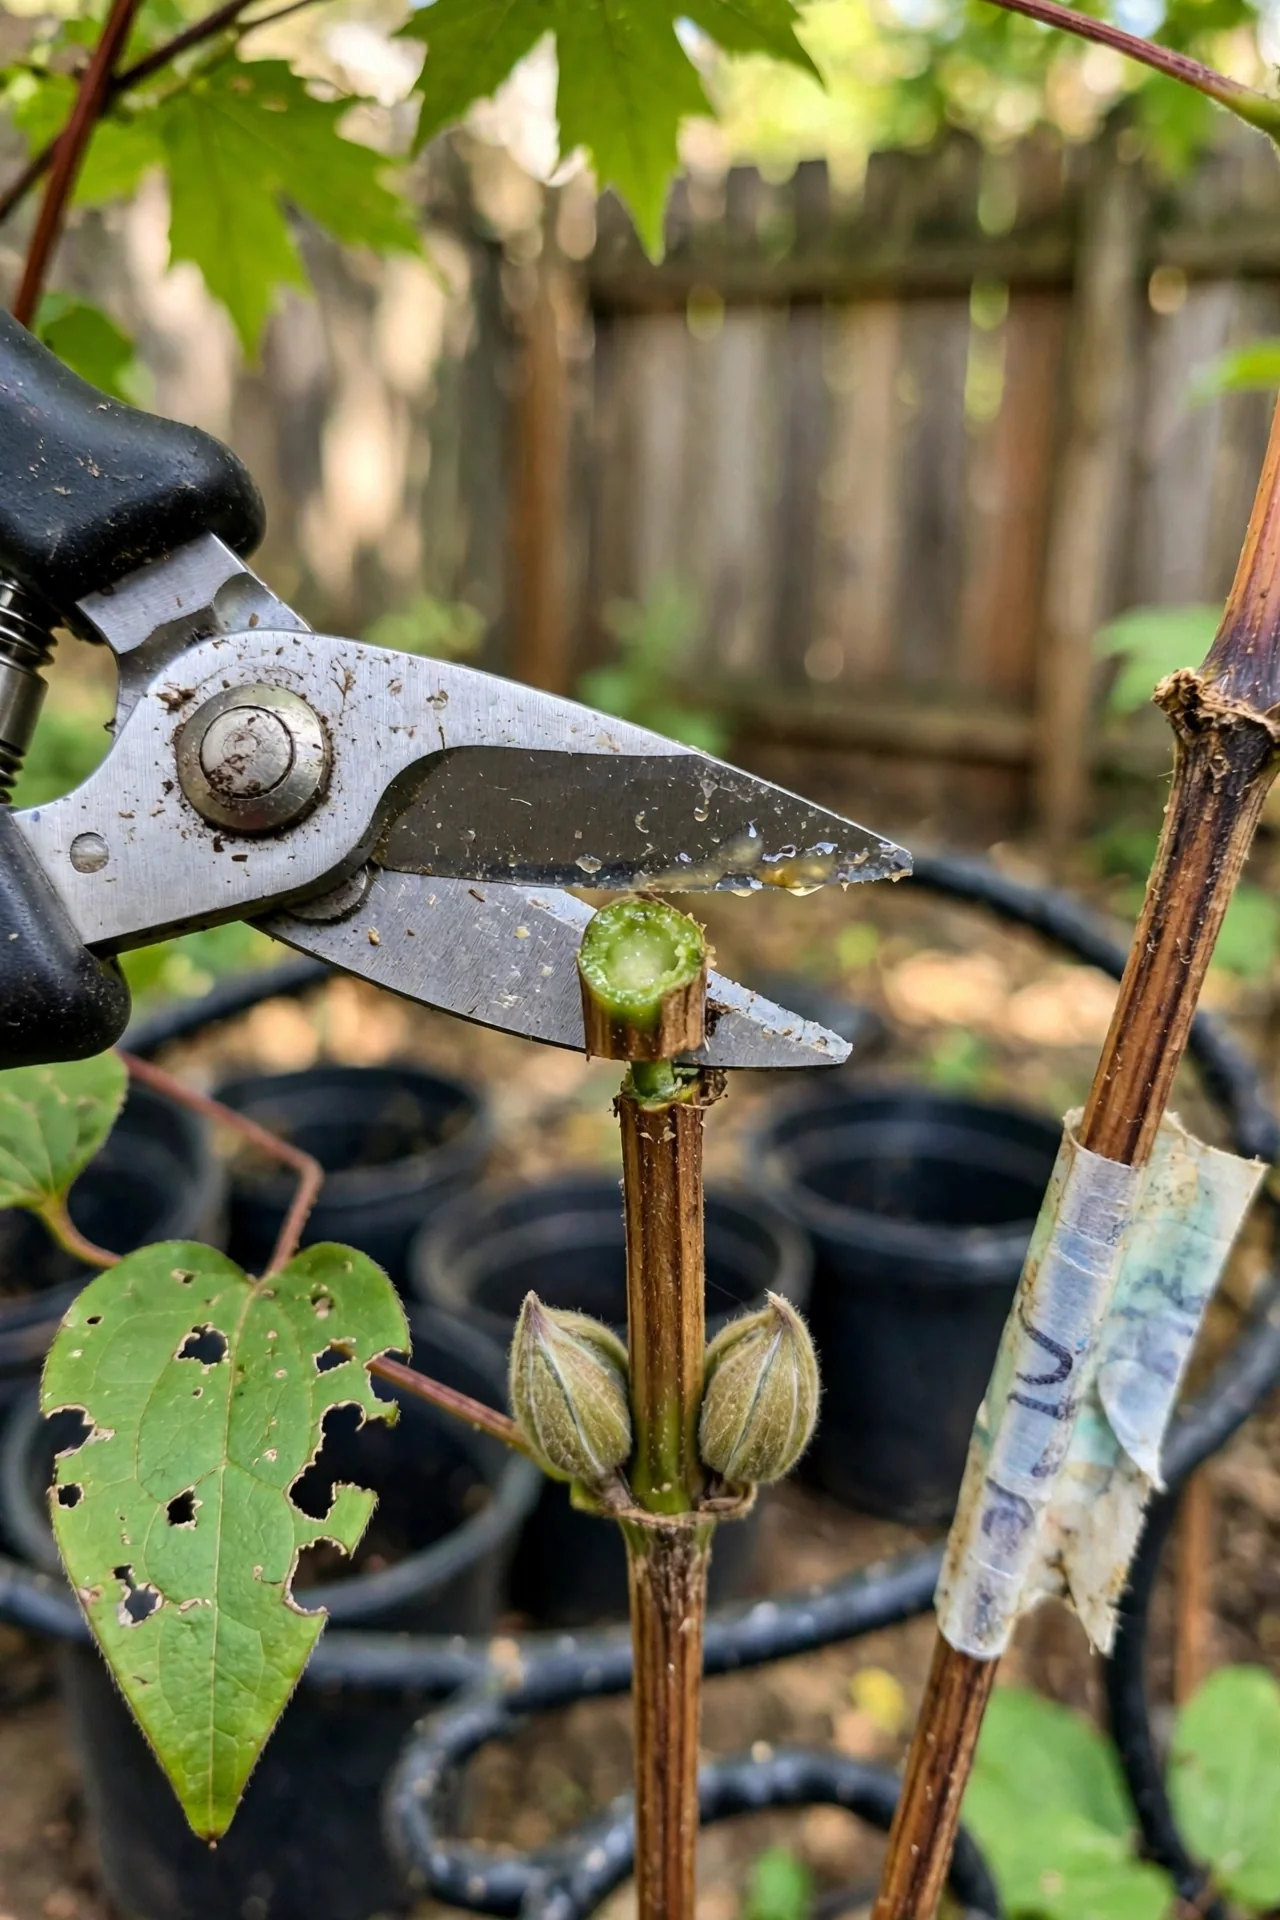
Best for: Branch 2
Group 2 contains the early large-flowered hybrids: cultivars like ‘Nelly Moser’, ‘The President’, ‘Henryi’, and ‘Duchess of Edinburgh’. These plants produce their first and largest flush in May or June on short side-shoots from last year’s stems, then a second flush in late summer on new growth.
The February prune is light. Start at the tip of each stem and work downward until you reach a pair of plump, healthy buds. Cut just above them. Remove any dead, weak, or twiggy growth entirely. The goal is a tidy framework of evenly spaced stems. Do not cut hard into old wood; you would remove the shoots that carry the first, heaviest wave of flowers. If your plant is sparse at the base, this is a structural warning sign, not a cue to cut lower.
4. Group 2: The Summer Deadhead Cutback (Stage Two)
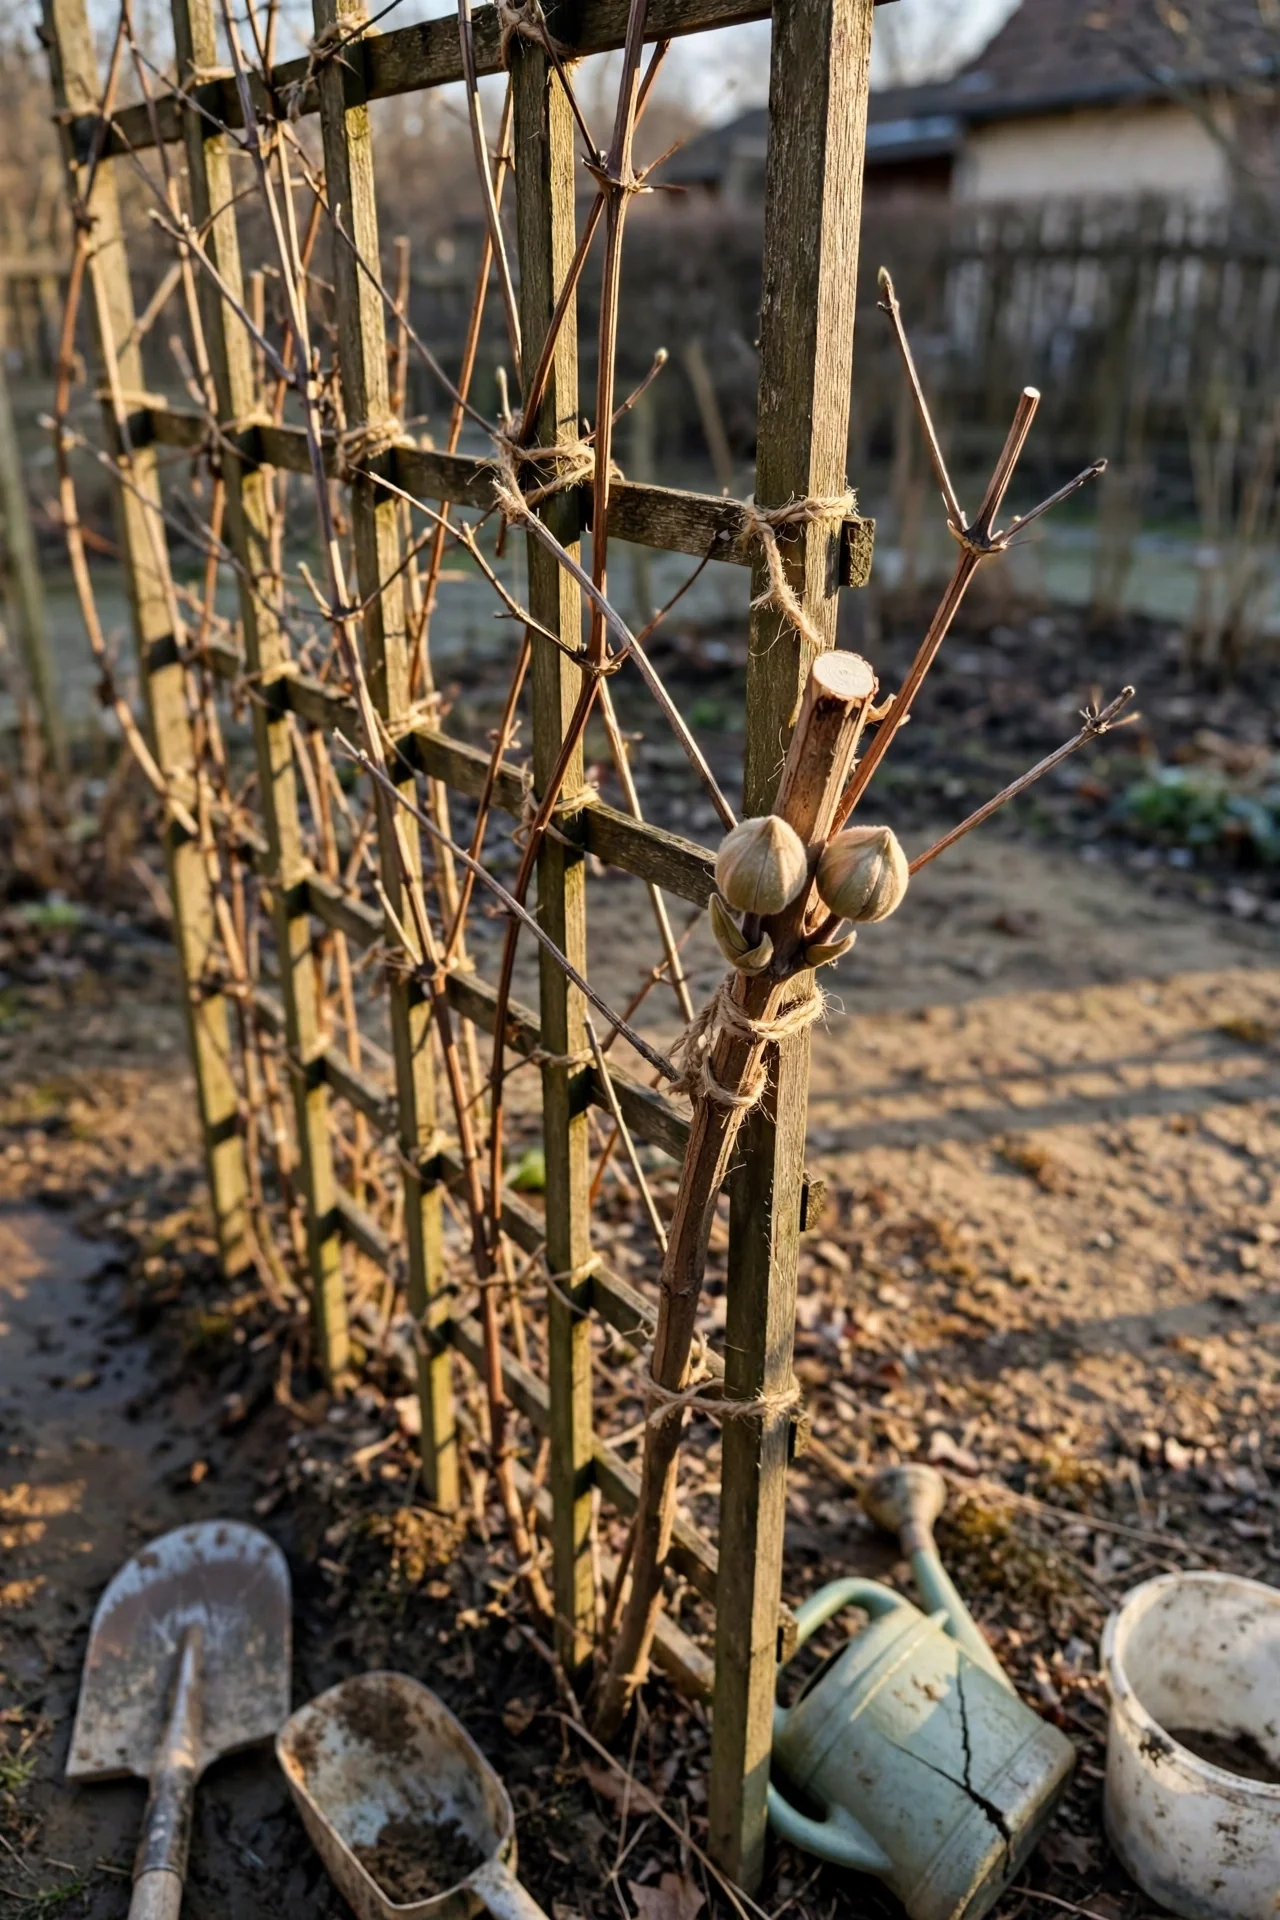
Best for: Branch 2
After the first flush of flowers fades, a second pruning pass triggers the late-summer repeat. This step is optional: if skipped, you lose the second bloom but do not damage the plant. If performed, the technique differs from simple deadheading.
Rather than snipping off individual spent flowers, cut each flowered stem back to a pair of strong buds located roughly halfway down the stem. This removes the developing seed heads and redirects the plant’s resources into new flowering shoots rather than seed production. The cutback also opens the canopy, reducing the humid conditions that encourage powdery mildew on large-flowered hybrids. Complete this pass by early July; later cuts may not leave enough growing season for a second flush to develop and ripen. For more on the principles behind this technique, see our rose deadheading guide, which covers the same energy-redirecting mechanism.
5. Group 3: The Annual Hard Reset (February Chop)
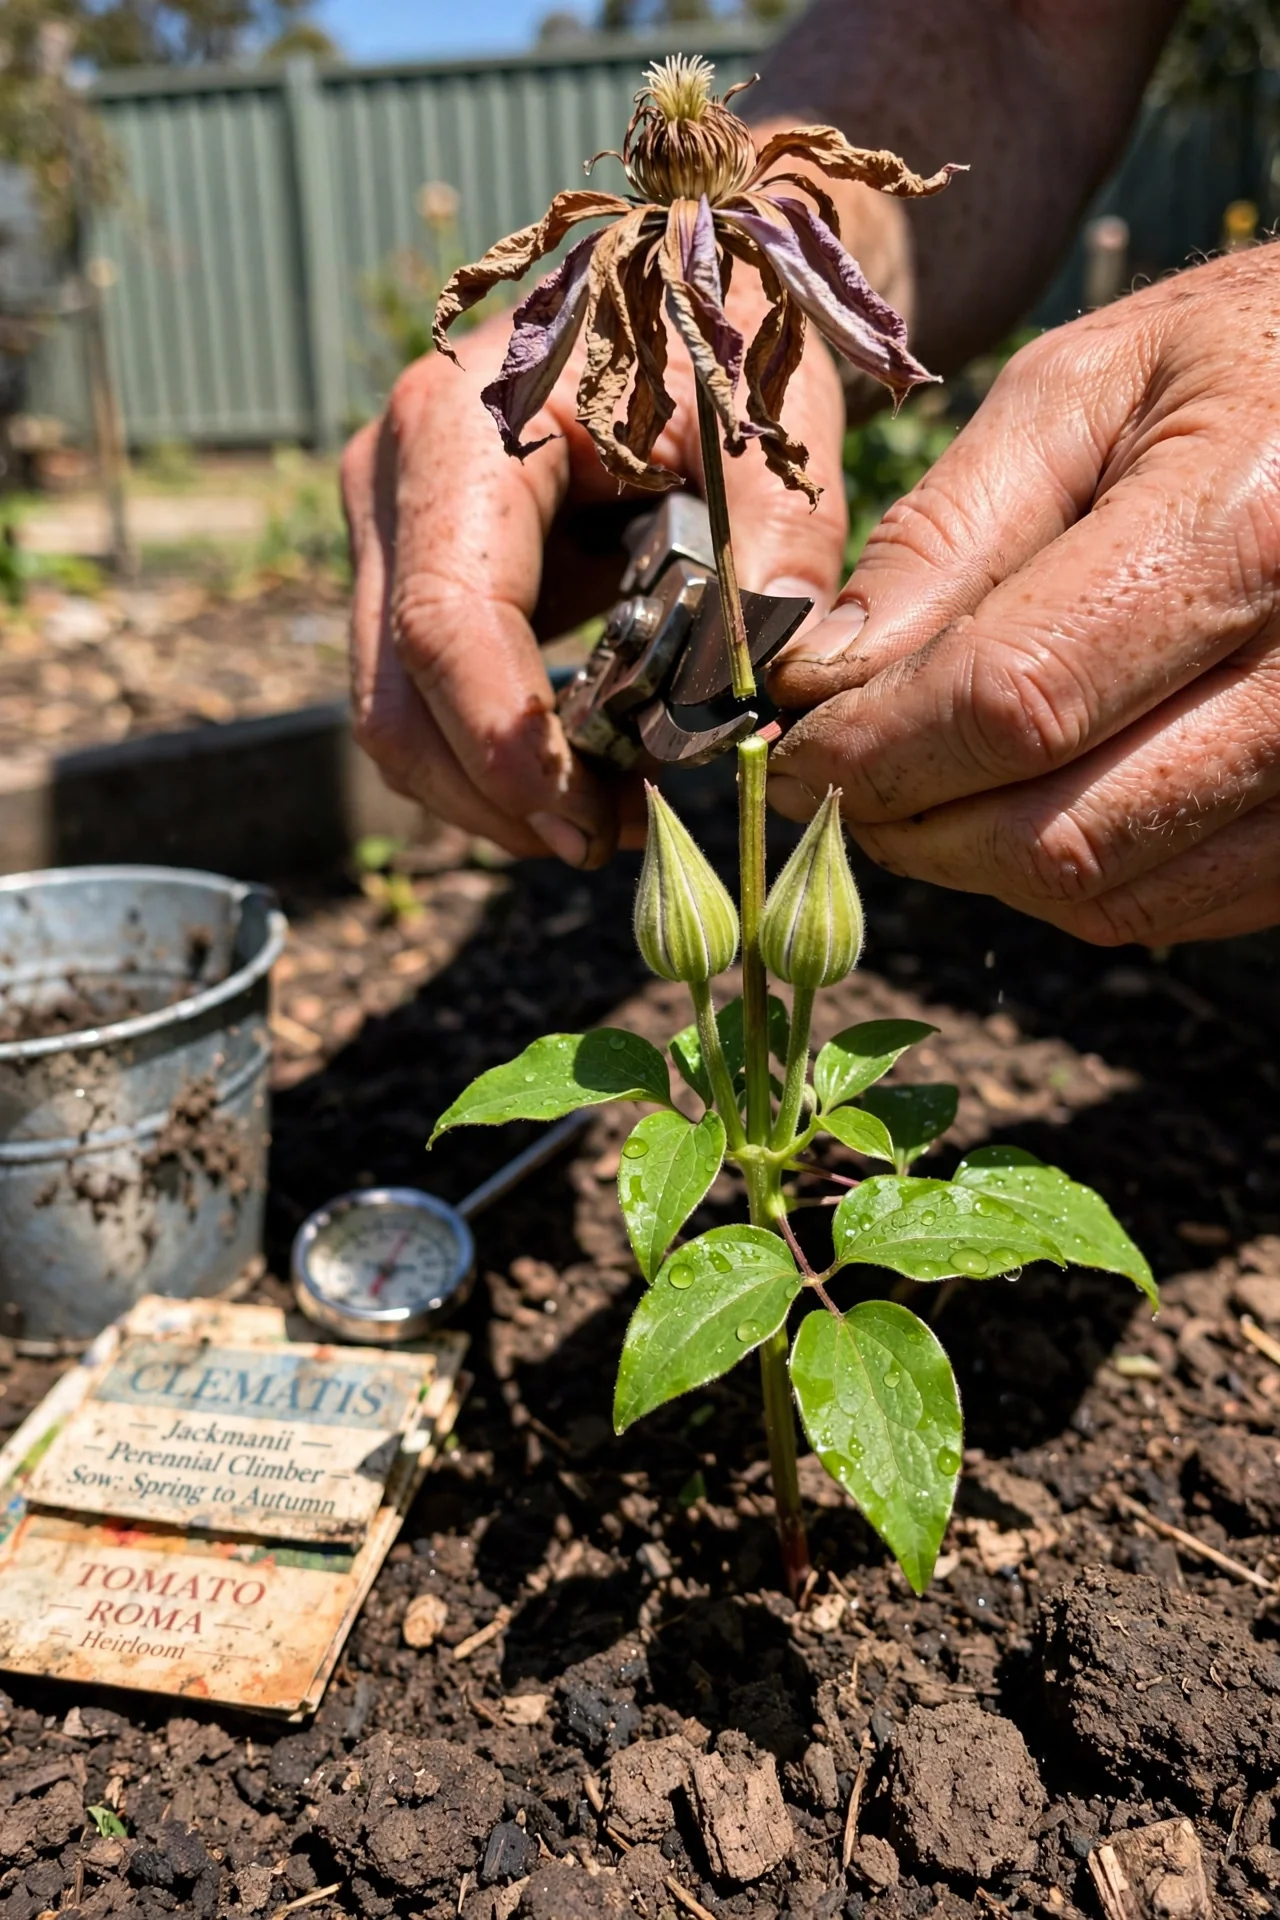
Best for: Branch 3
Group 3 clematis, including the viticella, texensis, and jackmanii types, bloom on the current season’s growth. Every stem that flowered last year is now spent wood that will not flower again. In February or March, before new growth begins, cut every stem back to a pair of strong buds 15 to 45 cm above soil level. Use sharp, clean pruners; ragged cuts invite fungal entry on these succulent stems.
6. Group 3: The Pinching Upgrade (Double Your Stem Count)
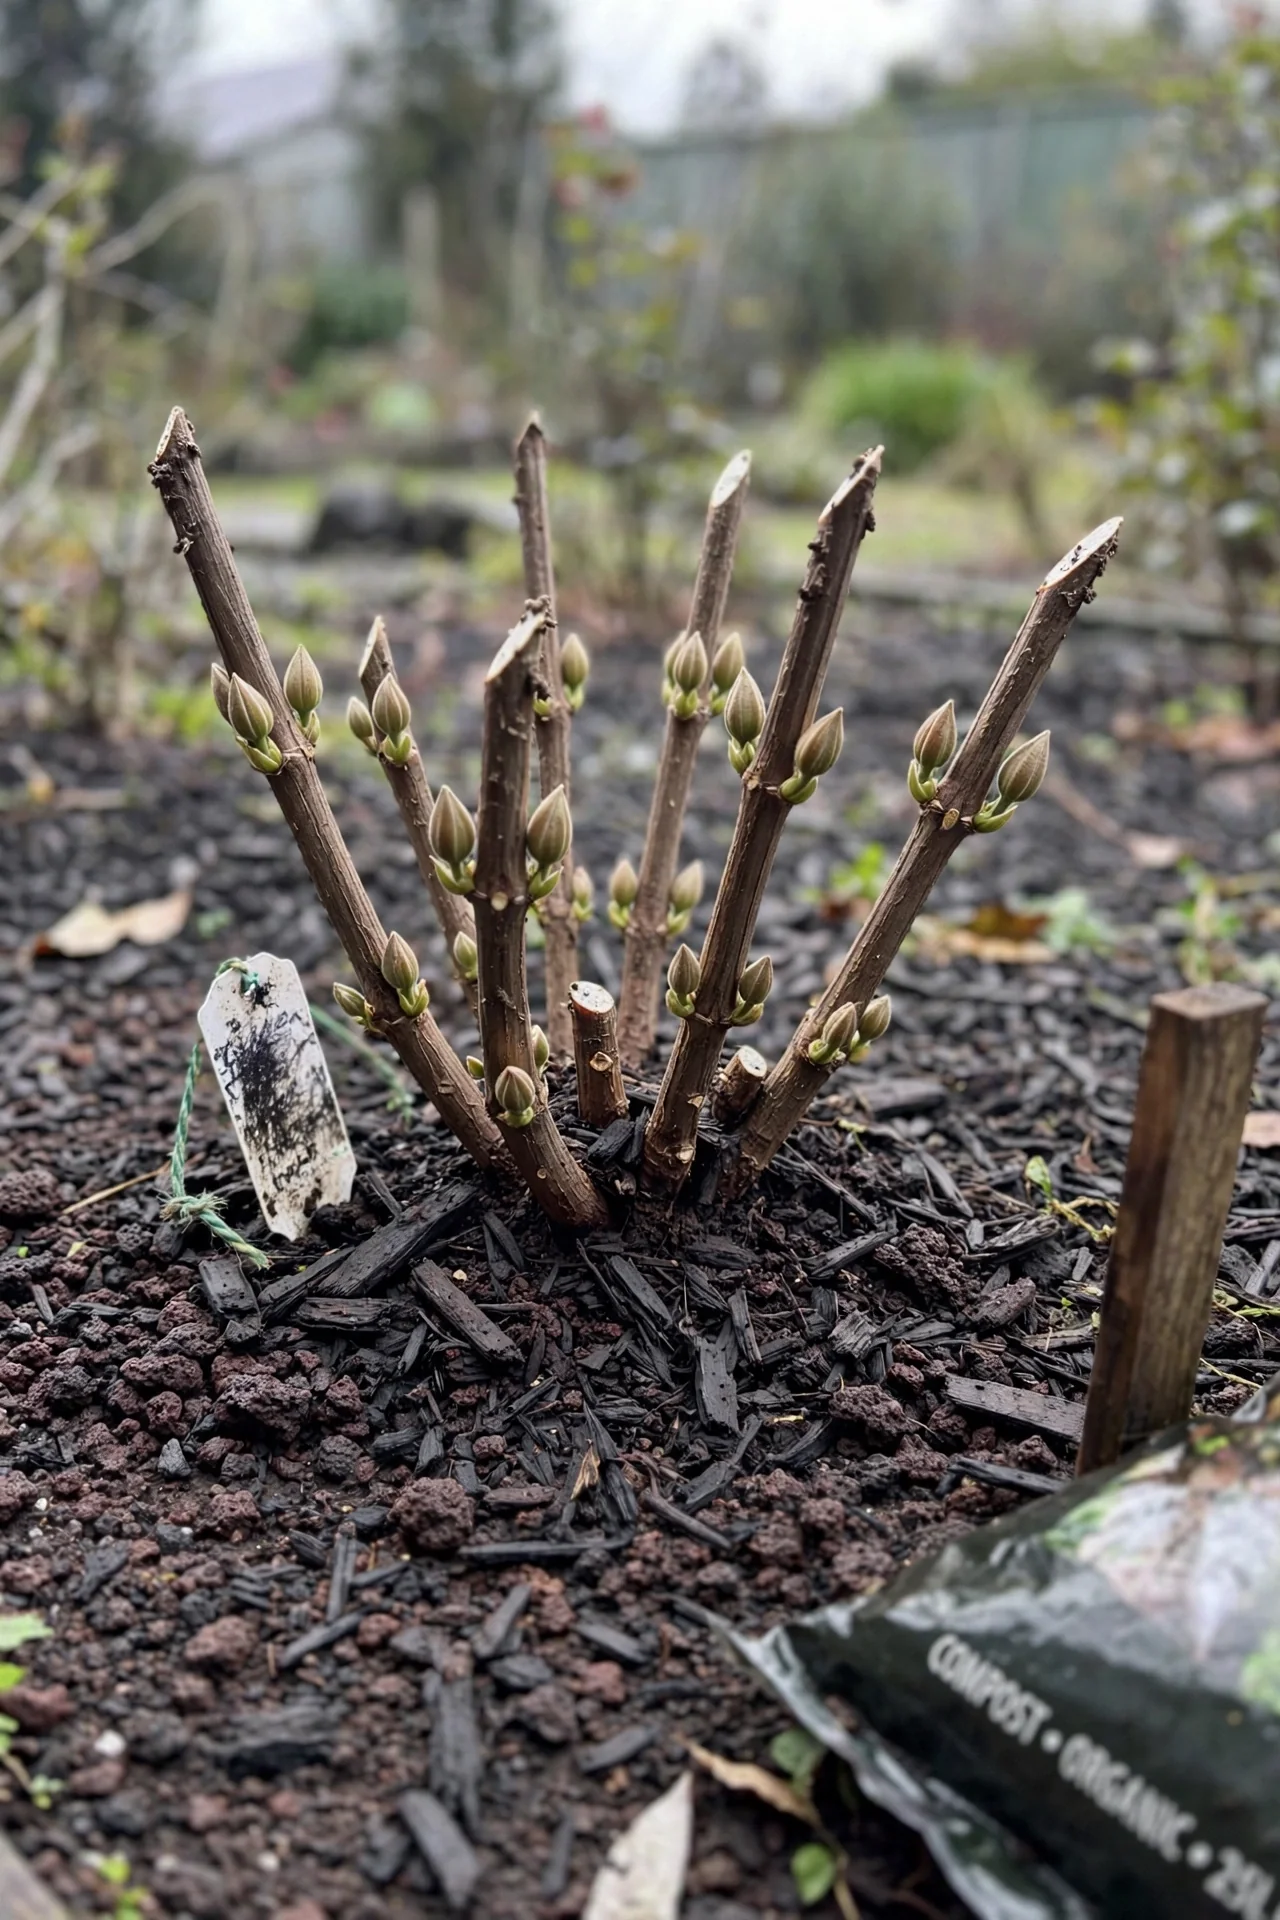
Best for: Branch 3
After the hard February prune, Group 3 clematis push vigorous new shoots. When each shoot reaches approximately 30 cm in length, pinch out the growing tip just above a leaf joint. This forces the stem to branch, doubling the number of flowering shoots from that point upward. The trade-off: pinching delays flowering by roughly two to three weeks. On varieties that bloom in August or later, this delay may push the display into cooler, shorter days. In regions with early autumn frosts, such as USDA zones 4 and below or northern UK gardens, skip pinching on late-blooming cultivars and let the plant flower on the first set of shoots.
7. First-Year Hard Prune: The Rule That Overrides Every Group
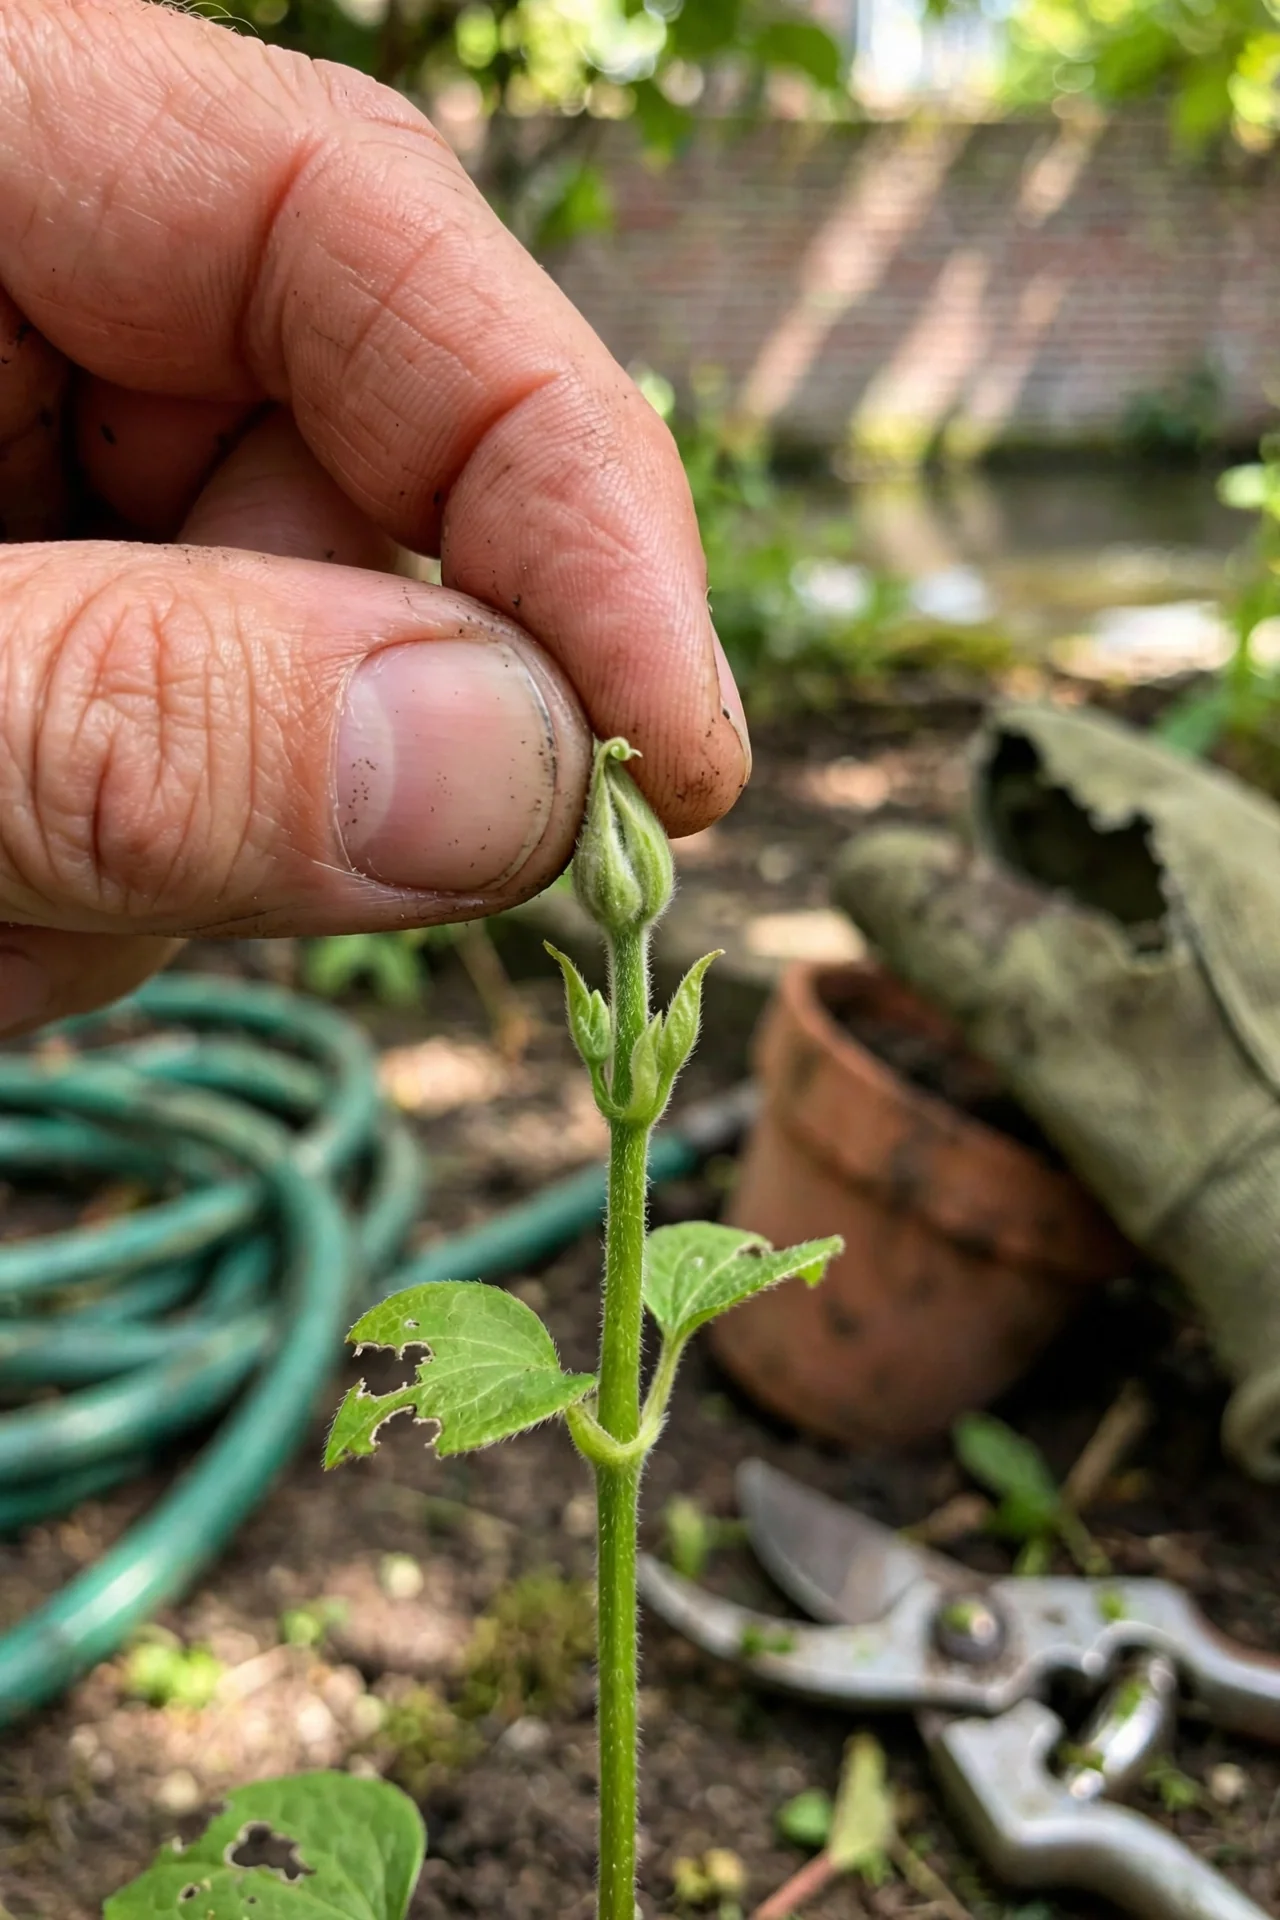
Best for: All Branches
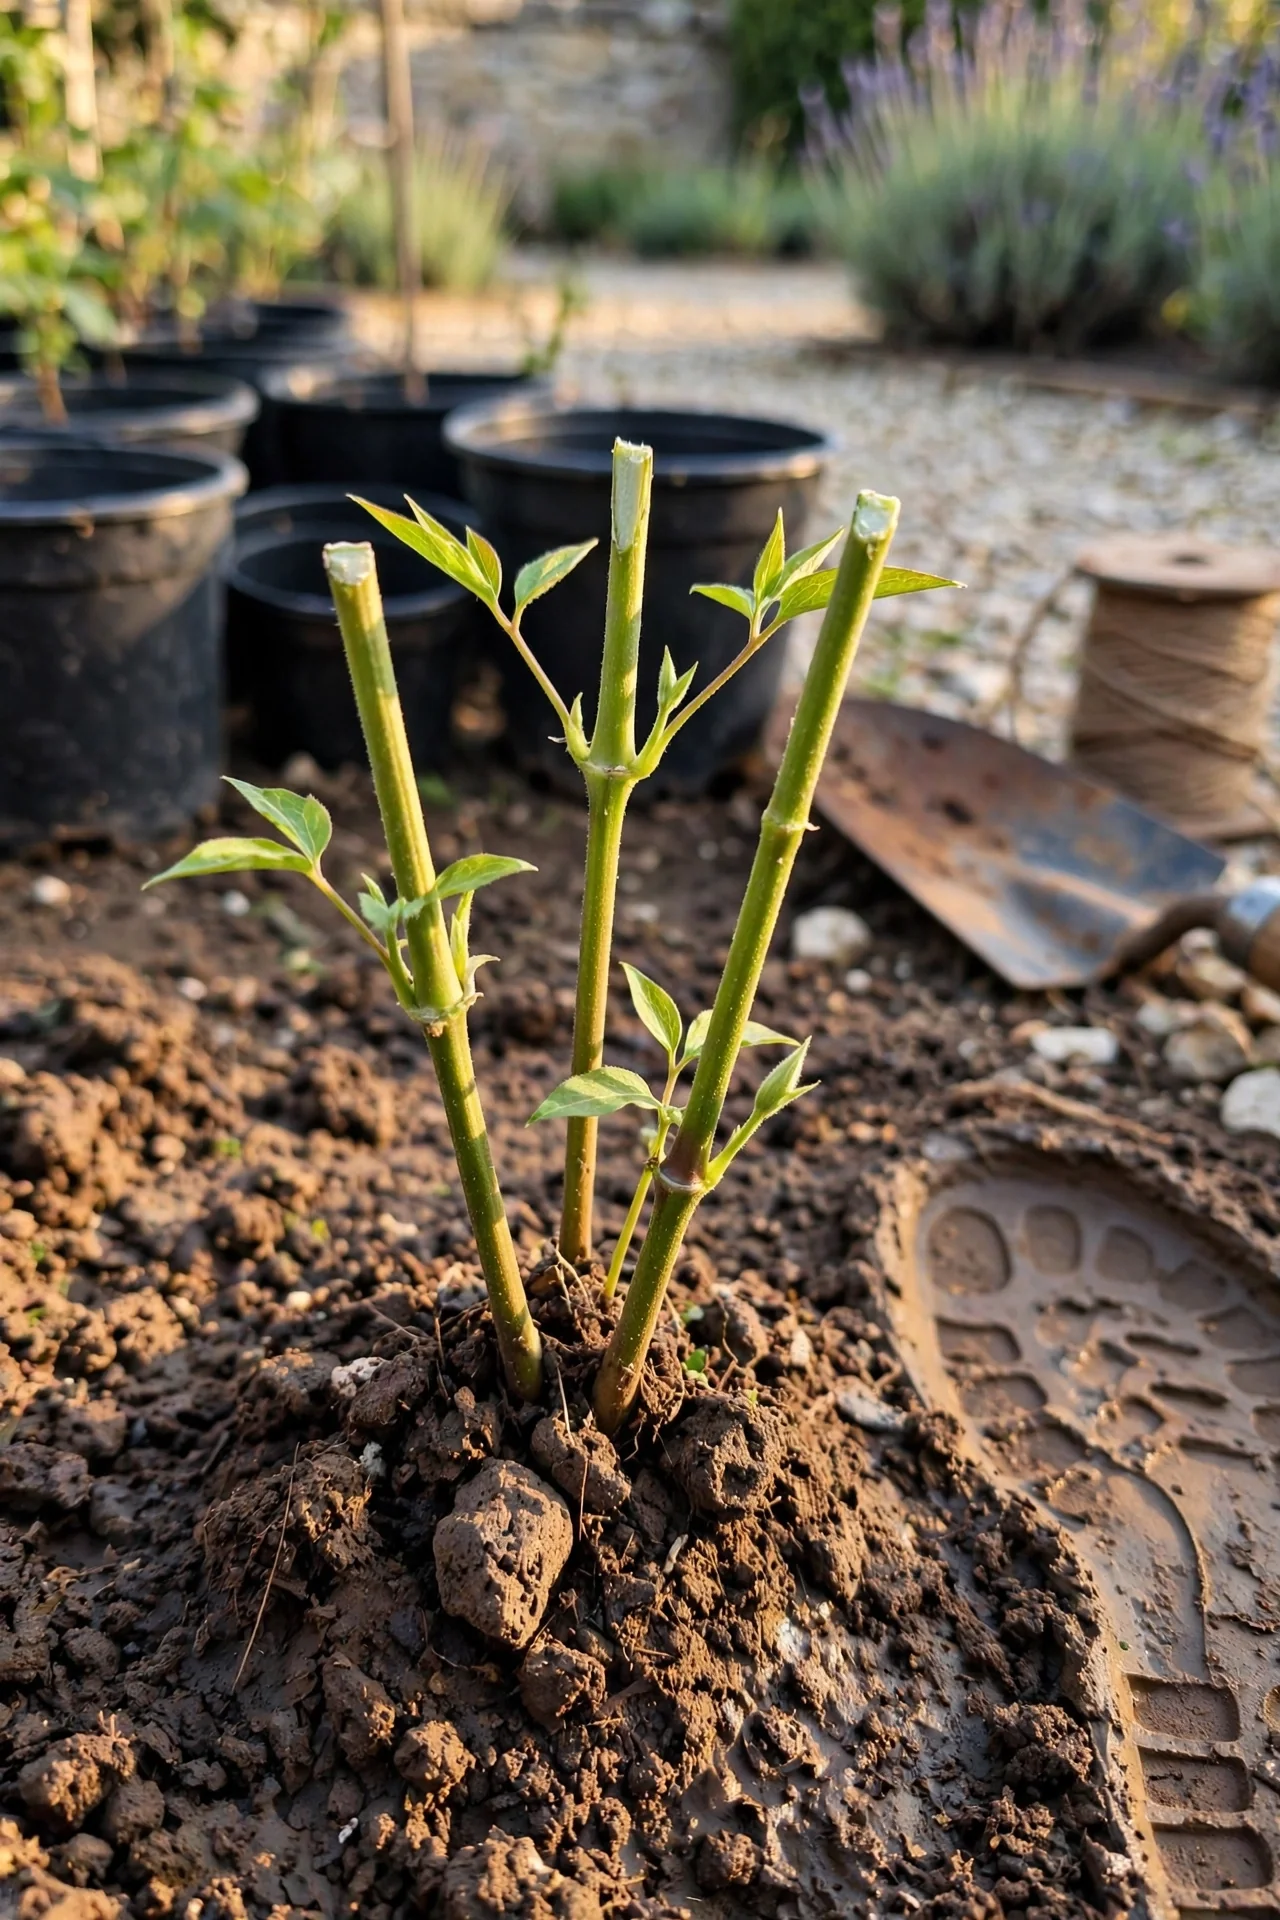
Regardless of pruning group, every newly planted clematis benefits from a hard cut in its first spring after planting. The RHS guideline is specific: unless the plant already has three or four healthy stems emerging from the base, prune all stems back to just above a strong pair of leaf buds, approximately 30 cm above soil level.
This single act counters a structural flaw built into young clematis. Left unpruned, a new plant often produces one or two very long stems with flowers only at the tips. The hard cut forces multiple basal breaks, creating a multi-stemmed framework that carries flowers from ground level upward rather than a bare-legged specimen blooming out of sight.
The timing nuance matters. For Group 1 plants, this first-year hard prune still happens in the first spring after planting, even though established Group 1 clematis are pruned after flowering. This is a one-time structural intervention, not an annual routine. In subsequent years, revert to the plant’s natural group schedule. For those propagating their own plants, our softwood cuttings guide covers the timing overlap between pruning and propagation material collection.
8. Renovation Prune: When Neglect Has Already Won
Best for: Branch 1 (Group 2 with caution)
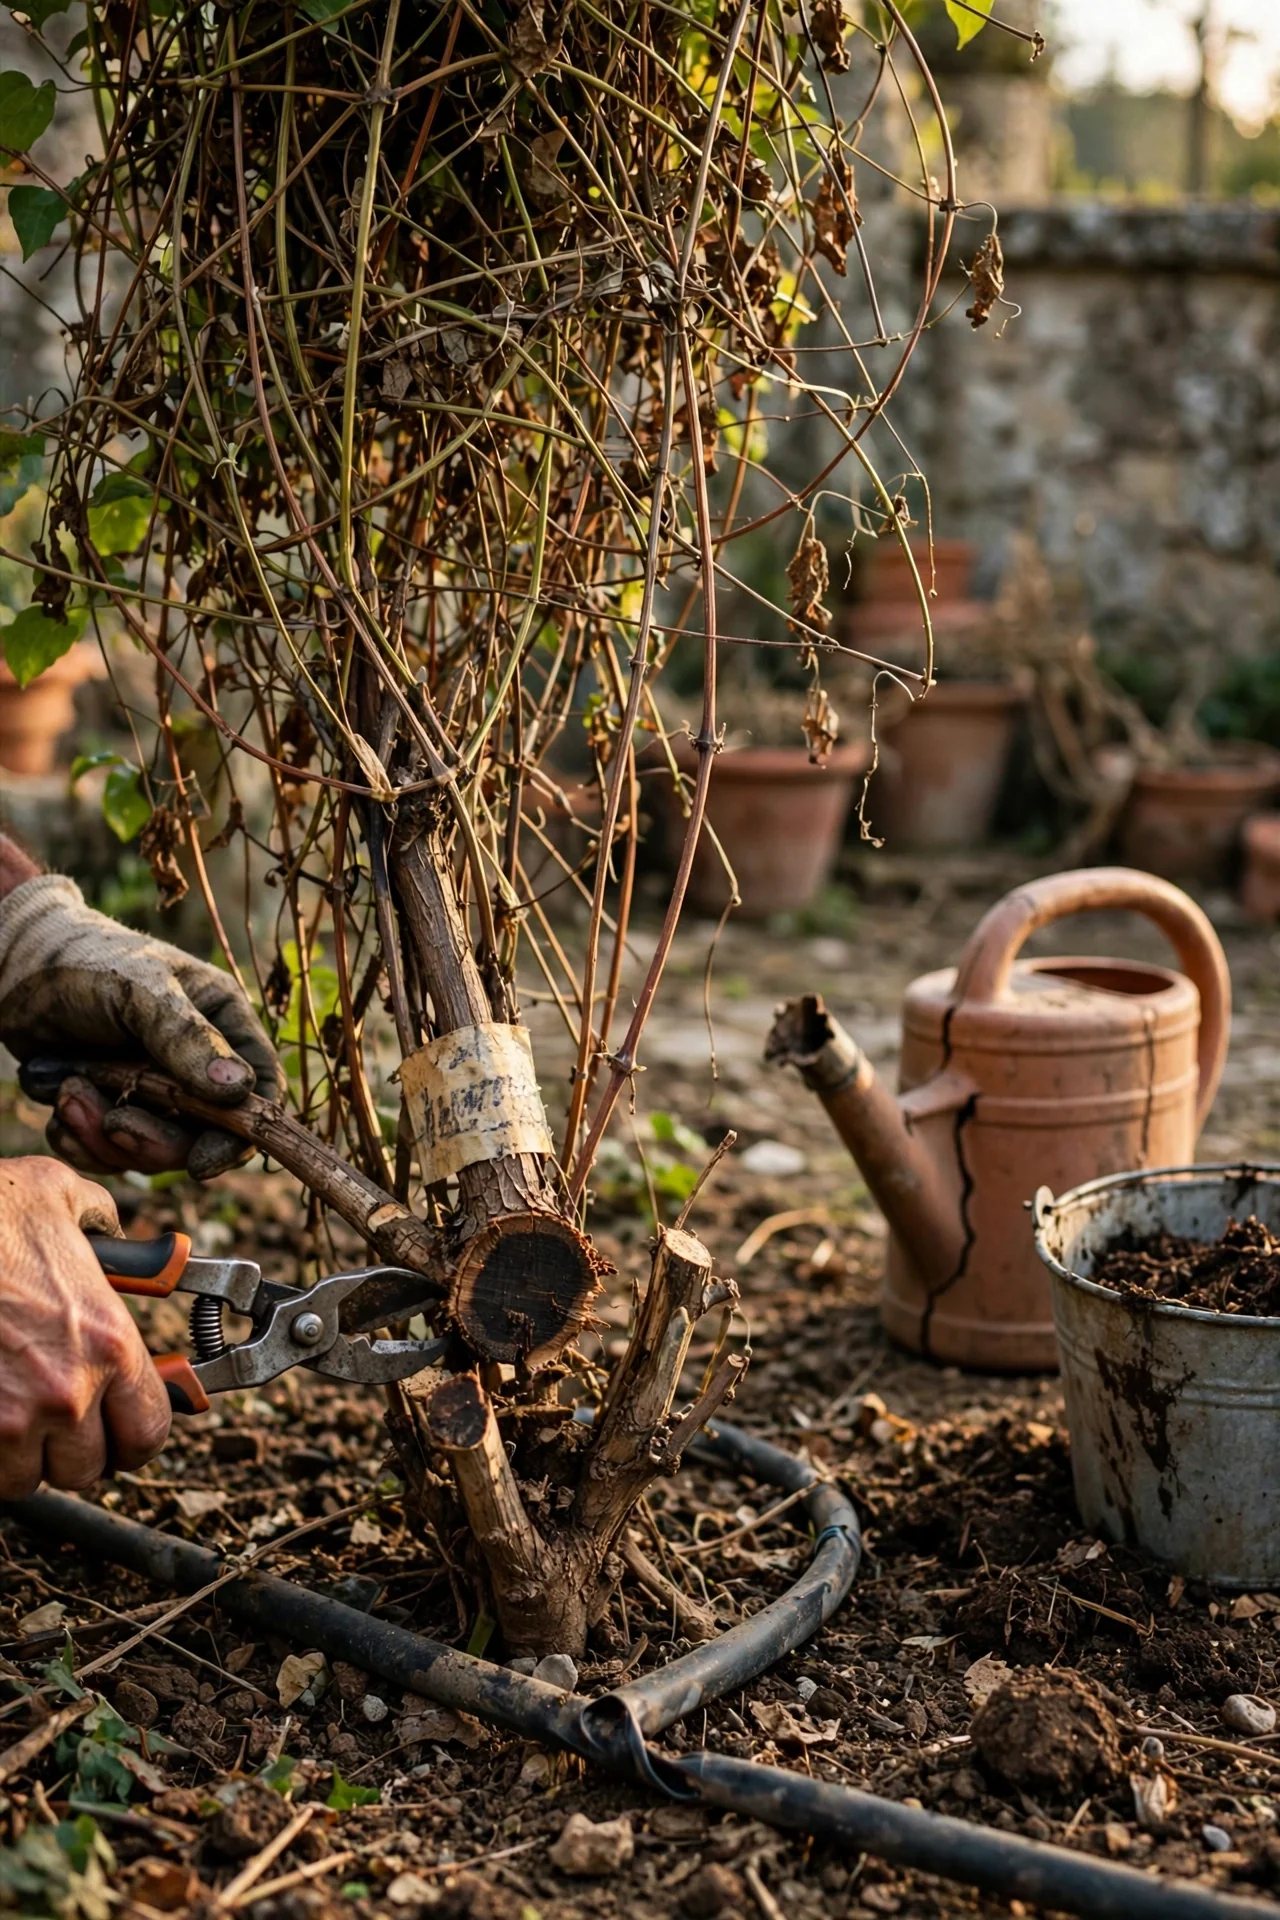
A clematis that has gone unpruned for years develops a bare, woody base with all foliage and flowers concentrated in a tangled mass at the top. For Group 1 plants, cut all stems back to 15 to 30 cm from the ground immediately after flowering. Apply a balanced granular fertilizer and mulch. Expect reduced flowering for one to two seasons; do not repeat renovation within three years. For a parallel approach on woody shrubs, see our lavender pruning guide.
9. The Lost-Label Identification Method (When You Have No Name)
Best for: All Branches
If the plant tag is gone and the variety is unknown, observe the plant for one full growing season before making any pruning decision. Note the month when the first flowers open and whether the plant produces a second flush. Also examine where flowers appear: only on old, woody stems, only on fresh green shoots, or on both.
The decision rule is straightforward. If flowering happens before June and does not repeat, treat as Group 1. If flowering begins in late May or June with a second flush in late summer, treat as Group 2. If flowering starts in July or later on green stems of the current season, treat as Group 3. During the observation year, limit yourself to removing only dead or damaged wood. A wrong guess costs a full season of flowers; a patient observation year costs nothing.
Starter Stack (What to Choose First)
Branch 1: The Hands-Off Gardener
Pair Item 1 (No-Prune Approach) with Item 9 (Lost-Label Identification). For most Group 1 clematis, especially montanas and alpinas in adequate space, zero annual pruning is the correct protocol. Use Item 9’s observation method to confirm the plant belongs here before you trust the hands-off route. Estimated time investment: 0 minutes per year beyond a one-season observation window.
Branch 2: The Two-Pass Grower
Pair Item 3 (February Framework Prune) with Item 4 (Summer Deadhead Cutback). The February session, roughly 15 to 20 minutes per plant, sets the architecture for the first flush. The July deadheading pass, another 15 minutes, unlocks the second. Skipping the February pass yields a top-heavy plant with blooms only at the tips. Skipping the July pass forfeits the repeat display.
Branch 3: The Low-Effort Maximizer
Pair Item 5 (Annual Hard Reset) with Item 6 (Pinching Upgrade). The February chop takes under 5 minutes per plant and is difficult to get wrong: cut everything to 15 to 45 cm. The pinching step in spring costs 10 minutes but doubles the flowering stems. Together they produce the densest display with the lowest skill barrier.
When This Won’t Work
Failure condition one: pruning during frost. Cutting clematis stems when temperatures are below freezing, or when a hard frost is forecast within 48 hours, can cause dieback below the cut. The wound tissue cannot seal properly, and moisture loss from the cut surface increases. Delay pruning until daytime temperatures are reliably above 4 °C and the forecast shows no sub-zero nights for at least two days. If a sudden cold snap arrives after you have pruned, cover the cut stems with horticultural fleece overnight.
Failure condition two: applying Group 3 hard-prune logic to an unknown plant. When faced with an unidentified clematis, some gardeners default to cutting everything to the ground in February, reasoning that it will regrow regardless. This is safe only for Group 3 plants. A Group 1 or Group 2 clematis cut to 15 cm in February will survive, but it will not flower that year because the old wood that carried the buds is gone. If you cannot identify the plant, defer the decision and observe for one season, as described in Item 9. For guidance on plants that genuinely tolerate hard annual cutting, see our rose pruning guide, where the rules differ significantly.
Choosing the Right Option for Your Situation
Budget Threshold
If your budget for tools is near zero, focus on Group 3 clematis (Item 5). They require only a pair of bypass secateurs, and a basic model suffices because the stems cut in February are thin and green. Group 2 plants benefit from higher-quality blades for precise bud selection. Group 1 plants in large spaces need no tools at all. A serviceable pair of bypass pruners costs approximately £12 to £25 / $15 to $30 / €15 to €30.
Time Threshold
If you have less than 10 minutes per plant per year, choose Items 1 and 5 exclusively. Group 1 in adequate space requires zero minutes. Group 3 requires one February session of 5 minutes or less. Avoid Group 2 entirely: the two-pass schedule demands two separate sessions and the summer deadheading pass must be timed within a roughly two-week window after the first flowers fade.
Technical Constraint: Frost-Free Window
In regions where the last frost date falls after mid-April, such as USDA zones 4 and 5 or inland northern Europe, the February pruning window for Groups 2 and 3 may need to shift into March. The controlling factor is not the calendar month but the condition of the buds. Prune when buds begin to swell but before they break into leaf. This phenological signal adjusts automatically to latitude and microclimate.
Yes/No Checklist
Does the plant flower before June without a repeat? Yes: Items 1 or 2. No: continue.
Does the plant flower in May–June and again in late summer? Yes: Items 3 and 4. No: continue.
Does the plant flower from July onward on green stems? Yes: Items 5 or 6.
Is the plant in its first year after planting? Yes: Item 7 applies regardless of all answers above.
Expert Q&A
Can I treat a Group 2 clematis as Group 3 and cut it hard every February?
Yes, but you forfeit the first, heavier flush of flowers entirely. The plant will survive and produce a single, later display on new wood. Some gardeners do this deliberately on overgrown Group 2 plants as a renovation shortcut. Expect a season of reduced bloom and a shift to single rather than double flowers on certain cultivars.
Why did my Group 3 clematis not regrow after a hard prune?
Clematis wilt (Calophoma clematidina) can enter through pruning wounds and kill stems below the cut. Slugs may also consume emerging shoots before they are visible. If the root system is still alive, new shoots may emerge from below soil level six to eight weeks later than expected. Mark the crown location and wait.
Does the “if it flowers before June, don’t prune” rule apply in the Southern Hemisphere?
Yes, but the calendar flips. In Australia, New Zealand, and South Africa, the equivalent threshold is “if it flowers before December.” The biological trigger is the same: early bloomers flower on old wood and should be pruned immediately after flowering, not before. Adjust all February references in this article to August.
Can I prune a Group 1 clematis in autumn if I skipped the post-bloom window?
Pruning Group 1 in autumn removes the flower buds already set for the following spring. The plant will survive but will not bloom the next season. If you missed the post-flowering window in late spring or early summer, wait until after the next flowering cycle to prune. Accept the untidiness for one season.
What is the difference between deadheading and the Group 2 summer cutback?
Deadheading removes only the spent flower and its immediate stem, leaving the seed-producing structure intact below. The Group 2 summer cutback goes further: it removes the entire flowered portion of the stem down to a pair of strong buds roughly halfway along the stem. This deeper cut triggers the growth of new flowering shoots rather than just cleaning up the old ones.
Conclusion
The single clematis pruning mistake that costs an entire season of flowers is cutting at the wrong time, not cutting the wrong amount. A Group 3 plant pruned gently still blooms. A Group 1 plant pruned in February does not. Let flowering time, not a memorized rule, dictate the calendar.
If you take one action after reading, identify the month your clematis first opens its flowers this season. That observation, made once, locks you into the correct pruning group permanently. For a parallel approach to timing-sensitive plant care, our ornamental grass pruning guide works through the same seasonal decision logic.