
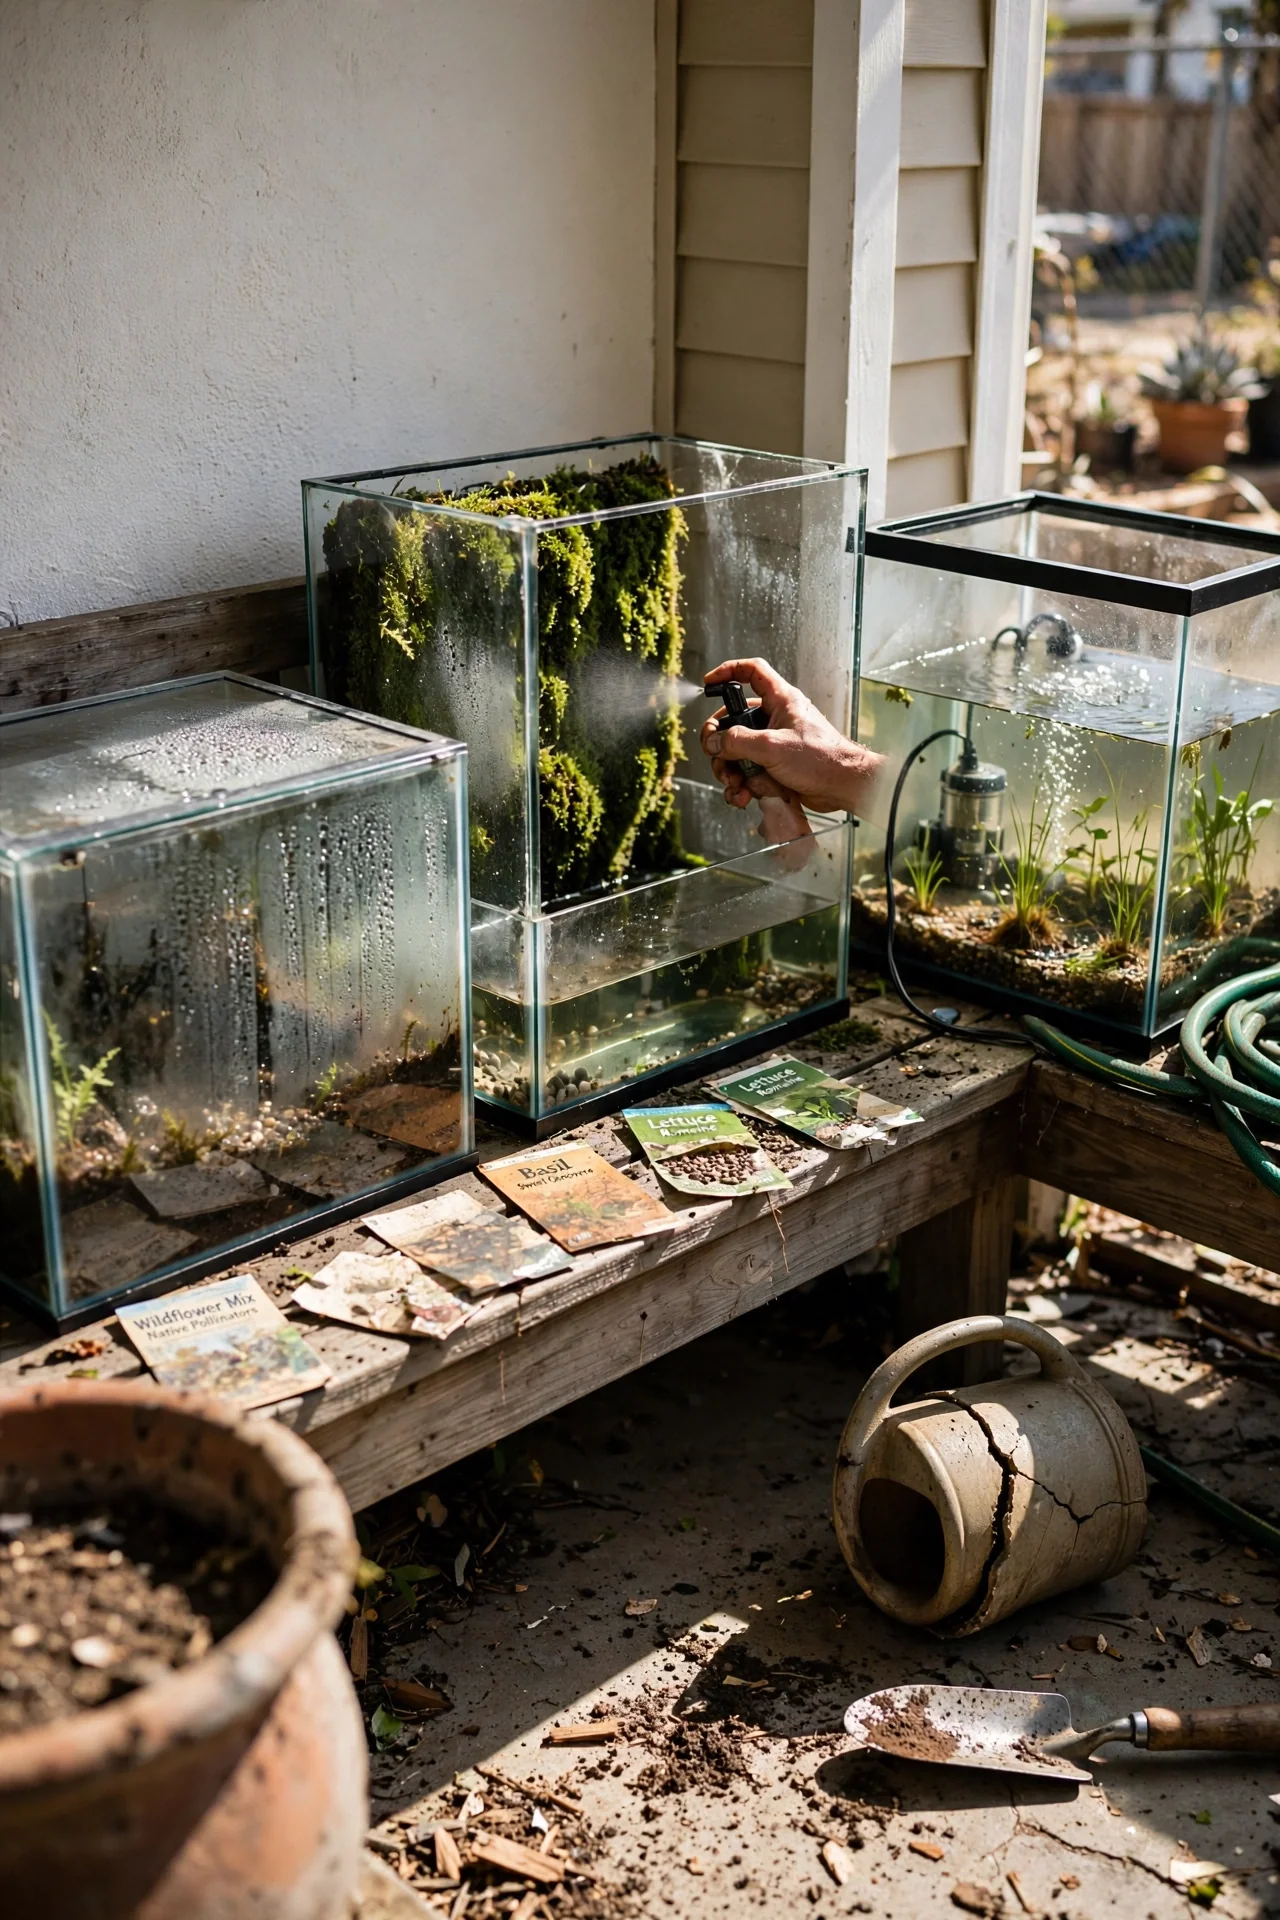
Most aquarium terrarium guides sort ideas by visual style. The more useful divider is intent: are you building a display for calm, a propagation lab for plant multiplication, or a living water feature that cycles nutrients through a pump? These functions dictate plant choice, substrate depth, and maintenance rhythm more than aesthetics ever will.
This list covers closed and open planted setups inside standard glass aquariums. It excludes saltwater reef tanks and vivariums where animal care overshadows plant mechanics. The nine designs below range from a zero-stress moss wall to a creek bed biome that demands weekly water testing.
By the end, you will have a clear decision path based on your available light, weekly time commitment, and humidity tolerance. Each idea is mapped to a specific intent branch so you can skip the designs that do not match your reality.
Bottom line: Choose your terrarium’s primary function first; the plant list and layout will follow without guesswork.
The Yield Grid Decision Grid
Select your intent branch based on measurable conditions. Each branch ends with specific item recommendations.
Branch 1: The Display Piece (Low-Touch Visuals)
Choose this when your light measures 50 to 150 foot-candles and ambient humidity stays low enough to prevent condensation on cool glass surfaces. These designs need misting once weekly and no electrical components. A charcoal filtration layer remains critical for preventing stagnation. Recommended: Items 1, 2, 3 below.
Branch 2: The Propagation Engine (High Humidity, Rapid Growth)
Select this branch if you can provide 150 to 300 foot-candles of bright indirect light and maintain consistently high humidity (visible condensation on glass). Daily condensation checks are required. No pump needed, but venting is essential. Recommended: Items 4, 5, 6 below.
Branch 3: The Living Water Feature (Aquatic-Terrestrial Hybrid)
Pick this when you have 200 to 400 foot-candles, an electrical outlet for a small pump, and time for weekly water parameter checks with a pH target of 6.5 to 7.5. These builds combine submerged and emersed zones. Recommended: Items 7, 8, 9 below.
Quick Comparison Table
| Option | Key Mechanism | Best For | Decision Grid Branch | Effort Score |
|---|---|---|---|---|
| Moss Wall | Vertical hygrolon panel wicking | Small spaces, low light | Branch 1 | 2 |
| Succulent Rock Garden | Fast drainage in mineral substrate | Forgetful waterers | Branch 1 | 1 |
| Air Plant Exhibit | Epiphytic absorption, no roots | Zero-substrate setups | Branch 1 | 2 |
| Propagation Incubator | Sealed dome, bottom heat | Rooting cuttings, seedlings | Branch 2 | 4 |
| Closed Tropical Canopy | Recycled water cycle, sealed lid | High-humidity ferns, mosses | Branch 2 | 3 |
| Mini Greenhouse Lab | Layered substrate, vented lid | Acclimating tissue cultures | Branch 2 | 3 |
| Riparium Shelf | Pump-fed water channel, marginal plants | Emersed aquatic plants | Branch 3 | 5 |
| Aquatic Cavescape | Submerged hardscape, still water | Java fern, anubias display | Branch 3 | 4 |
| Creek Bed Biome | Recirculating stream, gravel bed | Biotope-style landscapes | Branch 3 | 5 |
1. Moss Wall Terrarium
Best for: Branch 1 (The Display Piece)
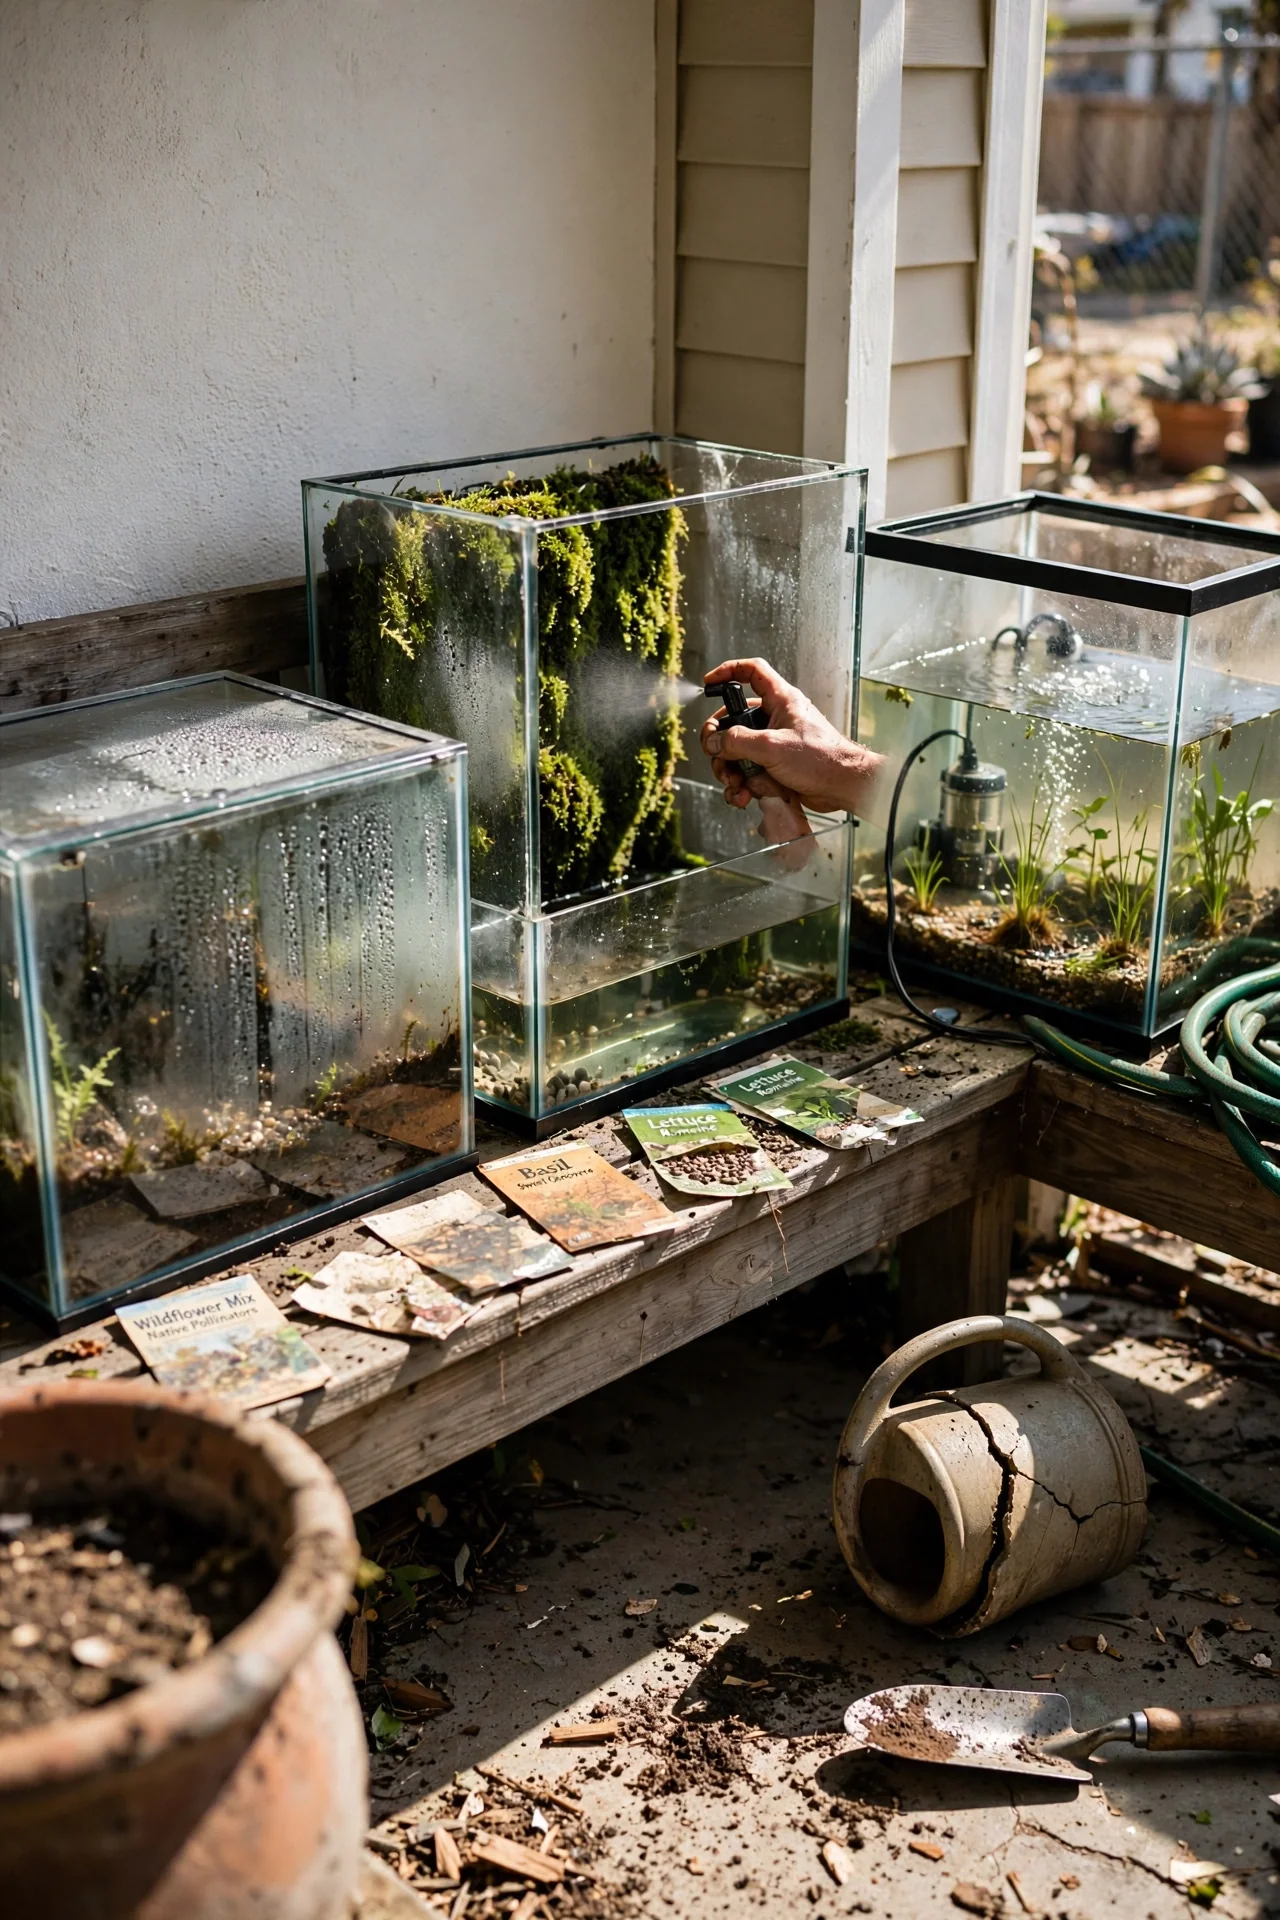
What it is: A vertical panel of live moss attached to a wicking material like hygrolon, mounted inside the back wall of an aquarium. Water is drawn from a shallow reservoir at the base, keeping moss evenly damp without misting the glass.
What it’s for: Builders working with low light conditions (50 to 100 foot-candles) who want a green focal point that needs no daily care. Also useful for narrow aquariums where horizontal space is limited.
Core steps: Cut a hygrolon sheet to fit the back glass, attach with silicone, and drape a section into a 1-inch water reservoir. Press pre-grown moss (Taxiphyllum or Vesicularia) into the material. Top off the reservoir with distilled water once weekly. Common mistake: using tap water with high mineral content, which causes white crust on the moss surface within three weeks.
Explore more moss-based designs in our moss terrarium ideas collection.
2. Succulent Rock Garden
Best for: Branch 1 (The Display Piece)
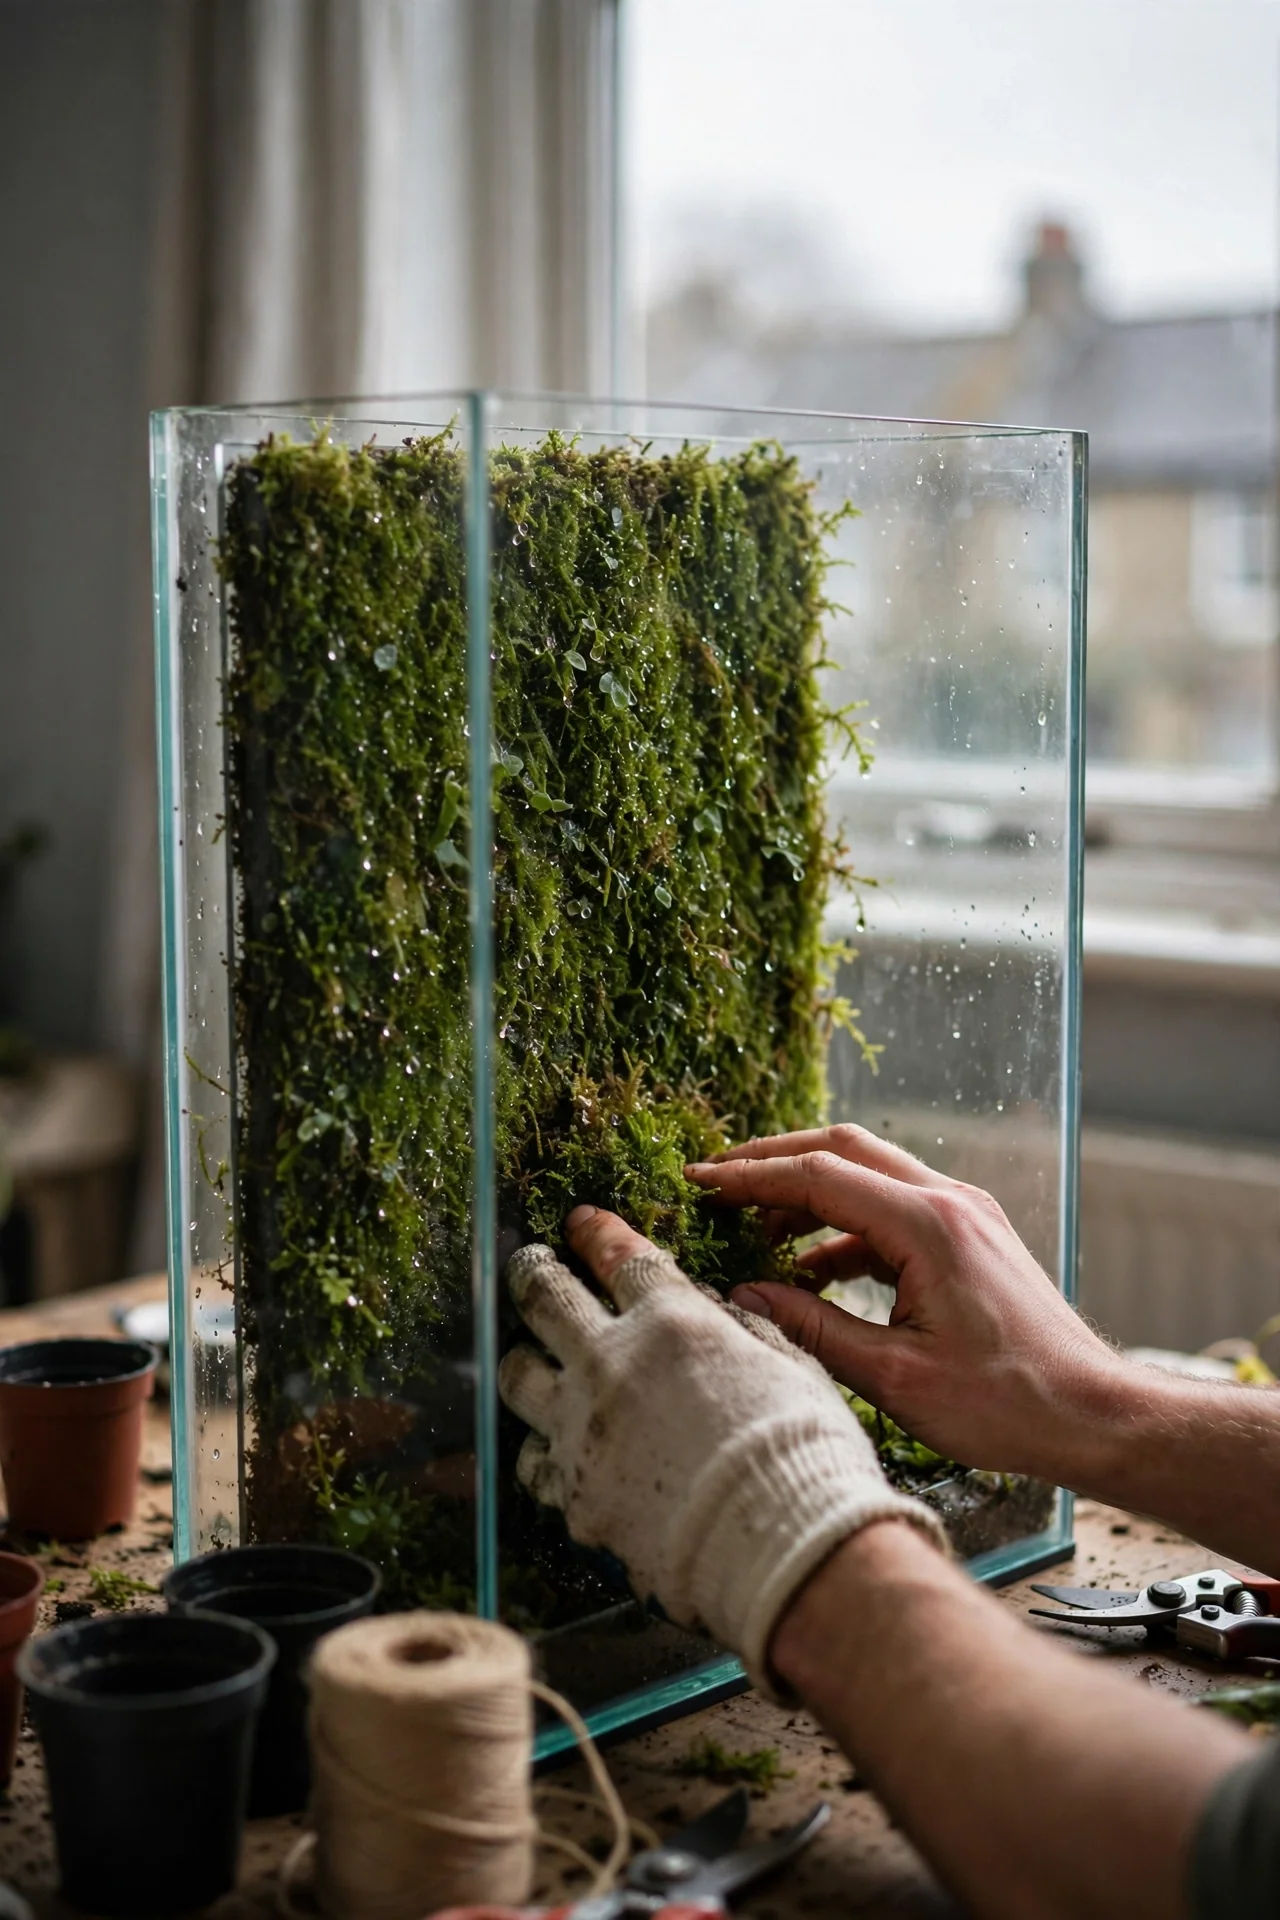
Use if: you have strong direct light (over 300 foot-candles) and a tendency to under-water. Skip if your aquarium sits in a humid room or you use a lid; succulents rot when humidity remains elevated for days. Edge case: Crassula species tolerate brief humidity spikes, making them safer for partially open lids. For more open setups, see open terrarium ideas.
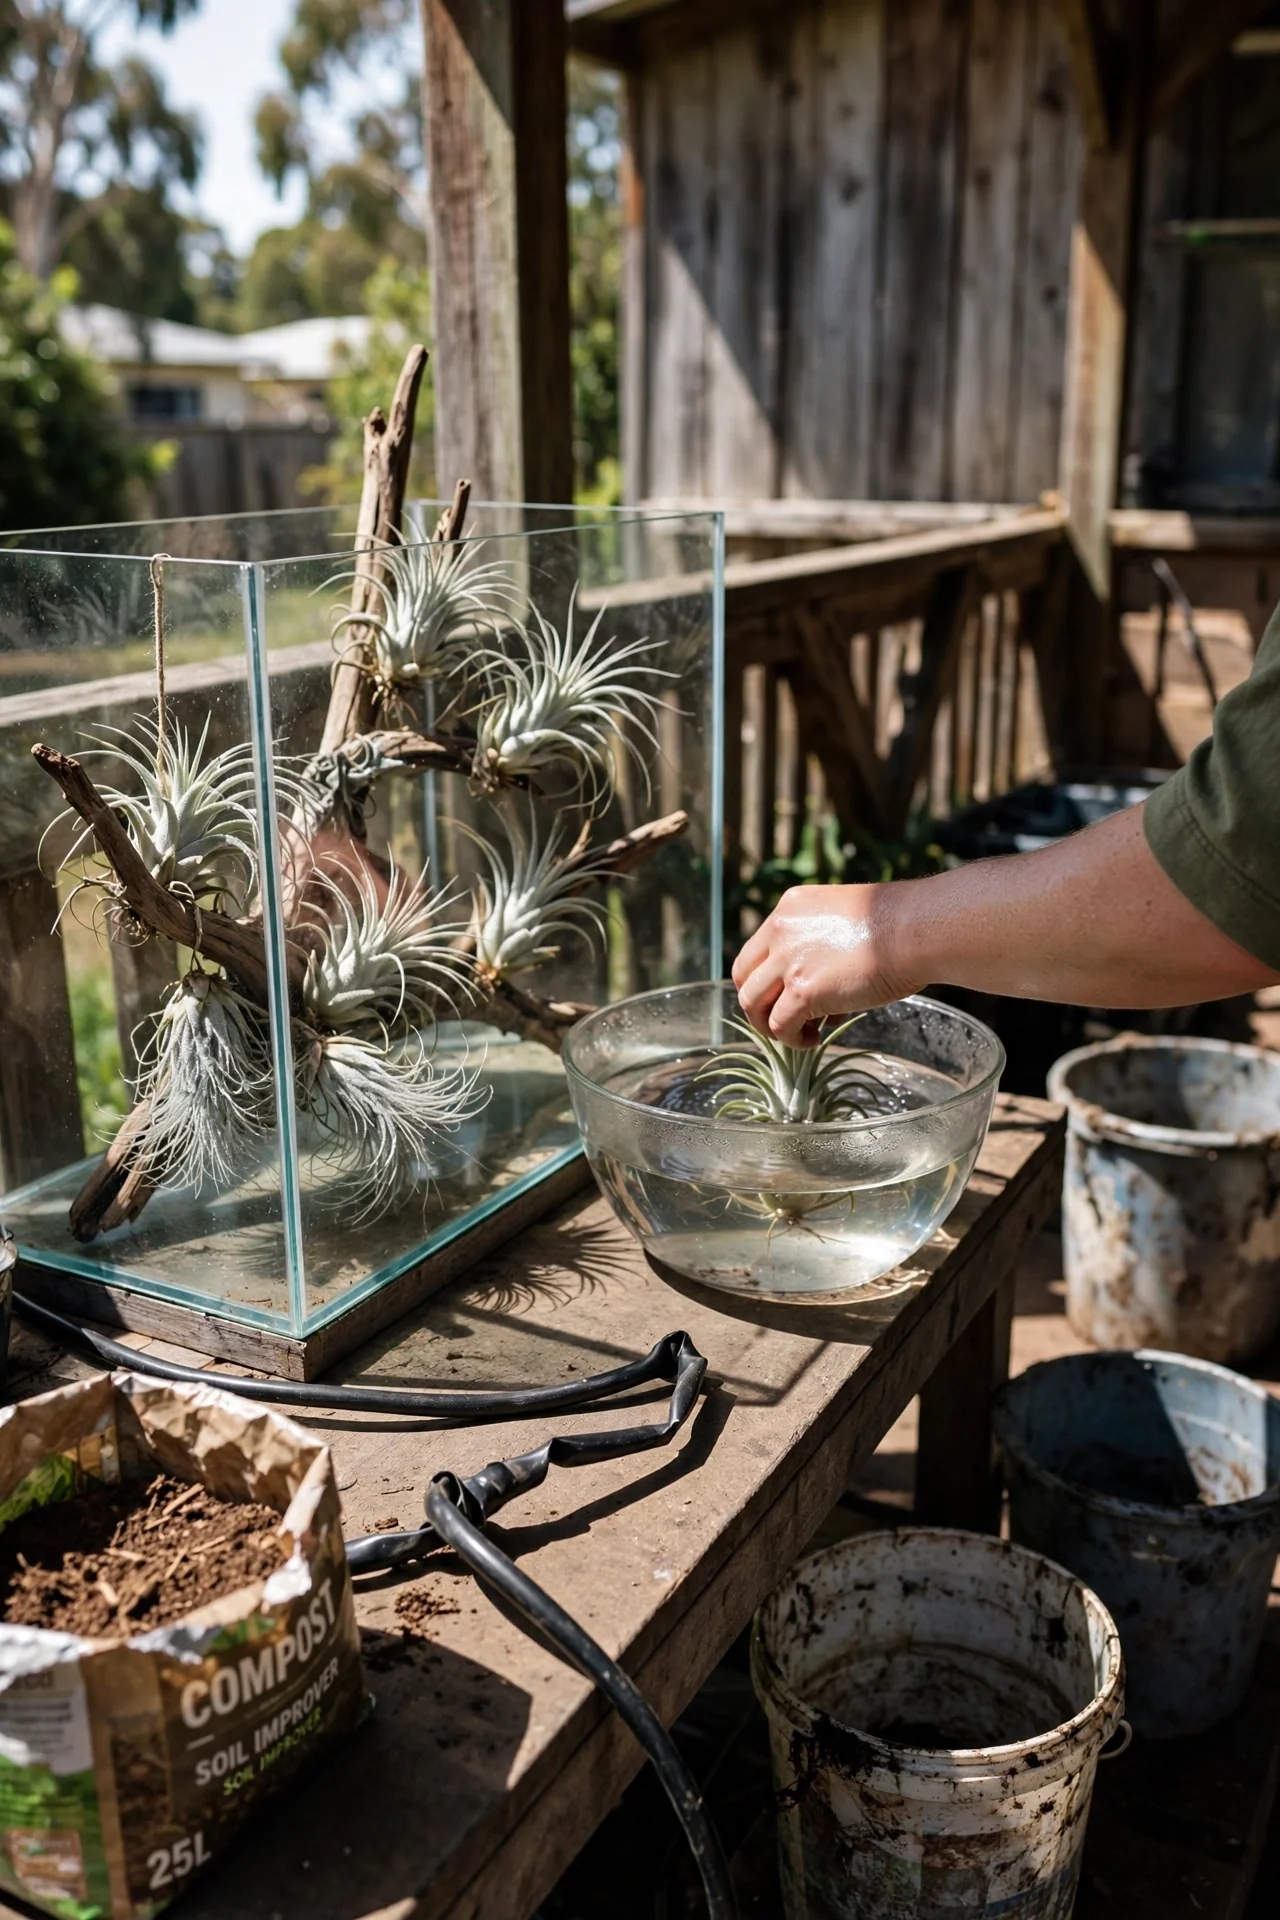
3. Air Plant Exhibit
Best for: Branch 1 (The Display Piece)
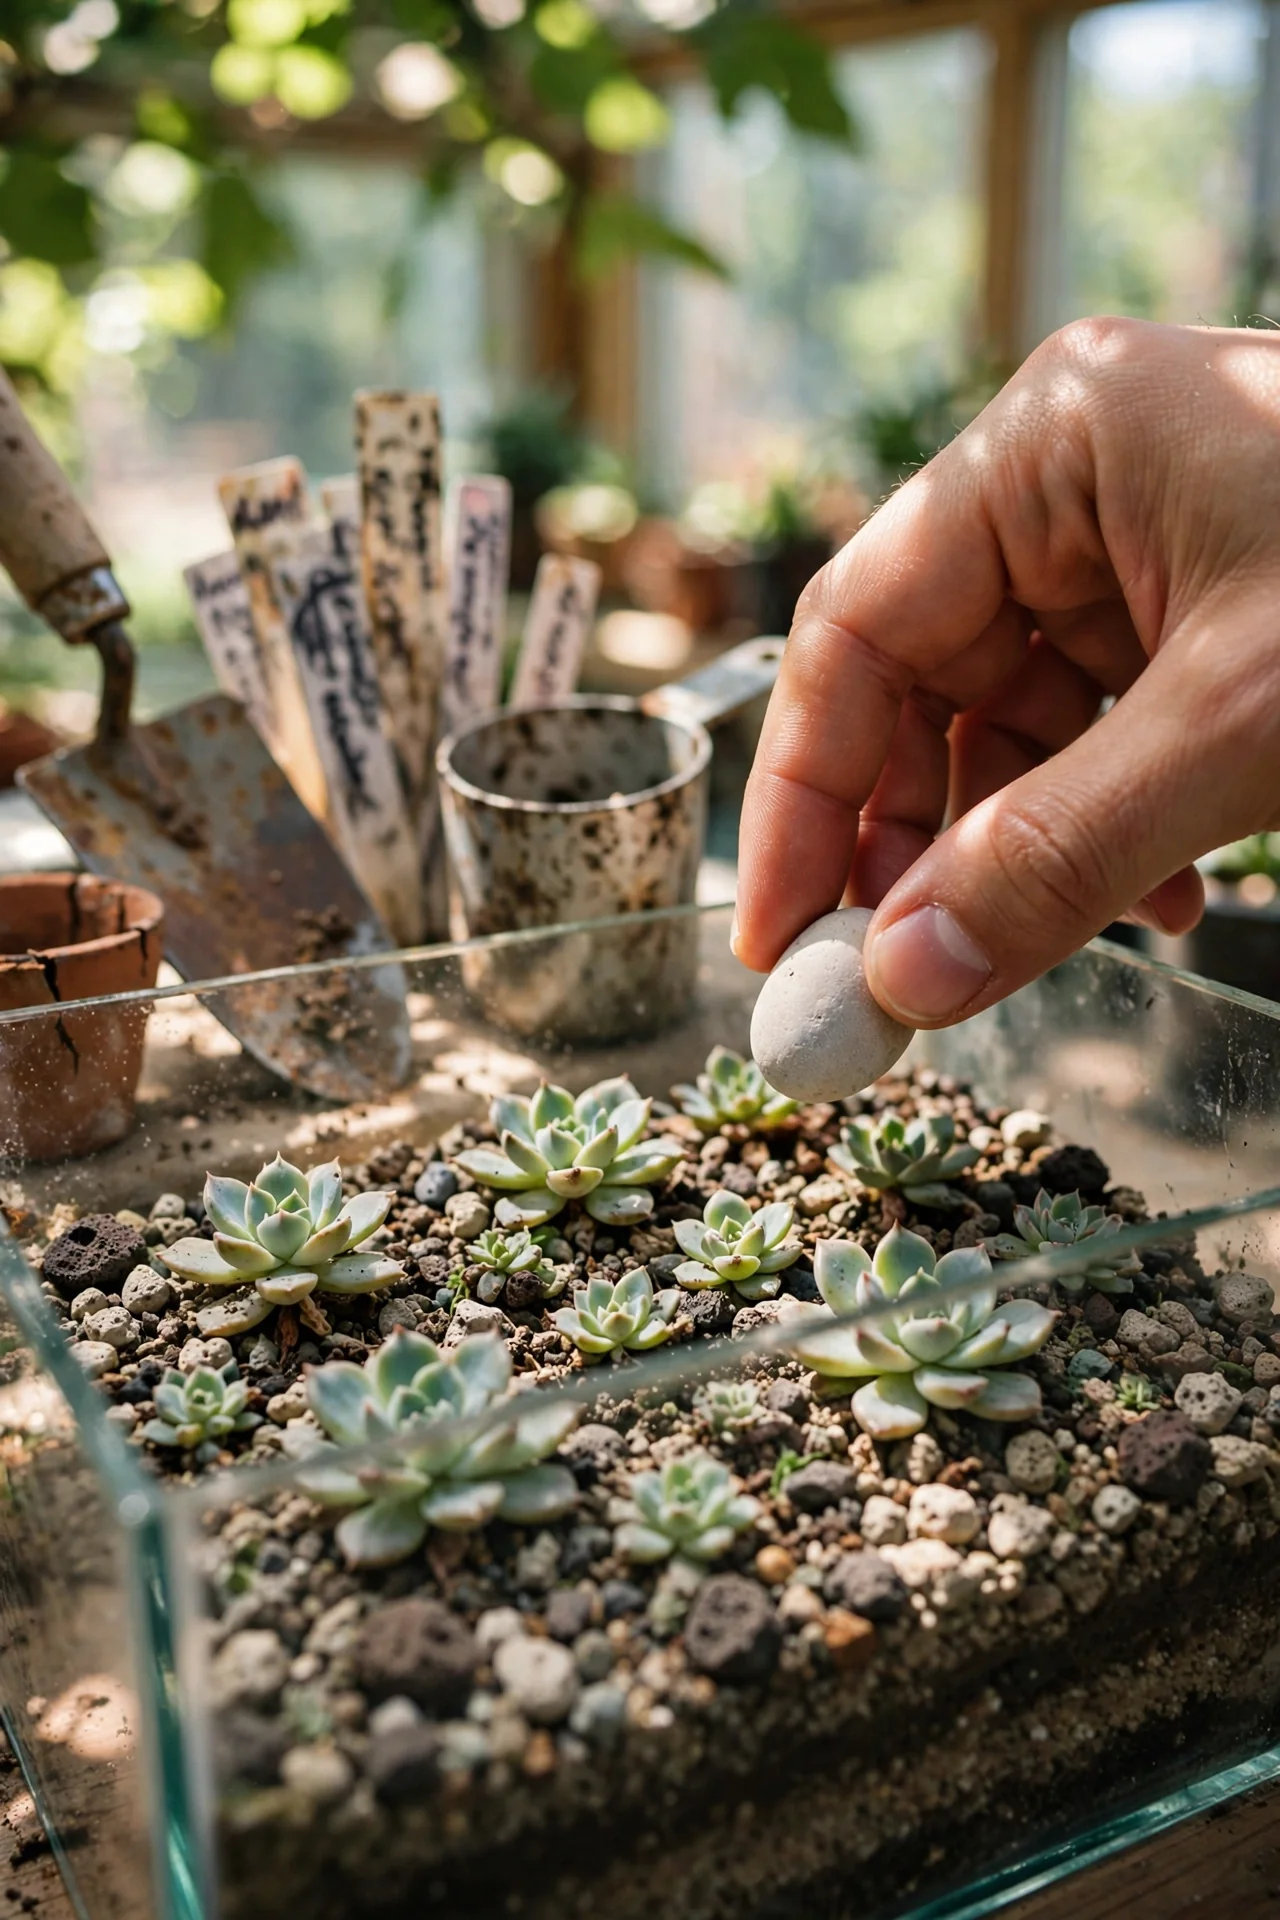
Air plants (Tillandsia) absorb moisture through trichomes, not roots. The threshold that matters: ambient humidity must stay above the point where leaf tips curl inward. If your room drops below this in winter, switch from weekly misting to a biweekly 30-minute submersion in room-temperature water. A common misjudgment is placing them too close to a heat vent, which drops localized humidity below their tolerance within hours. Use a hygrometer placed at leaf height to verify. Pair with driftwood mounts for a substrate-free layout. Find more arrangements in our air plant terrarium ideas.
4. Propagation Incubator
Best for: Branch 2 (The Propagation Engine)
10-minute setup workflow:
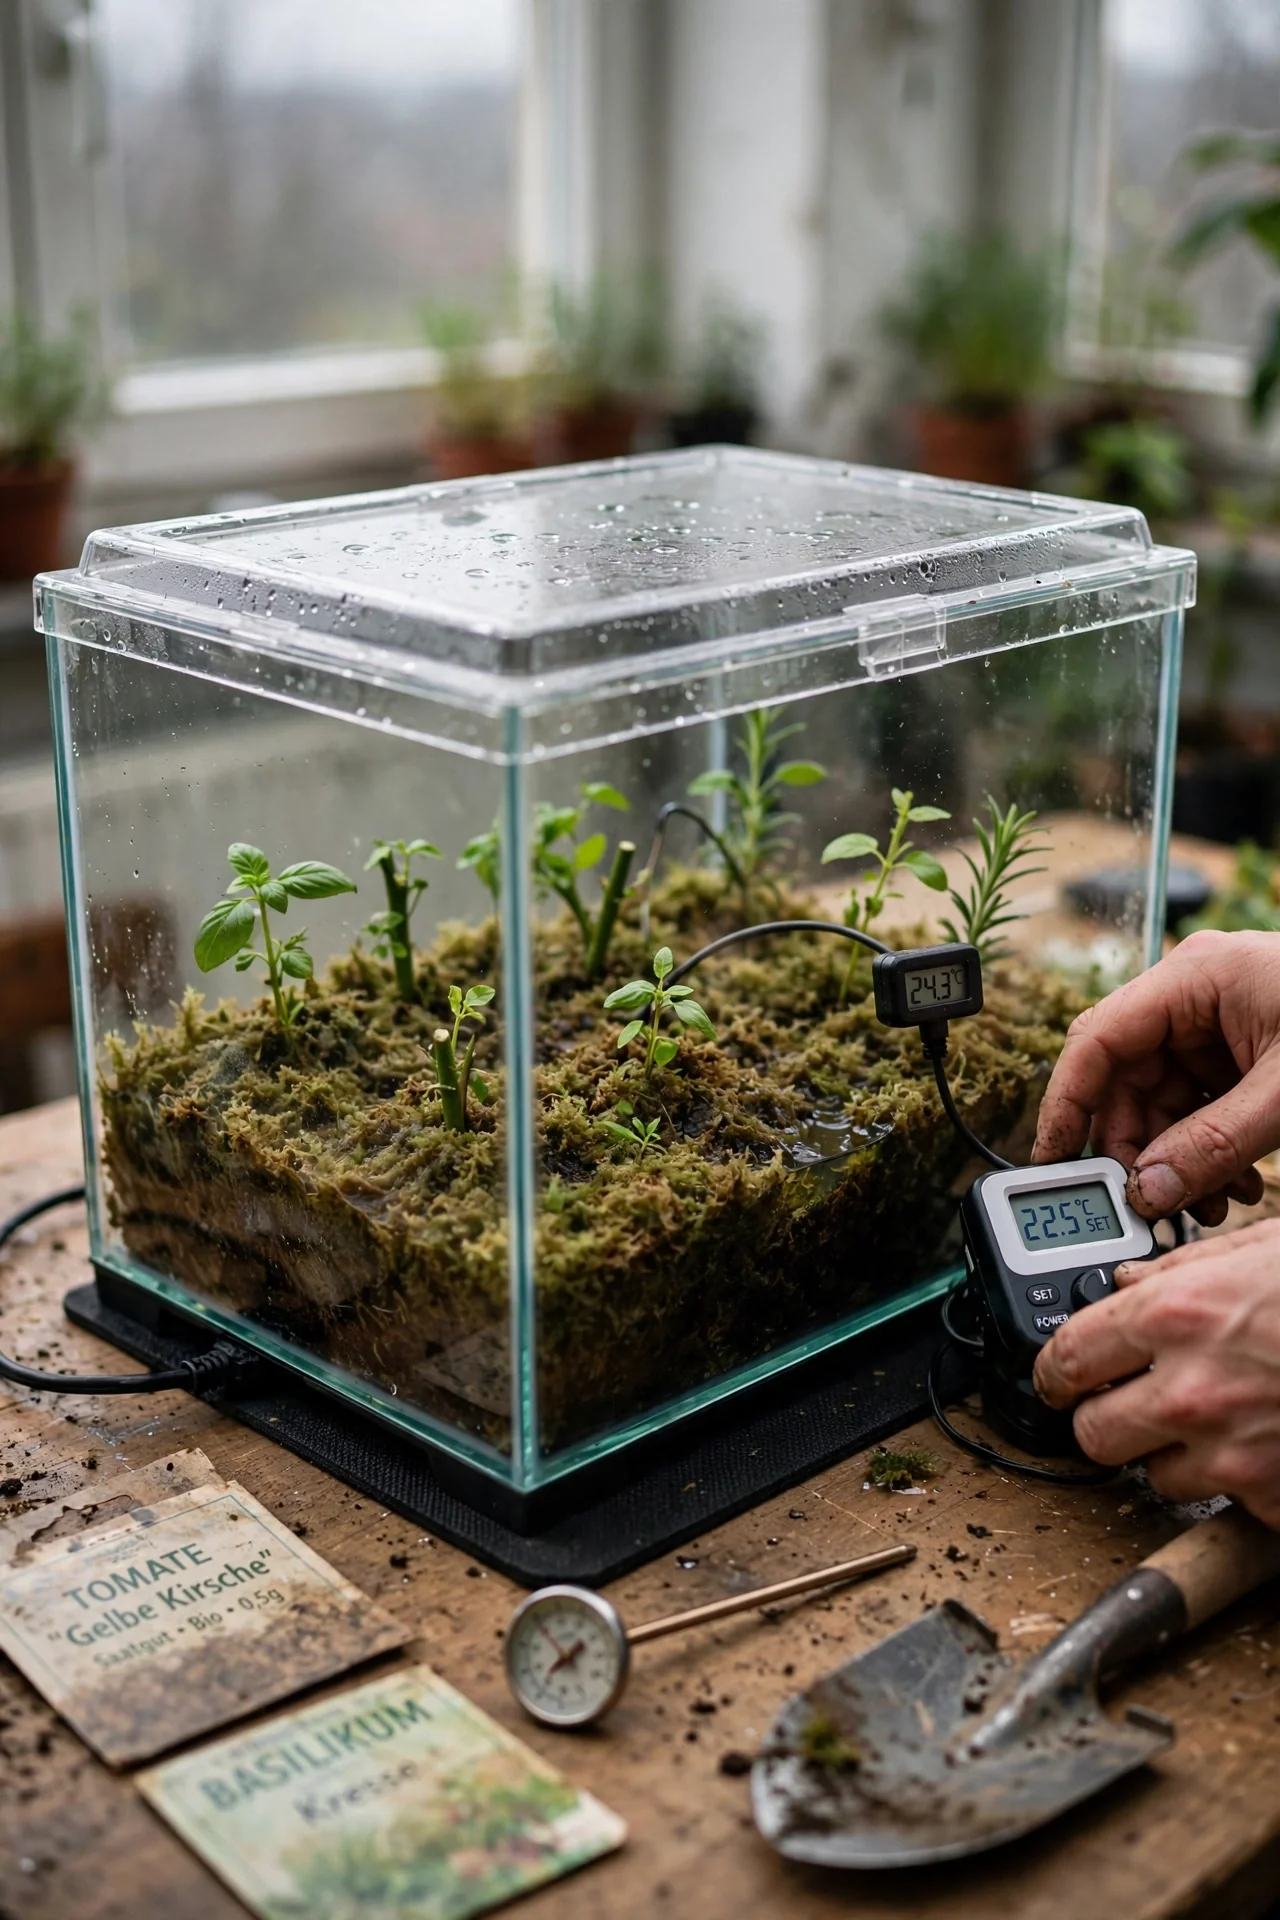
Step 1 (2 min): Place a seedling heat mat under the aquarium, set to 75°F. Step 2 (3 min): Fill a tray with moist sphagnum moss, insert cuttings or seeds, and place inside the tank. Step 3 (2 min): Close the glass lid and adjust the gap to achieve steady condensation on the glass without dripping. Step 4 (3 min): Install a small clip-on LED grow light (150 foot-candles at substrate level) on a 14-hour timer.
Upgrade option: Add a small USB fan on a timer to cycle air for 10 minutes every 4 hours; this reduces damping-off fungal issues without crashing humidity. Avoid opening the lid daily for inspection; each opening vents the accumulated warmth and sets rooting back by hours. For plant selections suited to closed environments, see our closed terrarium ideas.
5. Closed Tropical Canopy
Best for: Branch 2 (The Propagation Engine)
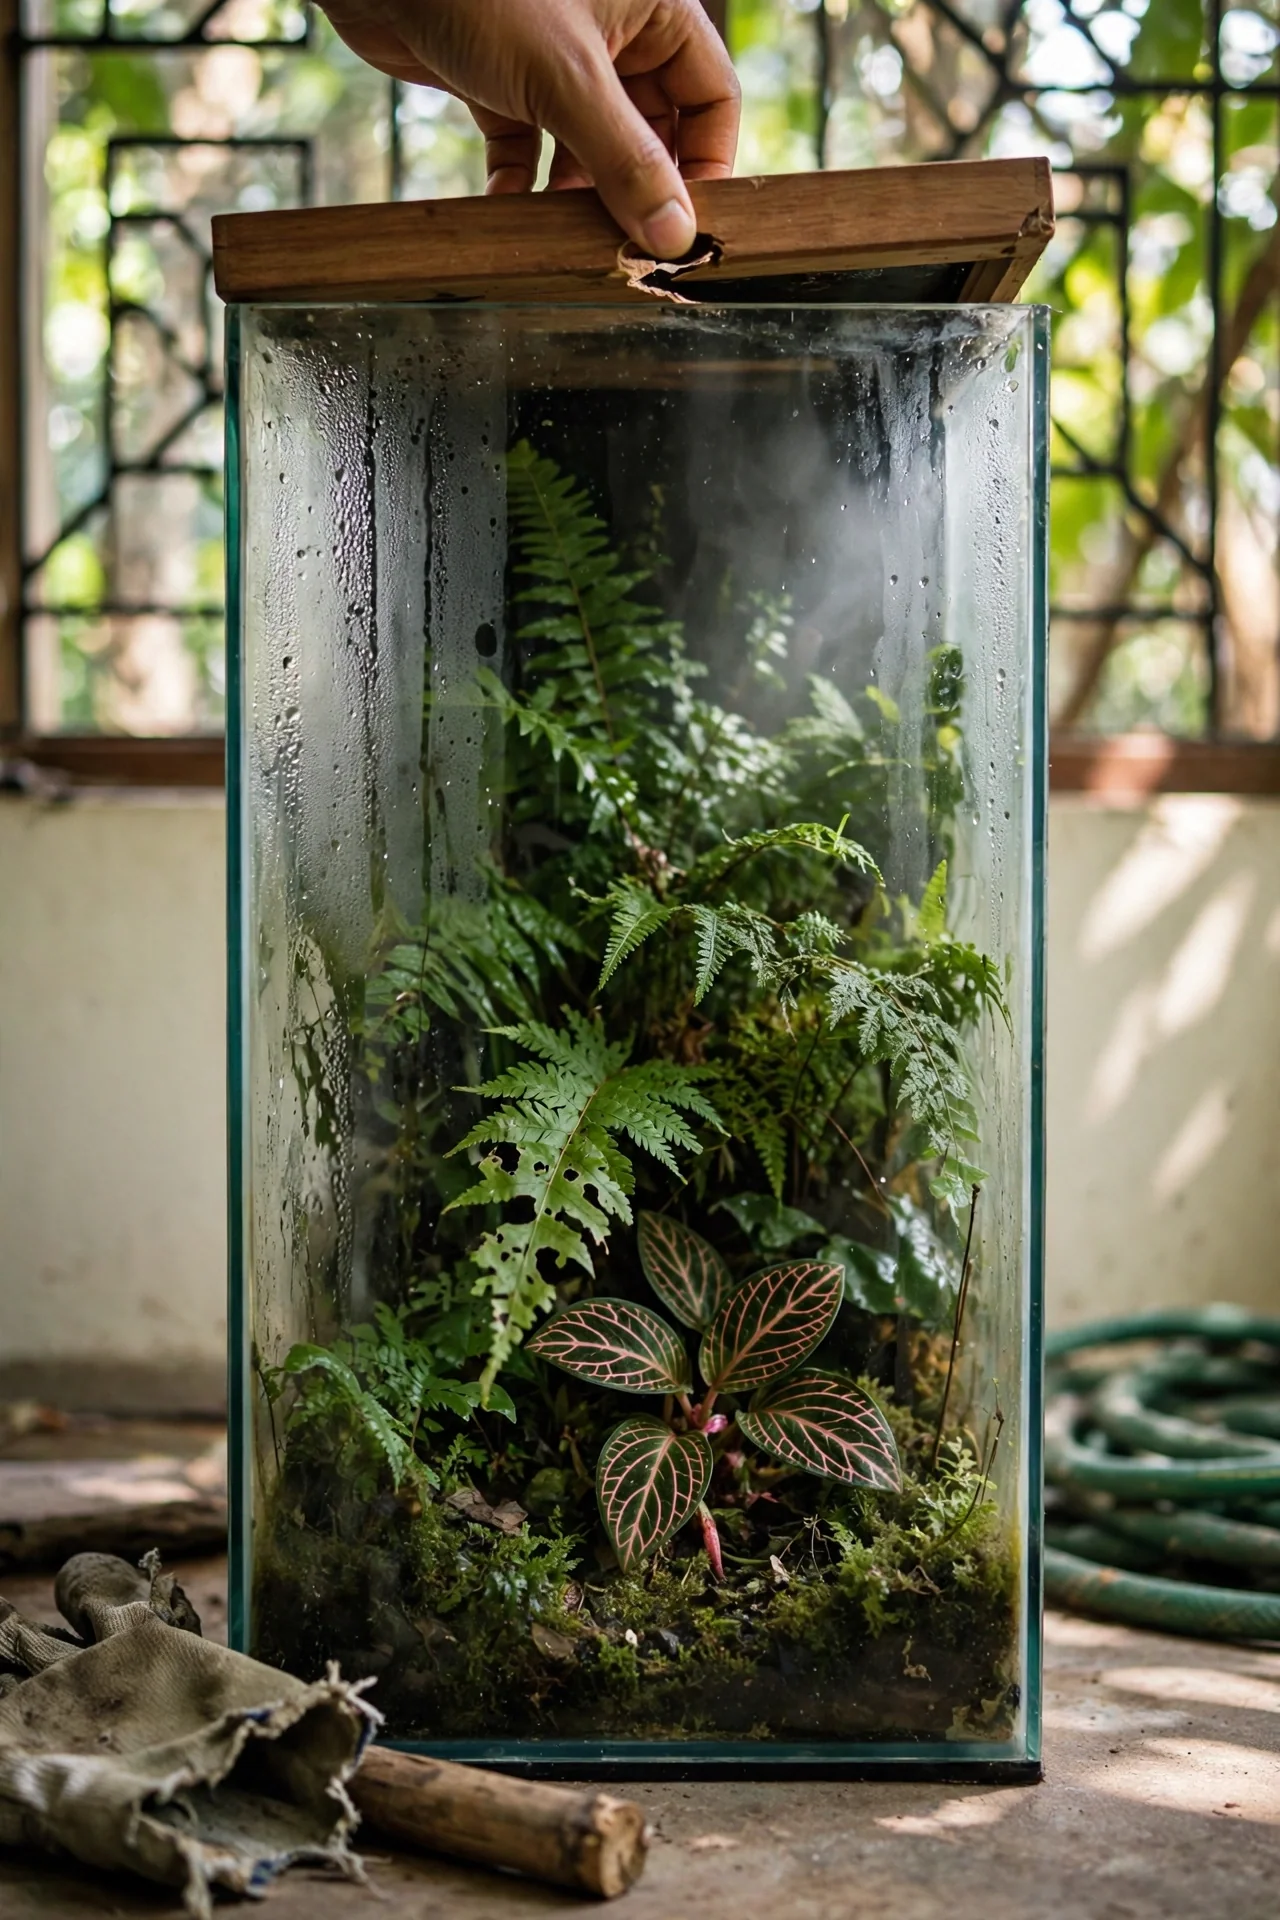
What: A sealed aquarium where tall plants create a canopy, trapping moisture. For: Displaying humidity-loving ferns and jewel orchids. Steps: Layer drainage media, add activated charcoal, fill with peat-based substrate, plant tallest species at back. Mistake: Over-planting, which blocks light to the lower layer. See large terrarium ideas for sizing guidance.
6. Mini Greenhouse Lab
Best for: Branch 2 (The Propagation Engine)
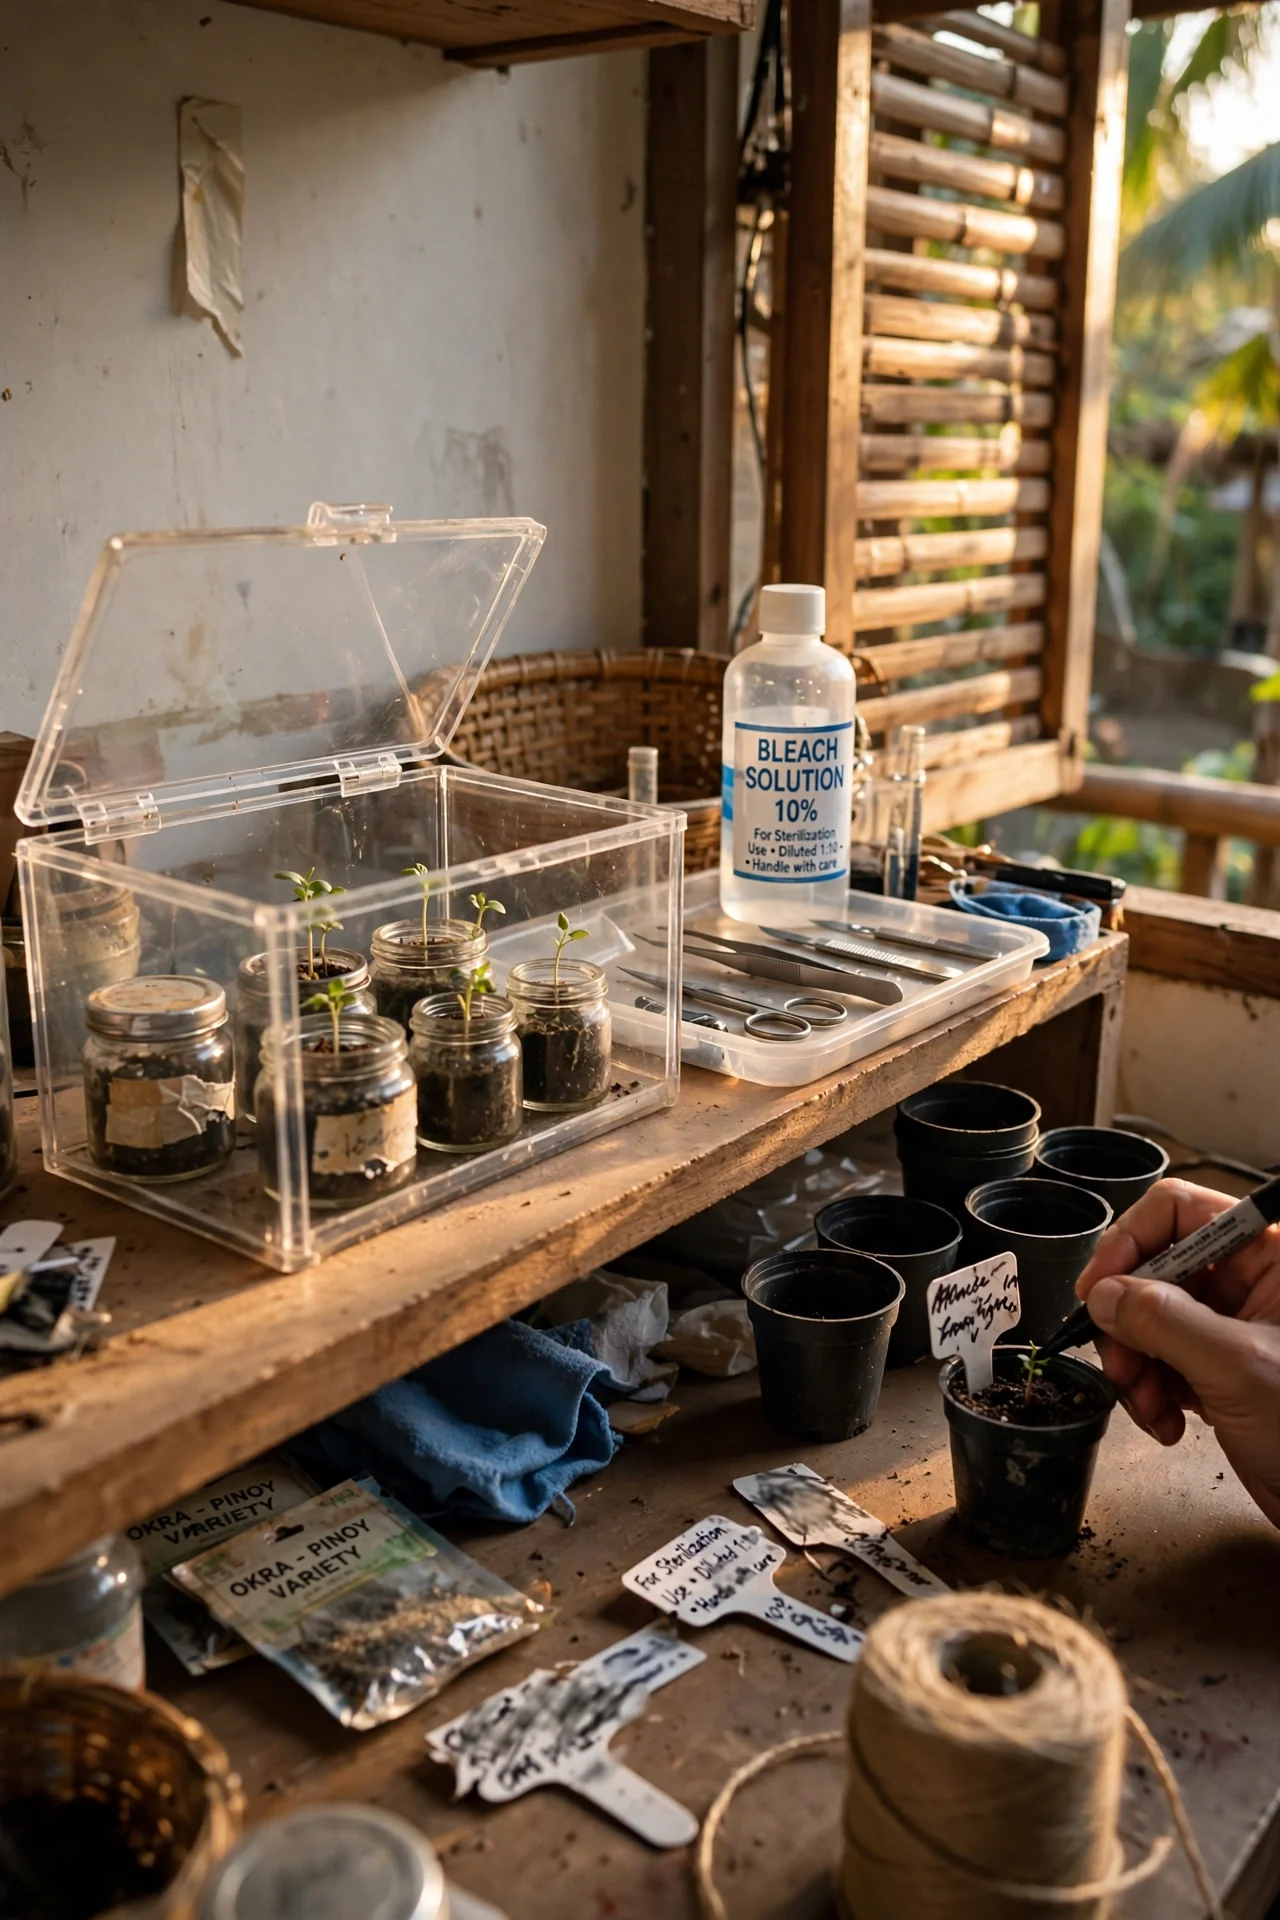
Use if: you want to harden off tissue culture plants or germinate seeds that need sterile conditions. Skip if you cannot monitor temperature daily; a sealed jar under a grow light can spike past 90°F within an hour of direct sun exposure. The edge case: adding a shade cloth rated for partial shade prevents overheating while maintaining the greenhouse effect. Sterilize tools and containers with a 10% bleach solution before starting. For small-scale setups, our jar terrarium ideas offer practical alternatives.
7. Riparium Shelf
Best for: Branch 3 (The Living Water Feature)
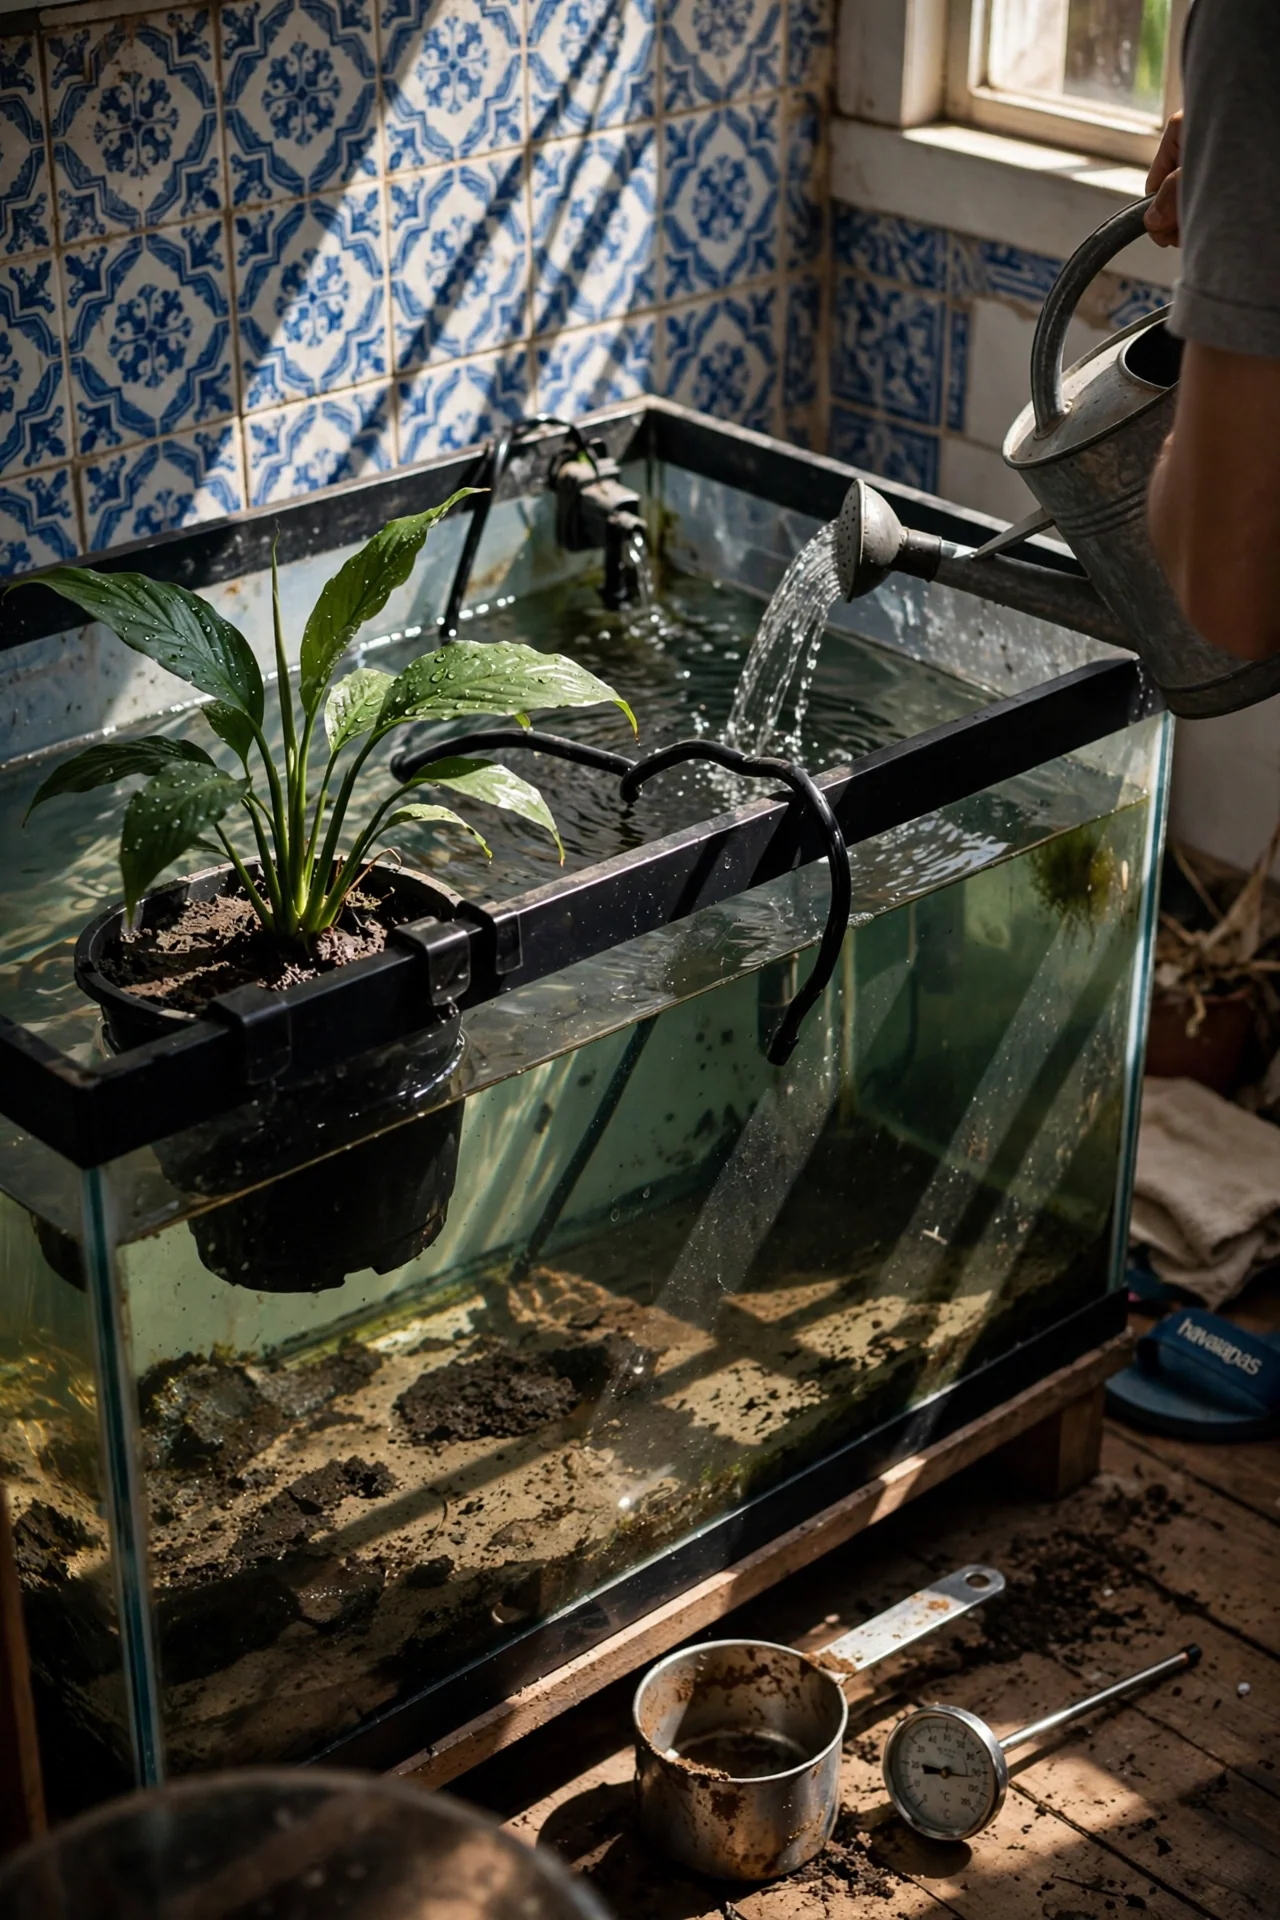
The critical threshold for a riparium shelf is the water line relative to the plant crown: the crown must sit 1 to 2 cm above the water surface. Submerged crowns on emersed plants like Spathiphyllum or Syngonium will rot within five to seven days. Use an adjustable hang-on planter to fine-tune height as water evaporates.
Light intensity at the shelf level should measure between 200 and 300 foot-candles. Water circulation matters more than filtration; a pump moving 50 gallons per hour per 10 gallons of tank volume prevents surface film that blocks gas exchange. Test pH weekly and keep it between 6.5 and 7.2. If it drifts above 7.5, perform a partial water change with distilled water. Do not use softened tap water; the sodium damages root cell membranes. Detailed water feature designs are available in our paludarium ideas.
8. Aquatic Cavescape
Best for: Branch 3 (The Living Water Feature)
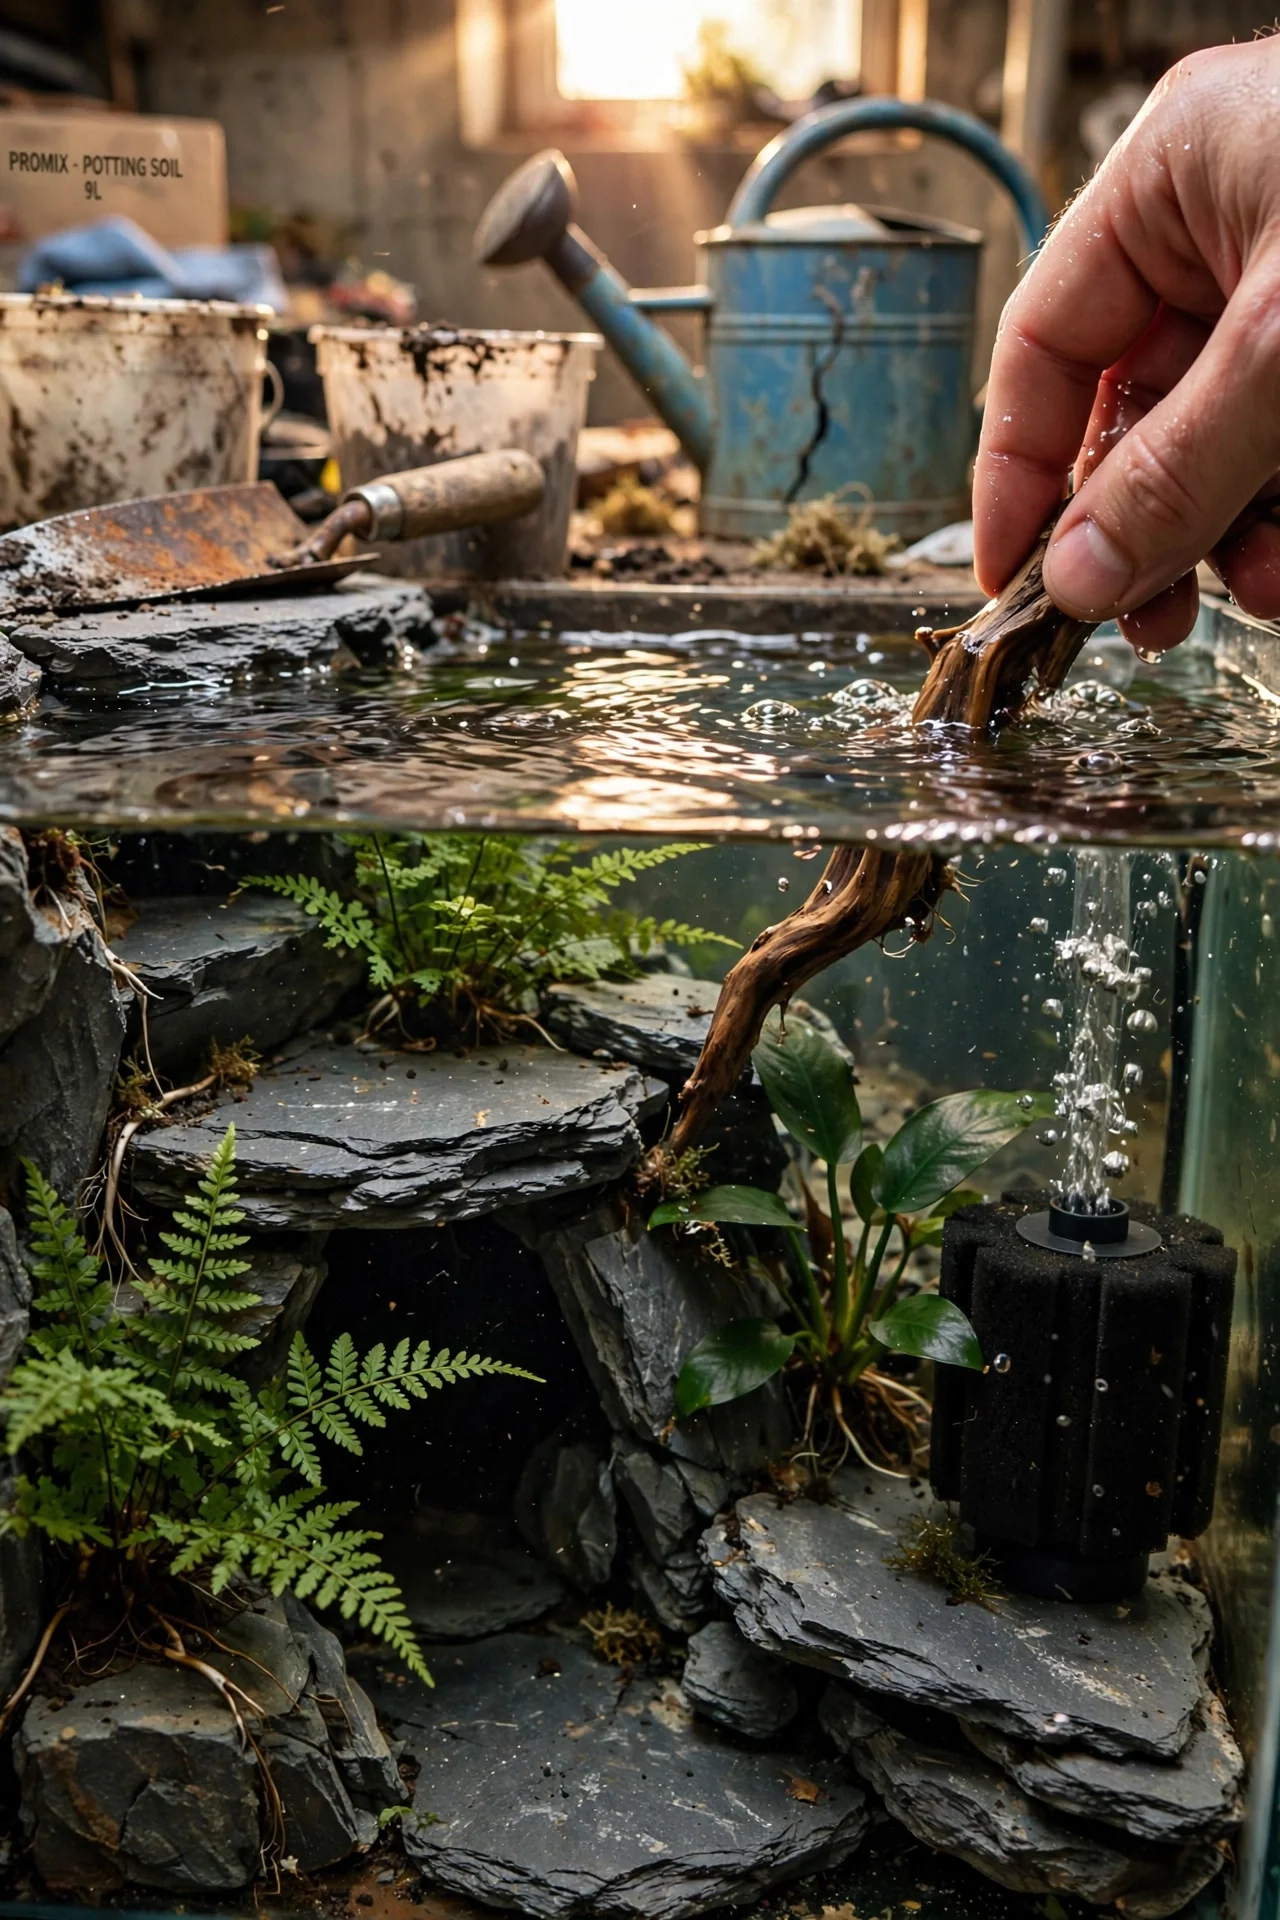
10-minute build: Arrange slate pieces to form a cave over 2 inches of sand. Wedge Java fern and Anubias into crevices (no glue). Fill with dechlorinated water to 3 inches below the rim. Add a small sponge filter for gentle flow. Weekly: top off evaporated water and wipe glass. Avoid burying rhizomes.
9. Creek Bed Biome
Best for: Branch 3 (The Living Water Feature)
What: A sloped substrate with a recirculating pump that creates a flowing stream effect over gravel and emergent plants. For: Recreating a slice of a natural stream bank, complete with marginal plants like Hydrocotyle and Cyperus. Steps: Build a false bottom with egg crate, slope the gravel from high at one end to a pool at the other, hide a small pump behind a rock wall. Mistake: Using unsorted gravel, which channels water unpredictably and causes dry patches. A sieve-sorted gravel in the 3 to 5 mm range ensures even flow. For miniature storytelling accents, see our fairy garden terrarium ideas.
Starter Stack (What to Choose First)
Branch 1 Starter: The Display Piece
Start with the Moss Wall Terrarium (Item 1) and Air Plant Exhibit (Item 3). Synergy: The moss wall provides a humid backdrop that benefits air plants without wetting their leaves. Estimated cost: $35 to $60 for a 10-gallon setup, excluding the aquarium. Time: 45 minutes to assemble, then 10 minutes weekly for watering and misting.
Branch 2 Starter: The Propagation Engine
Start with the Propagation Incubator (Item 4) and Mini Greenhouse Lab (Item 6). Synergy: The incubator establishes rooted cuttings that can later be transferred into the greenhouse lab for acclimation before moving to open air. Estimated cost: $50 to $80 for heat mat, light, and substrate. Time: 1 hour initial setup, 10 minutes daily for checks.
Branch 3 Starter: The Living Water Feature
Start with the Aquatic Cavescape (Item 8) and Creek Bed Biome (Item 9). Synergy: The cavescape teaches foundational water quality management with low plant stakes, while the creek bed introduces pump-driven flow and marginal planting. Estimated cost: $70 to $120 for pump, filter, and hardscape. Time: 2 hours to build, then 30 minutes weekly for testing and maintenance.
When This Won’t Work
Failure condition one: your ambient room temperature consistently falls below 60°F. Most tropical plants in these designs stop active growth below this threshold, and sealed enclosures can develop condensation-related fungal issues as the temperature differential between water and air increases. If your space is unheated in winter, consider a cold-tolerant succulent garden instead, or install an aquarium heater set to 72°F for water-featured builds.
Failure condition two: you lack access to distilled or reverse osmosis water, and your tap water measures above 150 ppm total dissolved solids. In closed or semi-closed terrariums, minerals accumulate rapidly because there is no flushing mechanism. Within two months, you will see white crusts on hardscape and leaf tip burn. The alternative: use only epiphytic plants like Tillandsia that can tolerate occasional rain rinses, and fully open the lid weekly to flush with collected rainwater.
A measurement-first approach prevents these failures. Test your water hardness and room temperature before buying plants. If both conditions are unfavorable, pivot to an open succulent display in a well-ventilated area.
Choosing the Right Option for Your Situation
Budget Threshold
If your budget is under $40 excluding the aquarium, limit choices to Items 1, 2, or 3. These require only substrate, hardscape, and plants. Water-featured builds (Branch 3) start at $70 due to the cost of a reliable pump and filter. Propagation setups (Branch 2) need a heat mat and grow light, typically $50 to $80.
Time Threshold
If you have less than 15 minutes per week for maintenance, avoid Branch 3 entirely. Branches 1 and 2 demand less frequent intervention, but Branch 2 still requires daily condensation checks. Branch 1 suits travelers or busy households best.
Technical Constraint
All Branch 3 designs need a ground-fault circuit interrupter (GFCI) outlet within 3 feet of the setup. Water and electricity in proximity pose a shock hazard without this protection. Test your outlet with a GFCI tester before purchasing any pump-driven design.
Yes/No Checklist
Is your light source measurable and controllable? Yes / No
Can you commit to the weekly time block the branch requires? Yes / No
Do you have access to distilled or RO water if using a closed or water-featured build? Yes / No
Is your room temperature stable between 65°F and 80°F year-round? Yes / No
Expert Q&A
Can I use an old aquarium with a cracked bottom for a terrarium?
A cracked bottom still works for drainage-only builds (Branch 1 and 2) if you lay a mesh screen over the crack and cover it with the drainage layer. For water-featured Branch 3, a cracked bottom will leak and cannot hold a reservoir; the tank must be resealed with aquarium-grade silicone.
How do I manage algae in a high-light Branch 3 setup?
Limit the photoperiod to 8 hours maximum and introduce floating plants like Salvinia to compete for excess nutrients. Manual removal with a toothbrush during weekly water changes prevents buildup. Avoid liquid fertilizers for the first month.
What is the safest way to heat a propagation incubator without a heat mat?
An incandescent bulb placed above the lid can warm the interior, but it dries the air rapidly. A submersible aquarium heater set to 78°F placed in a water-filled jar inside the tank provides gentle, humid heat. Monitor with a waterproof thermometer.
Why are my closed terrarium plants turning yellow despite steady humidity?
Yellowing in sealed builds often points to photorespiration from excess light intensity. Reduce light to 100 foot-candles and check for nutrient deficiency in the substrate. If using a peaty mix, add a slow-release pellet fertilizer at half the recommended rate.
Can I combine animals like shrimp or snails with these plant-focused designs?
Branch 3 builds can support small freshwater shrimp (Neocaridina) if the pump intake is protected with a fine sponge. Snails help with algae but multiply rapidly. Avoid animal additions in Branch 2 sealed enclosures; ammonia builds up quickly without a nitrogen cycle.
Conclusion
The decision that shapes success is choosing your branch based on measurable light and time, not on visual inspiration. The most common mistake is selecting a water-featured design (Branch 3) for a low-light room and then troubleshooting persistent plant decline.
Start by measuring your light at the intended spot with a lux meter app set to foot-candles. Match that number to the Decision Grid branch, pick the corresponding starter stack, and build from there. For spaces with vertical limitations, explore our hanging terrarium ideas as a practical next step.