
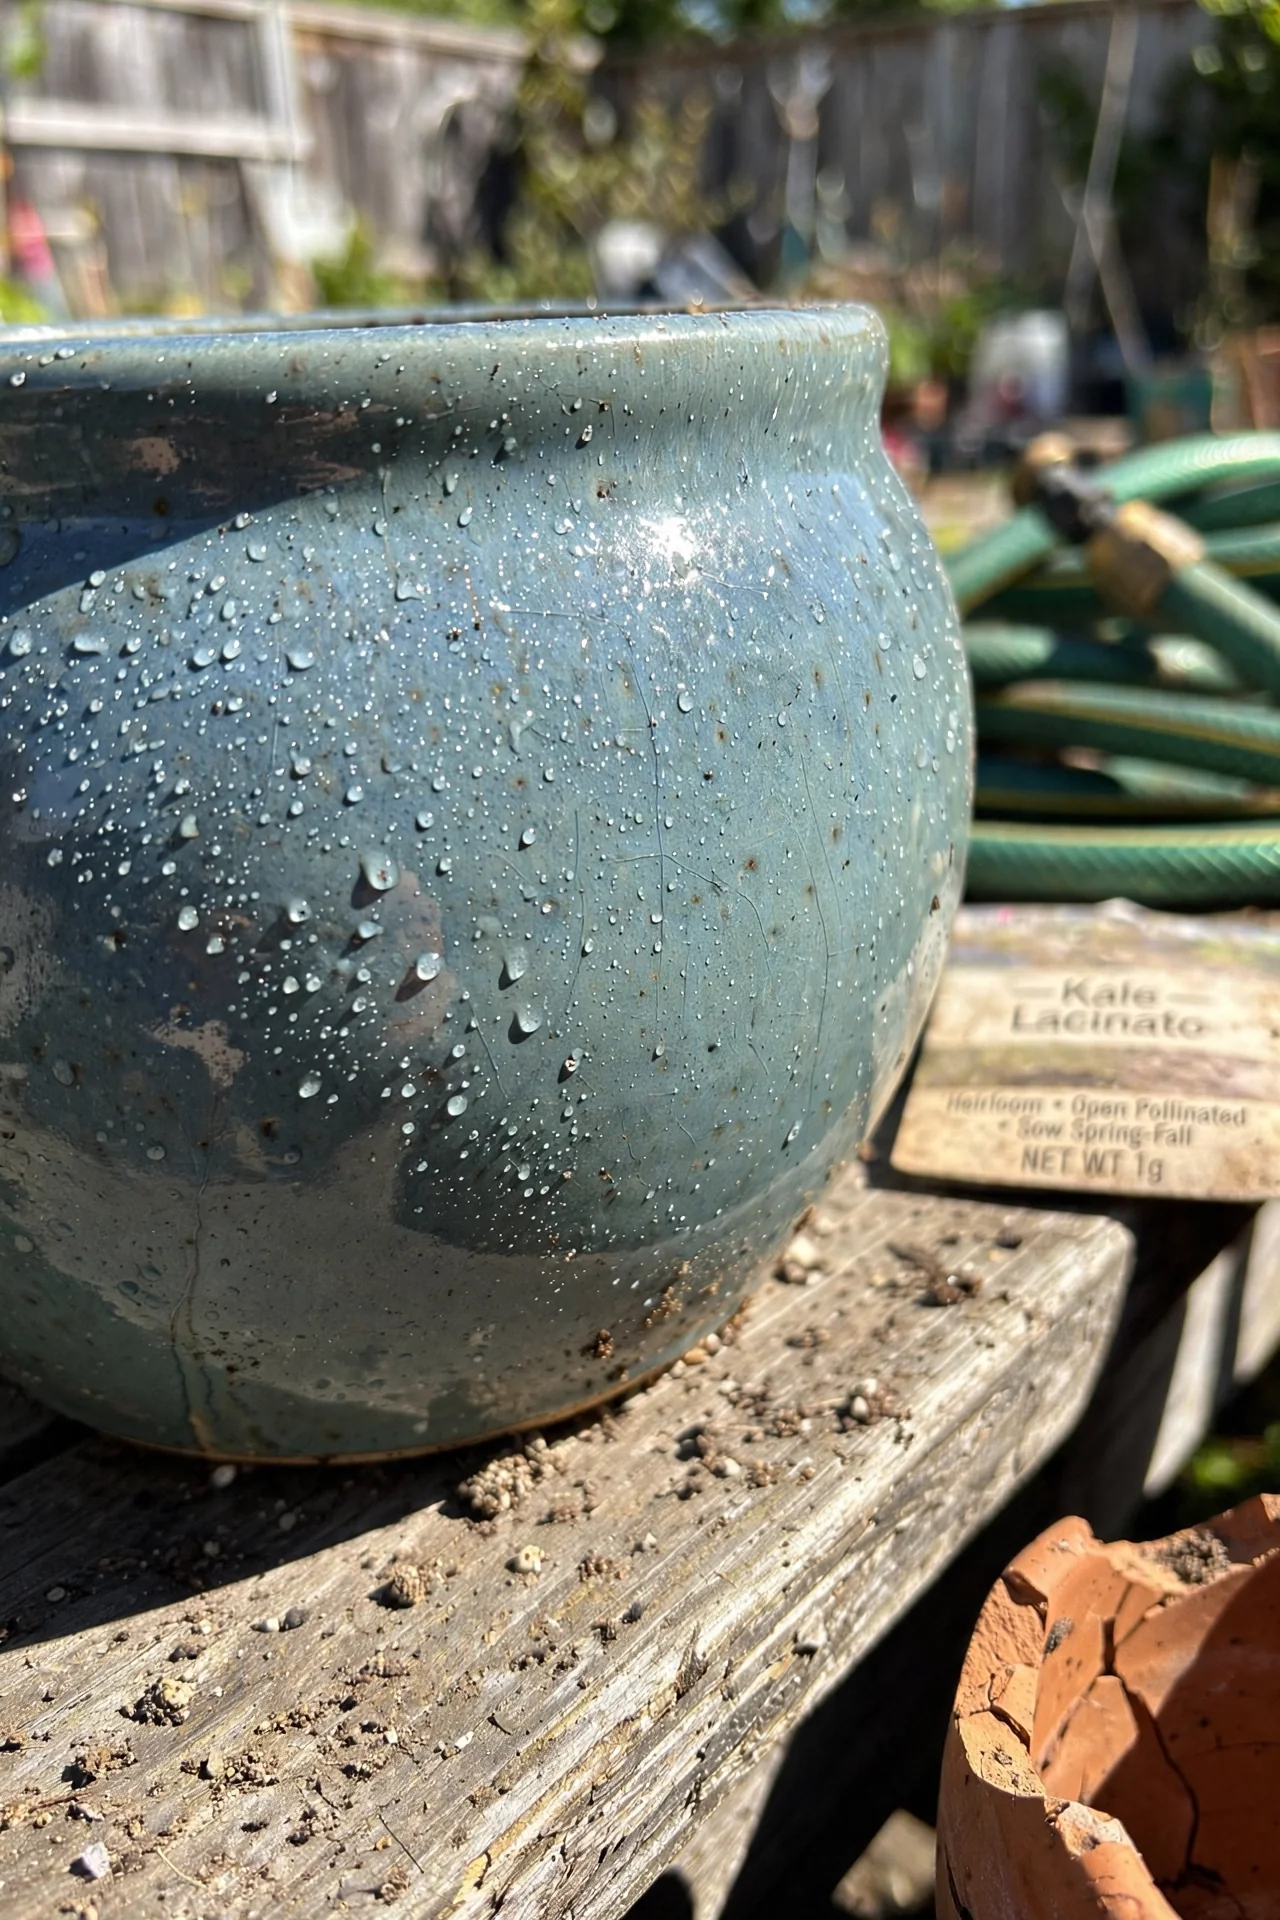
Drainage in ceramic planters is too often reduced to a single question: does it have a hole? That framing ignores the interplay between glaze, clay body, perched water, and your plant’s actual moisture threshold. A pot without a hole is not a guaranteed failure; it is a design constraint you can work with if you match the strategy to the conditions. The Yield Grid reframes drainage as a choice among several viable paths, not a binary drill-or-regret rule.
This list covers ten distinct drainage approaches for ceramic planters, from mechanical modification to passive moisture control and layered reservoirs. We intentionally exclude permanently glazed, fully sealed tabletop objects not intended for plants, as well as in-ground installation advice that bypasses container drainage entirely. Every option here assumes you are working with a ceramic vessel indoors or on a sheltered patio.
You will leave with a clear ability to pick a method by pot type, plant moisture preference, and the effort you are willing to spend. The decision grid and comparison table give you a reproducible system, not just a list of tips.
Bottom line: Match your ceramic pot’s drainage strategy to its material and your plant’s moisture threshold, not to a one-size-fits-all rule.
The Yield Grid Decision Grid
Start by identifying which branch describes your situation. Each branch sets measurable conditions for the ceramic vessel and the plant’s watering needs. At the end of each branch, you will find recommended item numbers from the list below. If your pot type and plant profile shift, revisit the grid. For a wider look at how planter shape and style affect these choices, see our modern ceramic planter design breakdown.
Branch 1: Glazed or fully sealed ceramic, no drainage hole, plant prefers consistent moisture. The glaze blocks evaporation through the walls, so the only moisture exit is via the top or through an added internal path. Plants suited here include ferns, peace lilies, calatheas, and most tropicals that tolerate lightly damp root zones. Recommended: Items 2, 3, 4, 6, 8 below.
Branch 2: Unglazed or partially glazed ceramic, no drainage hole, plant requires a pronounced dry cycle. The porous clay allows some evaporation, but without a hole, you must manage the perched water table carefully. This branch fits succulents, cacti, snake plants, and other drought-adapted species that suffer when roots sit in moisture. Recommended: Items 5, 7, 9 below.
Branch 3: Ceramic pot with a factory-drilled drainage hole, any plant type. The presence of a hole gives you a standard starting point. The decision then shifts to what you place under the pot and how you direct excess water. Recommended: Items 1, 10 below.
Quick Comparison Table
| Option | Key mechanism | Best for | Decision Grid Branch | Effort Score |
|---|---|---|---|---|
| 1. Drilling drainage holes | Physical hole for gravity drainage | Pots you own that lack a hole, Branch 3 | Branch 3 | 1 |
| 2. Cache pot system | Nursery pot inside decorative ceramic, lifted to drain | Glazed pots with no hole, moisture-lovers | Branch 1 | 2 |
| 3. Drainage layer of pebbles | Reservoir below soil, reduces perched water | Shallow-rooted tropicals, Branch 1 | Branch 1 | 2 |
| 4. Wicking system | Capillary draw from a water reservoir | Consistent moisture plants, Branch 1 | Branch 1 | 4 |
| 5. Activated charcoal layer | Filtration and odor control, slight moisture buffering | Sealed pots without holes, succulents | Branch 2 | 1 |
| 6. Double-pot with nursery pot | Inner pot lifts out, water collects in outer pot | Glazed ceramic without hole, easy swaps | Branch 1 | 2 |
| 7. Terracotta watering spikes | Slow release from a bottle into soil via porous clay | Unglazed pots, moderate drinkers | Branch 2 | 3 |
| 8. Self-watering insert | Reservoir base with wicking column | Glazed pots, plants needing steady moisture | Branch 1 | 3 |
| 9. Pot feet for air circulation | Elevates pot, air gap prevents trapped moisture | Unglazed pots, plants needing dry feet | Branch 2 | 1 |
| 10. Attached saucer pot | Integrated saucer catches runoff, easy spill control | Pots with holes, small spaces | Branch 3 | 1 |
1. Drilling Drainage Holes in Ceramic Pots
Best for: Branch 3
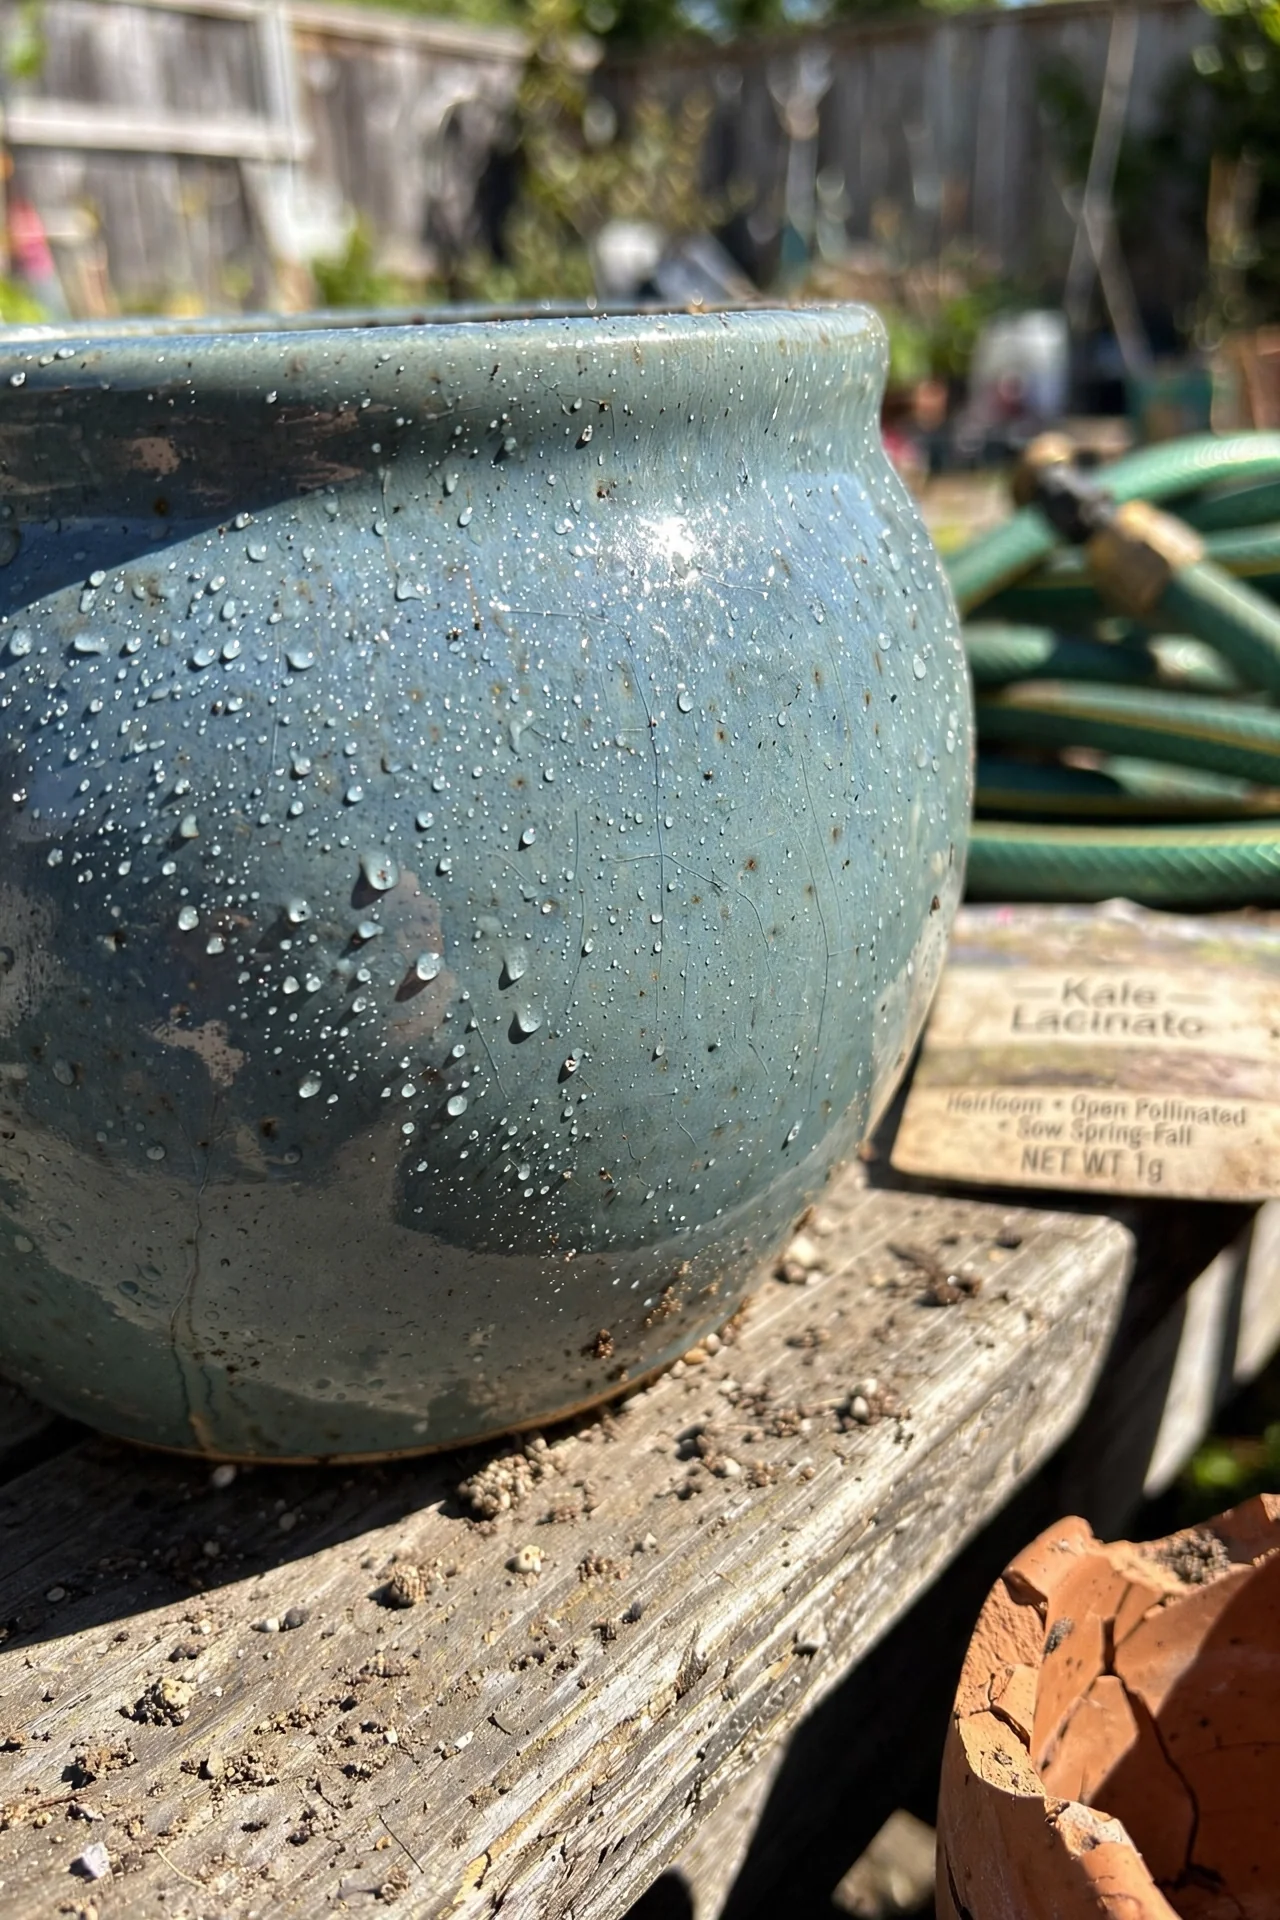
What it is: Using a diamond-tipped hole saw or carbide drill bit to create one or more openings in a fired ceramic vessel.
What it’s for: Converting a hole-free ceramic pot into a container with gravity-driven drainage, suitable for any plant that needs rapid excess water removal.
Steps: Soak the pot in water for 15 minutes to reduce friction. Mark the center with masking tape to prevent bit skate. Begin at a 45-degree angle with a cordless drill on low speed (under 800 RPM), then gradually tilt perpendicular once a groove forms. Keep a steady trickle of water on the contact point. Ease up on pressure during the final breakthrough to avoid chipping the interior glaze.
Common mistake: Using a standard masonry bit on high-fired porcelain. Porcelain requires a diamond core bit and constant cooling; a dull bit generates heat that can crack the piece. Also, attempting to drill a pot that has already been cured with a sealant may cause the coating to peel in sheets. For a different approach to custom drainage, see our DIY concrete planter with built-in drainage project.
2. Cache Pot System Without Drilling
Best for: Branch 1
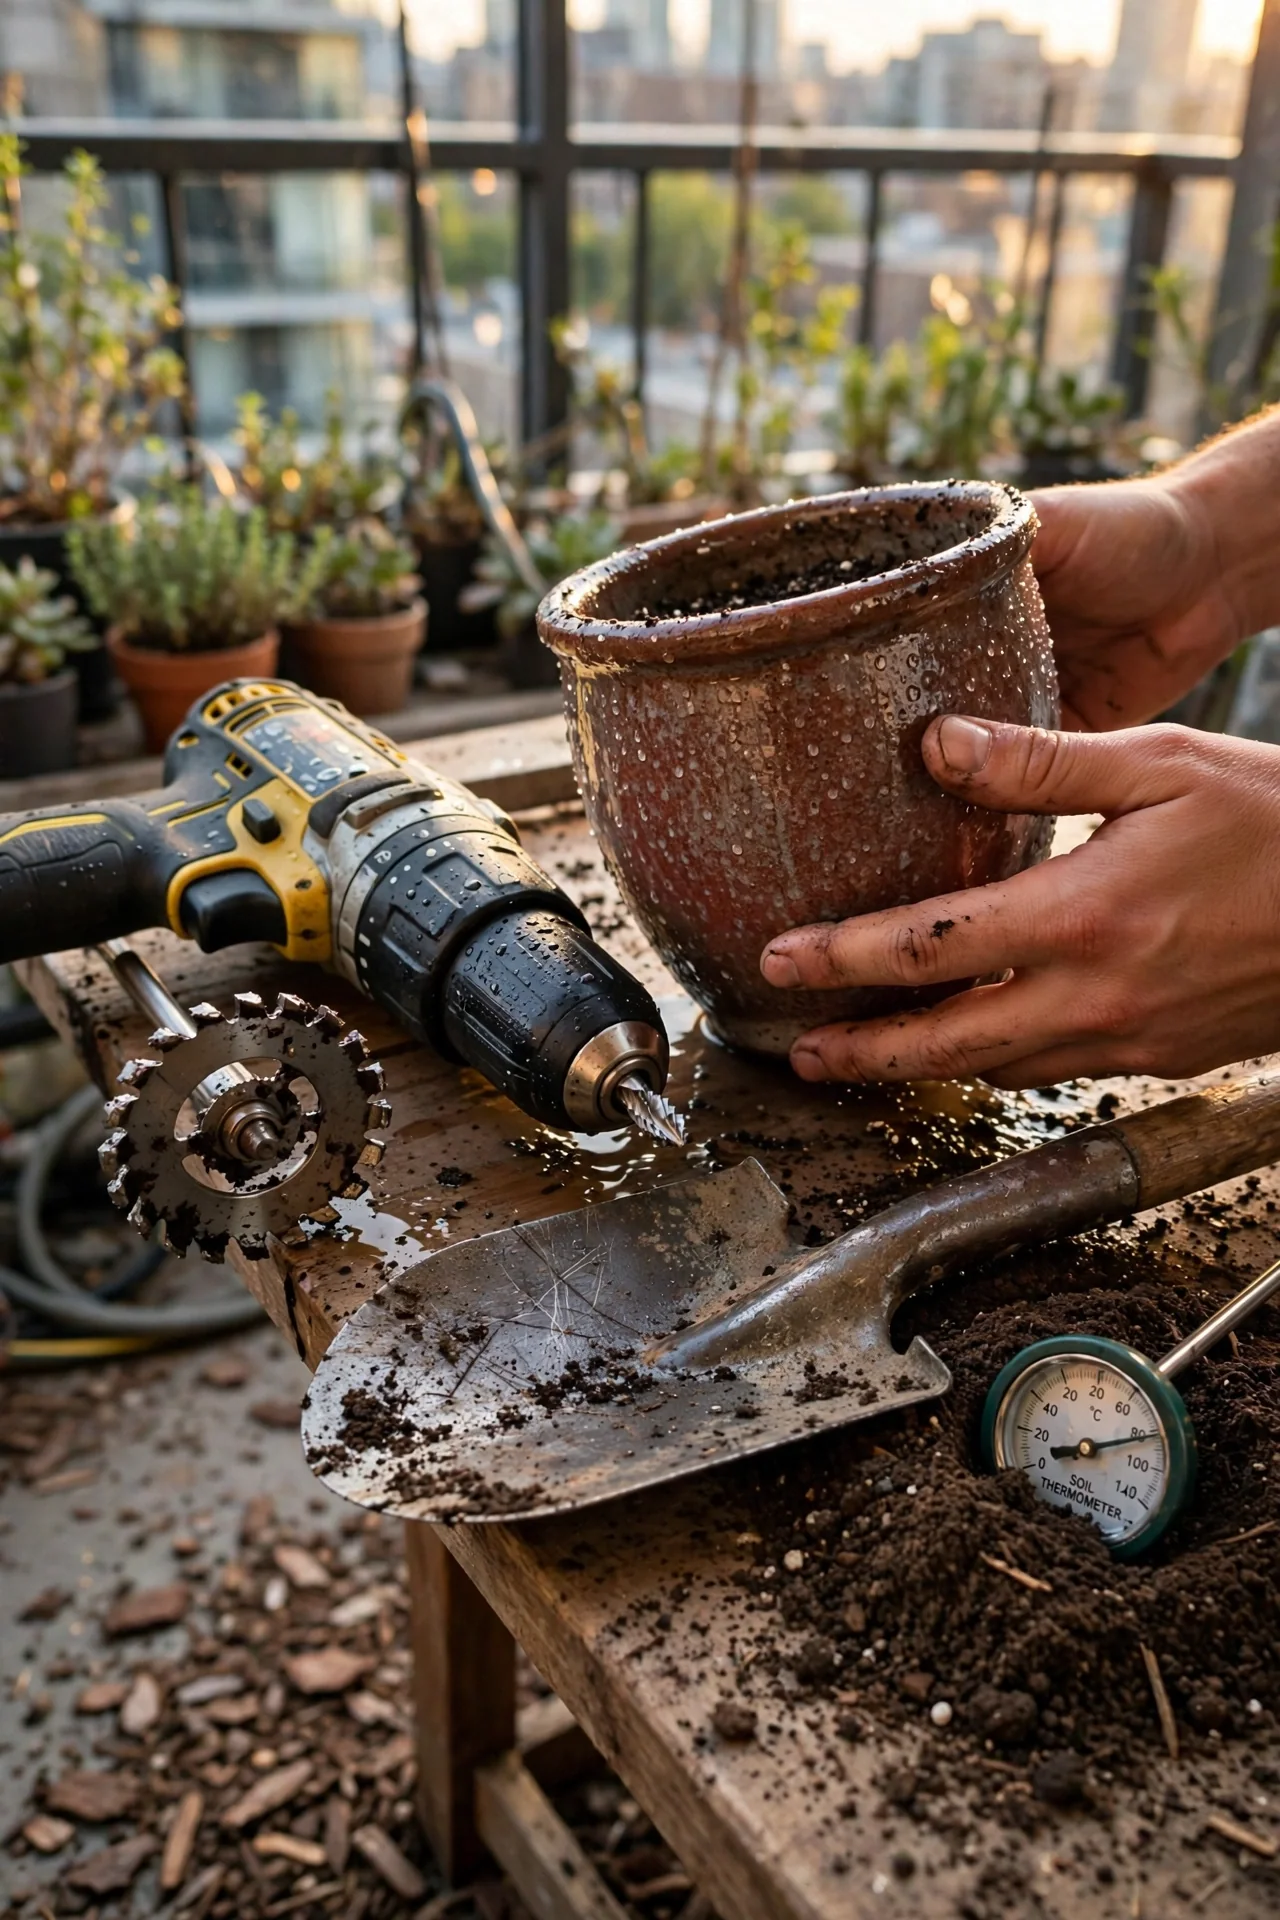
Use this if you want zero modification. Simply place your plant in a standard nursery pot and set that inside the decorative ceramic vessel. After watering, lift the inner pot to discard runoff. Skip this method if the outer pot tapers sharply and traps the inner rim, making removal difficult. A narrow neck can wedge the nursery pot and damage roots. For a decorative holder designed exactly this way, check our leather hanging planter as a cache pot idea.
3. Drainage Layer of Pebbles or Leca
Best for: Branch 1
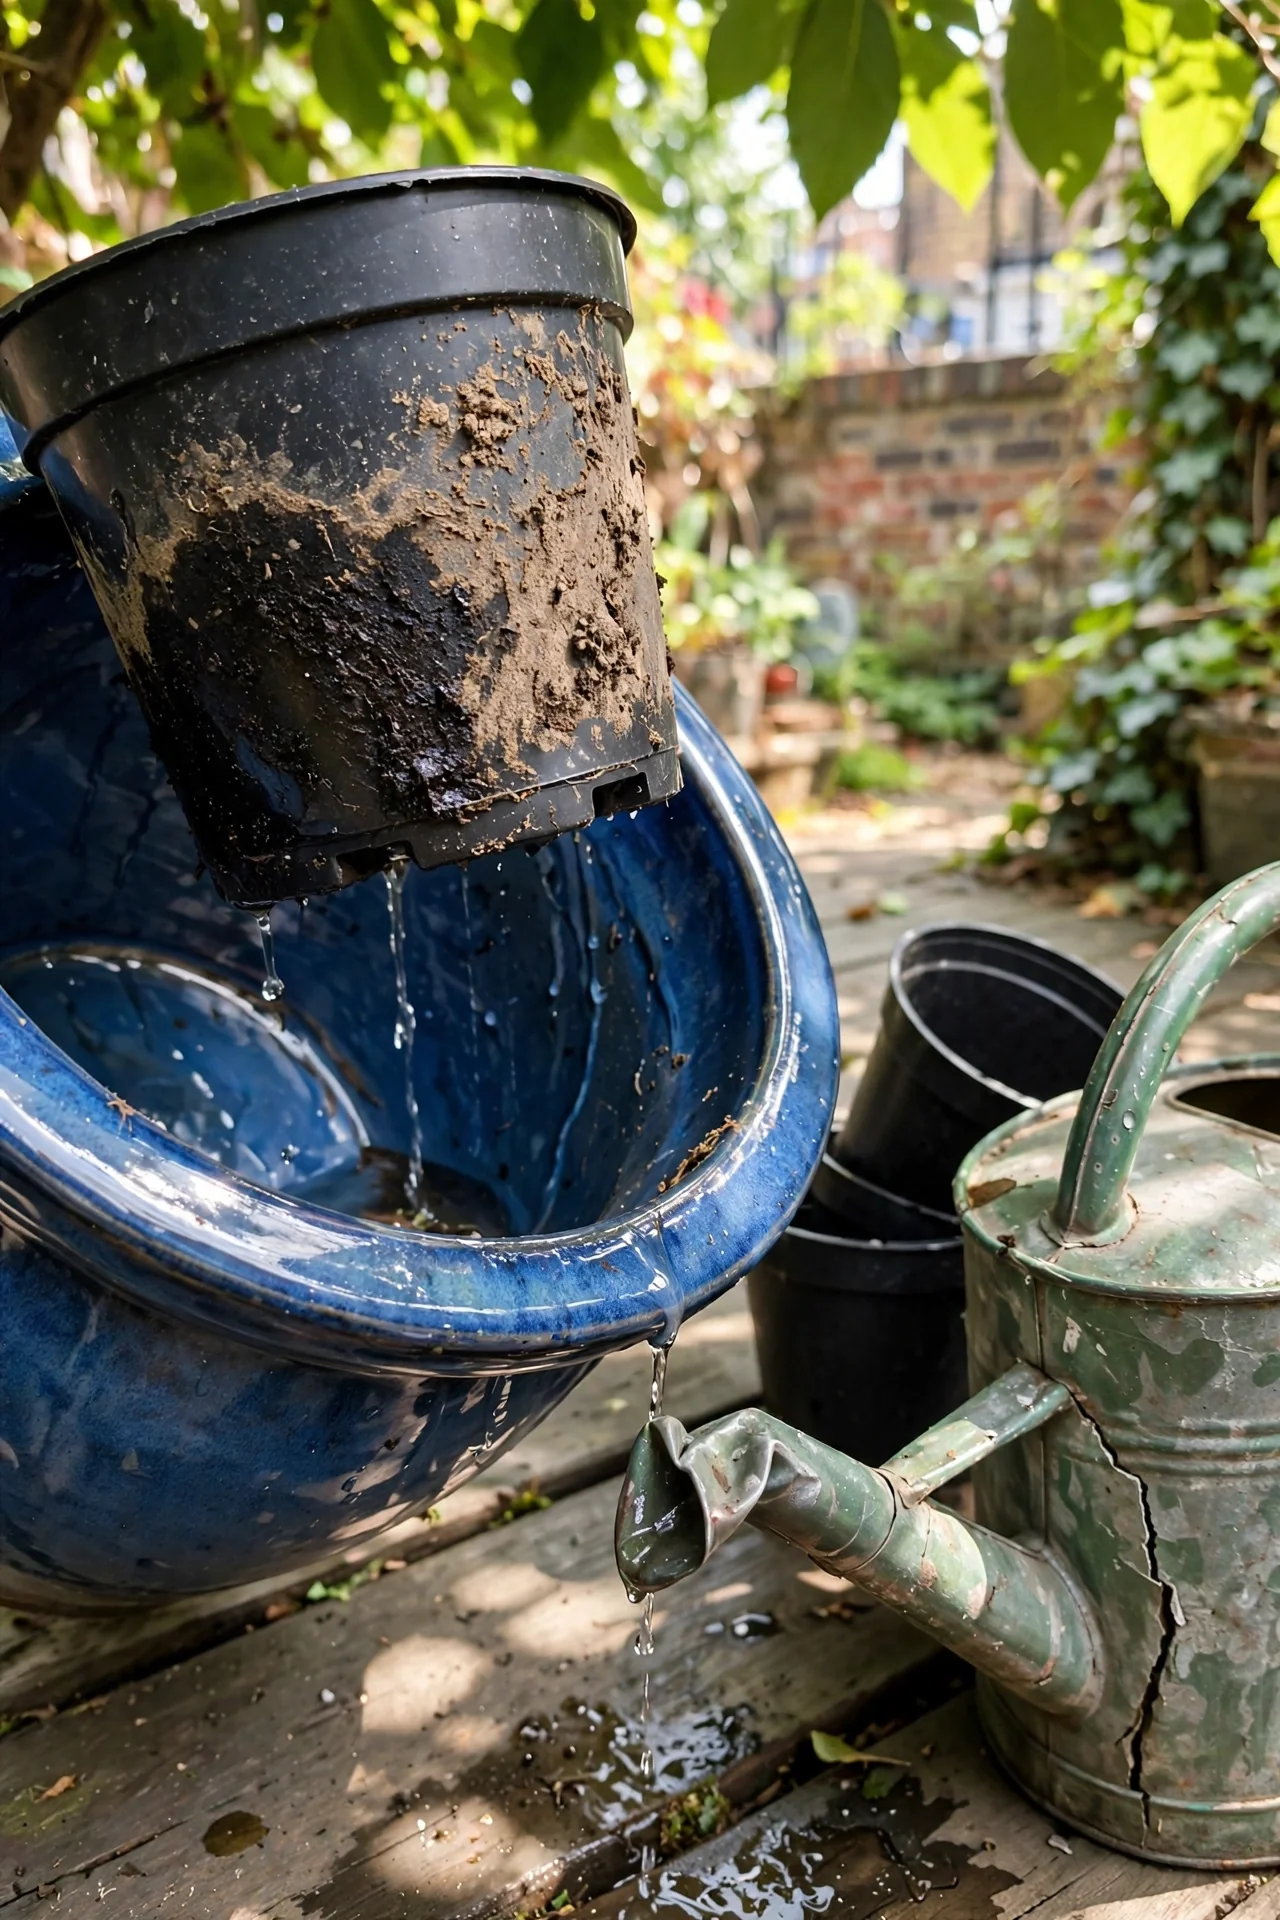
Threshold rule: The drainage layer must reach a depth equal to at least one-tenth the interior height of the pot, with a minimum of 1 inch for pots under 8 inches in diameter. For pots 10 inches or wider, increase to 2 inches. The perched water table will form at the boundary between the pebbles and the soil above; a layer that is too shallow simply lifts the saturated zone closer to the roots. Adjust by placing a piece of landscape fabric cut to size between the pebbles and the potting mix. This prevents fine particles from washing down and clogging the voids. If you find the perched water table is still too high, consider switching to a self-watering planter alternative that isolates the reservoir fully.
4. Installing a Wicking System in a Ceramic Planter
Best for: Branch 1
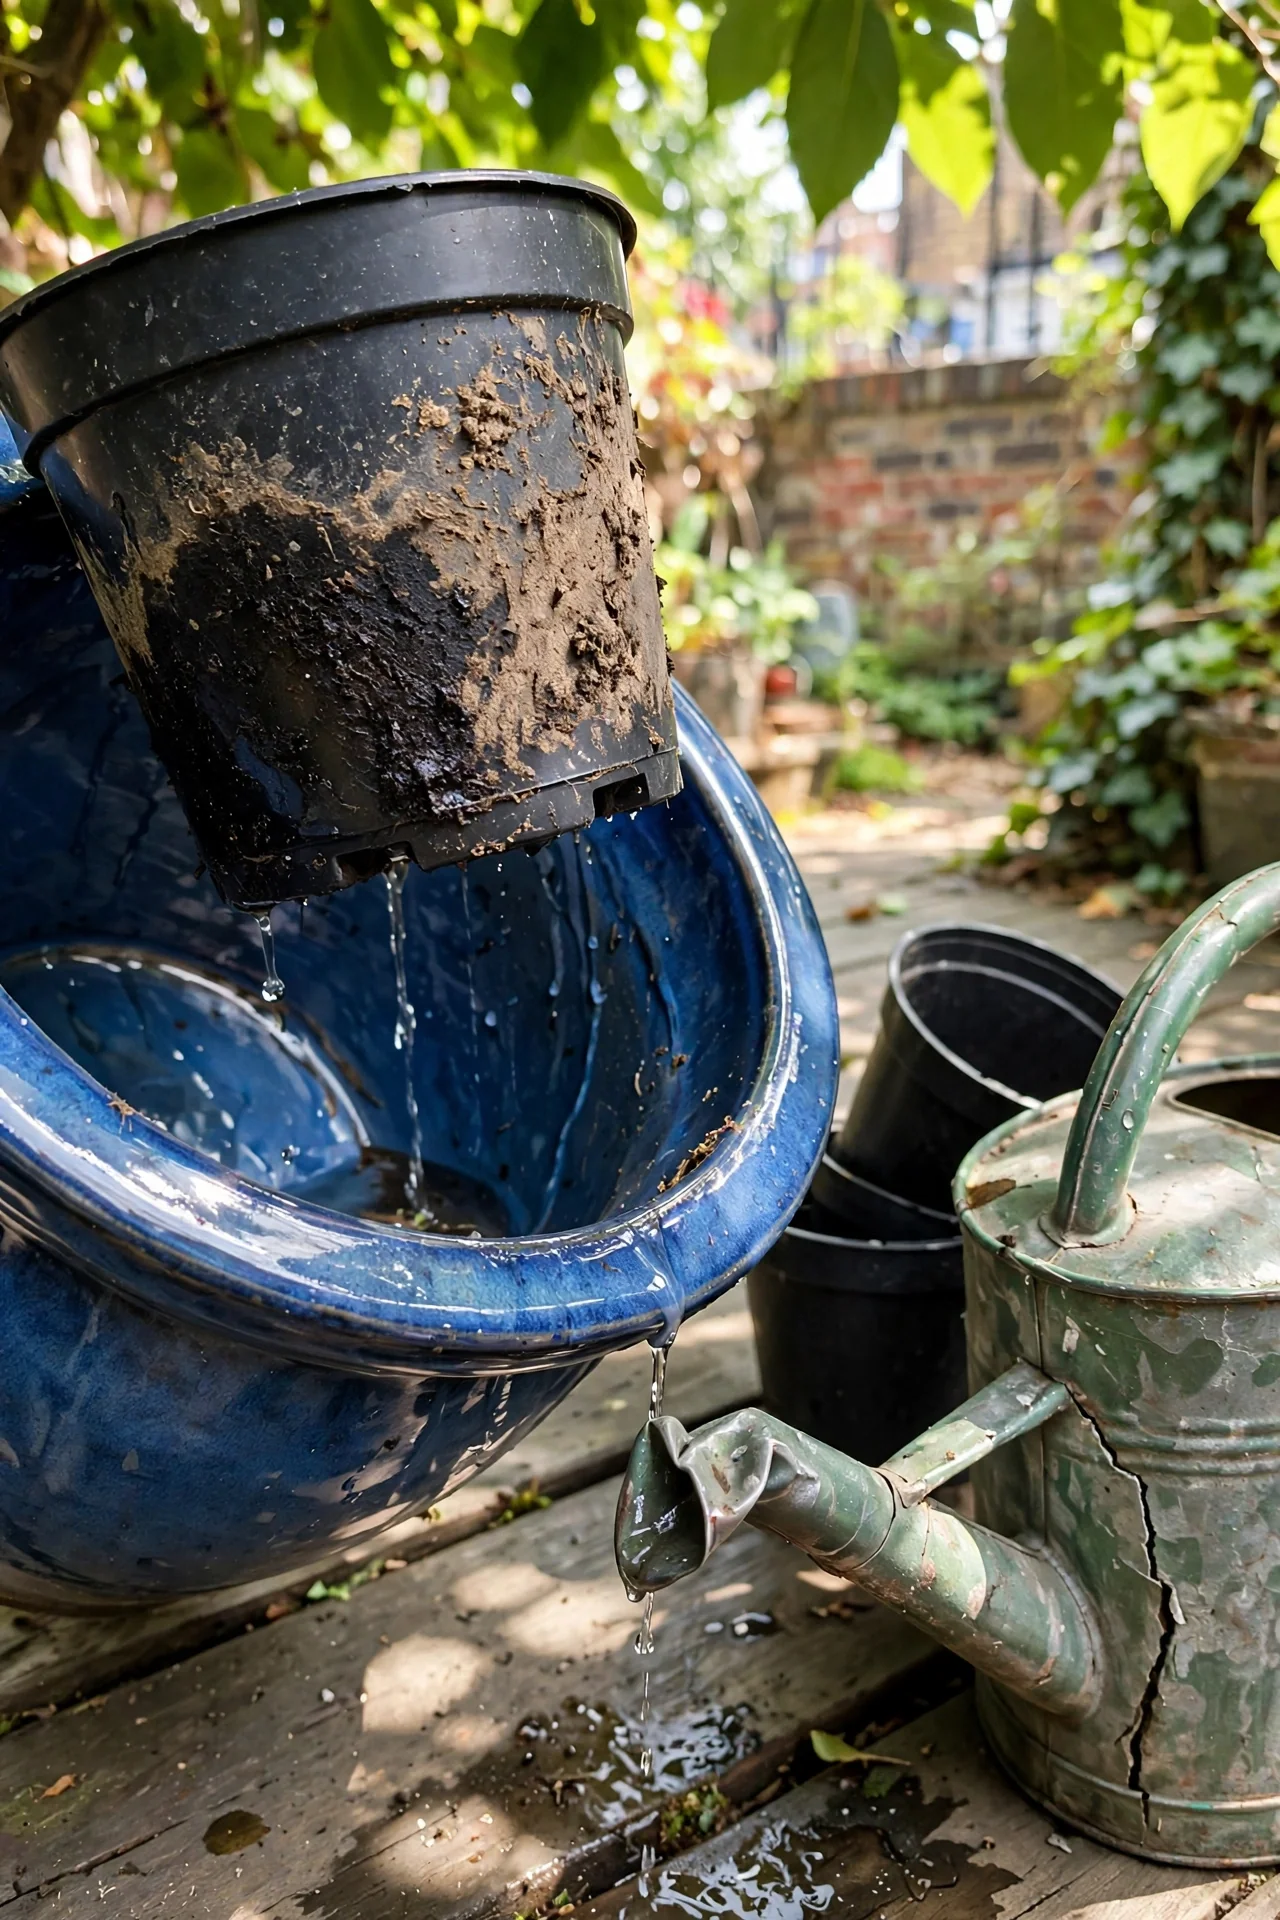
10-minute workflow: Cut a length of natural cotton or nylon rope long enough to reach from the bottom of the pot to 2 inches above the soil line. Thread one end through the drainage hole if present, or loop it over the rim if not. Fill the bottom 2 inches with a water reservoir medium like leca, then add potting mix. Lead the wick into the root zone, coiling it loosely. Exterior end sits in a separate water container. Top-water once to initiate capillary action, then refill the external reservoir as needed. Upgrade option: swap the single wick for a capillary mat placed under the pot, which is especially useful for wider containers. For a larger vertical setup that uses similar principles, see our pegboard plant wall with integrated wicking.
5. Activated Charcoal as a Filter Layer
Best for: Branch 2
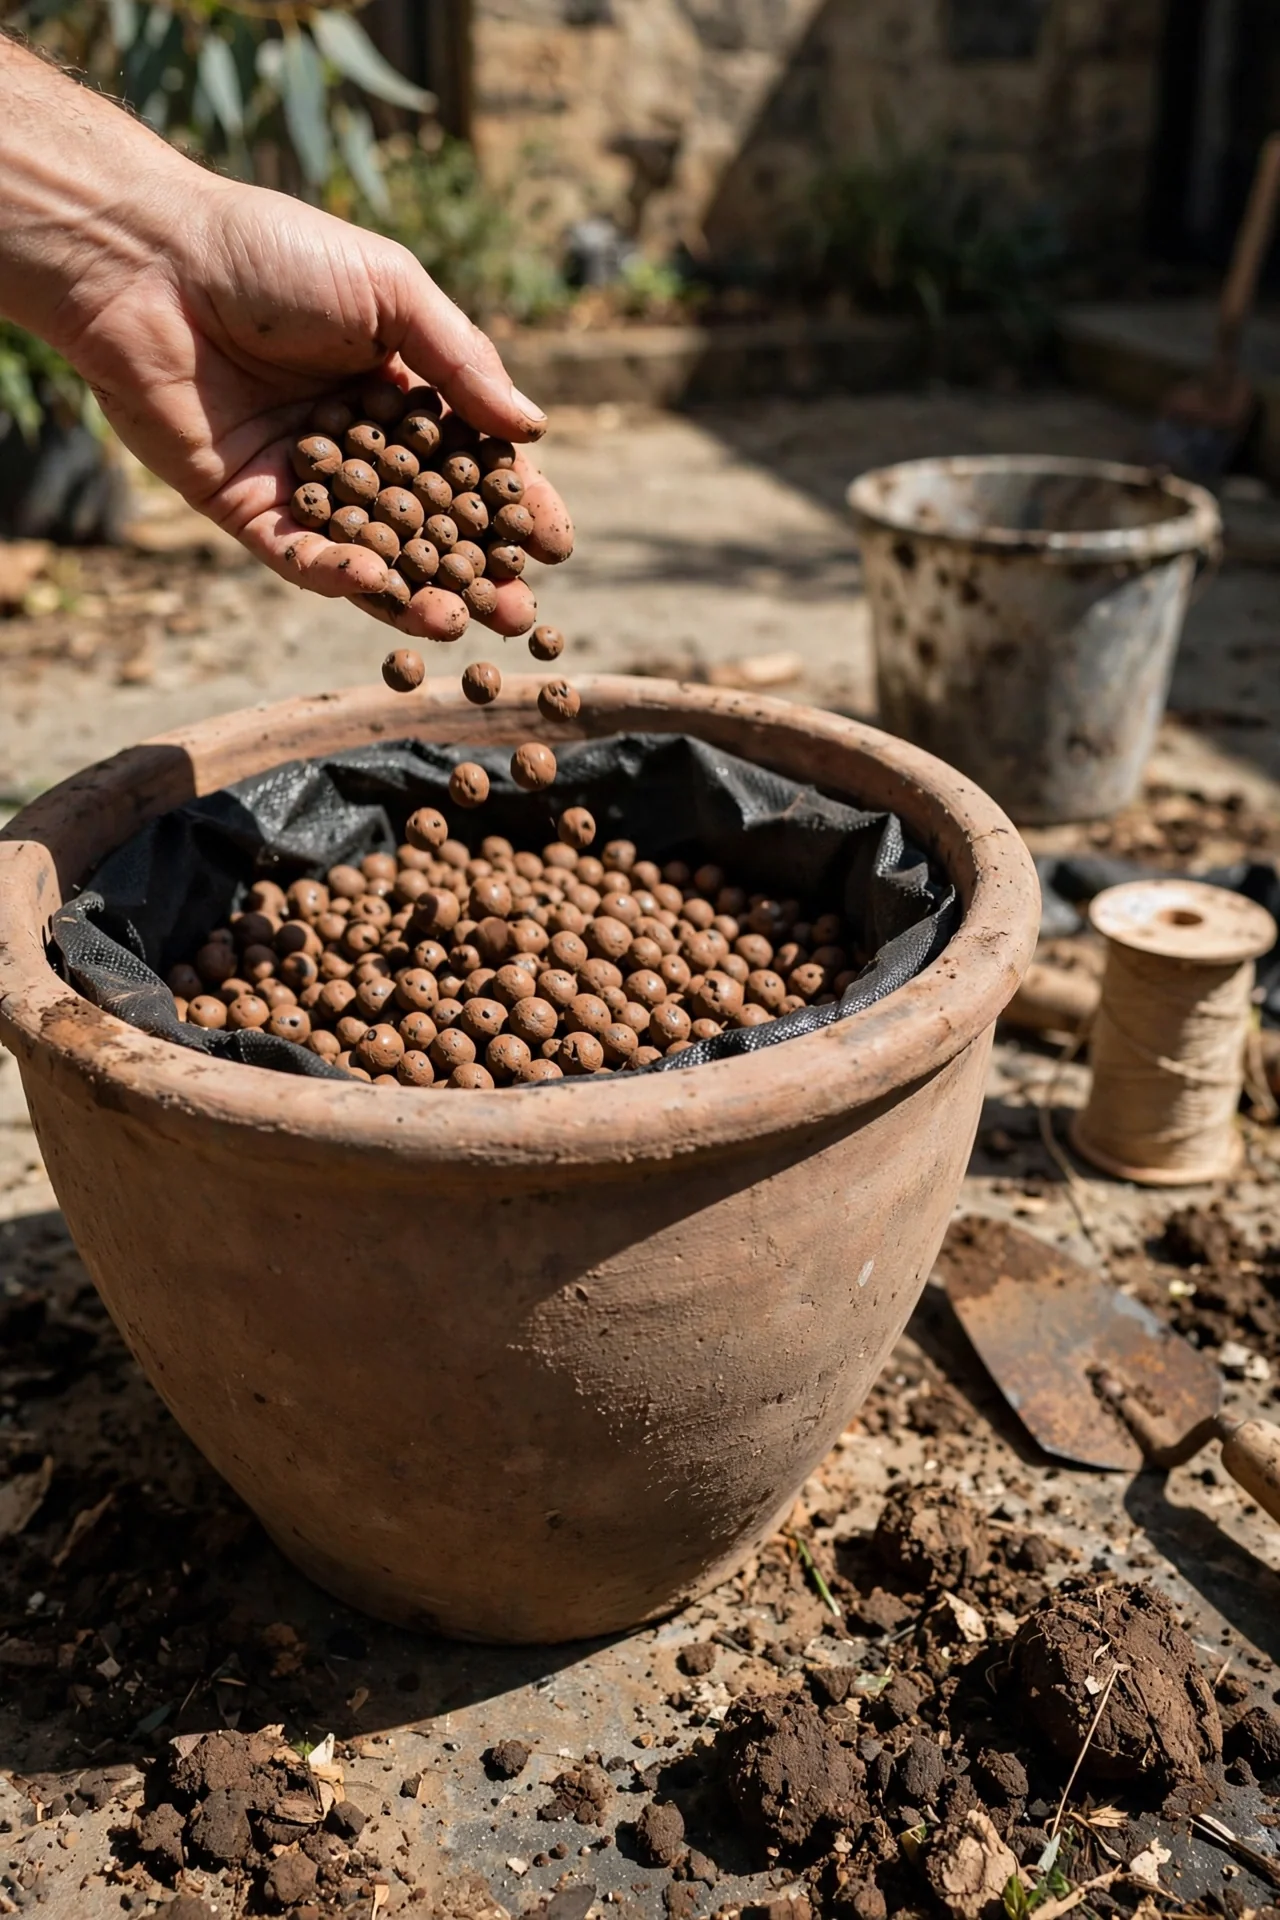
Quick blueprint: Add a half-inch layer of horticultural activated charcoal directly above your pebble or leca base. It slows the buildup of anaerobic bacteria and absorbs minor impurities from stagnant water. One critical step: rinse the charcoal until the runoff runs clear to remove fine dust that can clog pore space. A common mistake is using grilling charcoal, which contains chemical accelerants; only use pure horticultural grade.
6. Double-Pot Method With a Nursery Pot
Best for: Branch 1
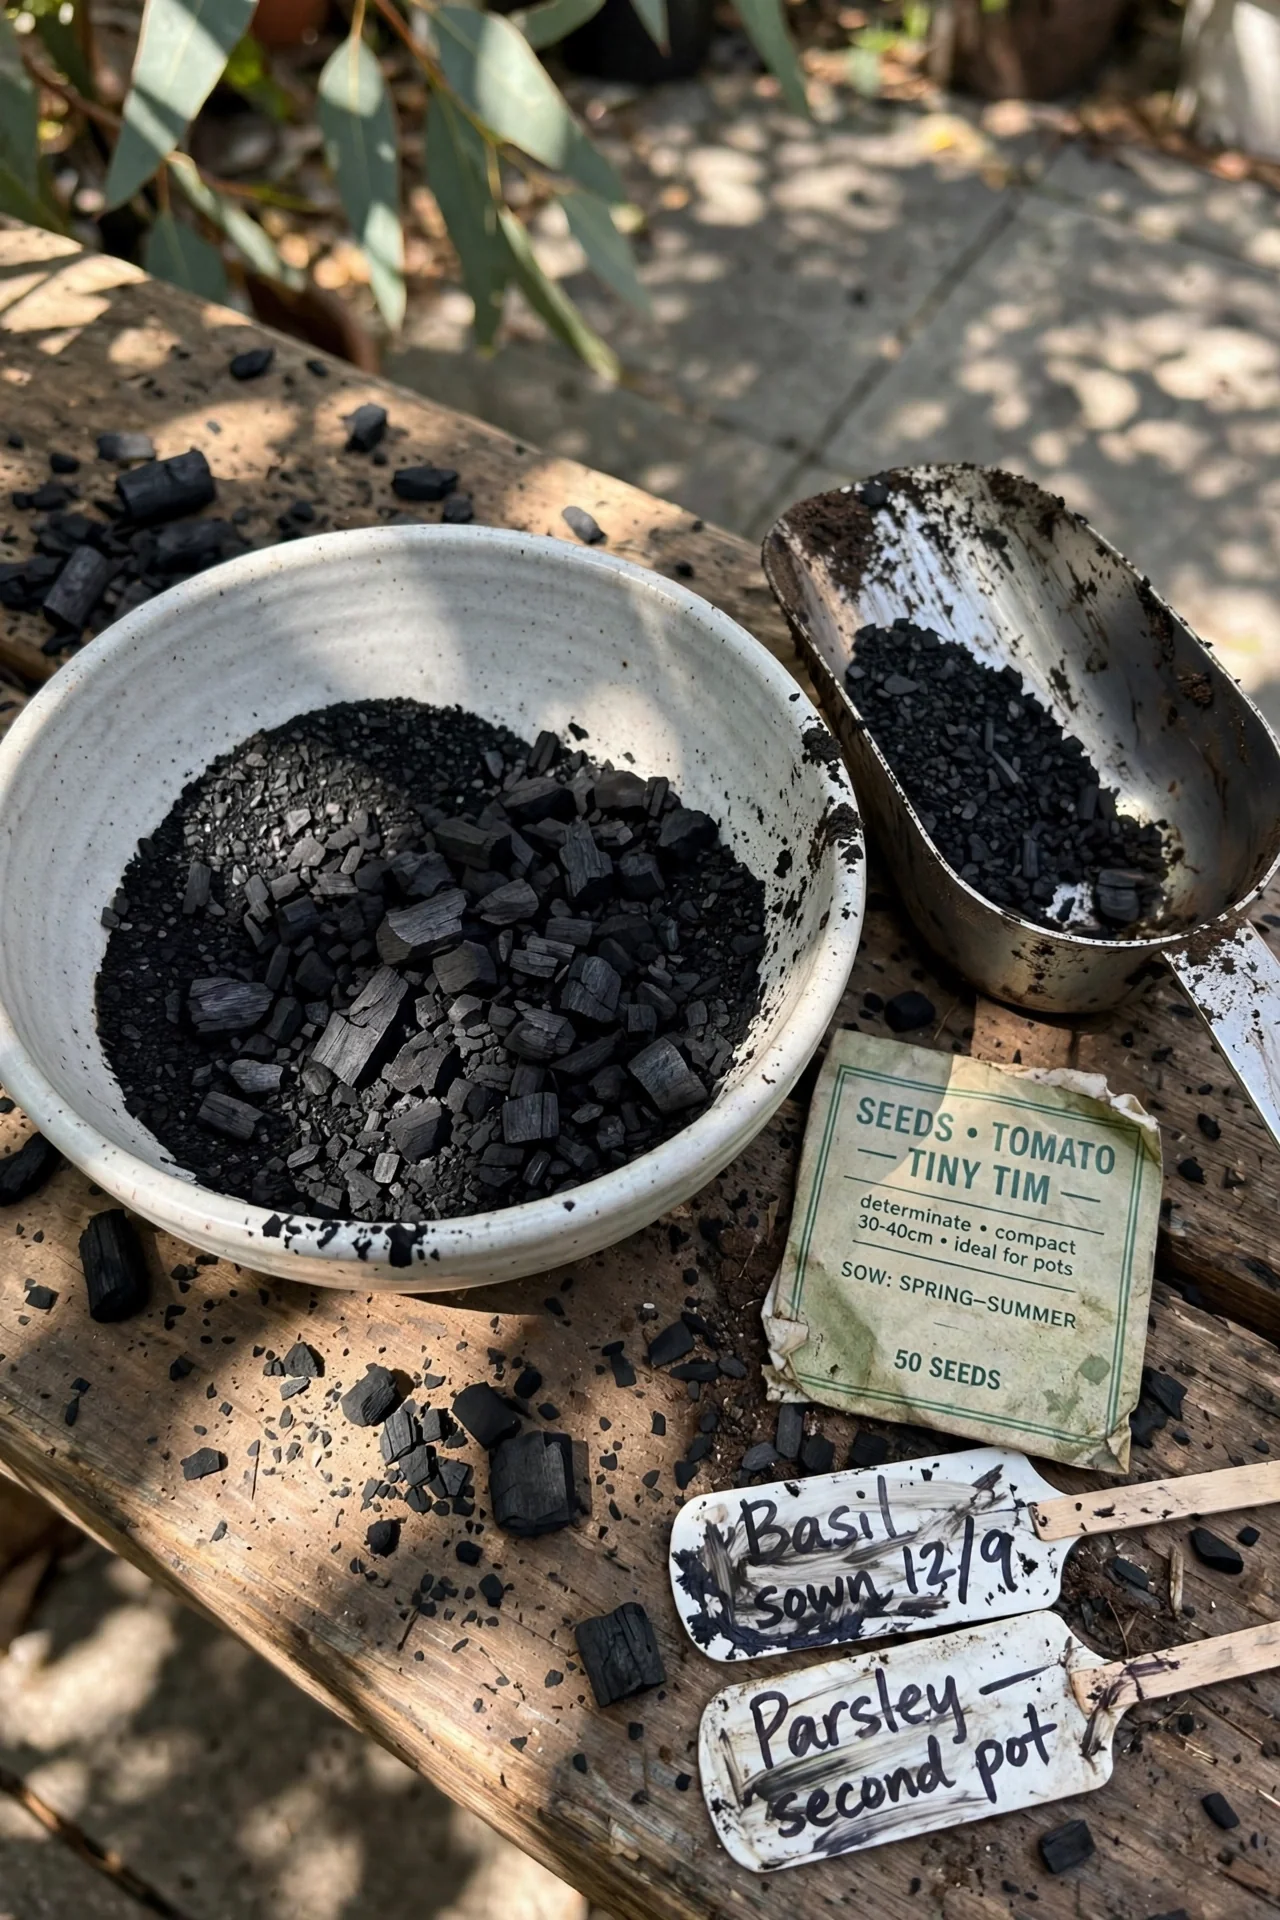
This approach pairs a sturdy plastic nursery pot that has drainage holes with an outer decorative ceramic shell. The inner pot sits on small risers inside the ceramic vessel, creating a gap for water to collect without touching the soil. When you water, excess drains into that gap and can be poured off later. Skip this method if the outer pot is too shallow; the gap must be at least 0.5 inch deep to prevent roots from wicking up the standing water. The edge case that trips many people: using a nursery pot that fits too snugly, which blocks air circulation and encourages mold. Our IKEA planter hack for a clean dual-pot look shows one way to adapt common containers.
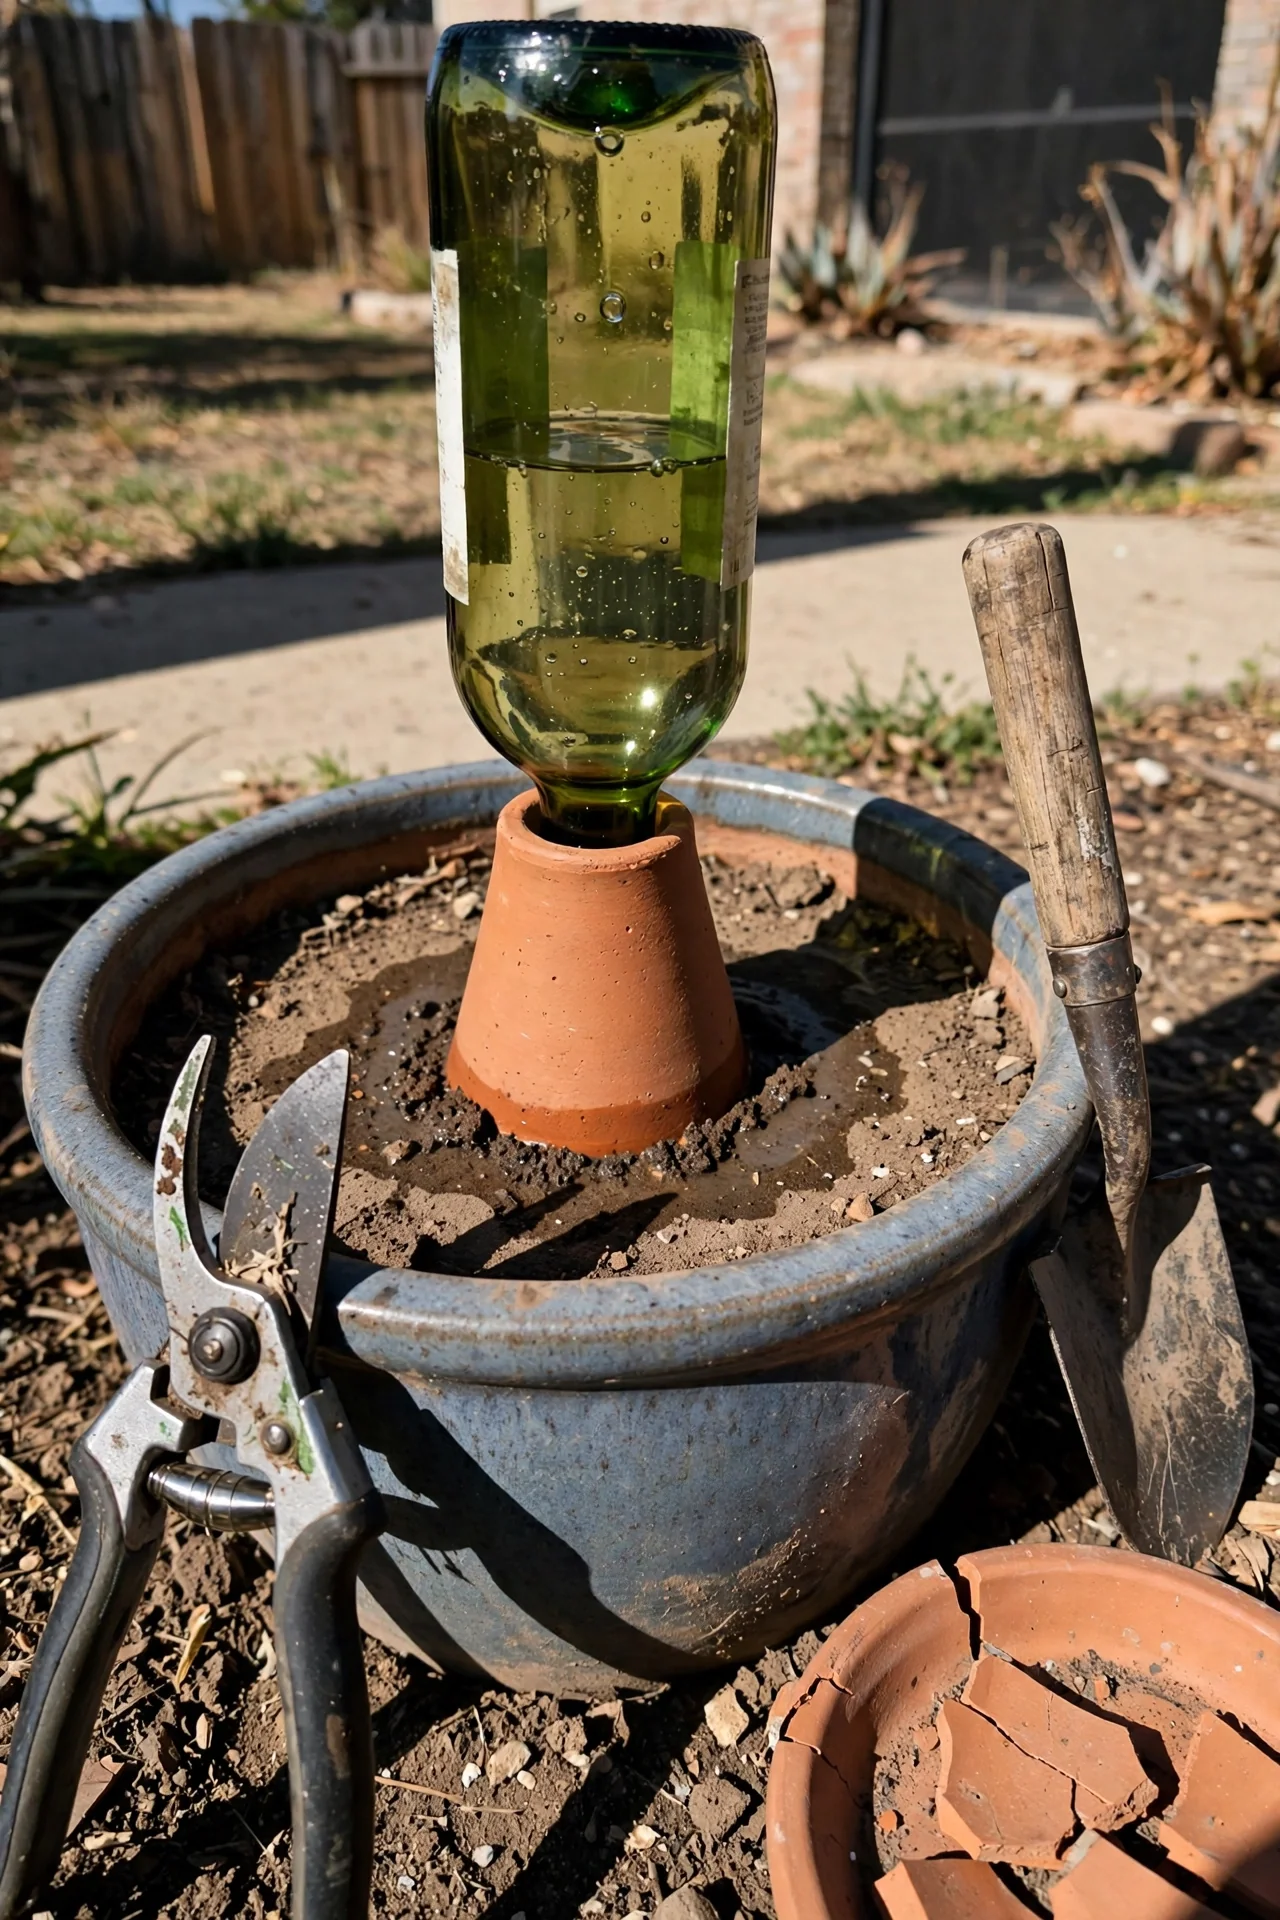
7. Using Terracotta Watering Spikes
Best for: Branch 2
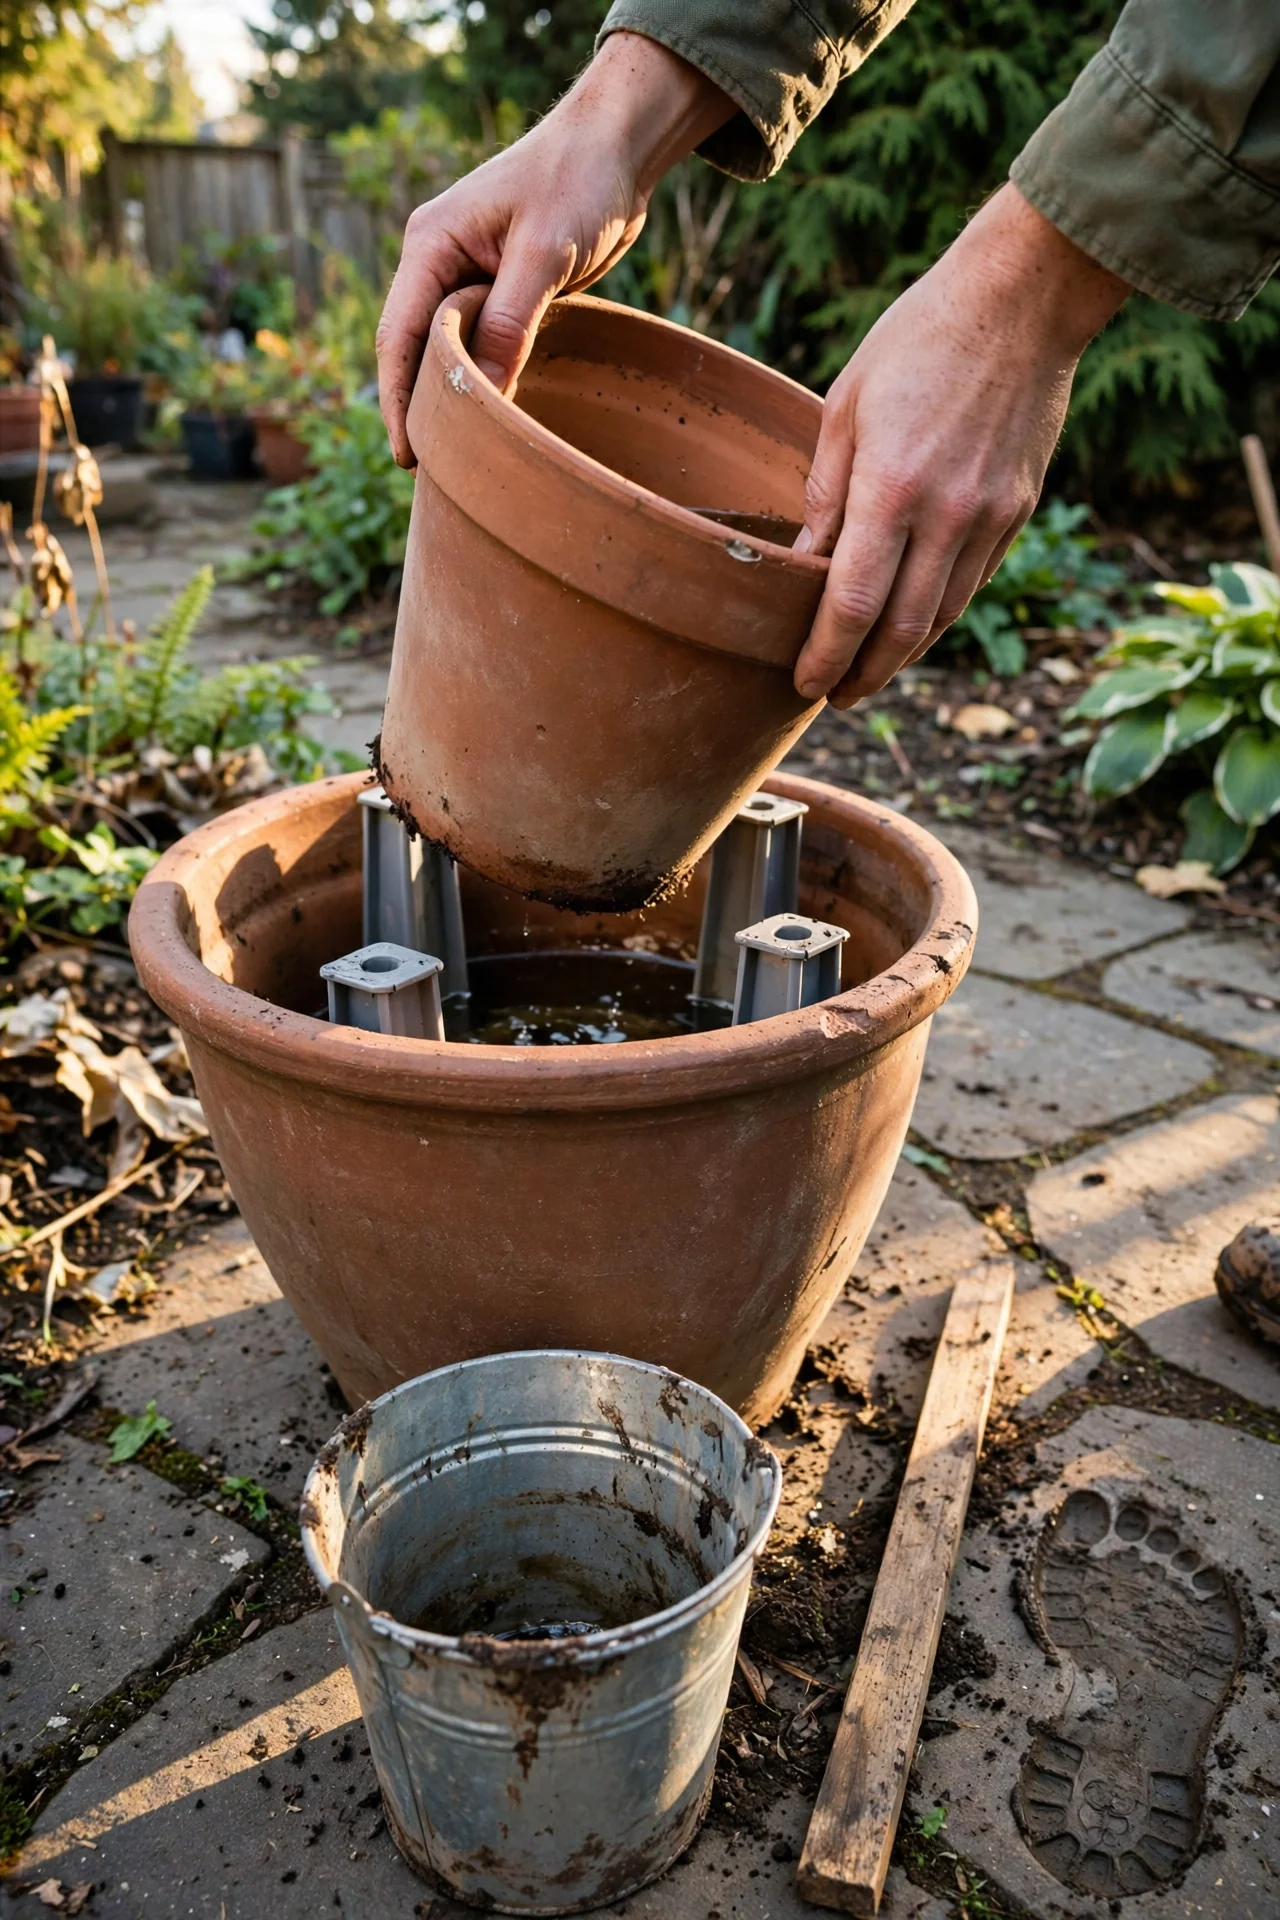
Threshold rule: Insert the spike so its tip reaches one-third of the way into the root ball depth. For a pot 9 inches deep, that means the porous clay tip sits roughly 3 inches below the soil surface. Attach a water-filled bottle to the spike and monitor the empty rate for the first week; if the water disappears in under 24 hours, switch to a smaller bottle or a slower-release spike. In unglazed ceramic pots, the surrounding clay wall also evaporates moisture, which can compete with the spike. Adjust by placing the spike closer to the center of the root mass rather than near the pot wall. Succulents with shallow, fine roots often do poorly with spikes because the constant low-level moisture prevents the complete dry-down they need.
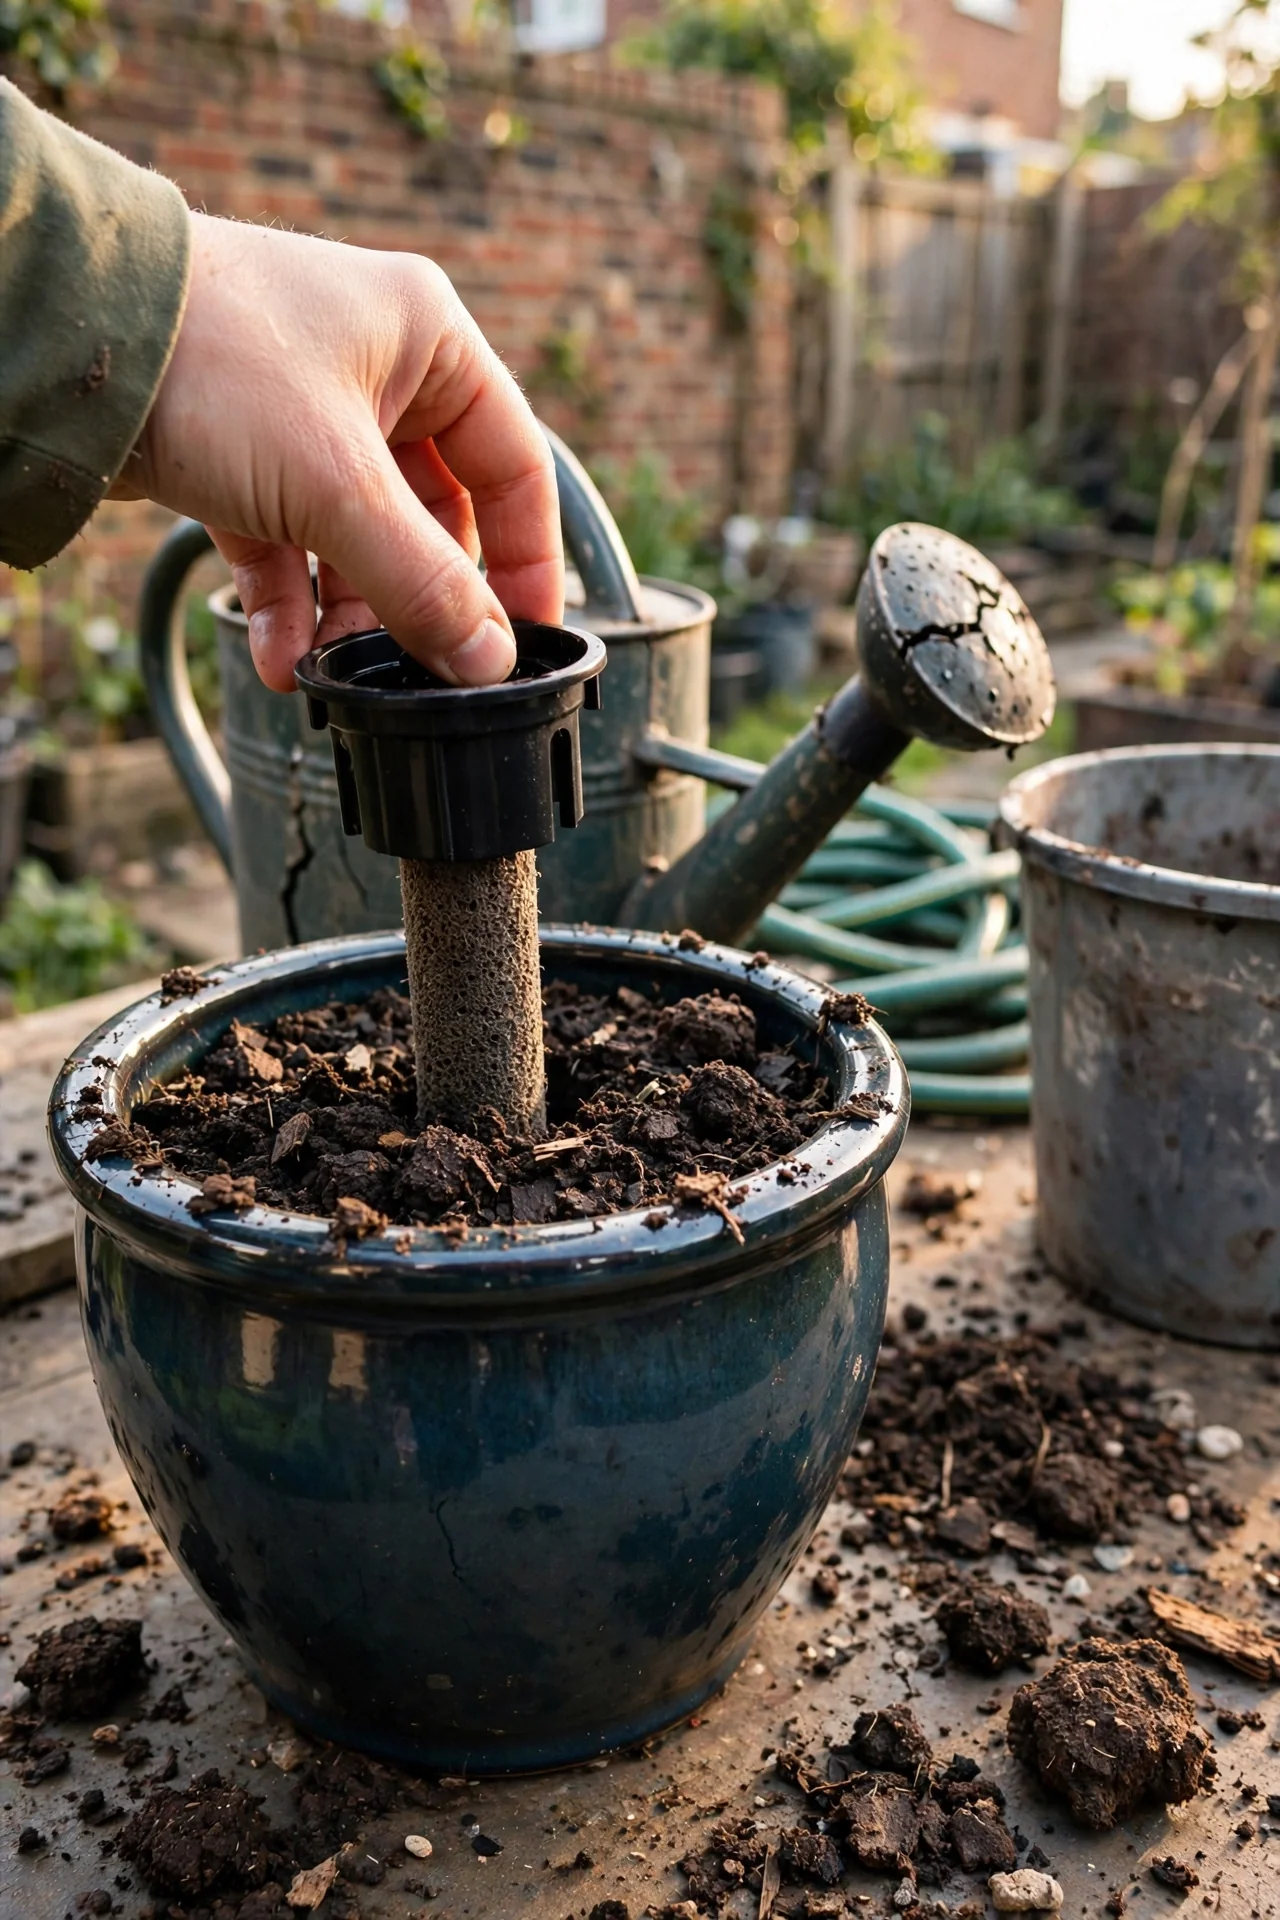
8. Self-Watering Insert Conversion
Best for: Branch 1
10-minute workflow: Purchase a plastic self-watering insert that matches your ceramic pot’s interior diameter, ideally with 0.25 inch clearance. Drop the insert into the decorative pot, fill the reservoir through the side tube, add potting mix, and plant. Water the soil from above once to settle, then let the wicking column take over. Upgrade: add a water level indicator tube if the insert lacks one, so you know exactly when to refill. The main pitfall is choosing an insert too tall, which reduces the soil volume for root growth.
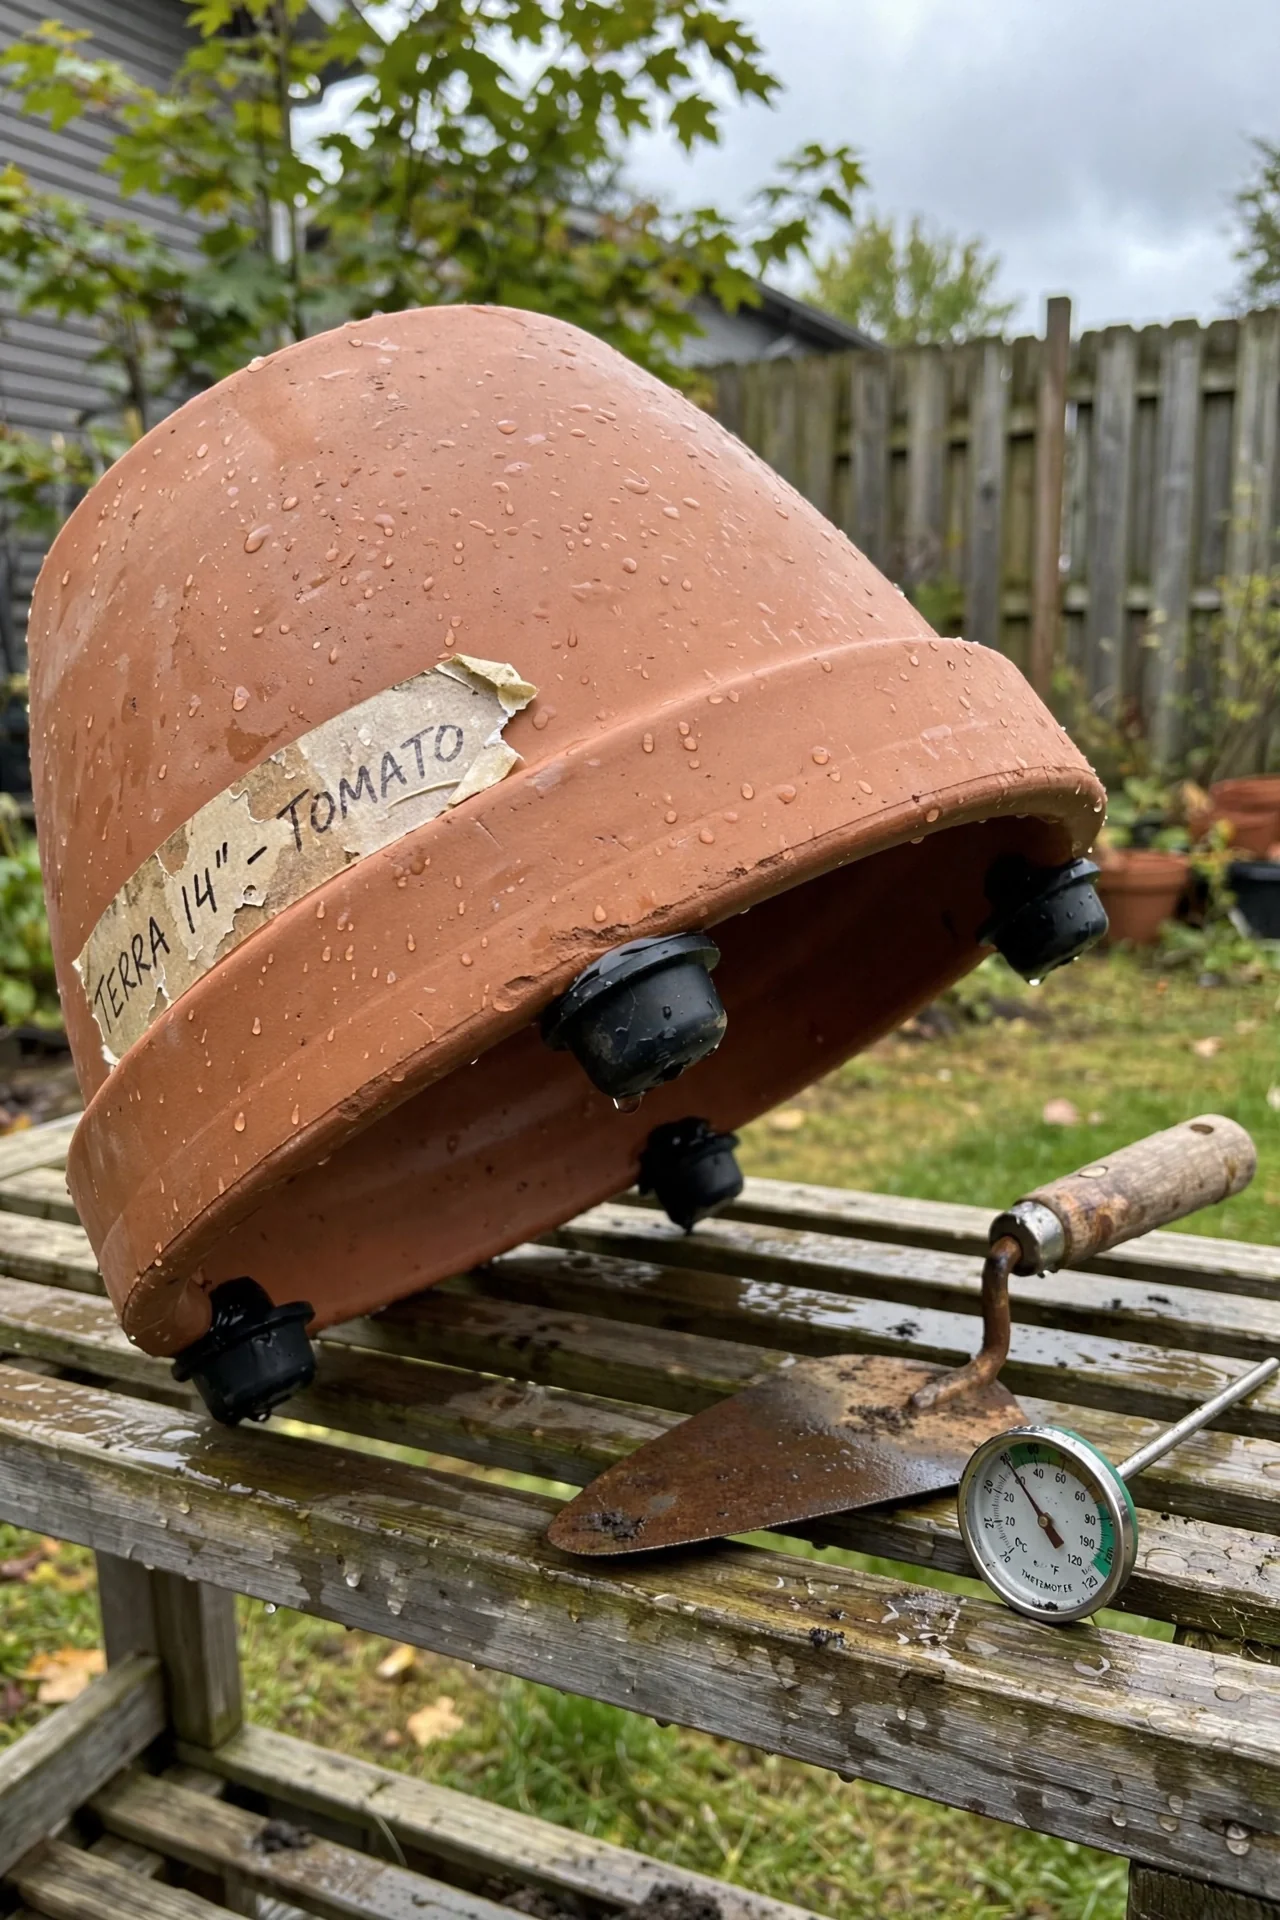
9. Pot Feet for Passive Air Circulation
Best for: Branch 2
What it is: Small risers made of rubber, silicone, or terracotta that attach or sit under a pot to lift it above a saucer or flat surface.
What it’s for: Creating an air gap so that moisture does not become trapped between the pot bottom and the surface, which is especially important for unglazed ceramics that can wick water up from a wet saucer.
Steps: Clean and dry the pot base. Position three or four feet evenly spaced near the rim, ensuring at least 0.25 inch of clearance. Set the pot on a tray and test stability. A common mistake is using feet that are too short: if the gap is less than 3 mm, surface tension can still bridge the water and keep the pot base damp. For heavy pots, choose wide, low-profile rubber feet that grip.
10. Ceramic Pot With an Attached Saucer
Best for: Branch 3
Use a one-piece ceramic planter with a built-in saucer if you need a compact footprint and dislike separate trays. The attached saucer catches small volumes of runoff immediately, so you are not carrying a heavy pot to the sink. Skip this option if your plant requires bottom watering sessions longer than 20 minutes; most attached saucers hold only a few ounces of water before overflowing, and refilling repeatedly becomes tedious. The hidden edge case: check that the drainage hole inside aligns with the saucer’s lowest point. In some designs, the hole sits slightly raised, leaving a permanent film of water in the saucer base that cannot evaporate fully. For plants like spider plants or dracaenas that tolerate brief wet feet, this is fine; for a hoya or peperomia, it invites root rot.
Starter Stack (What to Choose First)
Branch 1 Starter: Cache Pot + Wicking System
Combine item 2 (cache pot system) and item 4 (wicking system). The cache pot gives you the freedom to swap plants without damaging the ceramic vessel, while the wick ensures the root zone never fully dries out. Setup cost ranges from $5 to $20 for rope, leca, and a nursery pot that fits. Expect 30 to 45 minutes to thread and test the wick the first time.
Branch 2 Starter: Charcoal Layer + Pot Feet
Use item 5 (activated charcoal) and item 9 (pot feet). The charcoal keeps the perched water at the bottom from turning stagnant, and the feet maximize the evaporative benefit of unglazed clay. Together they create a forgiving system for succulents in pots without holes. Budget $8 to $18 for charcoal and a set of feet, with under 20 minutes of hands-on time.
Branch 3 Starter: Drilled Hole + Attached Saucer Pot
If you purchase a ceramic pot with a hole already present, item 10 (attached saucer pot) handles runoff neatly. If you already own a hole-free pot you want to convert, item 1 (drilling) plus a separate saucer gives you full control. A diamond hole saw costs $10 to $25, and a quality pot with integrated saucer starts around $30. The drilling process takes 15 minutes with proper setup.
When This Won’t Work
Antique or extremely thin-walled ceramic. Pots with hairline cracks, fine porcelain, or sentimental value are poor candidates for drilling. The vibration and pressure can propagate existing fissures. Even a careful hand cannot guarantee a clean hole in a piece thinner than 3 mm. Alternative: Use a cache pot system (item 2) or double-pot method (item 6) and avoid any modification.
Epiphytic plants requiring maximum root aeration. Tillandsia, many orchids, and staghorn ferns need air exchange around their roots far beyond what even a well-drained ceramic pot provides. Adding holes or layers still leaves a humidity pocket that can suffocate these roots. Alternative: Mount them or use an open-sided container. For air plants specifically, our air plant holders that skip soil entirely offer a better path.
Choosing the Right Option for Your Situation
Budget threshold
If your total spend is under $15, start with a cache pot system (item 2) or pebble drainage layer (item 3). Drilling requires buying a bit you may use only once, pushing the cost above the entry threshold. Self-watering inserts and attached-saucer pots are at the higher end, often exceeding $30.
Time threshold
If you can invest only a one-time setup, choose methods with an Effort Score of 1 in the table, such as drilling, charcoal layer, pot feet, or an attached saucer pot. Methods that demand weekly water reservoir checks, like wicking (score 4) and watering spikes (score 3), need a consistent routine. Miss one refill, and the plant may crash.
Technical constraint: pot porosity
Glazed pots trap nearly all moisture; you must provide a deliberate exit path. Unglazed terracotta and low-fire clay evaporate through the walls, which can dry the root zone faster than you expect. If you use a watering spike in an unglazed pot, place it deeper. If you drill an unglazed pot, seal the interior with a potable water-based sealant if you want to reduce sidewall evaporation.
Quick Yes/No checklist:
Does the pot have a drainage hole? Yes / No
Is the interior glazed or sealed? Yes / No
Does the plant need its soil to dry completely between waterings? Yes / No
Will you check water levels at least once a week? Yes / No
Expert Q&A
Can I plant succulents directly in a ceramic pot without a drainage hole?
Yes, if you use a highly porous potting mix with coarse sand, pumice, and very little organic matter, and you water sparingly only when the soil is bone dry. The risk remains high because perched water cannot exit. Adding a thick drainage layer and pot feet improves the odds, but it is not foolproof for long-term health.
What drill bit type is needed for a glazed ceramic planter?
A diamond-tipped core bit or a carbide-tipped spear point designed for glass and tile works on glazed surfaces. Standard twist bits will skate and crack the glaze. Use water as a coolant throughout the process, and start at a slow speed to create a guide groove before applying full pressure.
Does a layer of rocks actually improve drainage in a pot with no hole?
It does not create drainage in the sense of water exiting the pot. It raises the perched water table, moving the saturated zone lower. For plants with shallow roots, this can be beneficial. For deep-rooted plants, roots still eventually reach the wet layer and may rot. It is a water management tool, not a true drainage solution.
How do I water a ceramic planter without holes so I don’t overwater?
Measure water by soil volume: add water equal to roughly one-fifth of the pot’s interior volume, then wait 20 minutes. If no water pools at the surface, add a little more. Use a wooden dowel inserted to the bottom to check moisture depth. If the dowel comes out damp below the halfway point, hold off watering.
Is a saucer always necessary under a ceramic pot with a drainage hole?
Not if you water plants in a sink and allow them to drain fully before returning them to their spot. For pots that stay in place, a saucer protects surfaces and catches dissolved salts that would otherwise stain furniture or floors. Unglazed saucers will absorb water and can damage wood, so use a glazed or plastic tray underneath.
Conclusion
Ceramic planter drainage succeeds when you stop treating a missing hole as an automatic flaw and start matching the setup to the pot’s material and the plant’s moisture rhythm. The number one mistake is drilling into a glazed pot without checking the clay body thickness first, which leads to cracks and lost pots. If you have a glazed vessel you love and want to keep intact, a cache pot approach is the safest starting point. For a next project that embraces the no-hole philosophy beautifully, try our macrame plant hanger DIY and suspend a ceramic cache pot where air circulation naturally assists your drainage strategy.