
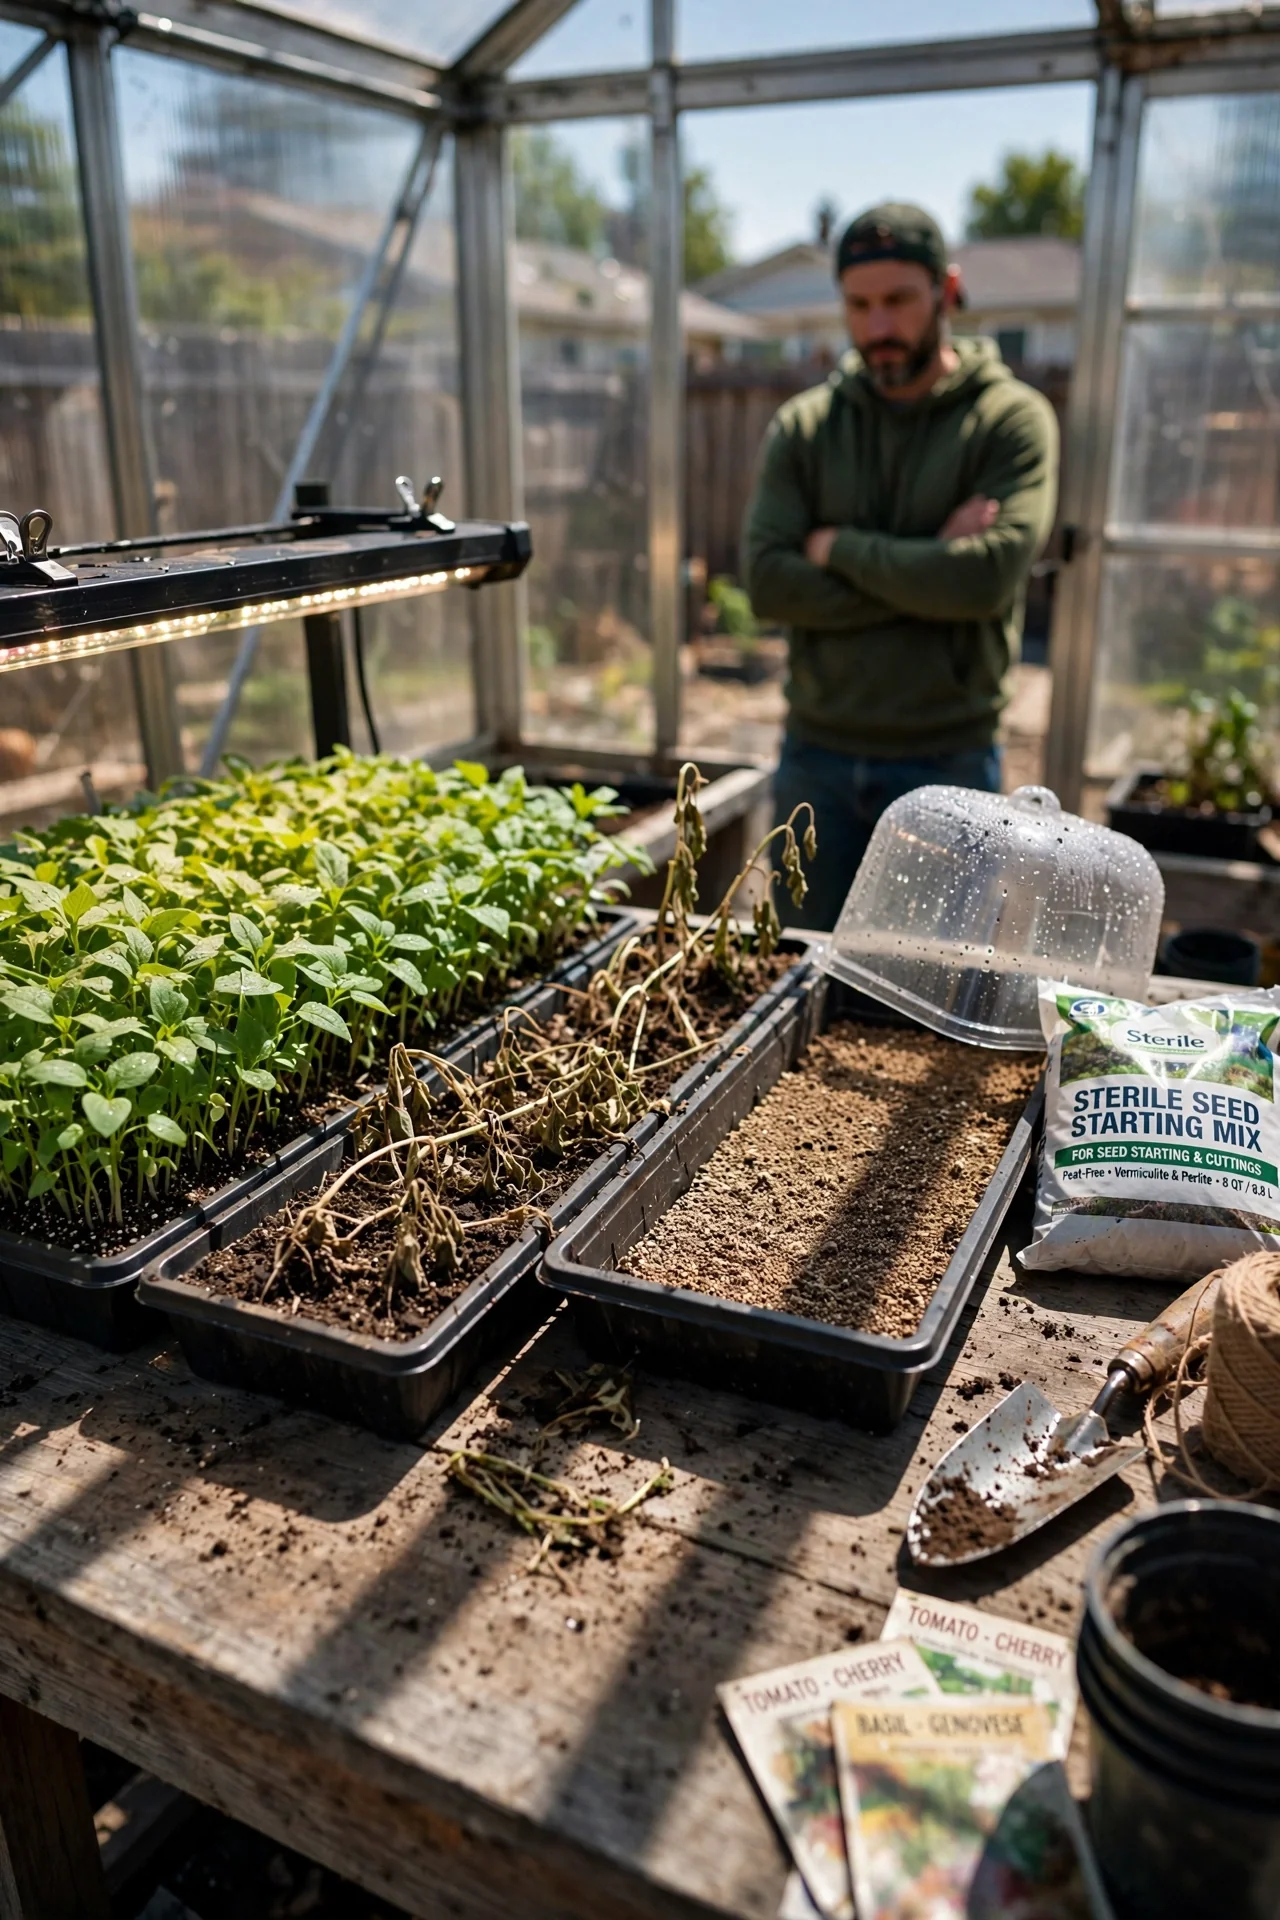
Damping off is not a single disease; it is a symptom of growing conditions that favor soil‑borne fungi such as Pythium and Rhizoctonia. The question that matters is not “What is damping off?” but “What should I do right now?” Most advice treats damping off as a list of prevention tips. The missed opportunity is a decision framework that tells you which action matches the stage of the problem.
This guide focuses on indoor seed‑starting and greenhouse situations where damping off is most common. It does not cover direct‑sown field crops where large‑scale environmental control is limited. You will find actionable thresholds, not generic warnings.
By the end, you will be able to assign your situation to one of three clear branches and choose the right intervention. You will also know when to stop treating and start over, saving time and healthy seedlings.
Bottom line: If you catch damping off before stems collapse, you can often save the tray; after collapse, switch to protecting survivors and resetting conditions.
The Yield Grid Decision Grid
Use the three branches below to match your current situation. Each branch points you to specific items in the list that follow.
Branch 1: Before You Sow or Seedlings Are Healthy
Measurable condition: Soil temperature is being held above 20°C (68°F), and you have not yet seen any collapsed seedlings. Fungal disease management starts with environment, not chemicals.
Recommended: Items 1, 2, 3, and 4 below.
Branch 2: First Signs Appear (Few Seedlings Wilted or Fallen)
Measurable condition: Less than one‑third of seedlings show stem thinning, water‑soaked spots, or collapse. The growing medium surface is damp to the touch.
Recommended: Items 5, 6, and 7 below.
Branch 3: Widespread Collapse (White Mold Visible or Over Half Lost)
Measurable condition: More than half of the tray has collapsed, or you can see cottony growth on stems and soil surface.
Recommended: Items 8, 9, and 10 below.
Quick Comparison Table
| Option | Key Mechanism | Best for | Decision Grid Branch | Effort Score (1–5) |
|---|---|---|---|---|
| 1. Sterile growing medium | Excludes pathogen inoculum | Seed starting indoors | Branch 1 | 1 |
| 2. Proper seed spacing | Reduces canopy humidity | Densely sown trays | Branch 1 | 1 |
| 3. Soil temperature control | Speeds seedling growth past vulnerable stage | Cool‑season sowing | Branch 1 | 3 |
| 4. Fungicide‑treated seed | Protects seed and emerging radical | High‑value or saved seed | Branch 1 | 1 |
| 5. Reduce watering frequency | Dries the infection court | Overwatered trays | Branch 2 | 2 |
| 6. Increase airflow | Lowers boundary‑layer humidity | Stagnant indoor air | Branch 2 | 2 |
| 7. Hydrogen peroxide drench | Oxidizes fungal hyphae and oxygenates roots | Early post‑emergence collapse | Branch 2 | 3 |
| 8. Remove and isolate affected seedlings | Eliminates inoculum source | Partial tray infection | Branch 3 | 2 |
| 9. Biofungicide drench (Trichoderma) | Competitive exclusion and mycoparasitism | Surviving seedlings after removal | Branch 3 | 3 |
| 10. Restart with resistant varieties | Genetic tolerance to soil‑borne pathogens | Complete tray loss | Branch 3 | 1 |
1. Start with a Truly Sterile Growing Medium
Best for: Branch 1
Blueprint.
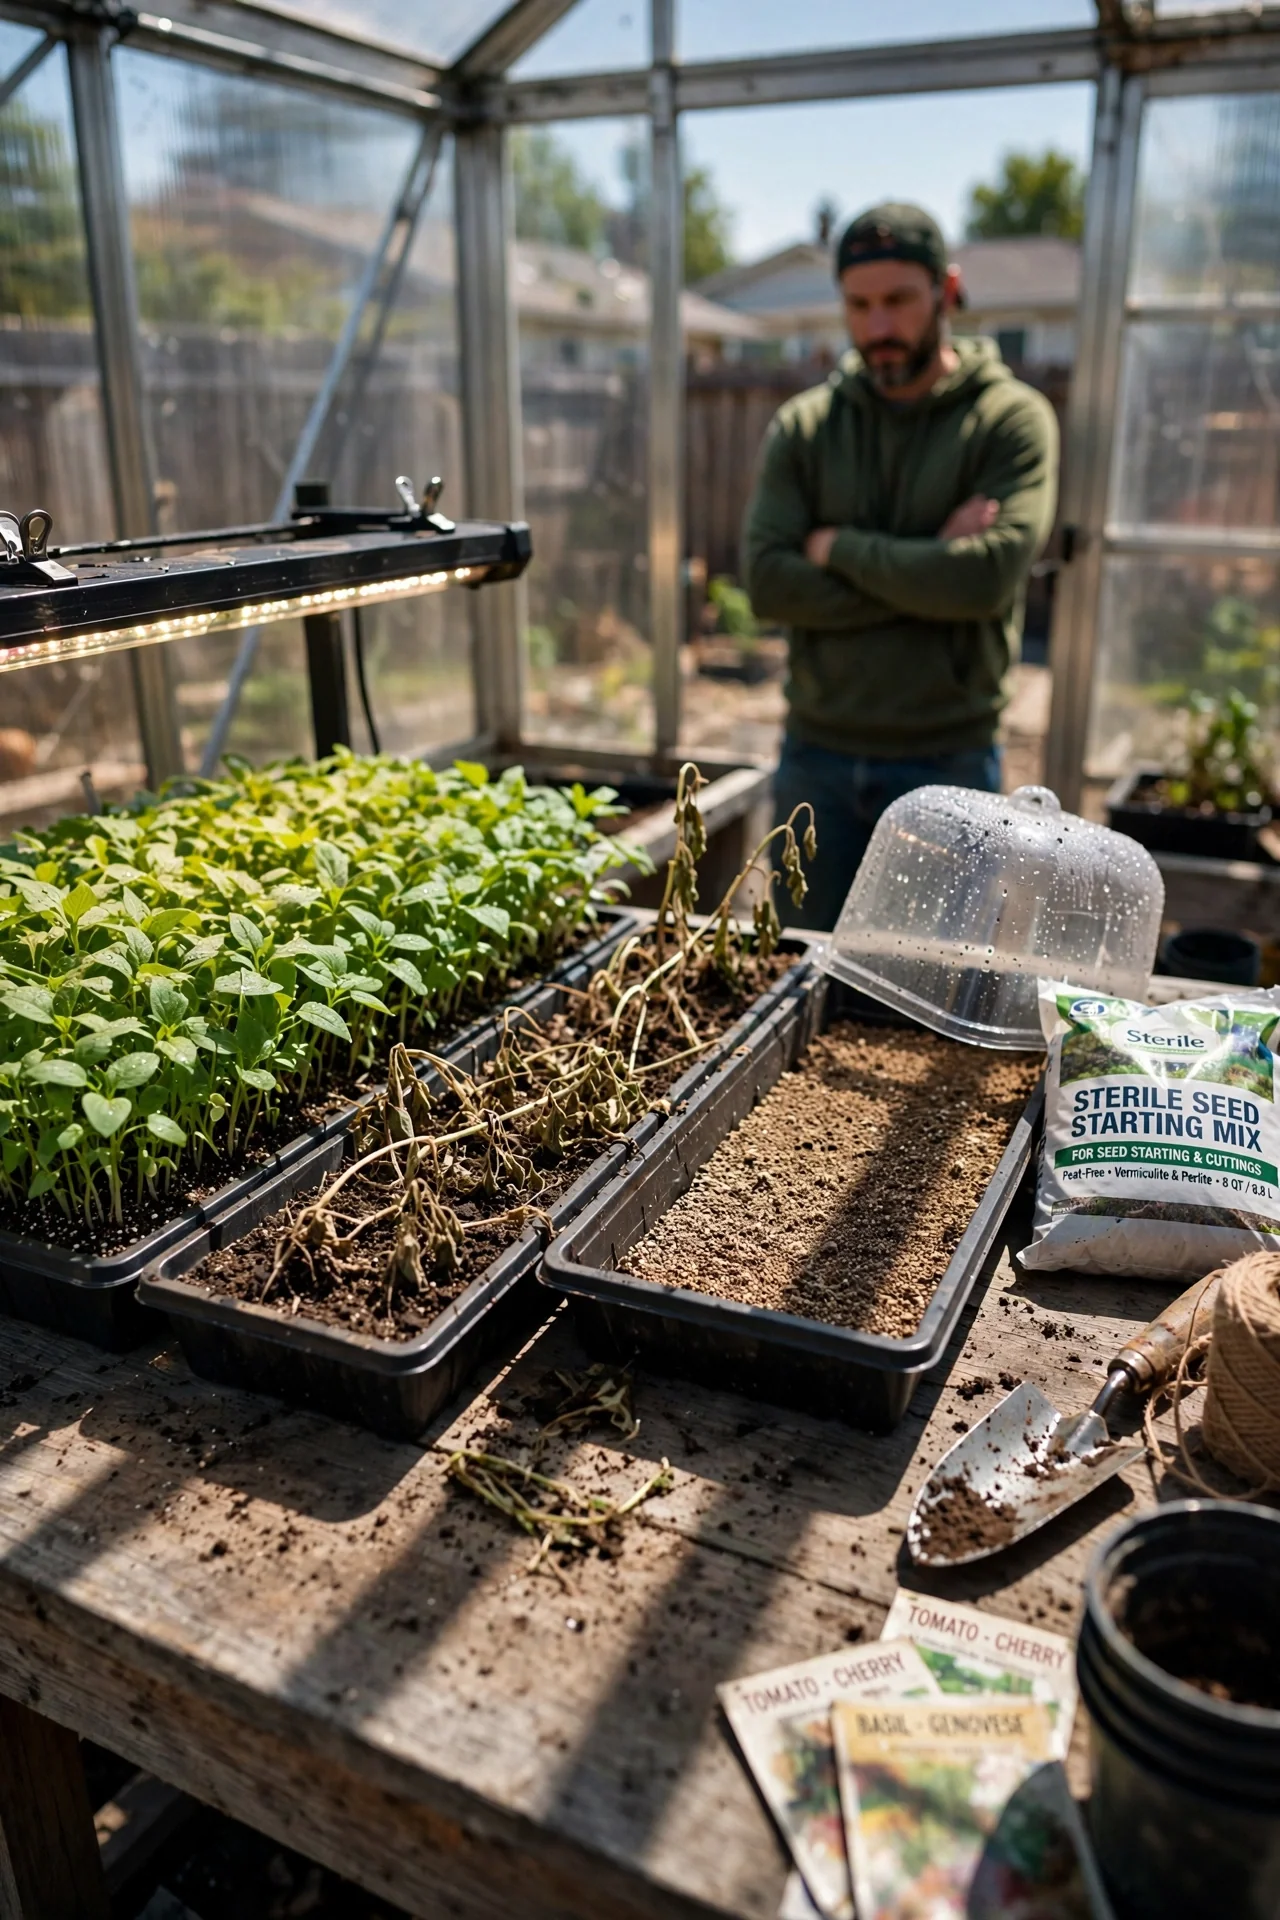
What it is: A soilless seed‑starting mix that has been heat‑pasteurized or purchased as a sterile commercial product. It contains no compost, garden soil, or unsterilized organic matter.
Who it is for: Any gardener starting seeds indoors or in a greenhouse, especially if you have had damping off in a previous season.
Steps: 1) Purchase a bag labeled “sterile seed starting mix” or “pasteurized.” 2) If reusing trays or pots, scrub them and then soak in a 10% bleach solution for 20–30 minutes. 3) Fill clean trays with the fresh mix and sow immediately. 4) Store opened bags sealed and off the ground.
Common mistake: Adding a handful of garden soil or compost “for nutrients.” This introduces the very pathogens you are trying to exclude. Tool and tray sanitation is equally important.
2. Space Seeds to Lower Canopy Humidity
Best for: Branch 1
Use vs. skip.
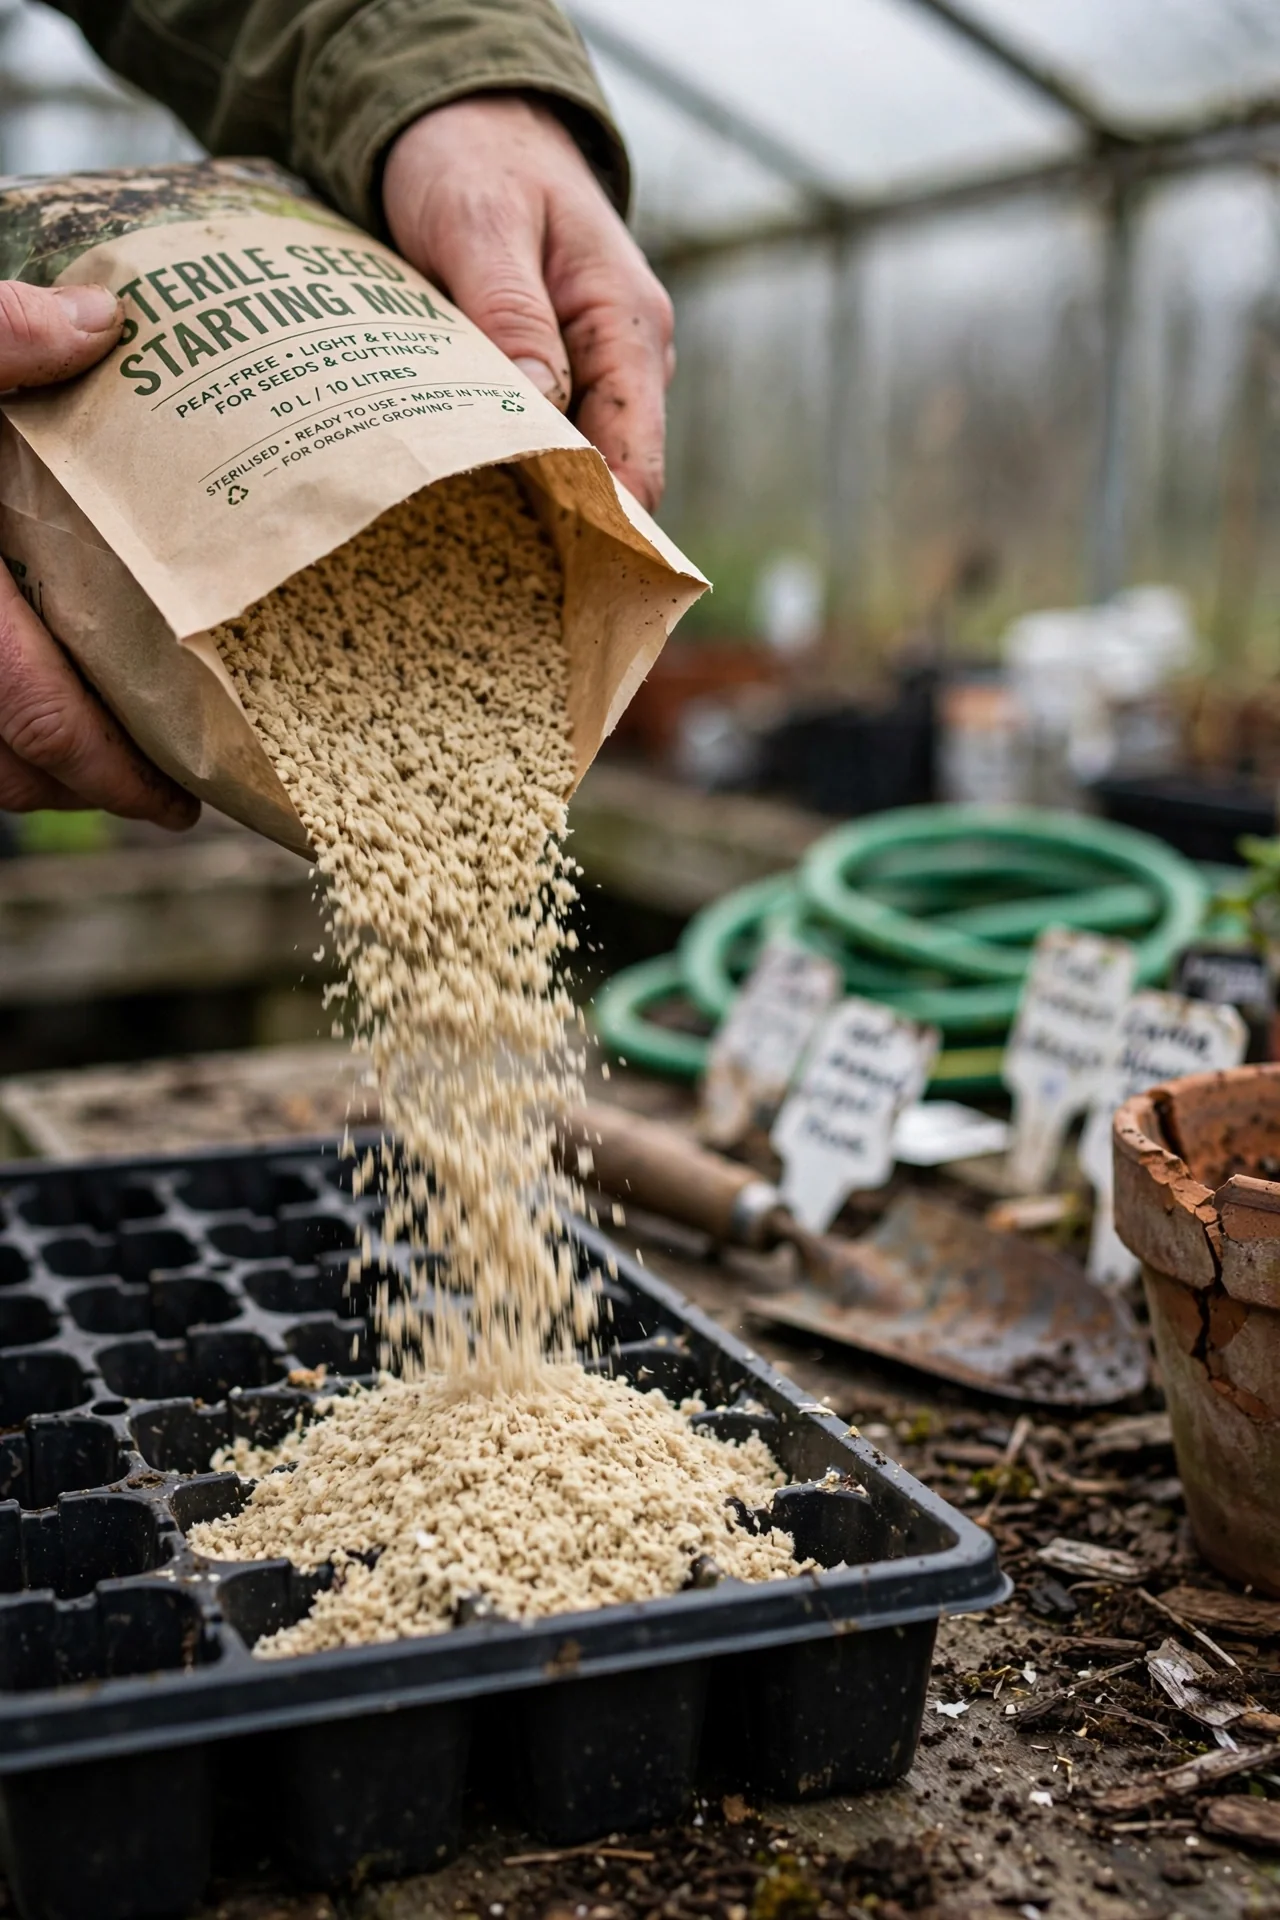
Advantages: Thinning seedlings after emergence improves air movement and reduces the microclimate that fungi need. It also reduces competition for light, producing sturdier stems.
Disadvantages: If you want maximum germination in a small space, you may be tempted to sow thickly. Overcrowding after emergence is a primary trigger for post‑emergence damping off.
Edge case: Very fine seed such as begonia or petunia is often sown densely; for these, thinning with small scissors is safer than pulling, which disturbs roots of neighbors.
3. Keep Soil Temperature Above the Danger Threshold
Best for: Branch 1
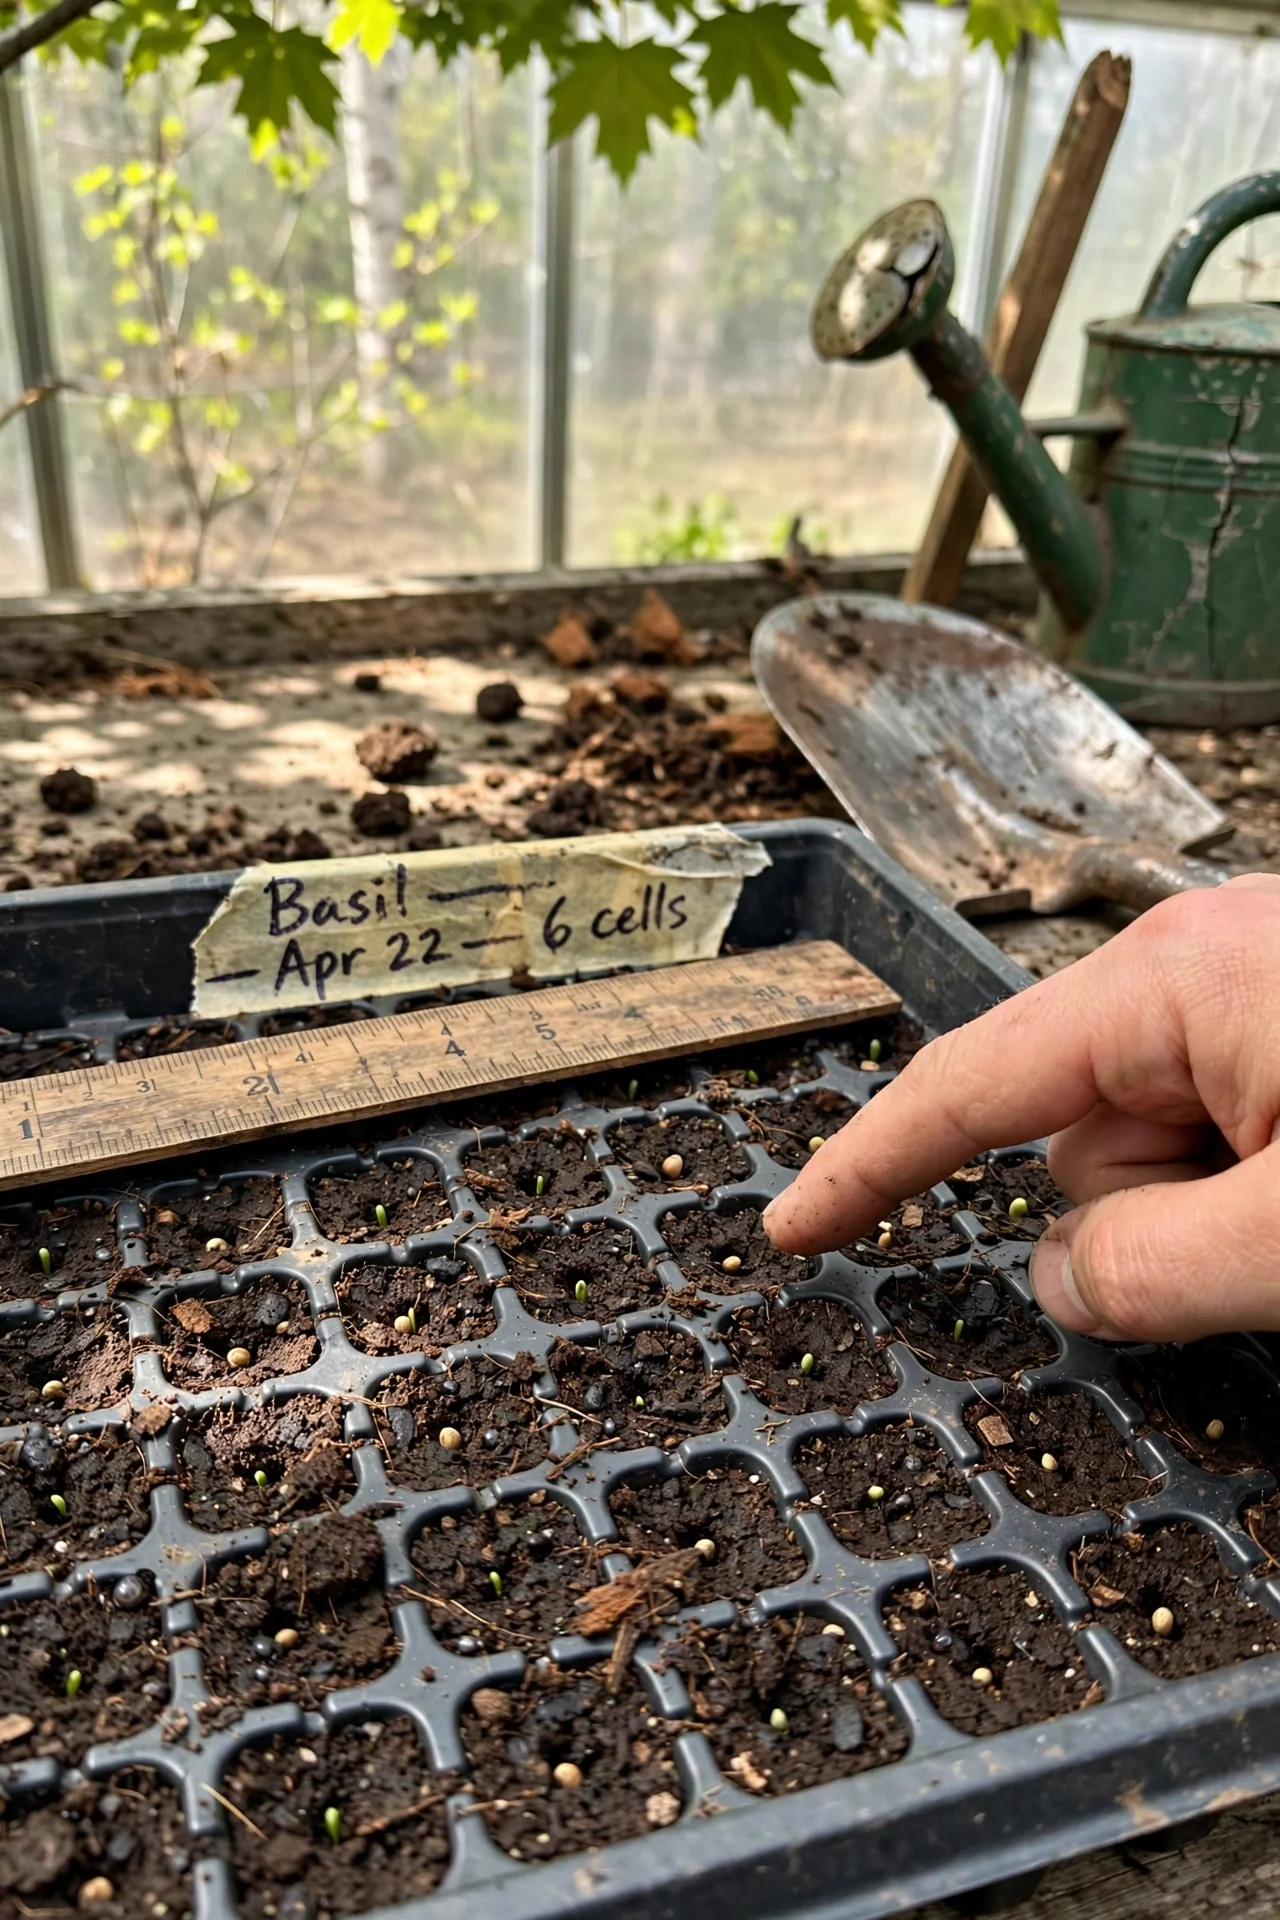
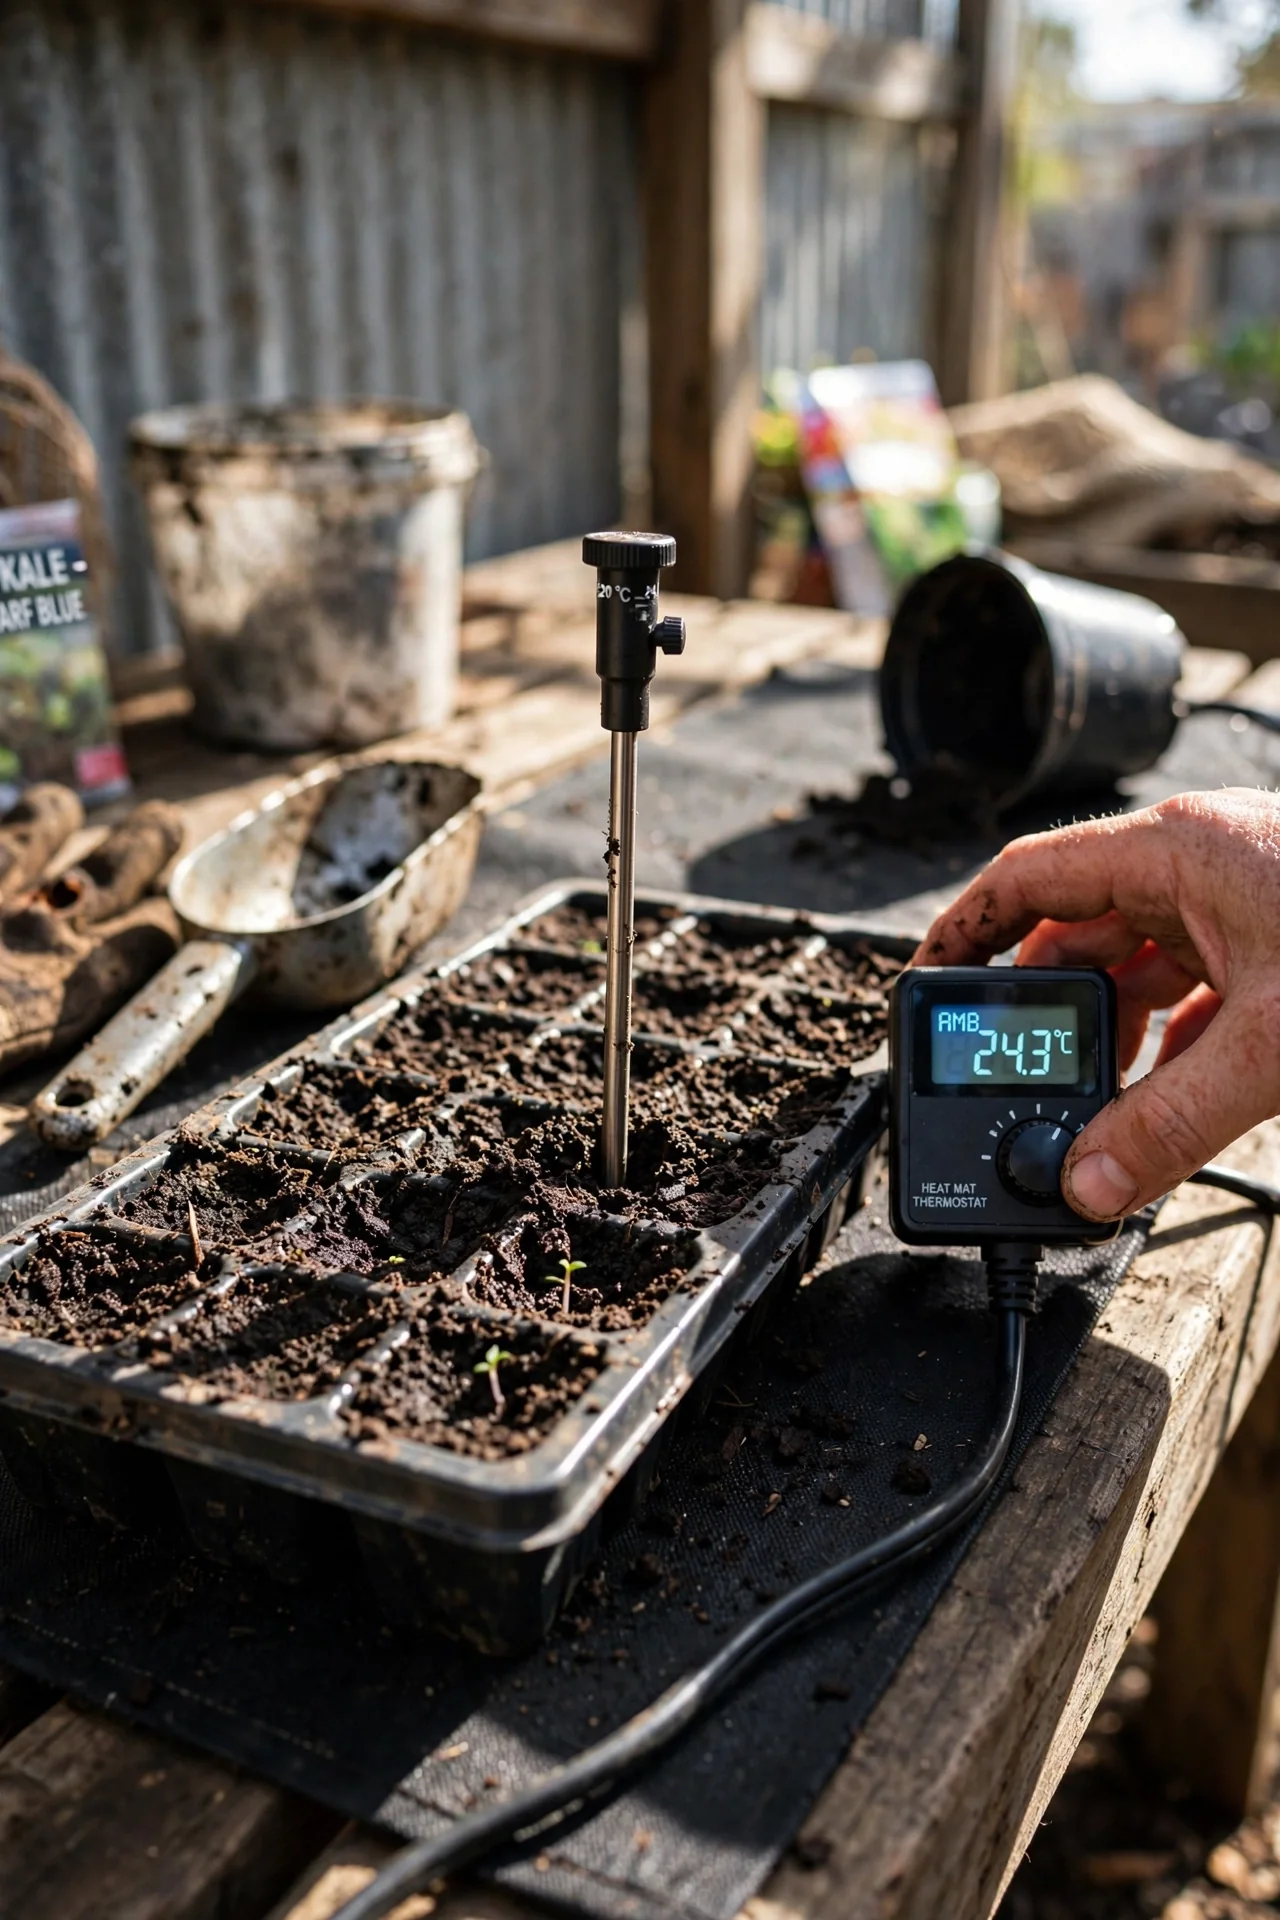
Threshold rule. Soil temperature below 20°C (68°F) slows seedling growth and favors Pythium and Fusarium. If you are sowing indoors, use a heat mat with a thermostat set to 22–24°C (72–75°F) until germination, then reduce to 18–20°C (65–68°F) after emergence. Outdoors, wait until soil reaches at least 50°F (10°C) for cool‑season crops and 60°F (16°C) for warm‑season crops. Adjustment: If you cannot provide bottom heat, delay sowing by two weeks. A soil thermometer costs less than a lost tray of seedlings.
4. Use Fungicide‑Treated Seed When Risk Is High
Best for: Branch 1
10‑minute workflow.
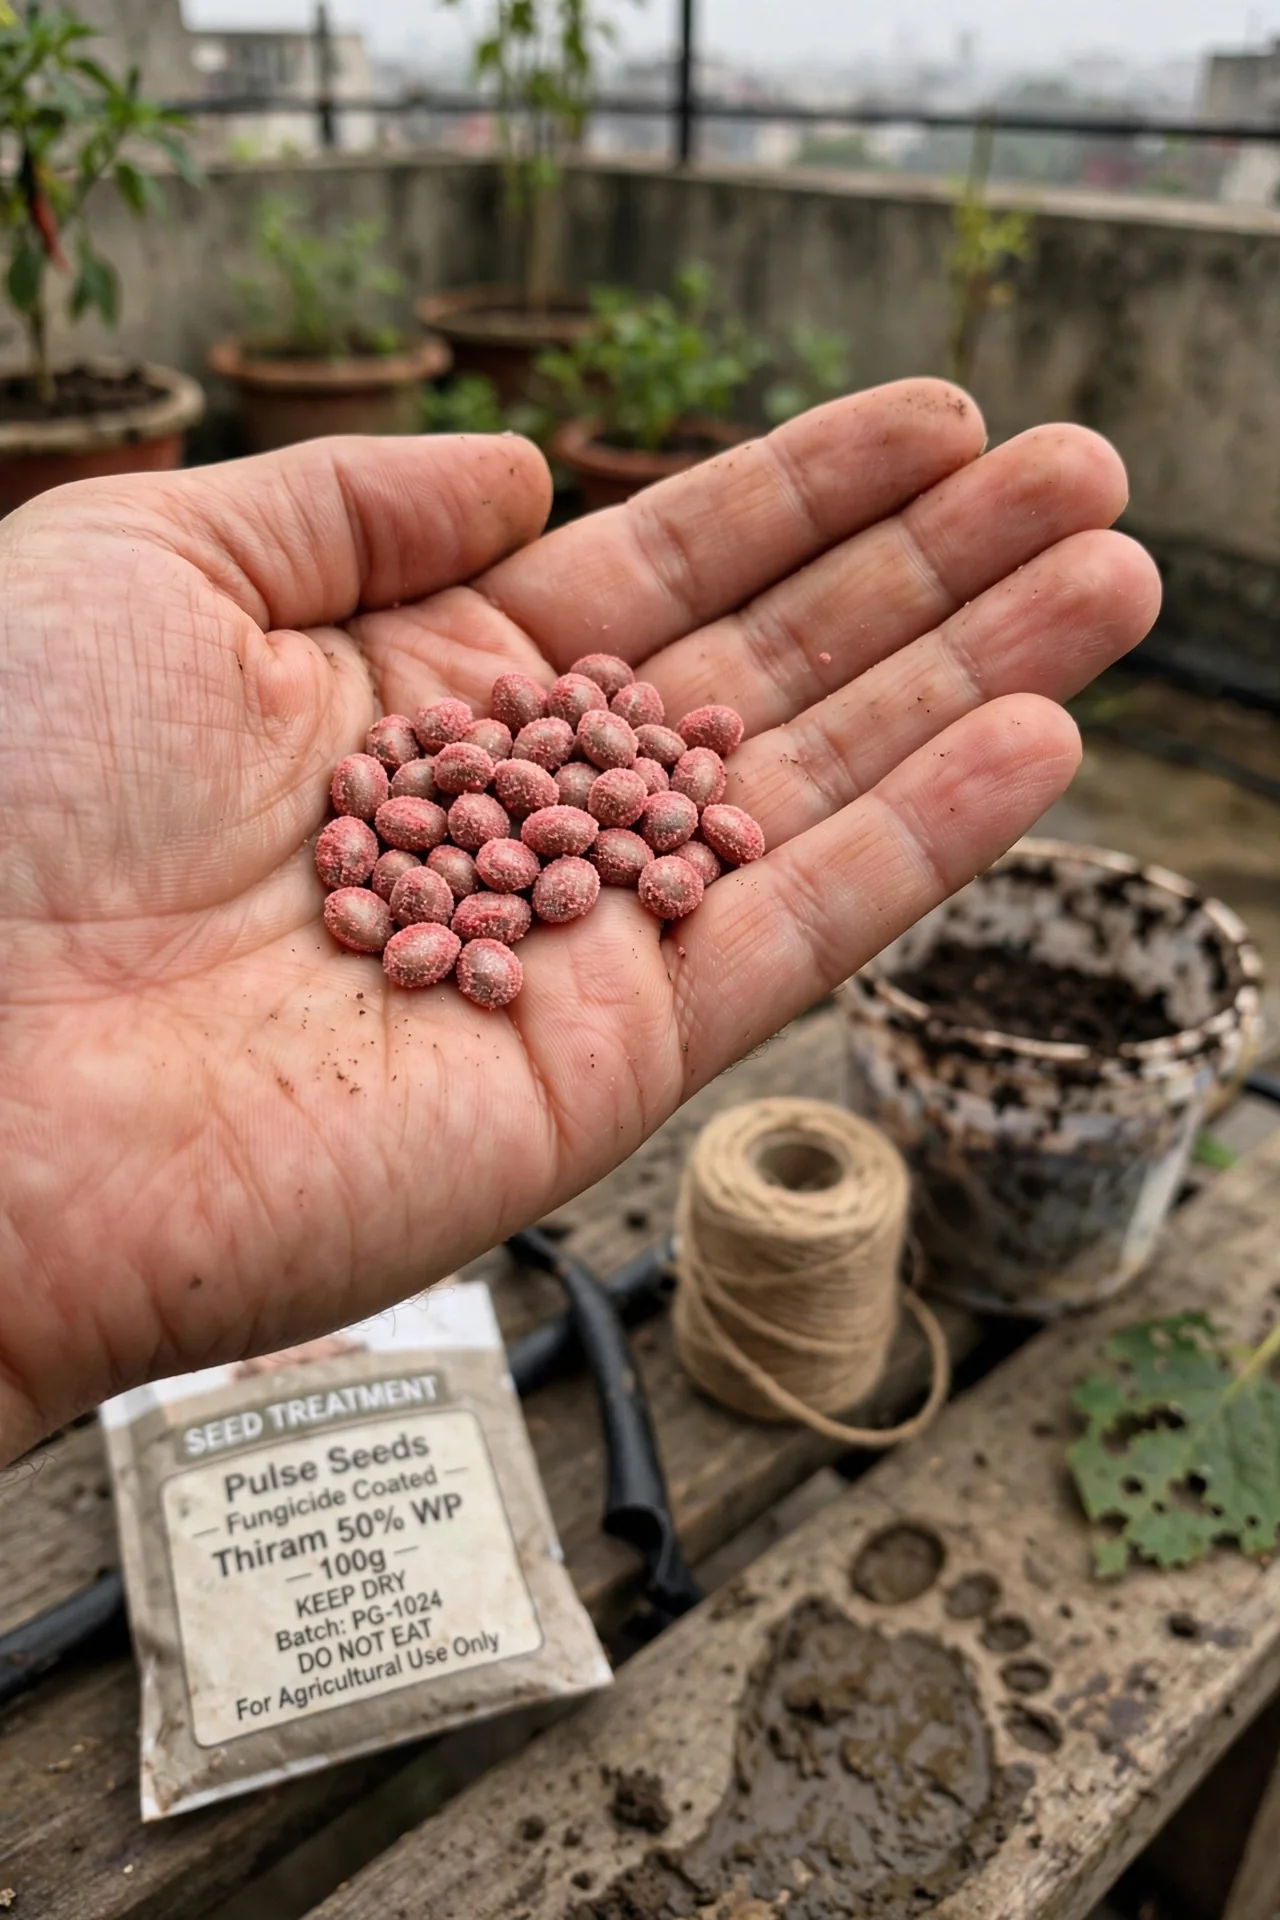
Step 1: Purchase seed that is already coated with a fungicide (usually captan or thiram) from a reputable supplier. Step 2: If you save your own seed, dust it with a commercial seed‑treatment powder according to the label. Step 3: Wear gloves and a mask when handling treated seed. Step 4: Sow immediately; do not store treated seed for next season. Upgrade option: For organic gardens, treat seed with a Trichoderma harzianum powder instead of synthetic fungicides. This biological alternative colonizes the seed coat and excludes pathogens.
5. Reduce Watering the Moment You See a Problem
Best for: Branch 2
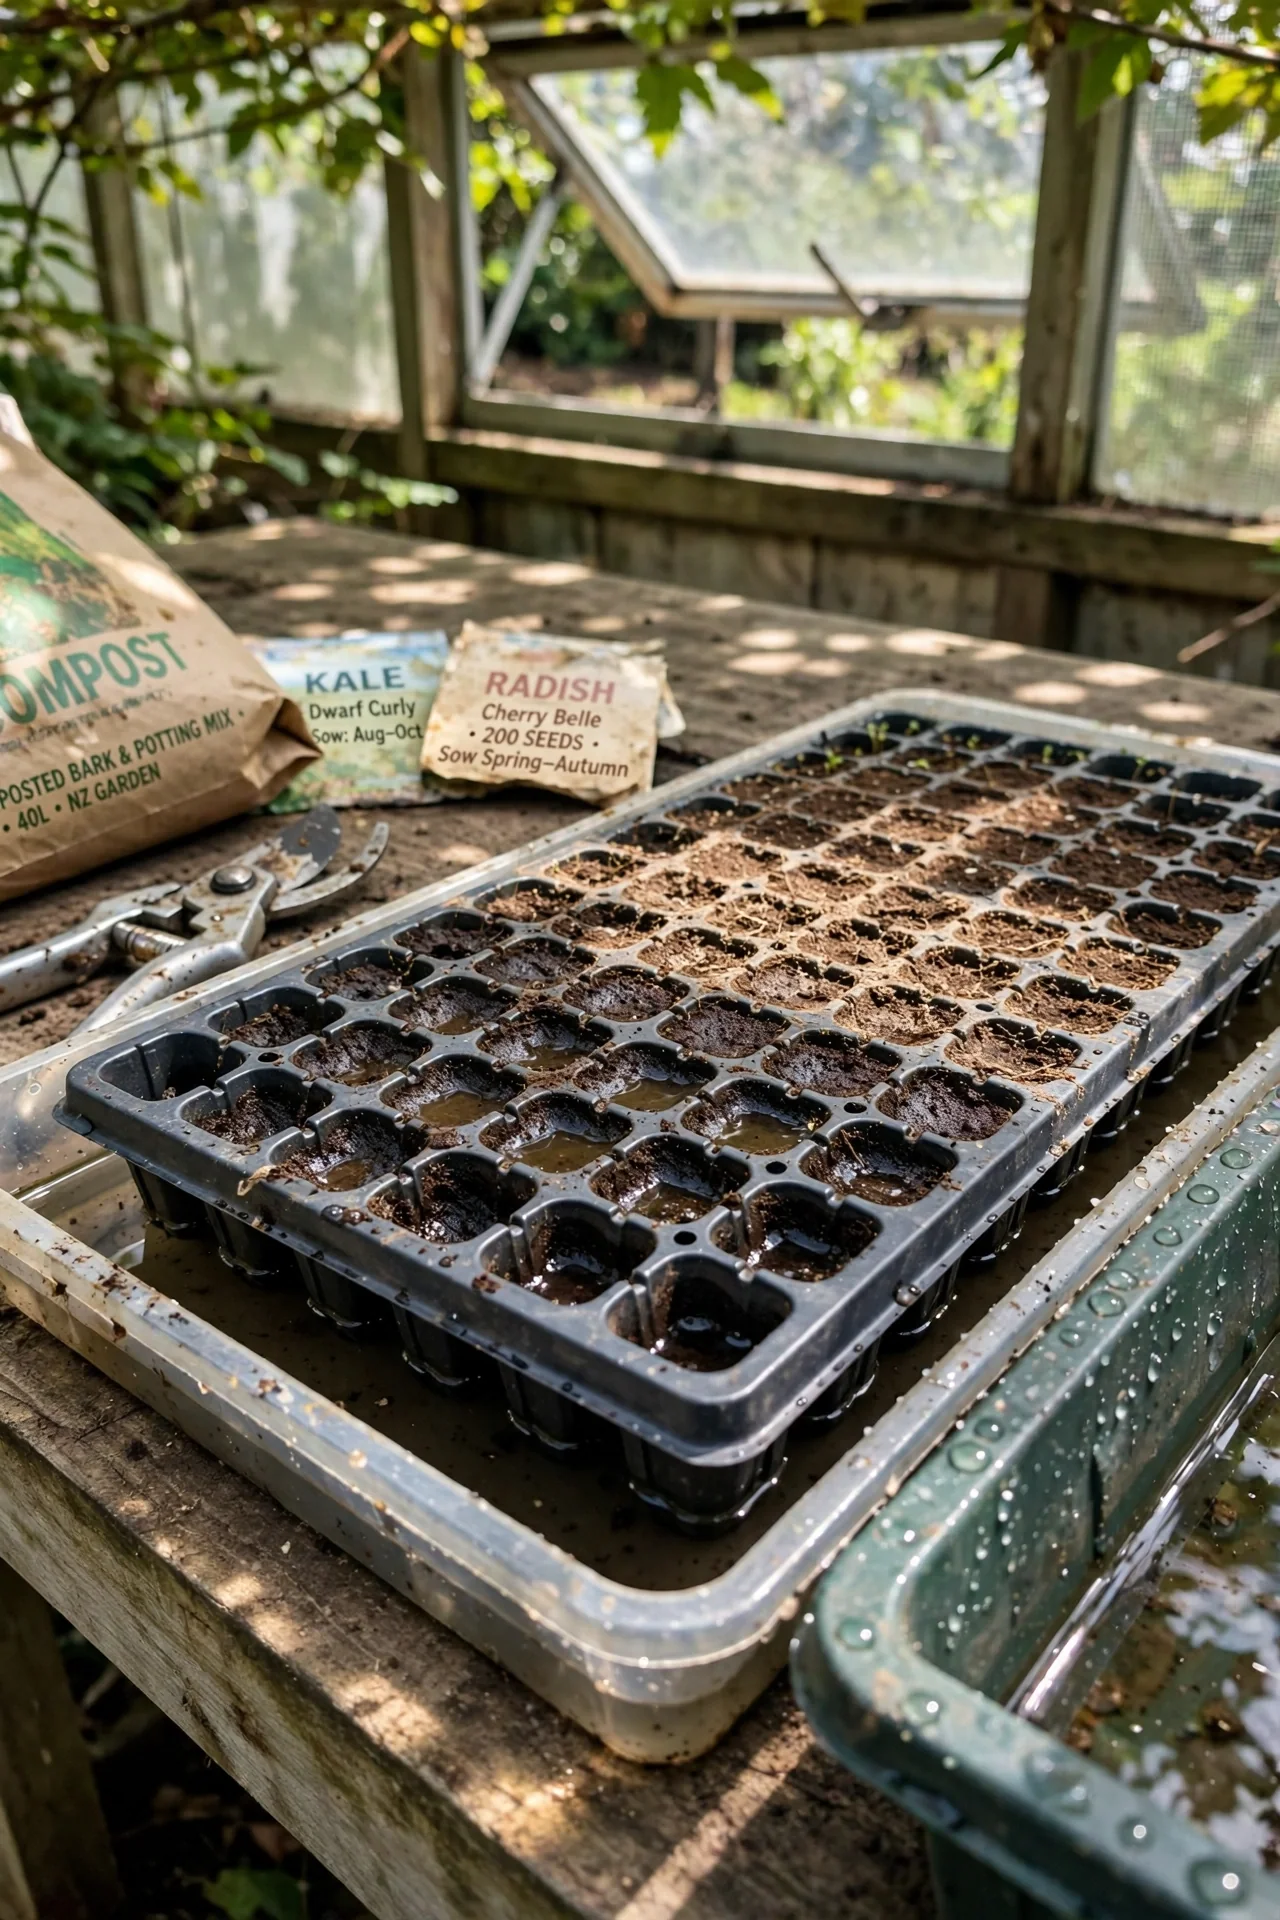
The first and cheapest intervention: stop overhead watering and let the top 5 mm of medium dry to the touch. Water only from below by placing the tray in a shallow pan of water for 15 minutes, then remove. Recognizing overwatering symptoms early can stop damping off before it spreads. If the medium stays saturated, even fungicides will not help because the pathogen pressure is too high.
6. Increase Airflow Without Chilling Seedlings
Best for: Branch 2
Use vs. skip.
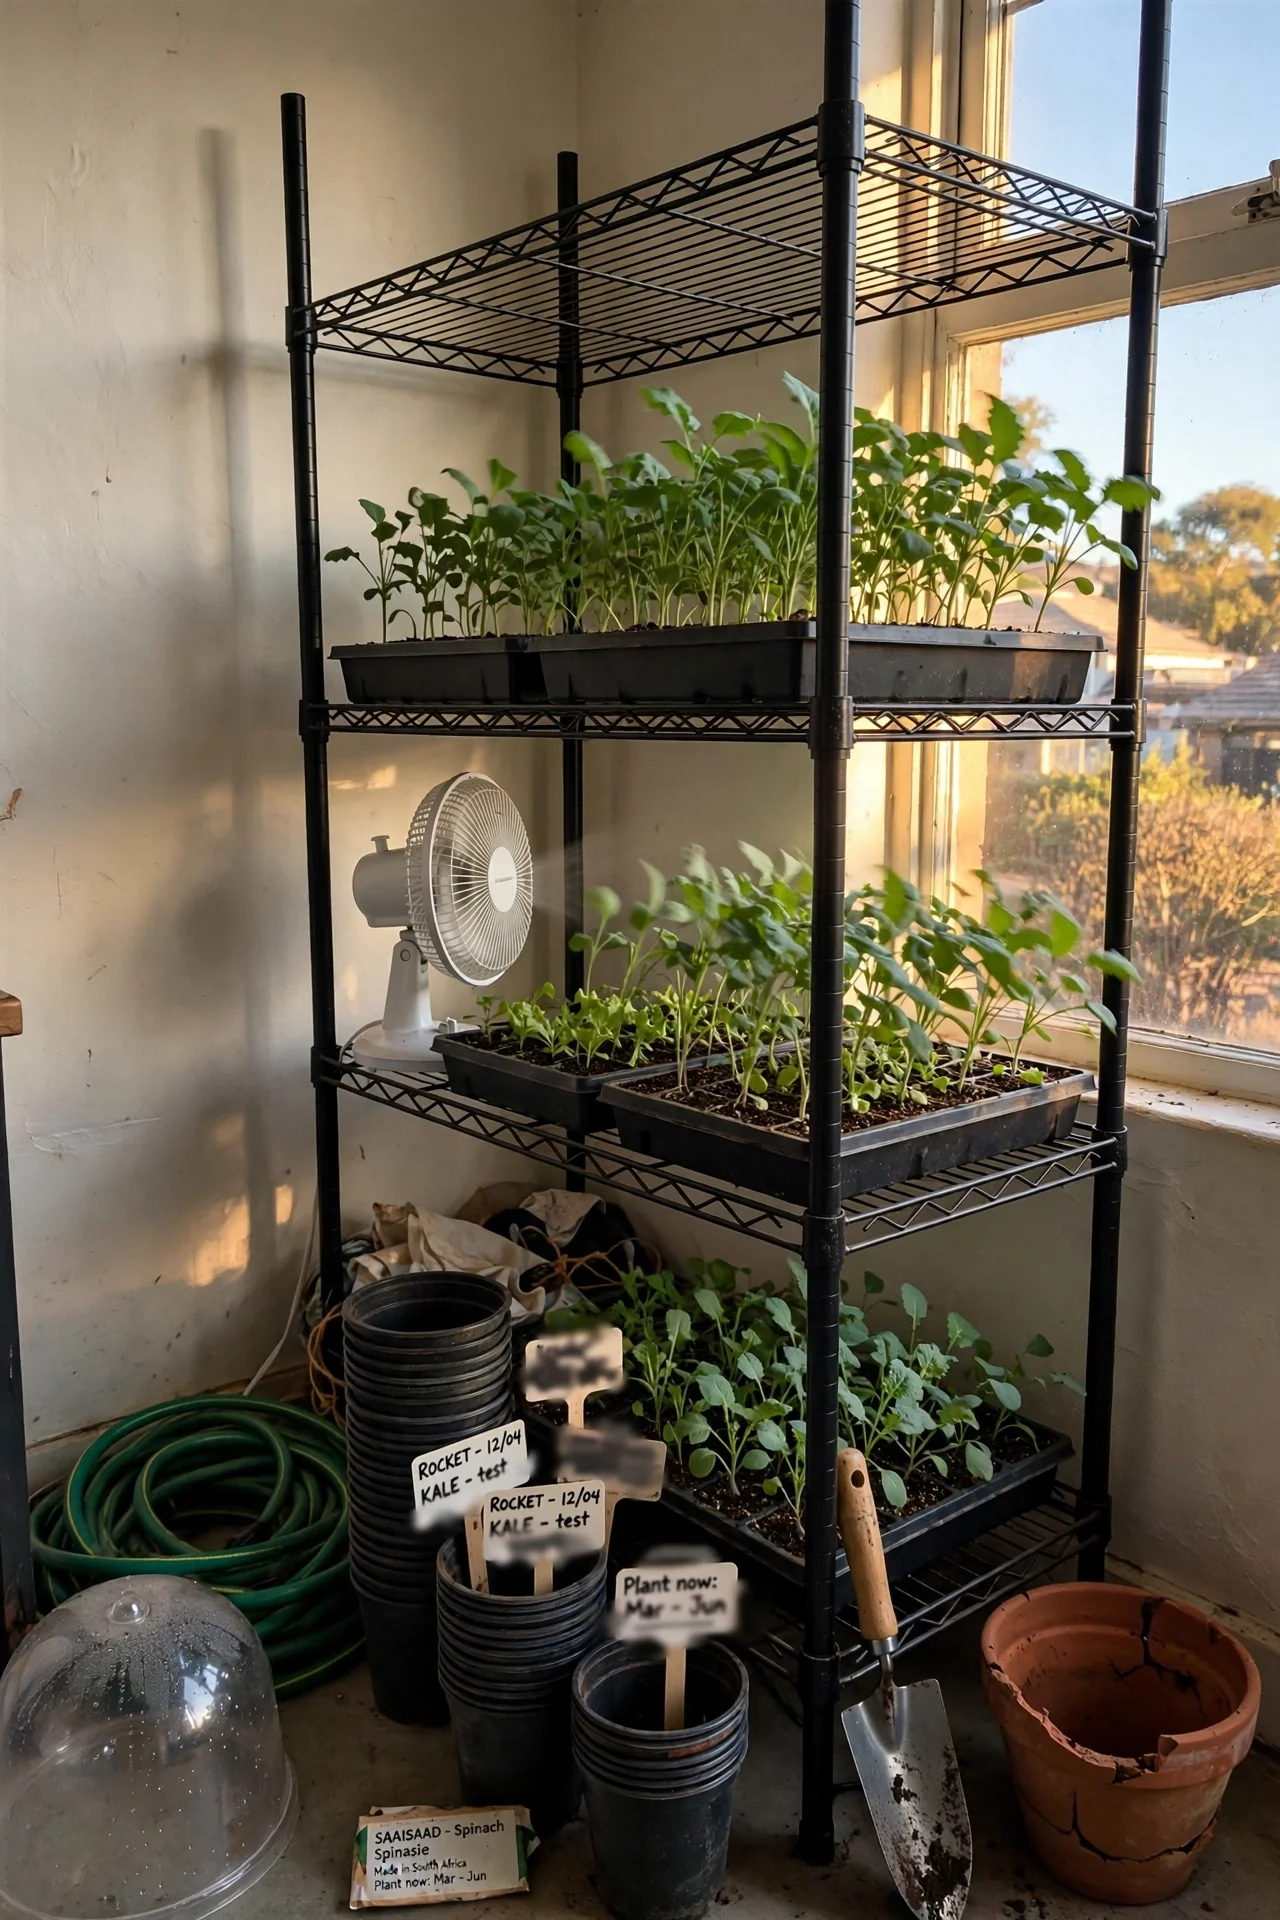
Pros: A gentle fan (oscillating, set on low) pointed 1–2 feet away reduces the boundary layer of still, humid air around stems. This disrupts fungal spore germination.
Cons: Direct, strong airflow can desiccate tender leaves and lower the temperature around the seedlings too much. Keep the fan off the plants and run it only during the warmest part of the day.
Edge case: If you are using a humidity dome, remove it entirely at the first sign of trouble. The dome is a major contributor to the high‑humidity environment that damping off fungi require.
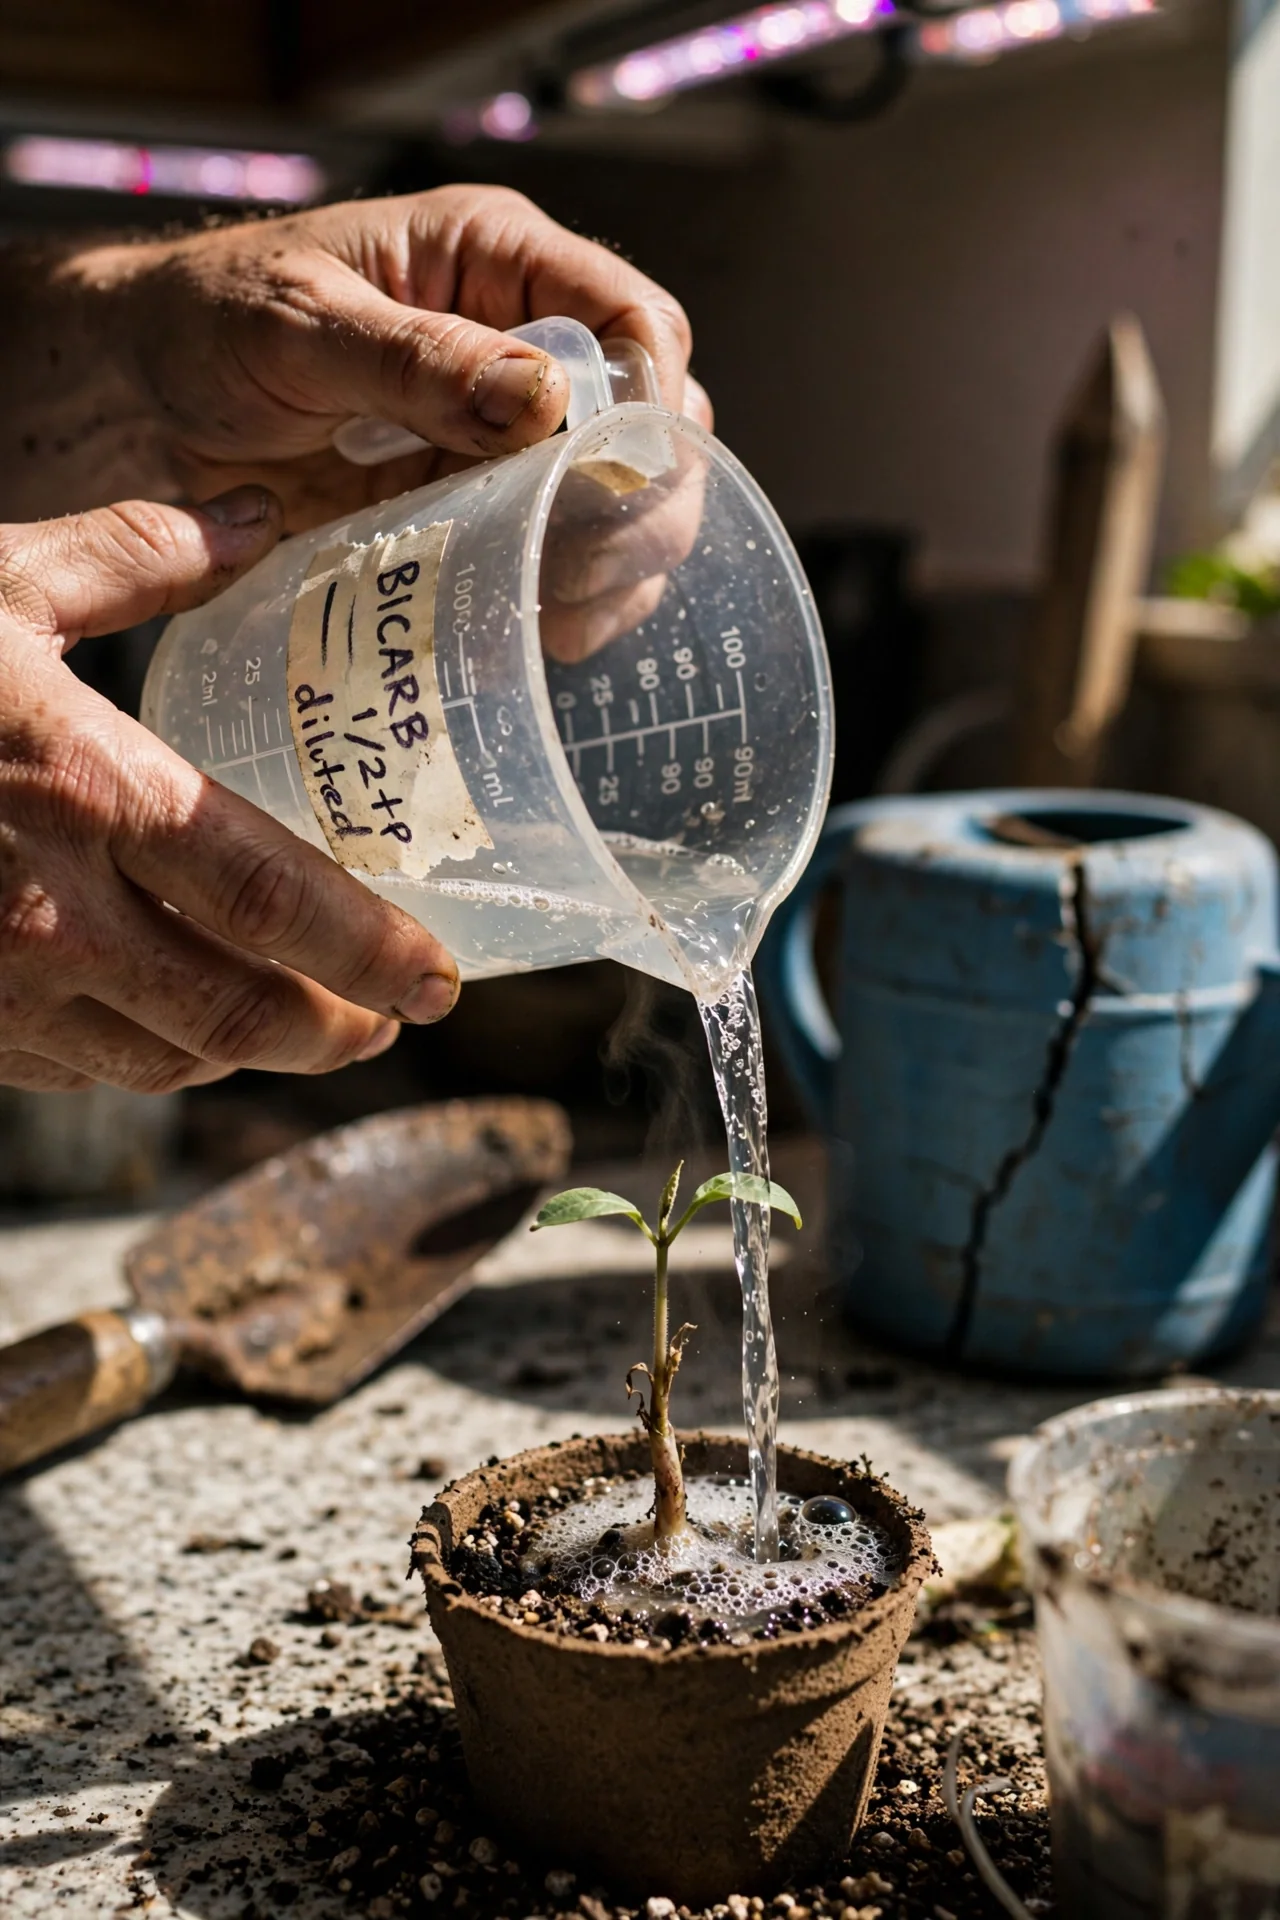
7. Apply a Measured Hydrogen Peroxide Drench
Best for: Branch 2
Threshold rule. Use standard household hydrogen peroxide (3% solution)[*](#peroxide-source) diluted at 1 part peroxide to 3 parts water (roughly 250 mL peroxide per liter of water). Drench the growing medium once, then repeat after 5 days if symptoms continue. Adjustment: For trays with only one or two affected seedlings, spot‑treat the base of each seedling with a pipette instead of drenching the whole tray. Overuse can oxidize fine root hairs; do not apply more than twice in a two‑week period.
* Source: American Academy of Clinical Toxicology, Question of the Day (May 23, 2018) – typical household hydrogen peroxide concentration is 3% to 5%.
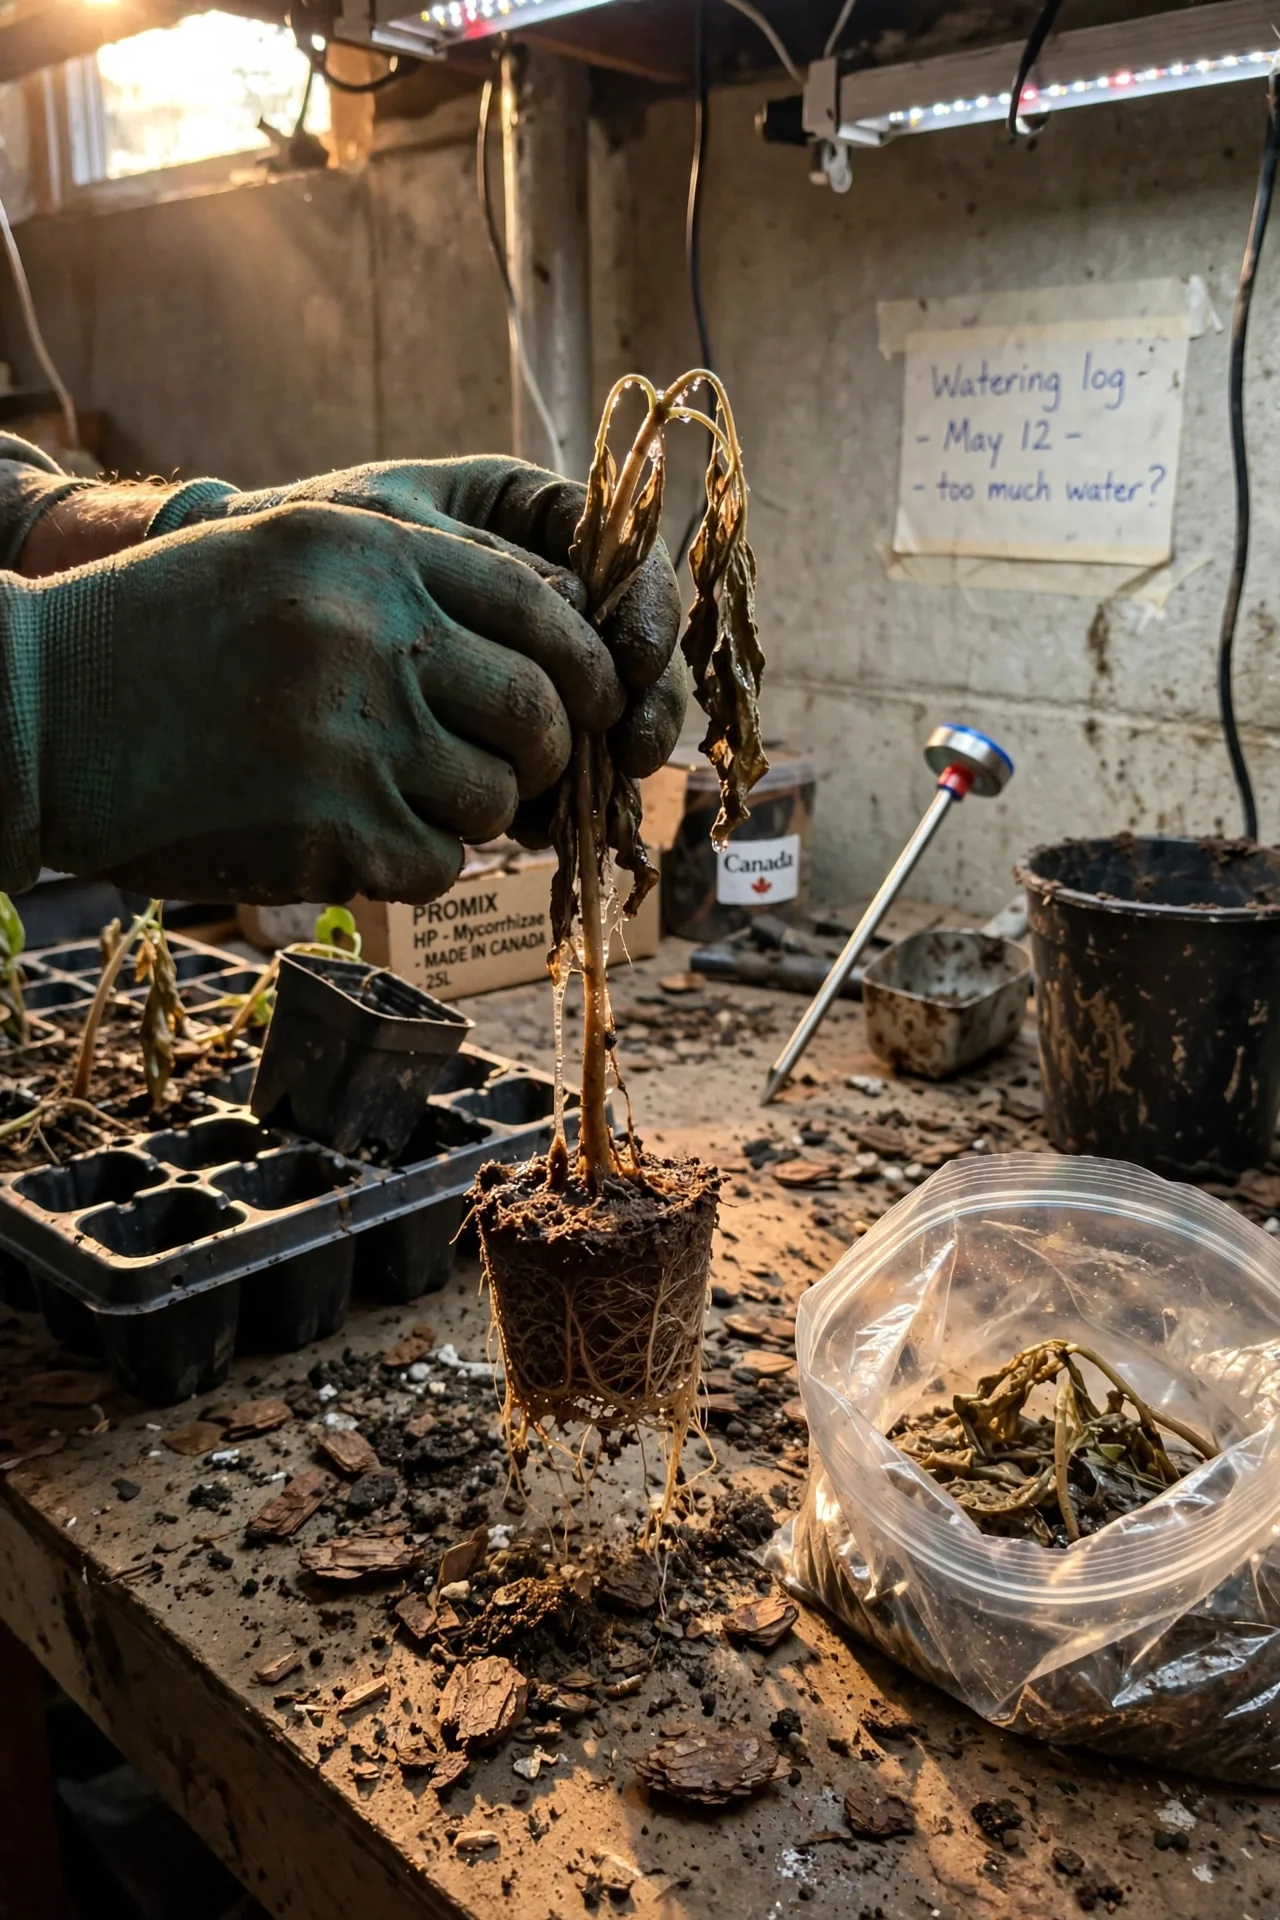
8. Remove and Isolate Affected Seedlings Immediately
Best for: Branch 3
10‑minute workflow. Step 1: Put on disposable gloves. Step 2: Lift out every seedling that shows stem thinning, collapse, or white mold at the base, including the surrounding plug of medium. Step 3: Place the removed material in a sealed bag and discard it in household waste, not the compost pile. Step 4: Move the remaining tray to a different location if possible, to reduce cross‑contamination. Upgrade option: After removal, drench the remaining seedlings with a Trichoderma biofungicide (see Item 9) to protect the wounds and empty cells.
9. Drench Survivors with a Biofungicide
Best for: Branch 3
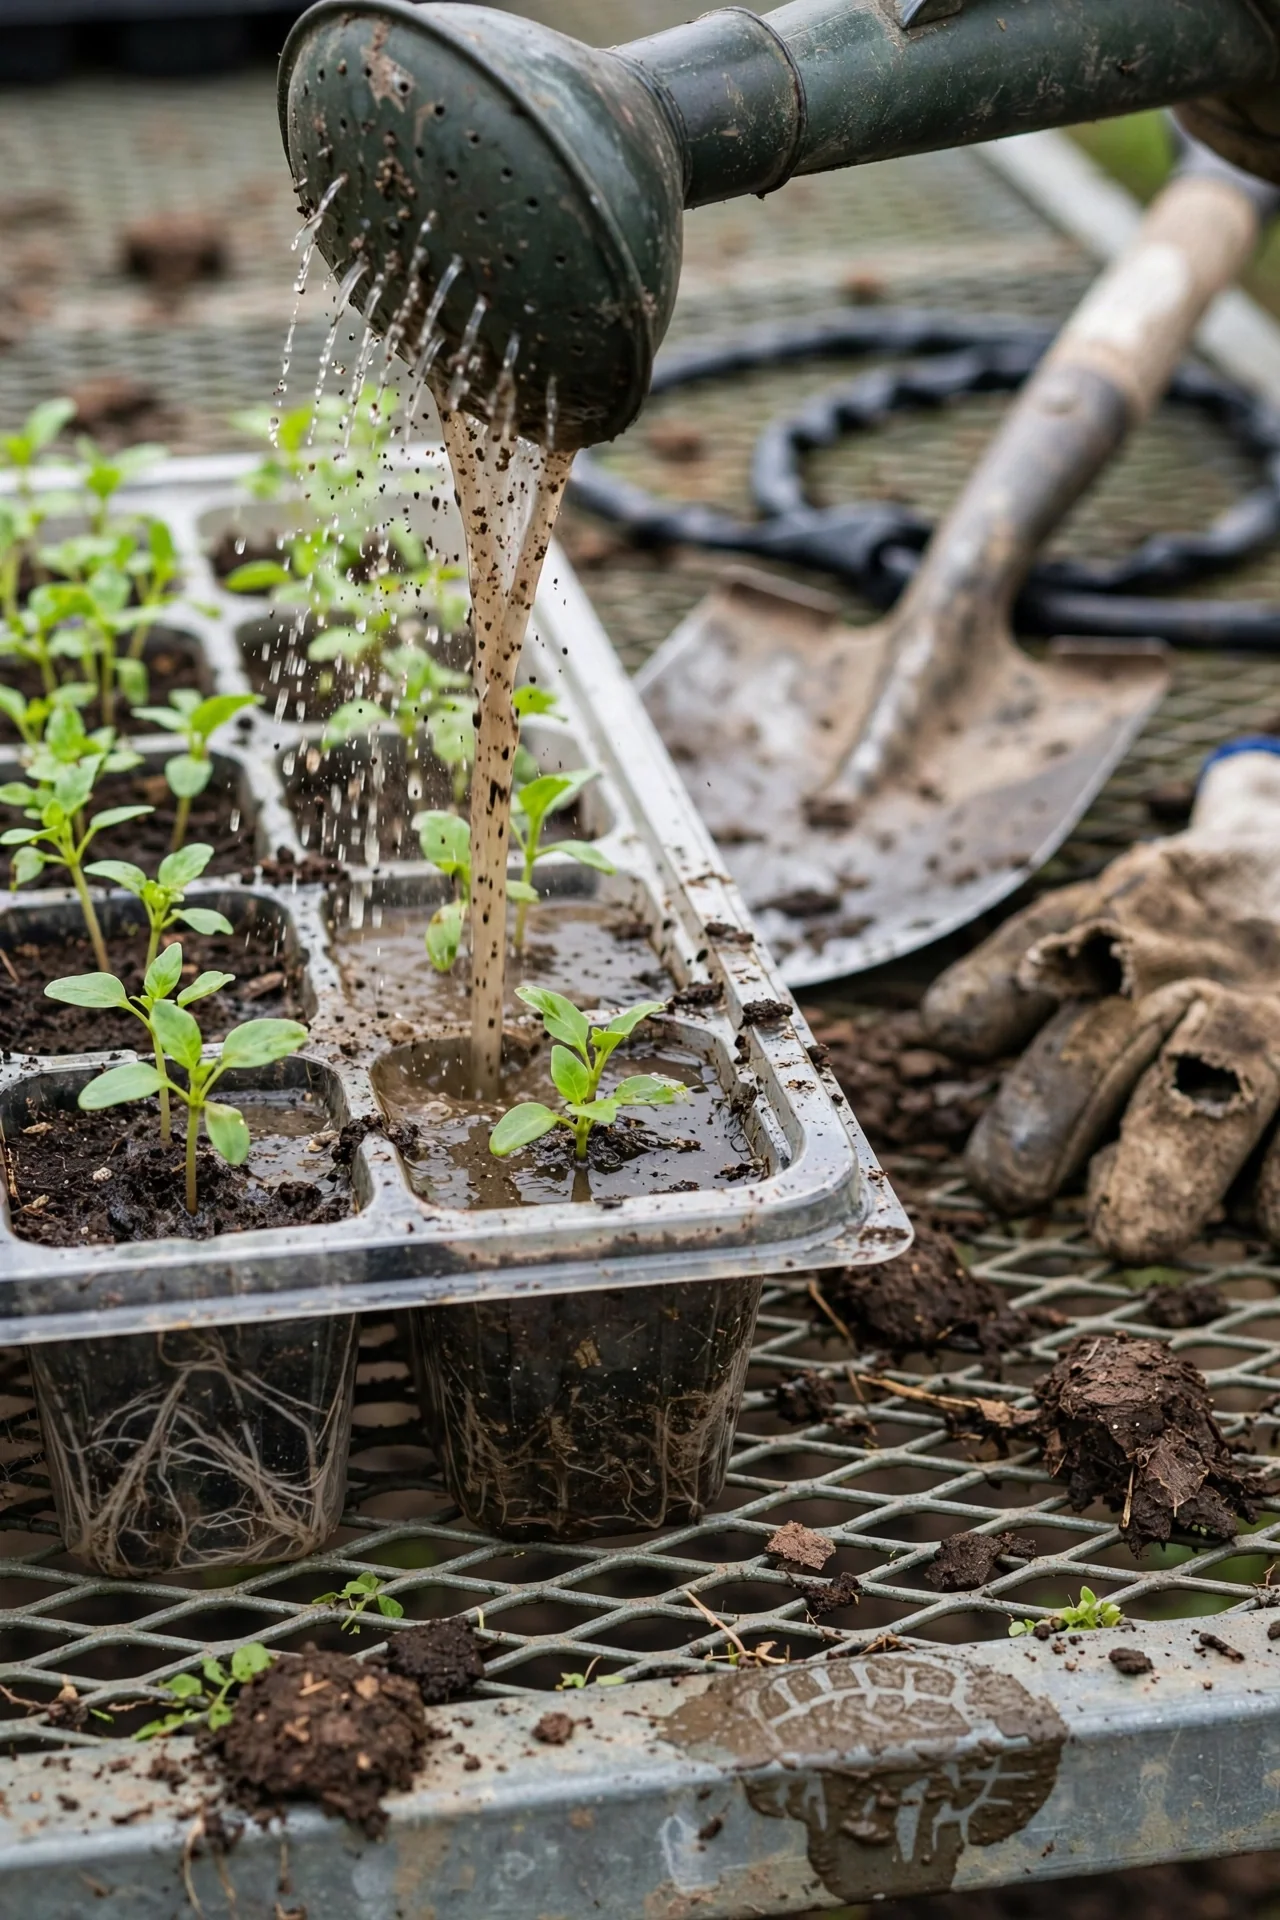
Threshold rule. Trichoderma harzianum products (typically 1–2 g per liter of water) create a protective barrier on roots and in the growing medium. Apply as a soil drench immediately after removing diseased seedlings. Adjustment: If Trichoderma is not available, Bacillus subtilis strain QST 713 is a registered alternative. Both are live organisms; check the expiration date before mixing. Reapply after 14 days only if new symptoms appear. The same biofungicide principles apply to root rot in houseplants.
10. Know When to Restart with Resistant Varieties
Best for: Branch 3
Use vs. skip.
Advantages: If damping off has destroyed most of a tray, starting over with the same variety in the same conditions is likely to fail. Switching to a variety labeled “damping‑off resistant” or “tolerant” can change the outcome. Some seed catalogs now list this trait for lettuce, tomato, and pepper.
Disadvantages: Resistant varieties may not have the exact flavor or habit you want, and availability is limited for heirloom and specialty crops.
Edge case: If you are growing for market and cannot switch varieties, the alternative is to change the growing medium and location completely while also applying a seed treatment.
Starter Stack: What to Choose First
Branch 1: Prevention (No Damping Off Yet)
Begin with Item 1 (sterile medium) and Item 3 (soil temperature control). Together they remove the two largest risk factors: a pathogen source and slow seedling growth. Cost: a bag of sterile mix is $8–$15 USD; a heat mat with thermostat runs $25–$40. Time: 30 minutes to set up before sowing.
Branch 2: Early Intervention (First Signs)
Combine Item 5 (reduce watering) and Item 6 (increase airflow). These two changes cost nothing and can be implemented in under five minutes. If the problem persists after three days, add Item 7 (hydrogen peroxide drench). Estimated total time investment: 10 minutes per tray.
Branch 3: Salvage After Major Loss
Pair Item 8 (remove affected seedlings) with Item 9 (biofungicide drench). Removal stops the pathogen from spreading; the biofungicide protects the survivors. Cost: a small packet of Trichoderma is $10–$18 and treats multiple trays. After two weeks, decide whether to keep the survivors or move to Item 10 (restart).
When This Won’t Work
If the growing medium smells sour or anaerobic, the environment has shifted from fungal to bacterial soft rot, and the steps above will not reverse it. The only reliable action is to discard the entire tray and start over in fresh medium. Phytophthora root rot behaves similarly and requires the same hard reset.
A second failure condition is persistent low light. Seedlings that are stretching and pale cannot outgrow the infection even when all other factors are corrected. Without at least 14–16 hours of bright indirect light, damping off will recur in successive sowings. In that case, invest in supplemental lighting before restarting.
If you have lost more than two successive trays to damping off, the pathogen may be established in your water source or on reused equipment. Replace hoses, mist nozzles, and any porous surfaces, then sanitize everything before the next sowing.
Choosing the Right Option for Your Situation
Budget Threshold
If your seed‑starting budget is under $20, focus on Item 2 (spacing), Item 5 (watering), and Item 6 (airflow). These require no purchased products. Skip the biofungicide unless you are saving expensive or rare seed.
Time Threshold
If you have less than 10 minutes per day for seedling care, implement Branch 1 items once before sowing and set up bottom‑watering so you do not have to monitor daily moisture. Avoid hydrogen peroxide drenches, which require mixing and timing.
Technical Constraint
If your water is from a rain barrel or untreated well, it may carry Pythium zoospores. Use municipal tap water or treat rainwater with ultraviolet sterilization before irrigating seedlings. Otherwise, even the best medium will become contaminated.
Yes/No Checklist
- Can you maintain soil temperature above 20°C (68°F) during germination? Yes → Branch 1.
- Have fewer than one‑third of seedlings collapsed? Yes → Branch 2.
- Is white mold visible on stems or the soil surface? Yes → Branch 3.
- Have you lost the same variety twice? Yes → Restart with Item 10 or change the water source.
Expert Q&A
What temperature range encourages damping off?
Soil temperatures below 20°C (68°F) before germination and above 25°C (77°F) after emergence both increase risk. The most dangerous window is 10–18°C (50–64°F) combined with wet soil. A heat mat with a thermostat eliminates this variable indoors.
Can I reuse potting mix after damping off?
Not without pasteurization. Pathogens survive in organic debris. You can heat moistened mix in an oven at 82°C (180°F) for 30 minutes, but for most home growers the cost of fresh sterile mix is lower than the risk of reinfection.
How soon can I replant after a damping off outbreak?
Wait at least 48 hours after removing all affected material and sanitizing trays. If you are reusing the same location, clean surfaces with a 10% bleach solution and allow them to dry completely before placing new trays.
Does chamomile tea actually help with damping off?
Chamomile contains sulfur and some mild antifungal compounds, but its effect is inconsistent. It may suppress surface fungi temporarily but will not stop an active Pythium infection. Use it as a preventive mist, not a treatment.
Can damping off spread from seedlings to mature plants?
No. Once stems develop secondary thickening and lignin, they become resistant to the fungi that cause classic damping off. However, the same pathogens (Pythium, Fusarium) can cause root rot in older plants if soil stays waterlogged.
Conclusion
The core decision is whether you are in prevention, early intervention, or salvage mode. The number‑one mistake is waiting too long to act while hoping the problem resolves on its own. Damping off accelerates in warm, wet conditions; by the time you see white mold, healthy neighbors are already at risk.
Your next step: identify which branch matches your tray and apply the first item from the Starter Stack for that branch. If you need a deeper dive into one of the pathogens behind damping off, see our guide on Fusarium wilt in tomatoes, where the same principles of soil temperature and moisture management apply.