
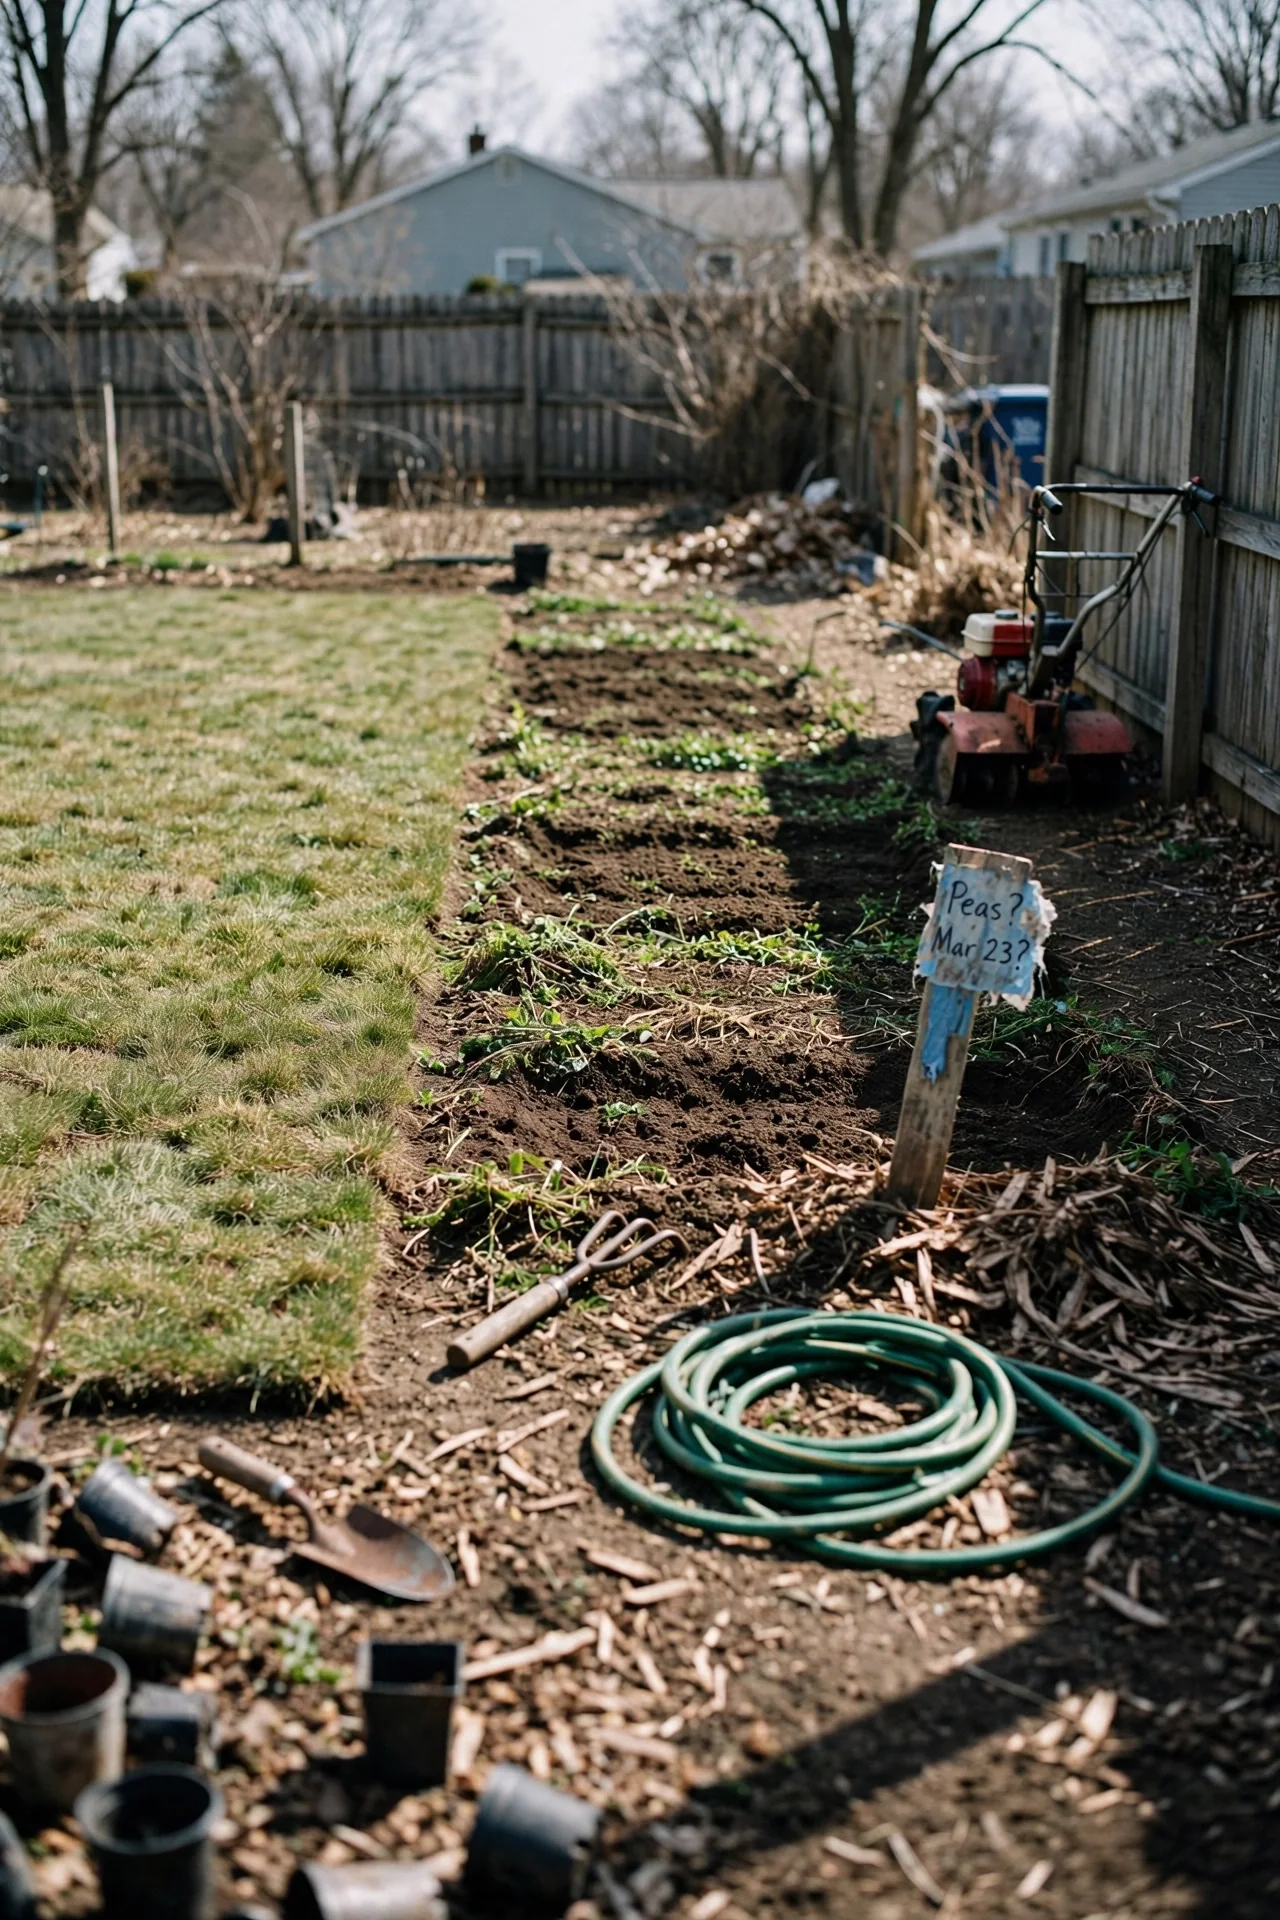
The cultivator vs tiller question is rarely about which tool is superior. It is about where you are in your growing calendar. Most gardens cycle through three distinct soil phases: breaking new ground, maintaining established beds, and transitioning between seasons. A tiller excels in phase one. A cultivator dominates phase two. The real insight most comparison articles miss is that many productive gardens need both tools, but they need them at different times. Your first purchase should match whichever phase you are actually in right now, not some hypothetical complete tool shed.
This guide maps nine equipment options and strategies across a three-branch decision framework: breaking new or compacted ground, maintaining existing planting areas, and managing a seasonal workflow that requires both capabilities. We exclude agricultural-scale implements like tractor-drawn field cultivators exceeding 6-foot working widths; everything here targets residential gardeners and small-scale market growers working plots under roughly half an acre.
By the end, you will know exactly which branch describes your current situation, which two tools you should acquire first, and which option makes a wasteful overlap you can safely skip. You will also see the measurable thresholds that make a cultivator useless on unbroken sod, or a tiller overkill between established vegetable rows.
Bottom line: Choose a tiller if your soil has never been worked or is visibly compacted; choose a cultivator if you are maintaining beds that were loosened within the last 12 months.
The Yield Grid Decision Grid
Branch 1: Breaking New Ground. Your plot is covered in turf, has never been cultivated, or soil crumbles only with difficulty when you squeeze a handful. A tiller is required; a cultivator will bounce off the surface. Working depth needs to reach 8 inches or more to fracture the compaction layer. Recommended: Items 1, 2, and 7 below.
Branch 2: Maintaining Established Beds. Soil was tilled or double-dug within the past year. You need weed control, aeration of the top few inches, or incorporation of compost into existing beds. A cultivator is the correct choice. A tiller in this context disrupts soil structure unnecessarily and can bring dormant weed seeds to the surface. Recommended: Items 3, 5, and 6 below.
Branch 3: Seasonal Workflow (Both Tasks). You are expanding an existing garden into new ground, or you manage a plot where some beds need breaking and others need maintenance within the same season. You will need both tool categories, but the order of acquisition matters more than buying everything at once. For a deeper look at how soil management tools intersect, see our comparison of dethatchers versus aerators, which addresses the surface-level soil interventions that precede tilling. Recommended: Items 4, 8, and 9 below.
Quick Comparison Table
| Option | Key Mechanism | Best For | Decision Grid Branch | Effort Score (1-5) |
|---|---|---|---|---|
| 1. Rear-Tine Tiller | Engine-driven wheels, counter-rotating rear tines | Breaking compacted clay or sod | Branch 1 | 2 |
| 2. Front-Tine Tiller | Tines pull machine forward, forward rotation | Medium-duty new ground, small plots | Branch 1 | 2 |
| 3. Electric Cultivator (Corded) | Constant-speed electric motor, narrow tines | Weeding, aerating established beds | Branch 2 | 3 |
| 4. Gas-Powered Cultivator | 2-cycle or 4-cycle engine, moderate tine width | Mixed-use: light breaking and maintenance | Branch 3 | 4 |
| 5. Battery-Powered Cultivator | Lithium-ion battery, lightweight frame | Quick maintenance, raised beds | Branch 2 | 3 |
| 6. Manual Hand Cultivator | Human-powered; tines, claws, or rotating stars | Precision weeding between plants | Branch 2 | 5 |
| 7. Tractor-Attachment Tiller | PTO-driven, 48-72 inch width | Large new plots, market gardens | Branch 1 | 1 |
| 8. Two-Tool Seasonal Strategy | Rent tiller for spring, own cultivator year-round | Seasonal workflow on a budget | Branch 3 | 2 |
| 9. Broadfork / No-Till Approach | Manual deep aeration without soil inversion | Preserving soil structure, organic systems | Branch 3 | 4 |
1. Rear-Tine Tiller: Deep Breaking Power for Compacted Ground
Best for: Branch 1
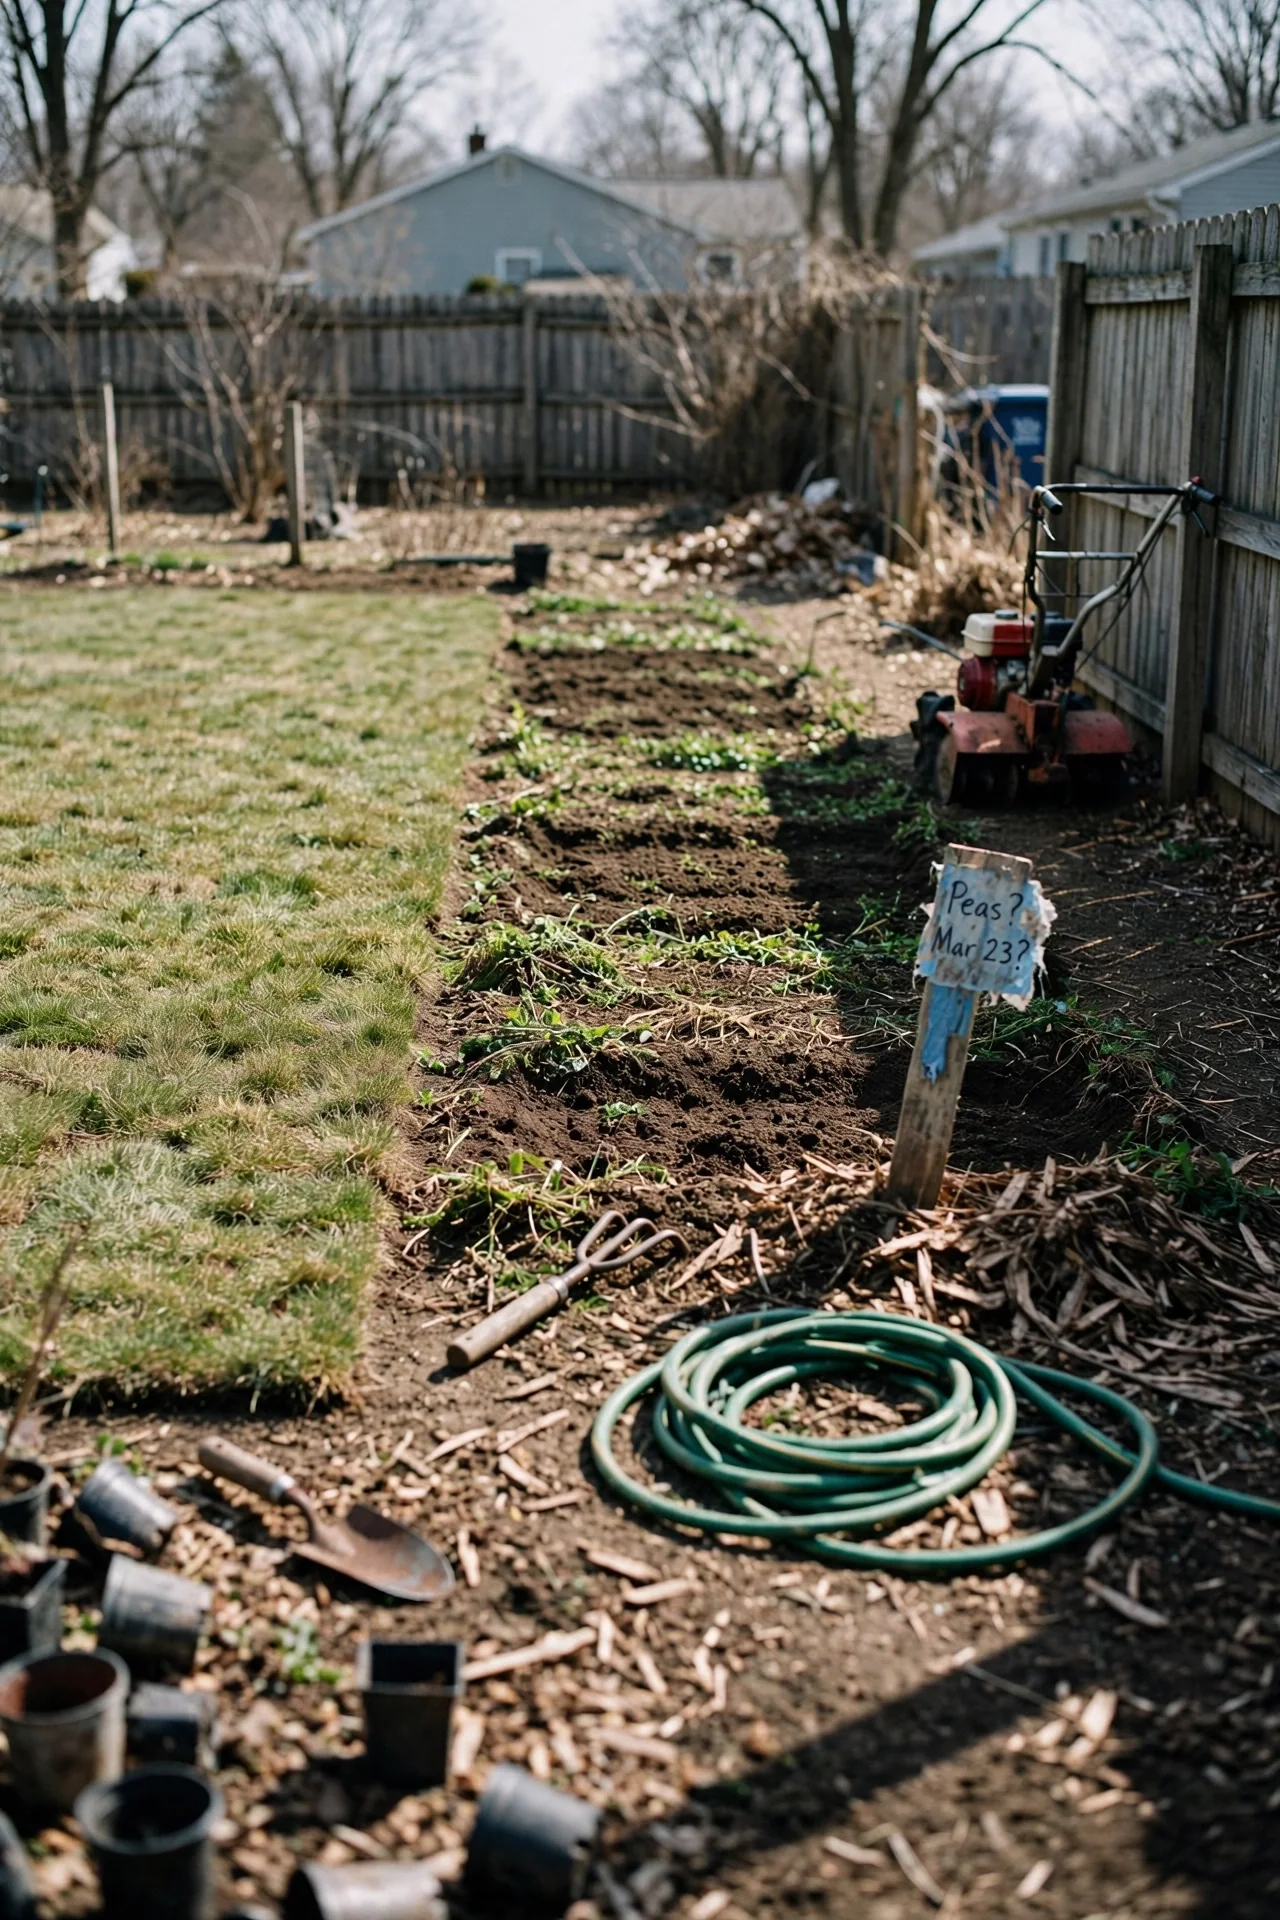
Blueprint. What: A rear-tine tiller positions its rotating blades behind the wheels, using engine power to drive both the wheels and tines. Counter-rotating tine models dig more aggressively than forward-rotating ones because the tines spin opposite to wheel direction, pulling against forward motion to fracture hard soil. For: Creating new garden beds from lawn or compacted clay, incorporating large volumes of compost or aged manure into subsoil, and preparing ground that has not been cultivated in two or more years. Steps: (1) Clear surface debris, rocks, and roots larger than 1 inch in diameter. (2) Set depth stake to 2 inches for the first pass over unbroken ground. (3) Make a second pass at 6 inches, then a third at 8 to 10 inches if the soil structure permits. Mistake: Tilling wet clay soil creates hardpan. Test by squeezing a handful: if it forms a ball that does not crumble when poked, wait 48 hours and test again.
Rear-tine tillers typically achieve working depths of 8 to 10 inches, which is the range needed to break through the compaction layer common in suburban yards. Their weight, often between 100 and 200 pounds, provides the downward force that lighter front-tine models lack. For information on caring for the blades that make this depth possible, see our guide on tool sharpening kits.
2. Front-Tine Tiller: Maneuverable Medium Duty
Best for: Branch 1
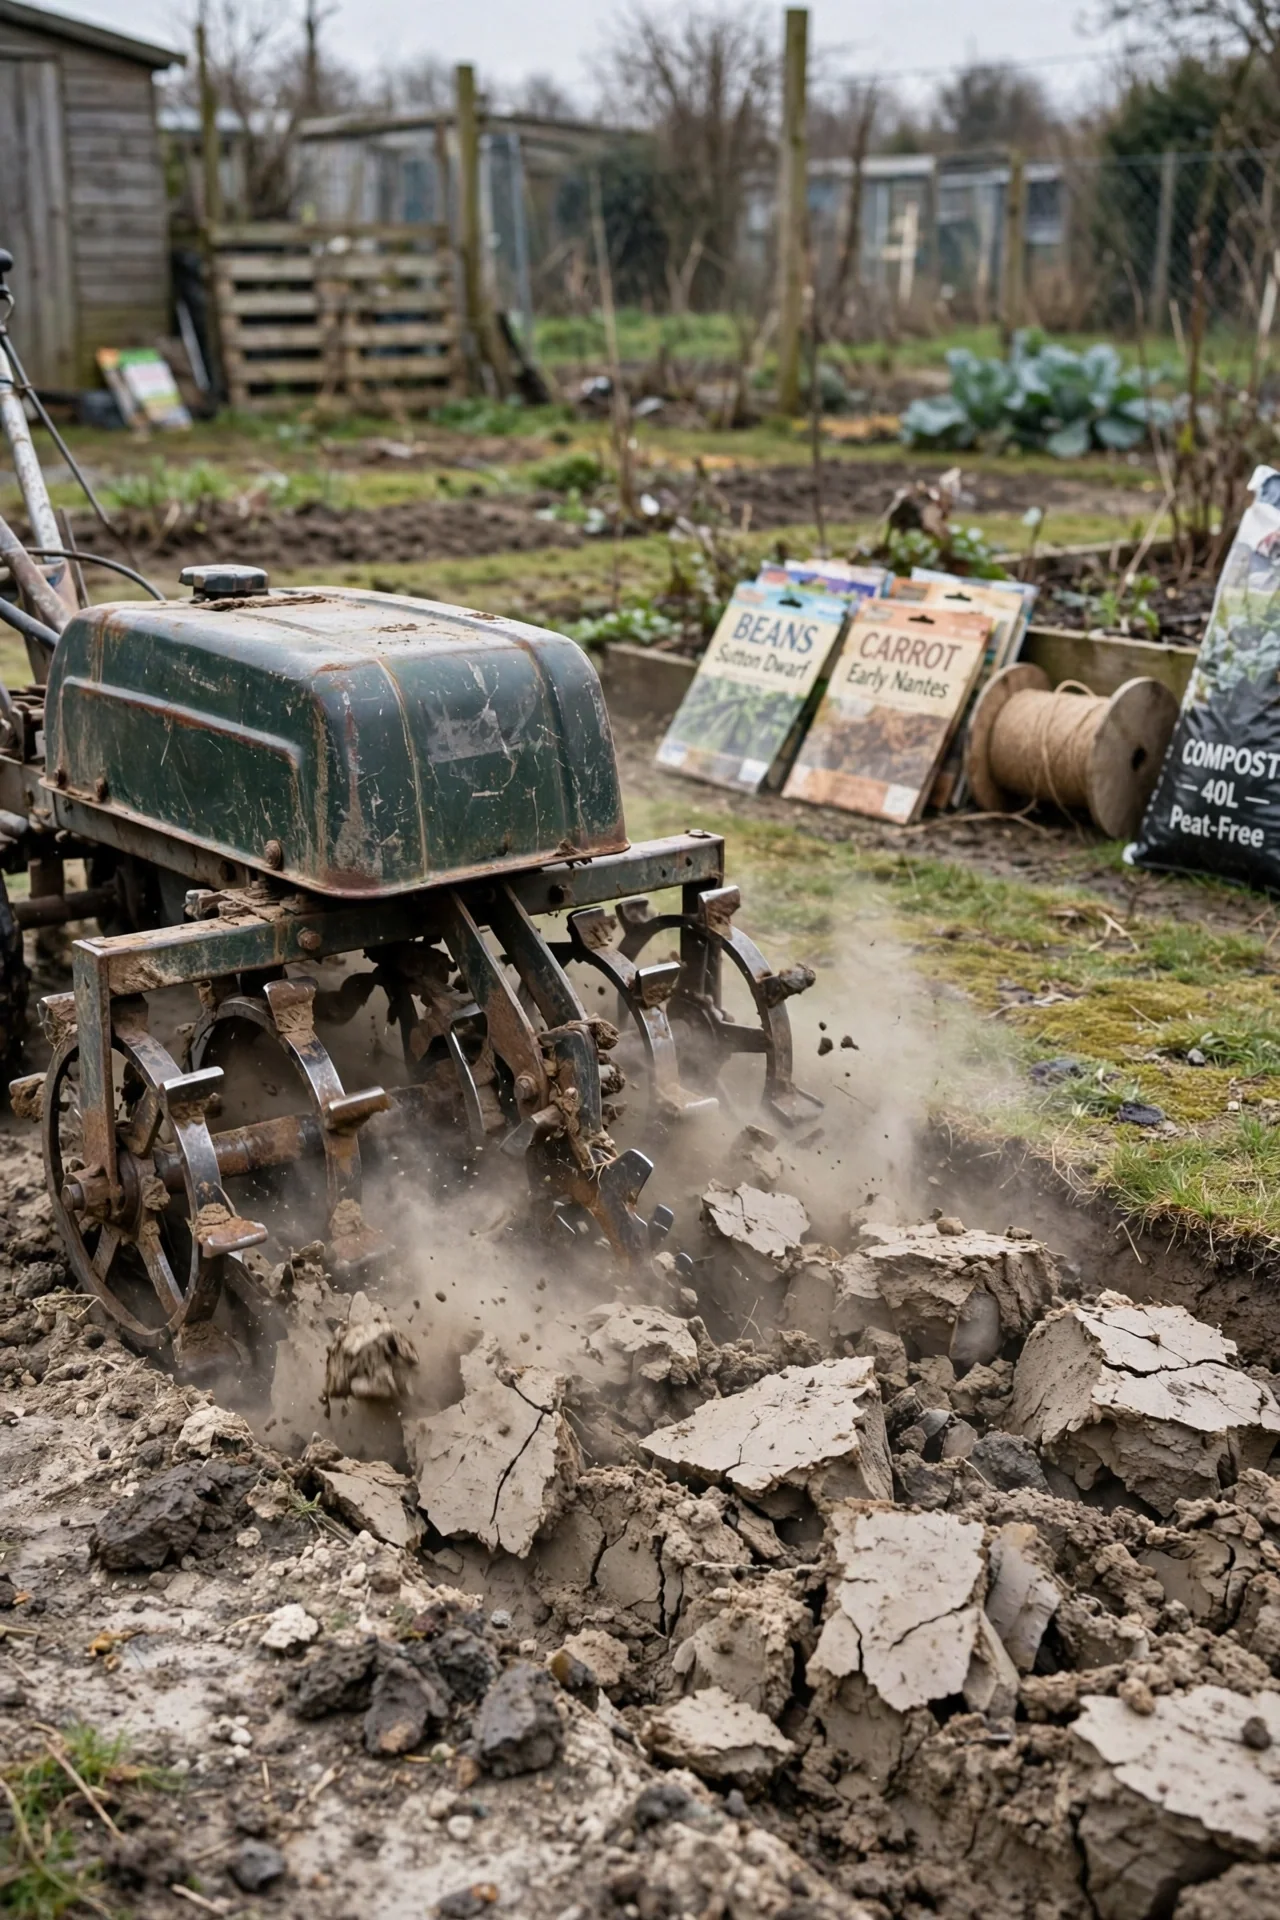
Use vs Skip. Use a front-tine tiller when your plot is small (under 500 square feet) and the soil is firm but not rock-hard. These machines are lighter than rear-tine models, making them easier to turn at row ends. Skip if you have heavy clay or unbroken sod: the tines lift and drag the machine rather than digging in, and the operator absorbs the shock. The edge case is sandy loam: front-tine tillers work well here because the soil offers less resistance, and the machine’s tendency to pull forward becomes an asset rather than a liability.
3. Electric Cultivator (Corded): Consistent Weeding Power
Best for: Branch 2
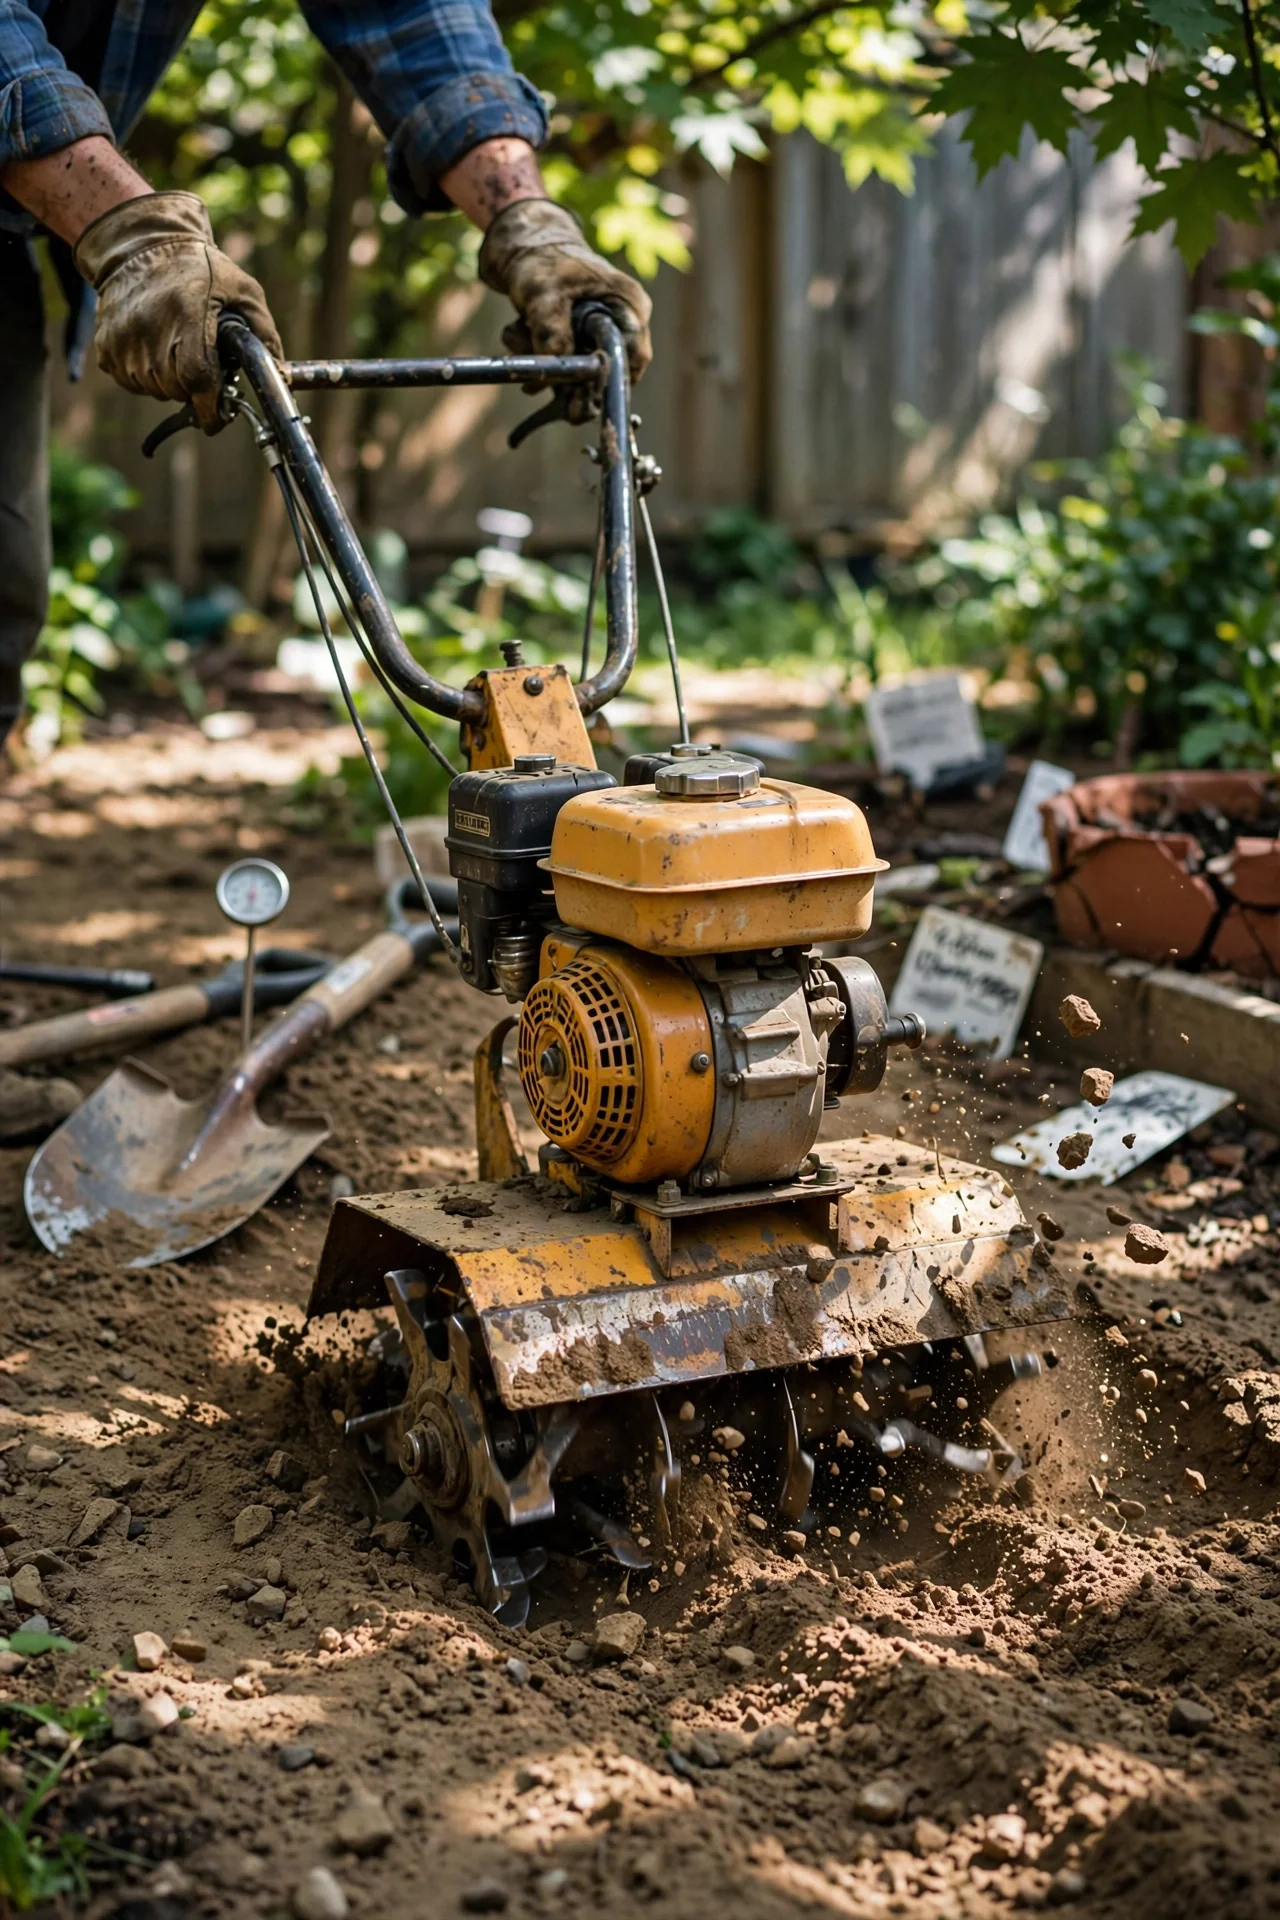
Threshold Rule. Corded electric cultivators make sense when you have a GFCI-protected outdoor outlet within 100 feet of every bed you need to work. Extension cords beyond 100 feet cause voltage drop, reducing motor performance and risking overheating. These cultivators operate at a consistent RPM regardless of soil resistance (unlike battery models that sag under load), making them reliable for breaking soil crust before irrigation. They work to a depth of 2 to 4 inches, which is exactly the zone where weed seeds germinate. The constraint: you cannot cultivate wet soil safely with any corded electric tool; wait until the surface is dry enough that it does not stick to your boots. If your garden layout exceeds the cord radius, see item 5 instead.
4. Gas-Powered Cultivator: Untethered Power for Mixed Workloads
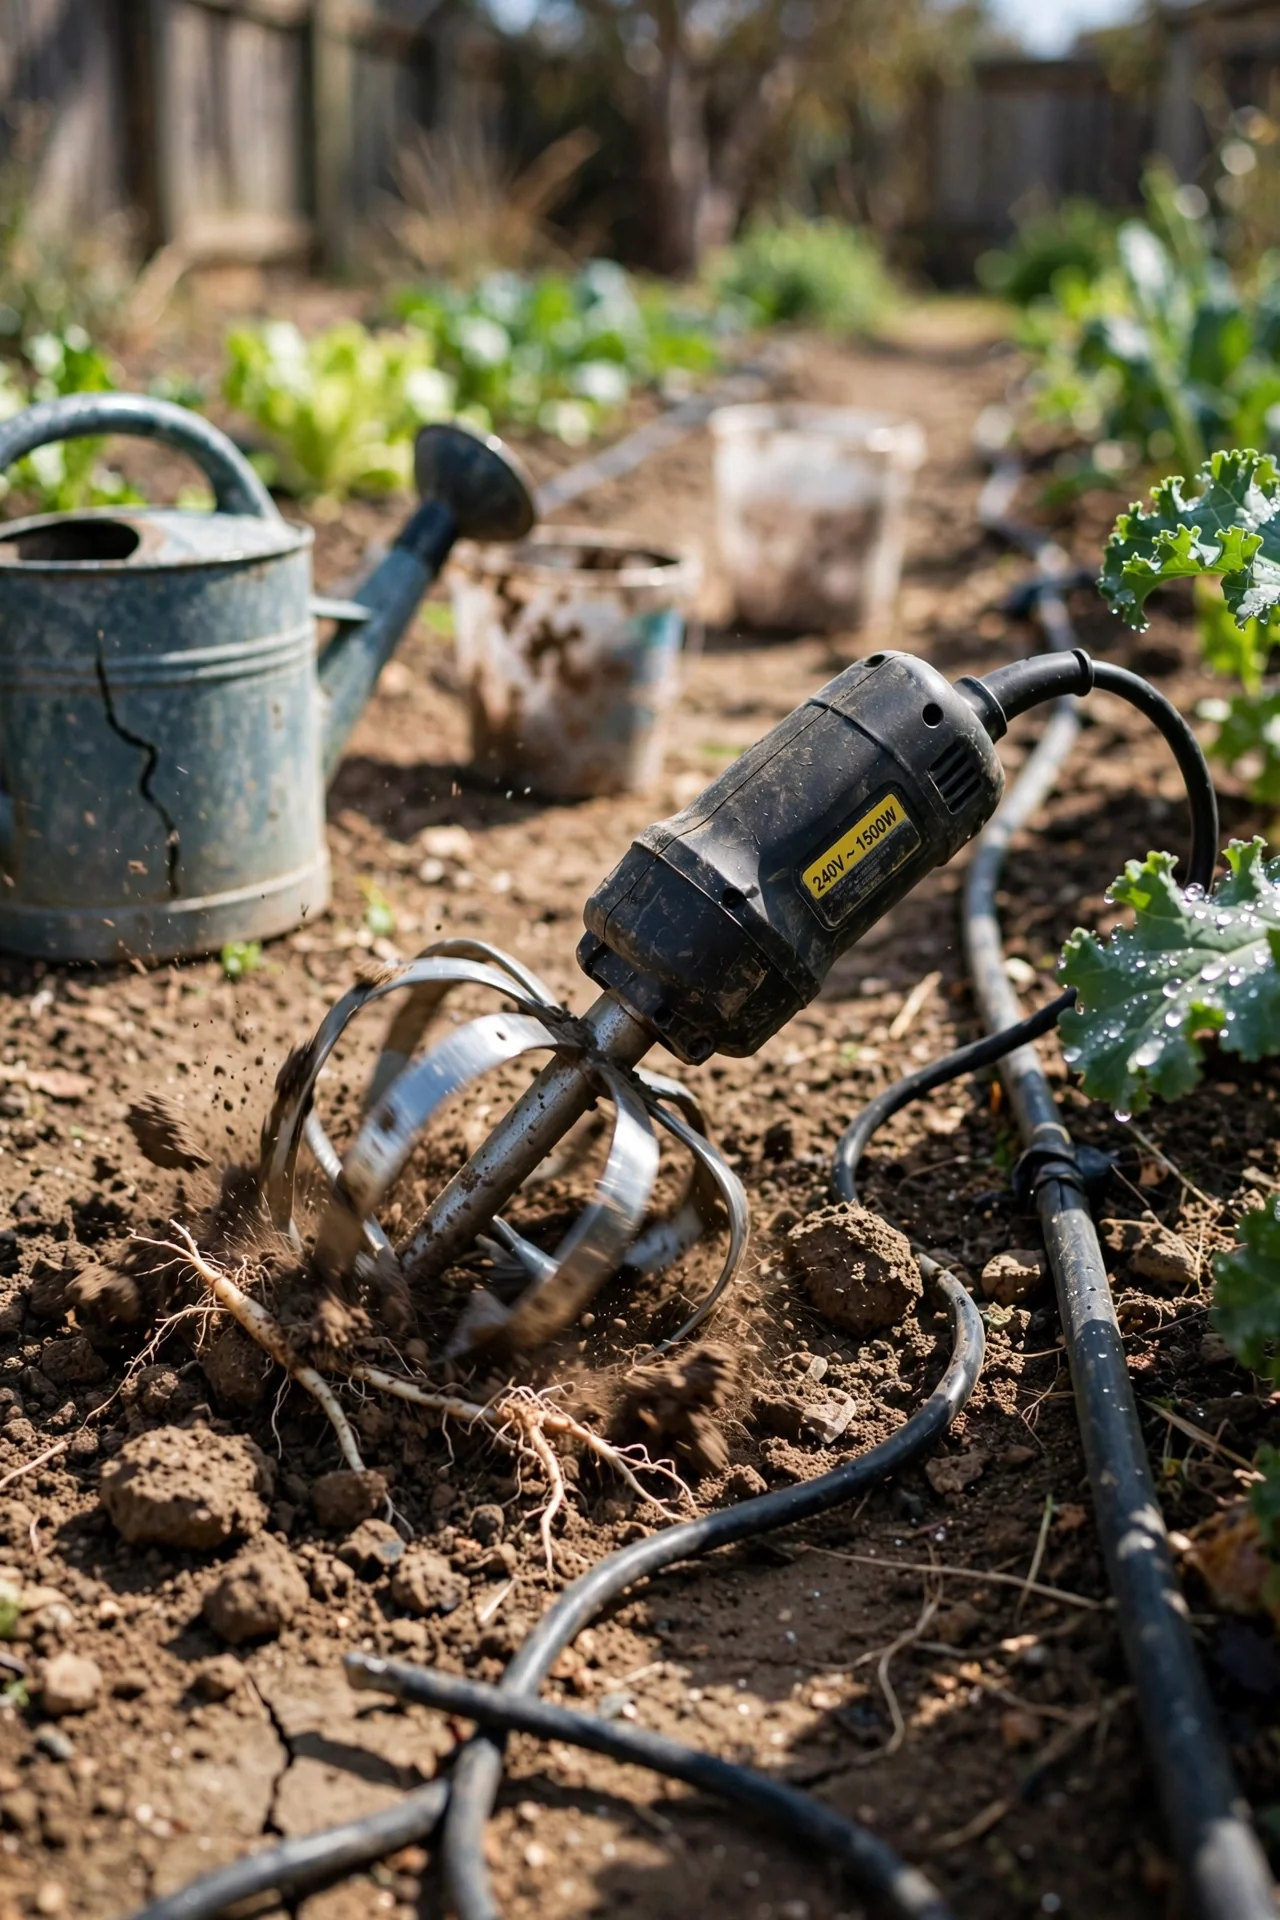
Best for: Branch 3
10-Minute Workflow. (1) Check fuel: if using a 2-cycle engine, verify your gas-oil mix is fresh (mixed fuel older than 30 days can cause starting problems). (2) Clear the work area of loose debris. (3) Start the engine and let it idle for 60 seconds before engaging tines. (4) Work in parallel passes, overlapping by 2 inches to avoid unworked strips. (5) After finishing, run the engine dry if storing for more than two weeks. Upgrade option: some gas cultivators accept dethatching or edging attachments, turning one engine into a multi-tool. However, gas models require seasonal carburetor maintenance; if that sounds like a dealbreaker, consider the battery option in item 5. For broader garden tool maintenance practices, see our guide on rust removal from tools.
5. Battery-Powered Cultivator: Cordless Convenience
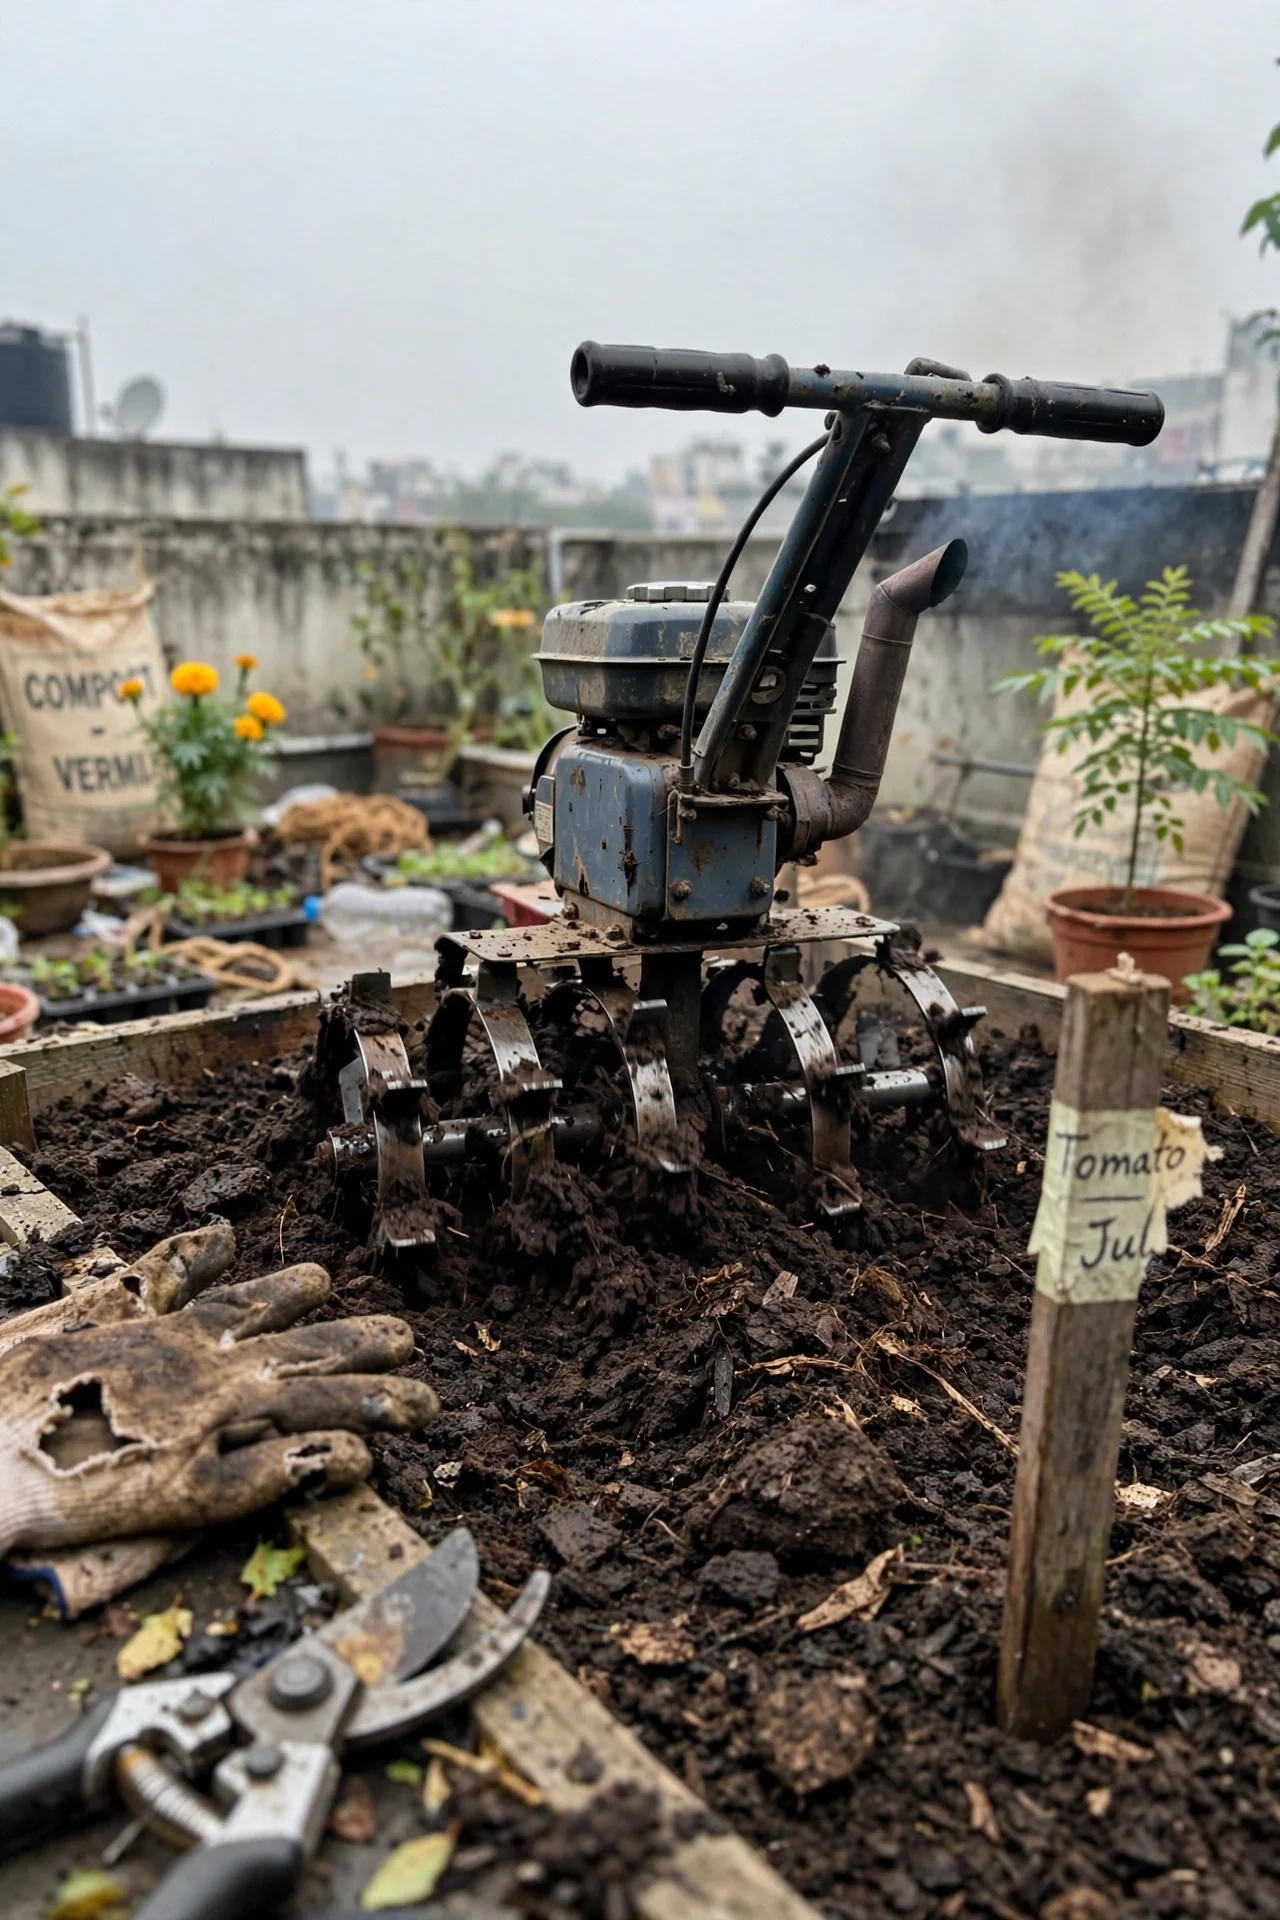
Best for: Branch 2
Use vs Skip. Use for raised beds, flower borders, and quick between-row weeding where dragging a cord is impractical. These cultivators weigh under 30 pounds and can be operated one-handed on some models. Skip if you need to break ground that has not been worked before; the tines lack the torque to penetrate unbroken soil. The hidden advantage: battery cultivators let you cultivate during short windows of dry weather between rains, when pulling out a gas machine and mixing fuel would take longer than the work itself.
6. Manual Hand Cultivator: Precision Weeding Between Plants
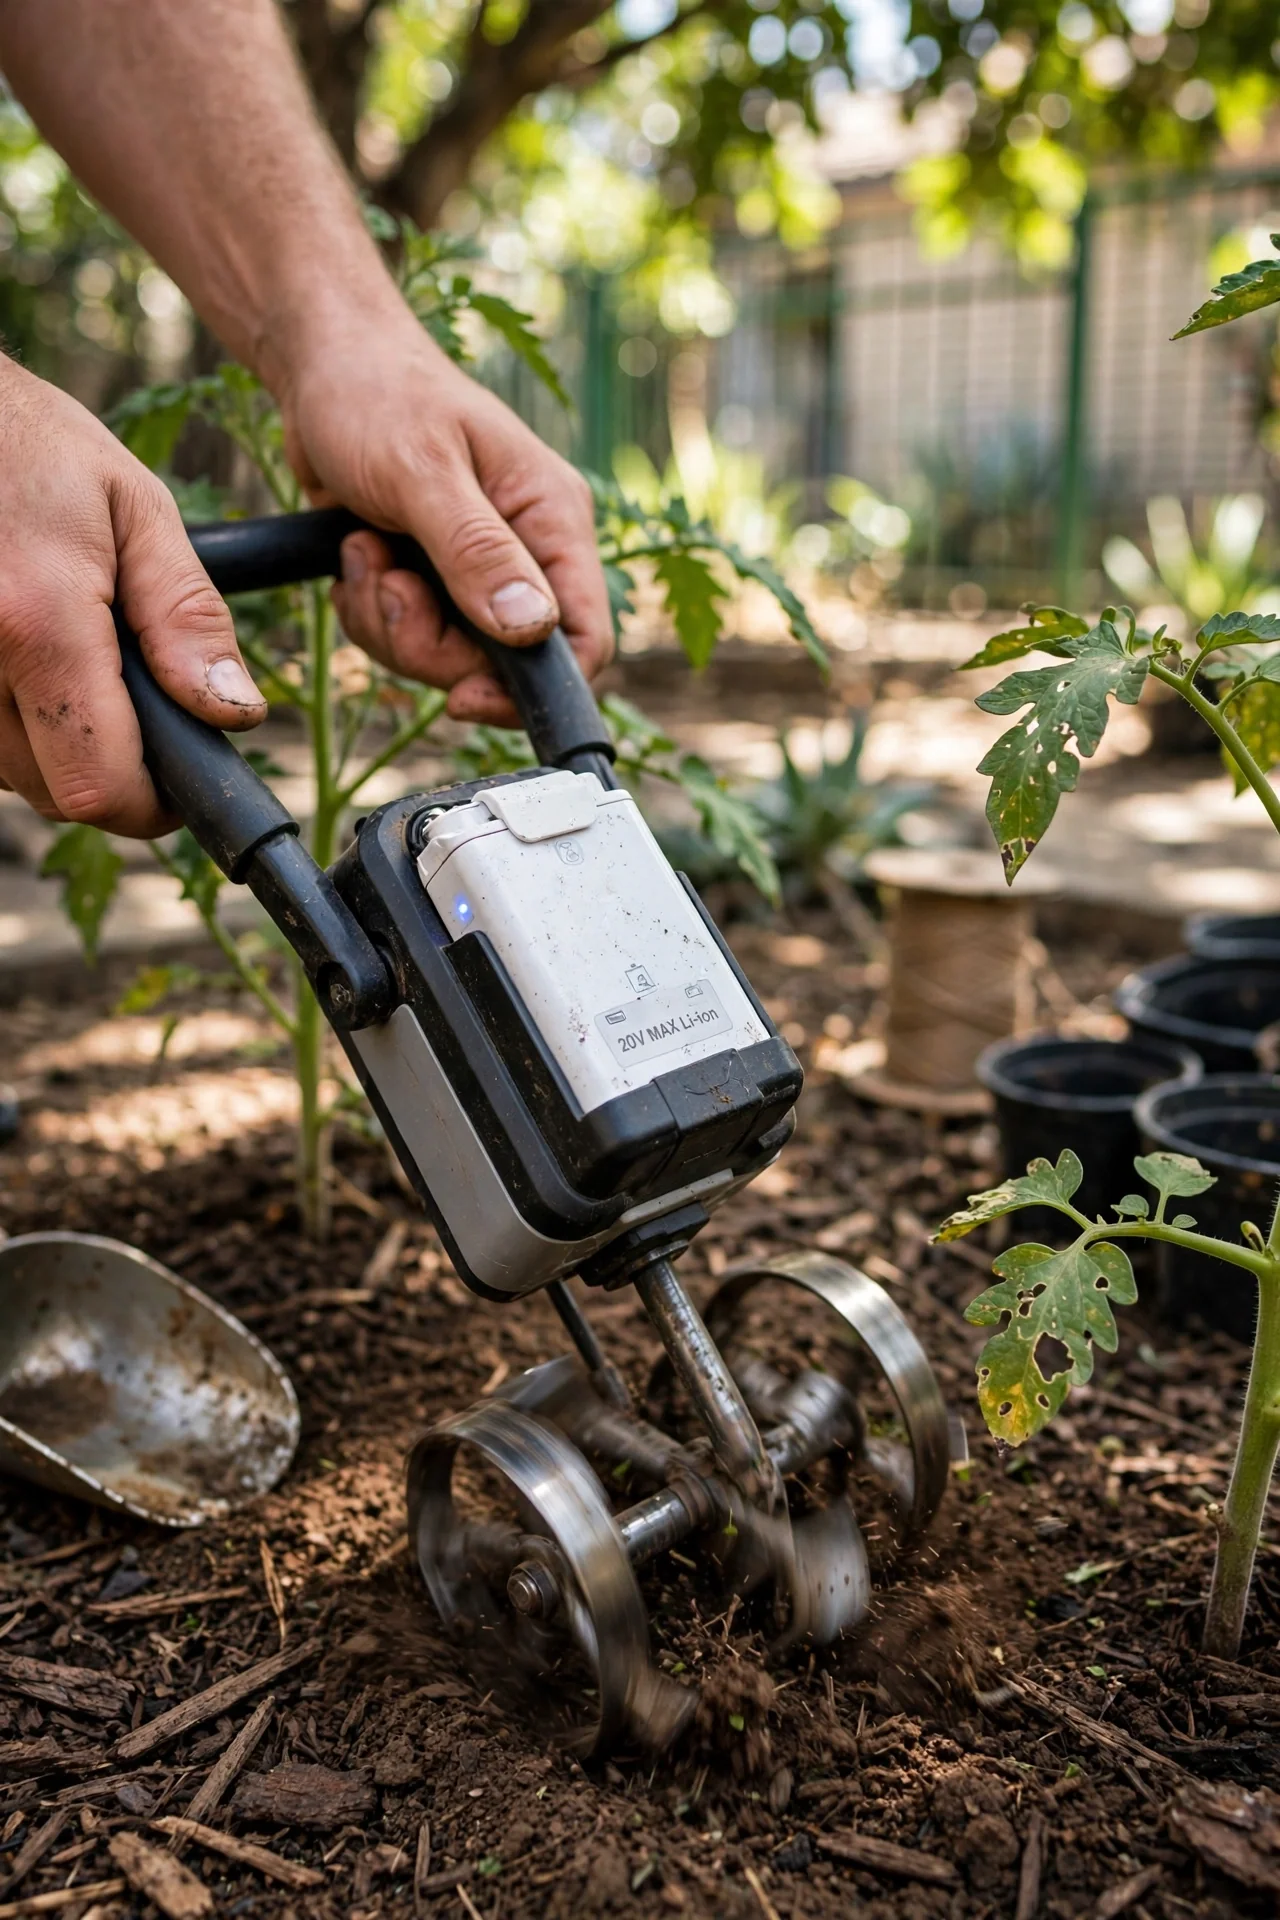
Best for: Branch 2
Threshold Rule. A hand cultivator is the right choice when plant spacing is under 12 inches and you need to remove weeds without disturbing crop roots. The three-pronged claw design allows you to work within 1 inch of a plant stem if used carefully. The measurable constraint is soil moisture: cultivate when the top 1 inch of soil is dry enough to crumble. Wet soil clogs the tines and compacts around plant roots. In beds where crops are spaced wider than 18 inches, a powered cultivator (items 3 or 5) will save significant time. Hand cultivators also serve a secondary role: they are the only tool on this list you can use to incorporate granular fertilizer into the top inch of soil around established perennials without damaging feeder roots.
7. Tractor-Attachment Tiller: Large Plot Efficiency
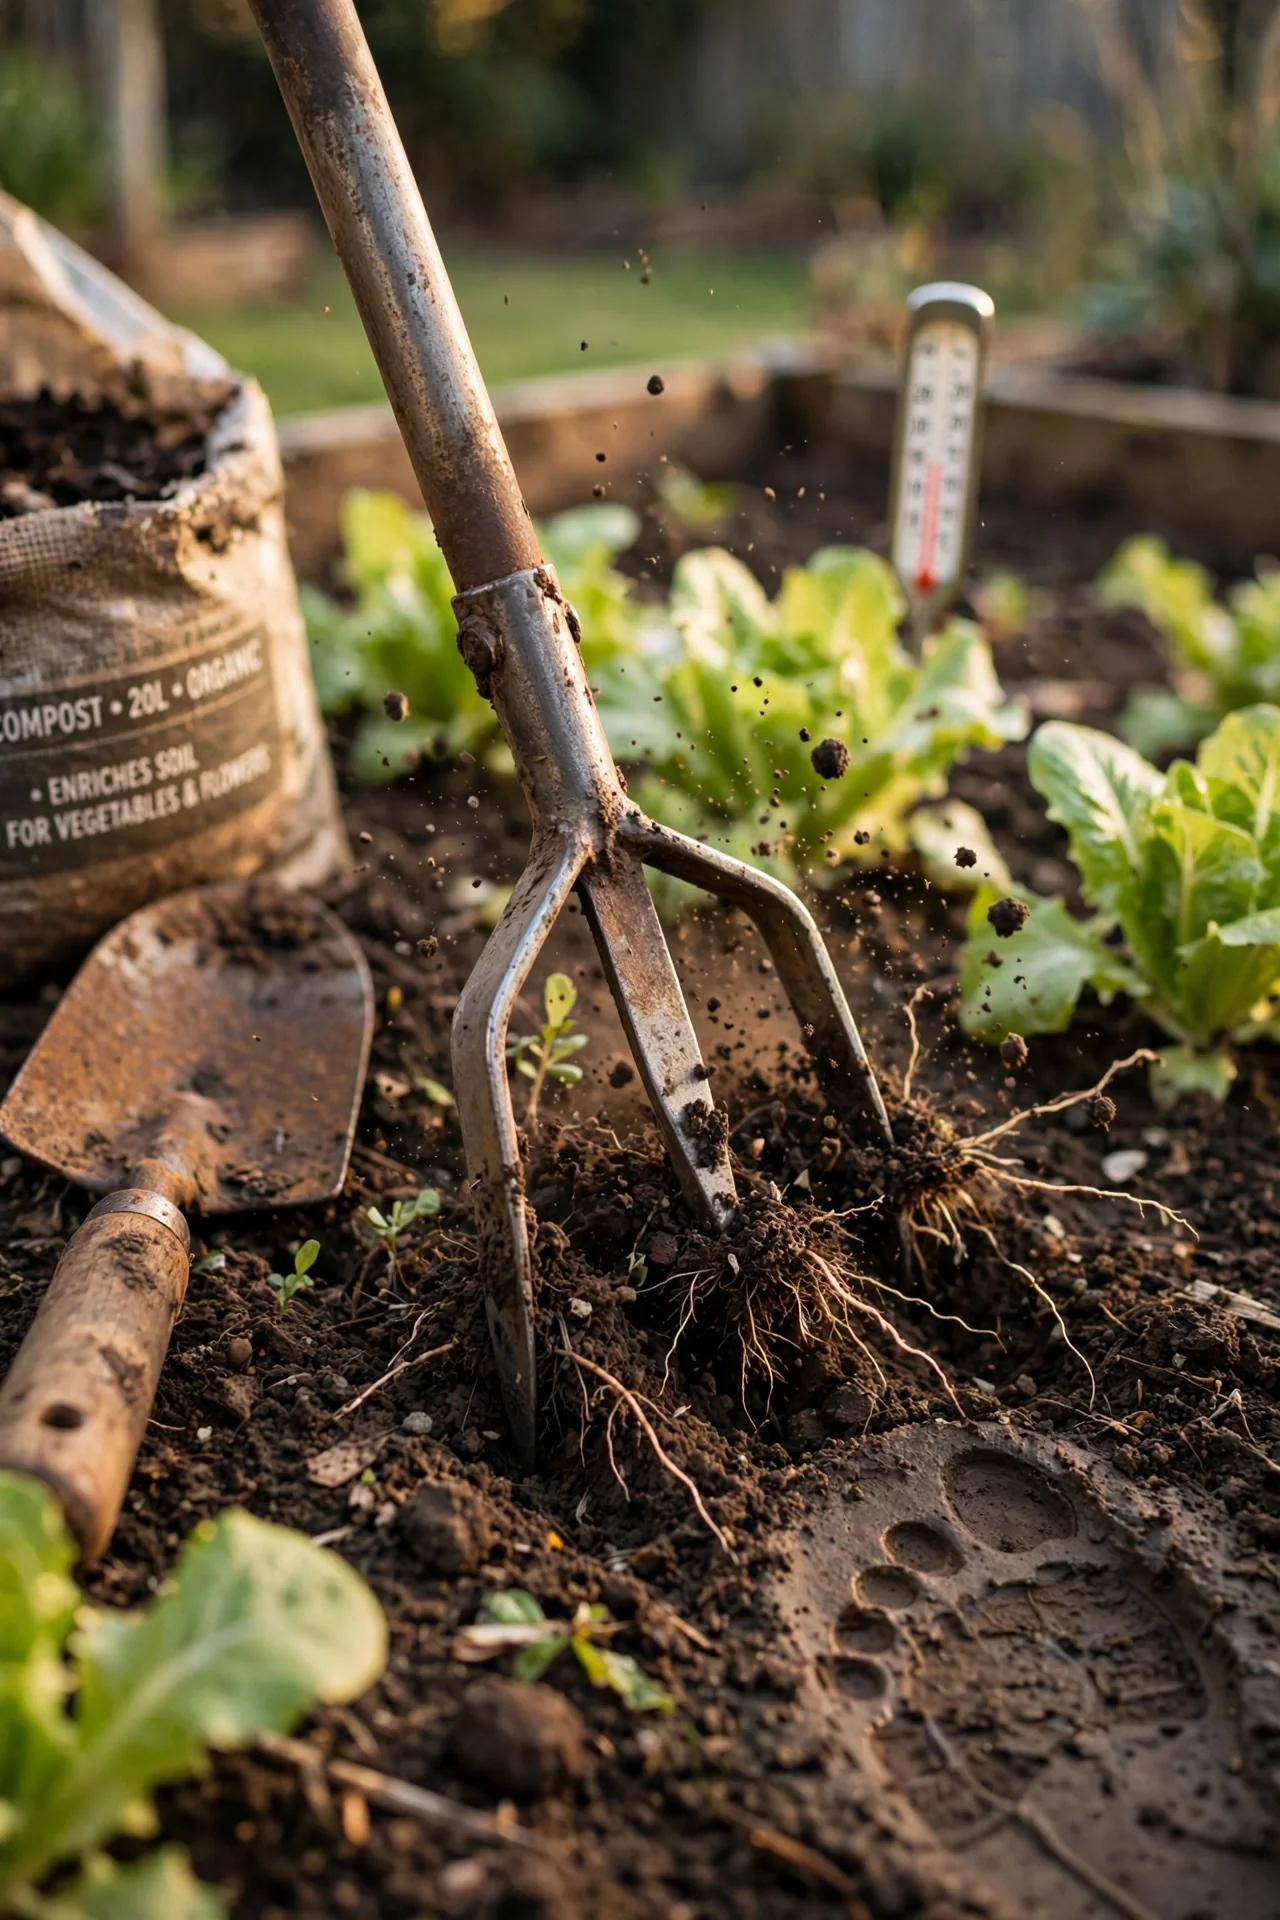
Best for: Branch 1
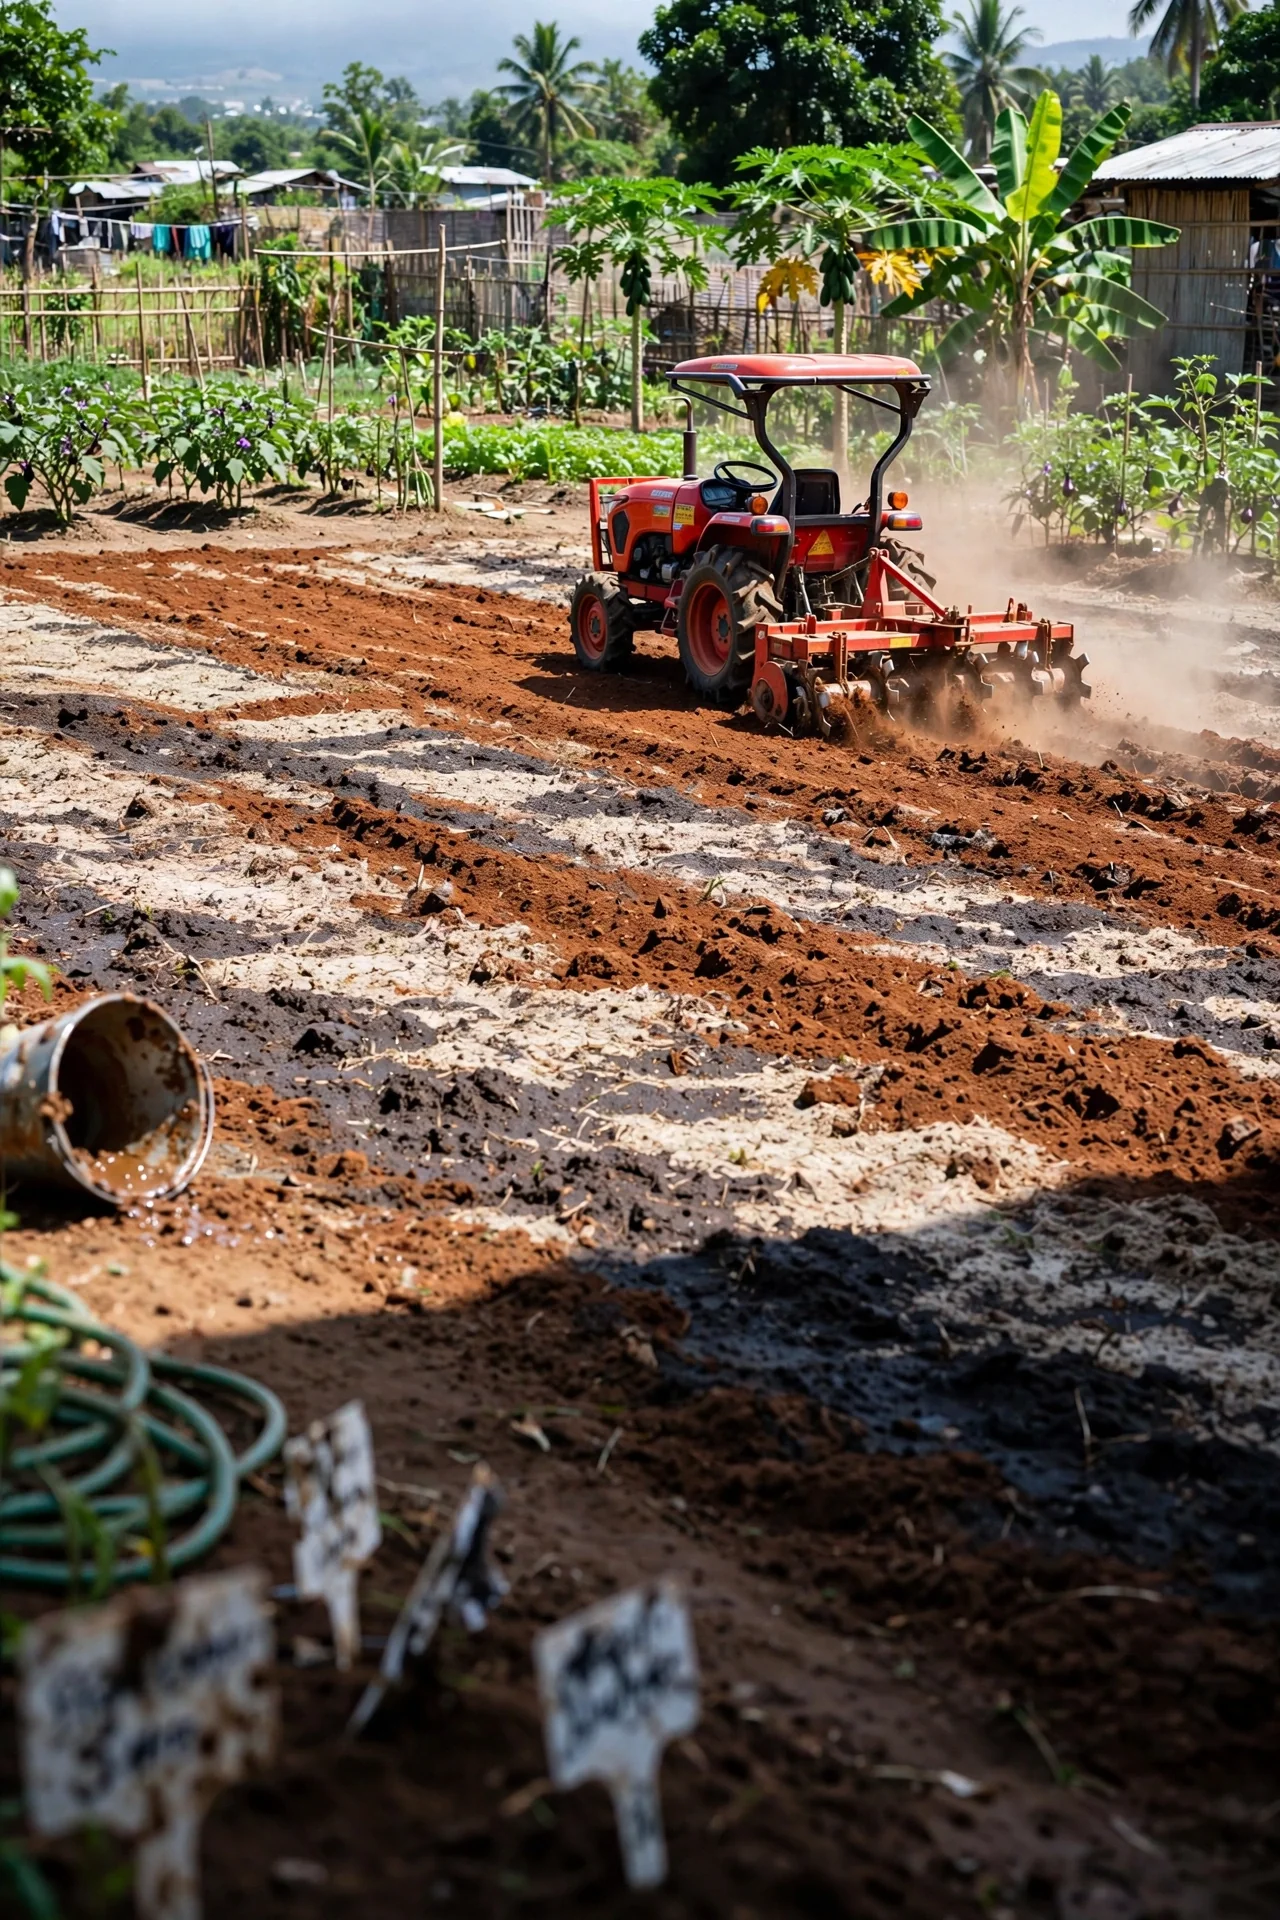
Blueprint. What: A PTO-driven rotary tiller attaches to a subcompact or compact tractor’s three-point hitch. Working widths range from 48 to 72 inches, and these implements can till to a consistent depth of 8 inches across the entire width. For: Market gardens, community garden plots exceeding 2,000 square feet, or homeowners converting large lawn sections to production beds. Steps: (1) Adjust the three-point hitch so the tiller skids ride flat on the ground. (2) Set the rear shield to control soil discharge. (3) Make the first pass at a shallow depth of 2 inches, then a second pass at full depth. Mistake: Operating a PTO tiller at engine RPM below the recommended 540 RPM produces cloddy, uneven results and strains the driveline. This is an investment path: tractor-attachment tillers cost more than all other items on this list combined. For a nuanced take on another tool comparison where scale changes the answer, read our spade vs shovel guide.
8. Two-Tool Seasonal Strategy: Rent a Tiller, Own a Cultivator
Best for: Branch 3
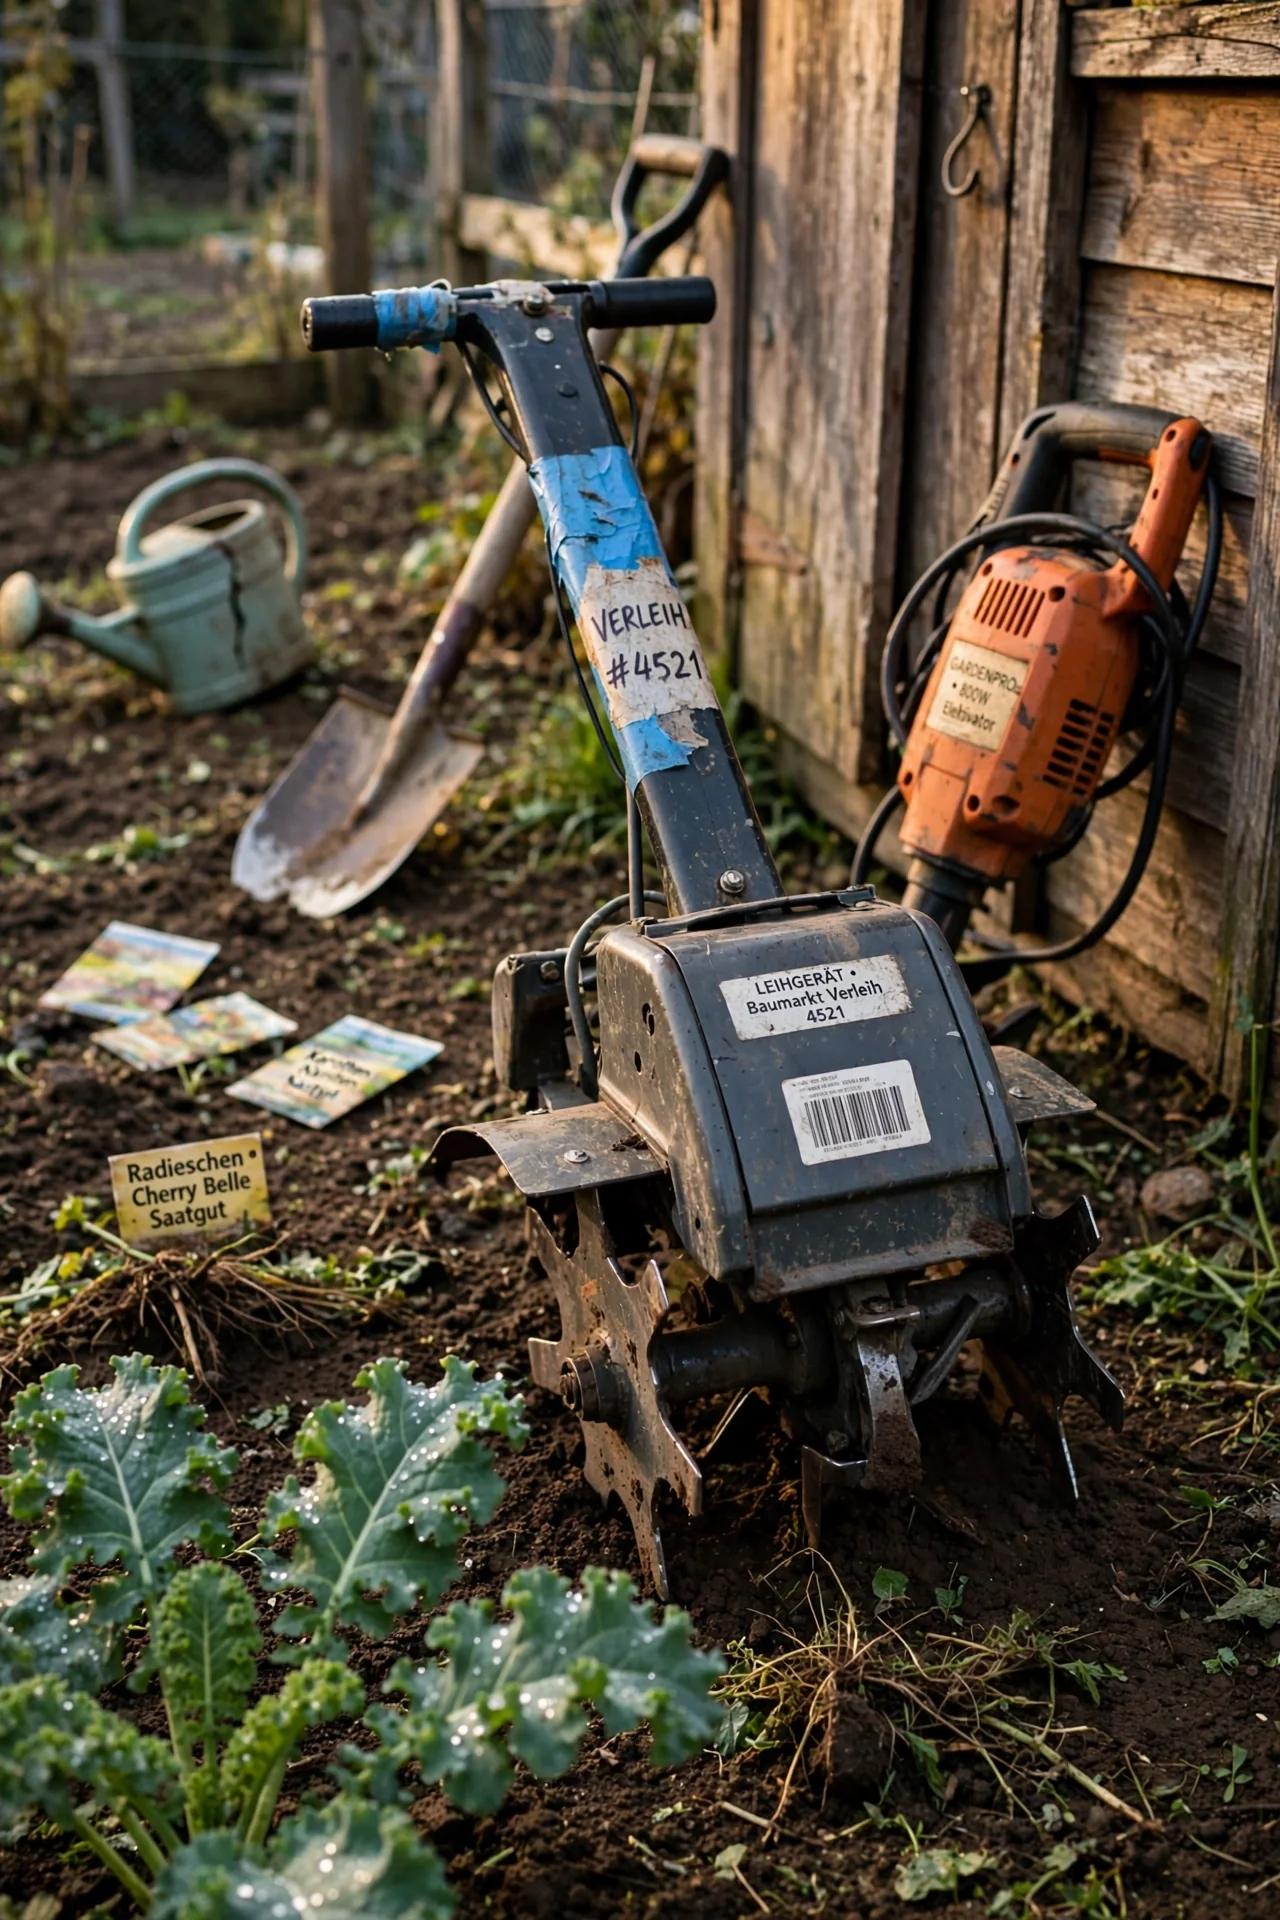
Use vs Skip. Use this strategy if you need a tiller only once per year (spring bed prep or fall cover crop incorporation) but use a cultivator monthly during the growing season. Renting a rear-tine tiller costs roughly $100 to $250 per day from equipment rental stores, while a basic electric cultivator costs between $50 and $400 to own outright. Skip if you have heavy clay soil that re-compacts within weeks; you would need the tiller multiple times per season, and rental fees would exceed the cost of buying a used unit within two years. The synergy: the money saved by not buying a tiller can fund a higher-quality cultivator that will see far more hours of actual use.
9. Broadfork or No-Till Approach: Soil Health First
Best for: Branch 3
Threshold Rule. A broadfork is a manual tool with long tines (10 to 14 inches) that you step onto and pull back, fracturing soil without inverting layers. It works in soil that has been loosened at least once or in naturally friable loam. The measurable limit: broadforking is practical on plots up to roughly 1,000 square feet. Beyond that, the time investment exceeds what most home gardeners can sustain. This approach preserves soil structure, fungal networks, and earthworm populations that rotary tillage disrupts. If you are converting a lawn to a no-till garden, you will still need a tiller or sod cutter for the initial conversion; the broadfork maintains the system afterward. After establishing your beds, efficient watering becomes the next priority; see our drip irrigation starter kit guide.
Starter Stack: What to Choose First
Branch 1 Starter Stack (Breaking New Ground)
Start with a rear-tine tiller (item 1) and a manual hand cultivator (item 6). The tiller handles the heavy lifting of initial soil preparation. The hand cultivator covers the precision weeding that follows planting, because even a newly broken bed will develop weed pressure within weeks. Budget range: $200 to $2,000 for the tiller, plus $20 to $50 for the hand cultivator. Time investment for initial bed prep on a 500-square-foot plot: roughly 2 to 4 hours, including debris clearing and multiple passes.
Branch 2 Starter Stack (Maintaining Established Beds)
Choose either a corded electric cultivator (item 3) or a battery-powered cultivator (item 5), paired with a hand cultivator (item 6) for tight spaces. The powered cultivator handles the bulk of weeding and aeration across the bed; the hand tool reaches between closely spaced plants. Budget range: $40 to $400 for the powered unit. Time per maintenance session on a 200-square-foot bed: approximately 15 to 30 minutes.
Branch 3 Starter Stack (Seasonal Workflow)
Rent a rear-tine tiller for the spring breaking pass and purchase a corded or battery cultivator for ongoing maintenance (items 3 or 5). Add a broadfork (item 9) if you plan to transition toward reduced tillage over time. Annual cost: $100 to $250 for the rental, plus $40 to $400 for the cultivator. This approach aligns your spending with actual usage frequency rather than speculative tool ownership.
When This Will Not Work
Failure Condition 1: Tilling Wet Clay Soil. If your soil contains more than 30 percent clay and you till it when moisture content is above field capacity, the tines will create a compacted layer called a plow pan at the depth of tine penetration. This layer restricts root growth and drainage for years. The test is simple: squeeze a handful of soil. If it forms a shiny, slick ball that leaves moisture on your palm, wait until it crumbles when squeezed. If you have already created a plow pan, the alternative is to use a broadfork (item 9) or subsoiler to fracture the layer without inverting the soil again. For a broader look at how soil health tools address compaction, see our dethatcher vs aerator comparison.
Failure Condition 2: Using a Cultivator on Unbroken Sod. Cultivators work in the top 2 to 4 inches of soil. Unbroken sod has a dense root mat that extends 4 to 6 inches deep. A cultivator’s tines will skim across the surface, tearing small chunks of grass but failing to penetrate. The machine bounces, the operator fatigues, and the resulting seedbed is patchy and unusable. The alternative: use a tiller for the initial conversion, or solarize the sod with clear plastic for 4 to 6 weeks during peak summer heat, then cultivate the dead turf residue.
Choosing the Right Option for Your Situation
Budget Threshold
If your budget is under $100, your realistic choices are a manual hand cultivator (item 6) or a broadfork (item 9) plus renting a tiller when needed (item 8). Electric cultivators start at roughly $40 for basic corded models, but expect shorter lifespans at that price point. A rear-tine tiller under $200 is unlikely to handle clay soil effectively; consider a used machine or extend your budget.
Time Threshold
If you have less than 2 hours per week for garden soil work, prioritize powered tools. A manual hand cultivator alone will not keep up with weed pressure on a plot larger than 200 square feet. The combination of a battery cultivator for weekly maintenance and a rented tiller for seasonal prep keeps total monthly time commitment under 3 hours for most home gardens.
Technical Constraint: Soil Type
Sandy soils drain quickly and can be cultivated almost any time except immediately after heavy rain. Clay soils require precise moisture timing for tillage: too wet and they compact, too dry and they become rock-hard. Loam soils are the most forgiving and work well with any tool on this list. If you do not know your soil type, perform a jar test: mix 1 cup of soil with 2 cups of water in a clear jar, shake vigorously, and let it settle for 24 hours. Sand settles first, then silt, then clay. The relative layer thicknesses tell you your soil composition.
Yes/No Checklist:
- Is your soil hard enough that a shovel requires significant effort to penetrate more than 4 inches? Yes = Branch 1 (tiller); No = continue.
- Do you have established plants growing that you need to work around? Yes = Branch 2 (cultivator); No = continue.
- Are you expanding an existing garden into new ground this season? Yes = Branch 3 (both tools); No = Branch 2.
- Is your total garden area under 100 square feet? Yes = manual hand cultivator alone may suffice; No = powered options save significant time.
Expert Q&A
Can I use a cultivator to break new ground if I make multiple passes?
No. Cultivator tines are designed to work in soil that has already been loosened. On unbroken sod or compacted clay, the tines lack the weight and torque to penetrate. Multiple passes will only scalp the surface and wear out the machine. A tiller is required for the initial breaking pass.
What is the difference between a rototiller and a cultivator?
A rototiller (often just called a tiller) uses heavy, wide-set tines to dig deep and break up compacted soil. A cultivator uses lighter, narrower tines to stir the top few inches of already-loose soil. Rototillers prepare new ground; cultivators maintain existing beds.
At what soil depth does a cultivator stop being effective?
Cultivators are effective in the top 2 to 4 inches of soil. Beyond 4 inches, the tines cannot penetrate unless the soil has been recently tilled. Attempting to cultivate deeper than 4 inches in untilled soil will stall the machine or cause it to bounce.
Should I till my garden every year?
Not necessarily. Annual tilling can disrupt soil structure, reduce organic matter, and bring dormant weed seeds to the surface. Many soil scientists recommend tilling only when establishing new beds or incorporating large amendments, then switching to cultivation and no-till methods for maintenance.
Is a front-tine or rear-tine tiller better for clay soil?
Rear-tine tillers are better for clay soil because their engine-driven wheels and heavier weight keep the tines engaged in the ground. Front-tine tillers tend to bounce and drag on clay, transferring the impact to the operator. Counter-rotating rear-tine models provide the most aggressive clay-breaking action.
Conclusion
The cultivator vs tiller decision hinges on a single measurement: has your soil been loosened to a depth of at least 6 inches within the past year? If yes, a cultivator is your tool. If no, you need a tiller. The number one mistake is buying a cultivator to break new ground, a mismatch that wastes money and produces a poor seedbed.
Once your soil is prepared, the next step is putting seeds in the ground efficiently. See our seed sower tool guide for options that pair well with freshly cultivated beds.