
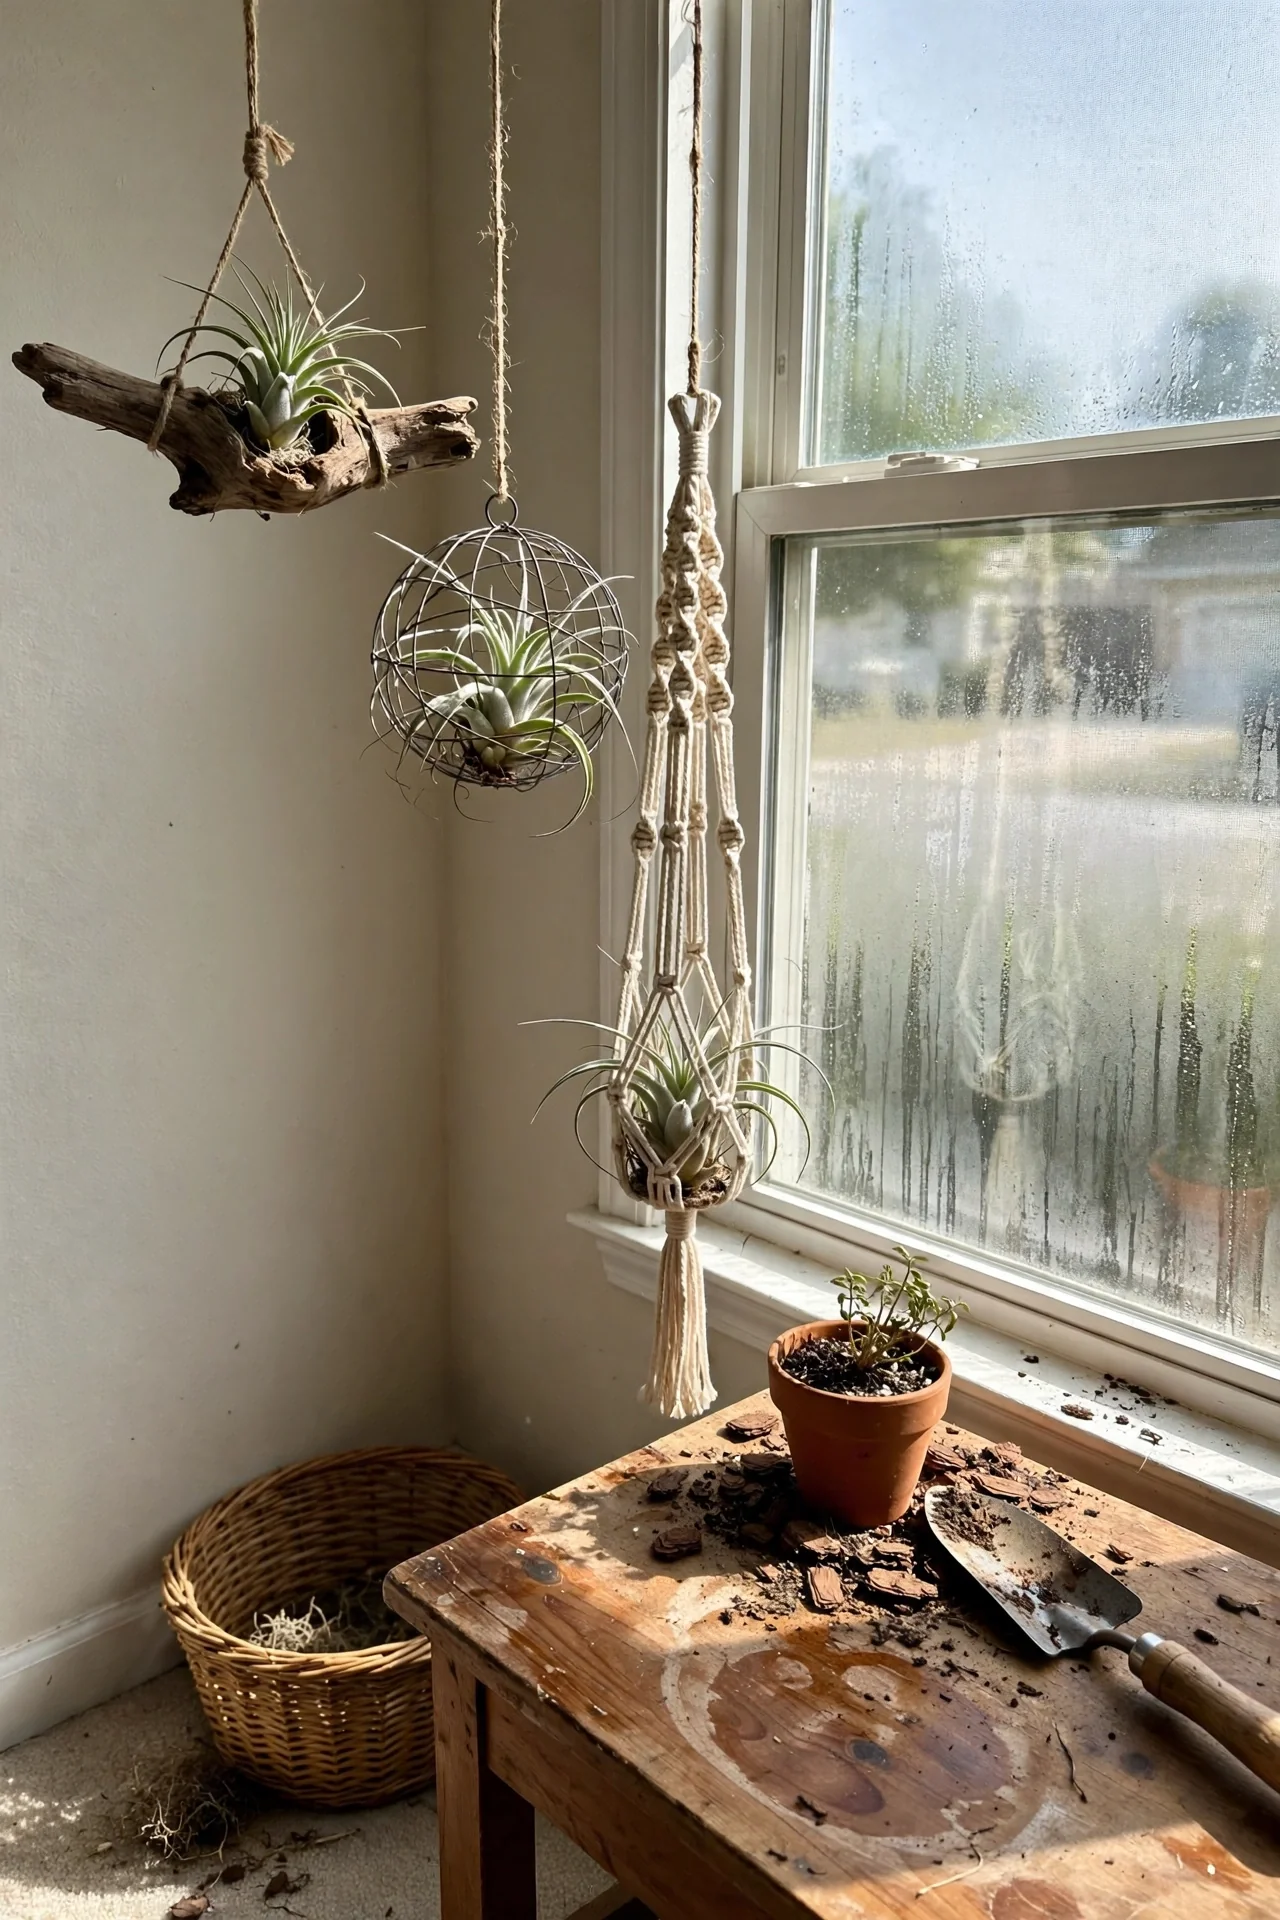
An air plant holder is more than a decorative shell; it is the plant’s entire environment. Every material choice, mounting angle, and airflow gap directly influences how long a tillandsia stays hydrated without rotting. This list reframes the DIY process around that microclimate reality.
We cover 10 holder projects spanning hanging, tabletop, and wall-mounted formats. Excluded are fully enclosed terrariums that trap constant humidity, because they require different watering discipline. All designs assume standard indoor conditions and occasional misting or soaking.
By the end, you will be able to match a holder design to your room’s air circulation, your weekly care rhythm, and the surface you plan to use, so your air plant thrives rather than merely survives.
Bottom line: The right holder makes plant care automatic; the wrong one turns a low-maintenance plant into a daily chore.
The Yield Grid Decision Grid
Branch 1: Hanging, maximum airflow. You want a hanging holder that keeps all sides of the plant exposed to moving air. This branch fits spaces with at least some air movement (an open room, near a vent, or under a ceiling fan) where you can mist easily from below. For a soft, adjustable mount, our macrame plant hanger patterns are a natural starting point. Recommended: Items 2, 4, 8 below.
Branch 2: Stationary, base-support display. You need a holder that supports the plant base and prevents tipping, where misting will not damage furniture. Choose this branch if your plant sits on a shelf, desk, or windowsill and you want a holder that catches any drips or keeps moisture off wood surfaces. Recommended: Items 1, 3, 6, 9 below.
Branch 3: Wall-mounted, removable. You plan to fix holders to a wall, door, or vertical surface, and you need easy plant removal for soaking. If you are short on horizontal space but have a wall that receives indirect light, wall-mounted holders with detachable clips or hooks let you water plants in a sink. Recommended: Items 5, 7, 10 below.
Quick Comparison Table
| Option | Key mechanism | Best for | Decision Grid Branch | Effort Score (1–5) |
|---|---|---|---|---|
| 1. Driftwood Display | Porous wood base with spacer pebble | Desk or console | Branch 2 | 2 |
| 2. Wire Orb Hanger | Open wire sphere for 360° air exposure | Hanging near a window | Branch 1 | 1 |
| 3. Geometric Copper Frame | Rigid metal frame with adhesive joints | Shelf accent | Branch 2 | 2 |
| 4. Macrame Cradle | Knotted cord cradle with intentional airflow gaps | Bohemian hanging clusters | Branch 1 | 2 |
| 5. Magnetic Wall Pods | Magnet-backed pod attaches to metal surfaces | Renters, metal lockers | Branch 3 | 2 |
| 6. Cork Bark Log | Natural bark with hollowed niche | Rustic tabletops | Branch 2 | 2 |
| 7. Pegboard Air Plant Gallery | Wall-mounted pegboard with clip-on holders | Collecting multiple plants | Branch 3 | 3 |
| 8. Upside-Down Glass Terrarium | Open-bottom teardrop glass suspended | Protecting plants from drafts | Branch 1 | 3 |
| 9. Seashell Mini Holders | Small shell cavities act as cups | Tiny tillandsia, group displays | Branch 2 | 1 |
| 10. Living Wreath Base | Grapevine or wire wreath with wired plants | Front door or accent wall | Branch 3 | 4 |
1. Driftwood Display
Best for: Branch 2
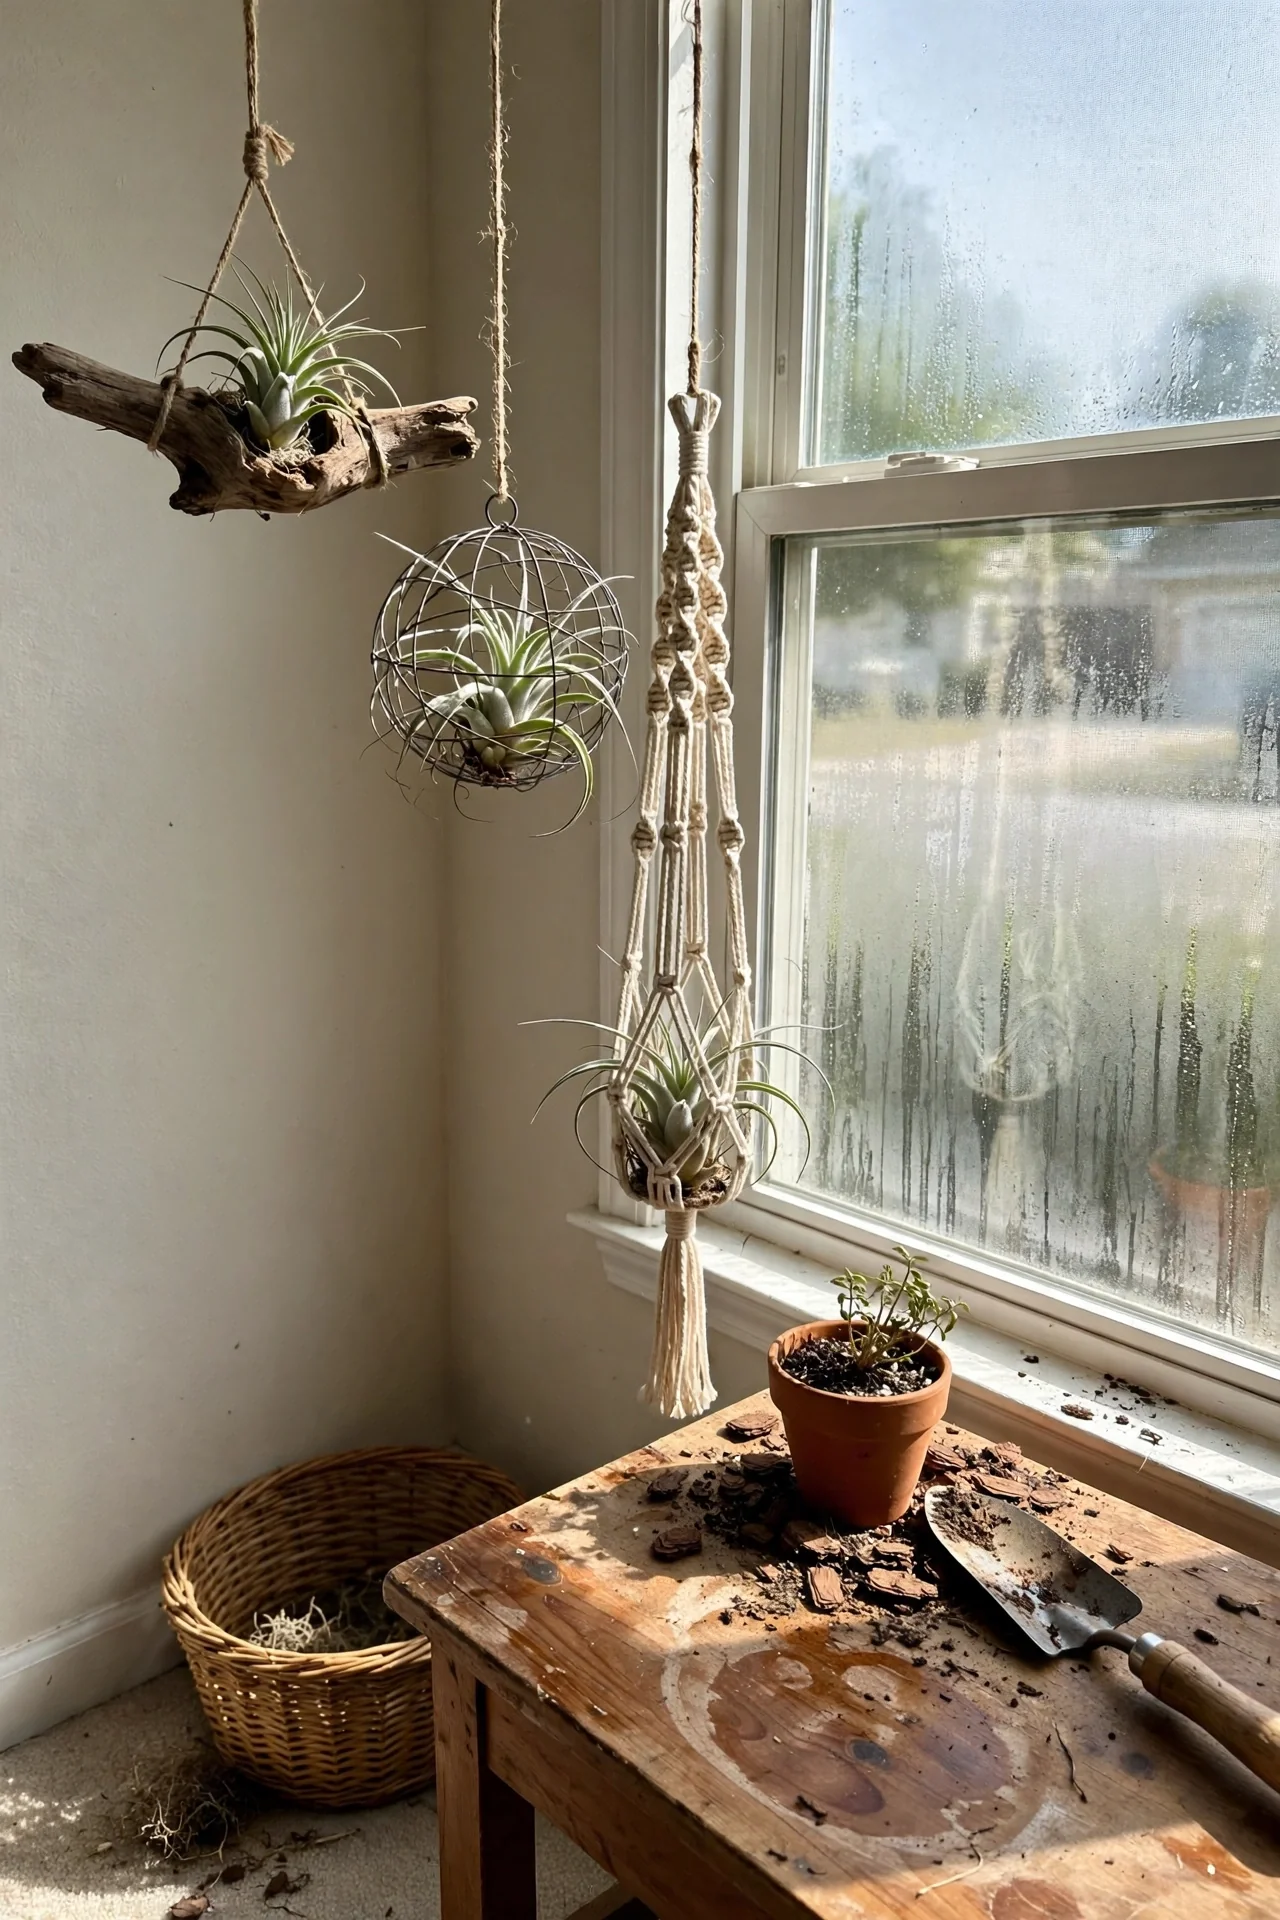
Blueprint. What: A single piece of weathered driftwood with a shallow depression or attached pebble that cradles the plant without burying its base. For: Anyone who wants a zero-cost, nature-sourced centerpiece. Steps: (1) Select a dry, salt-free driftwood chunk. (2) Drill a small dimple or glue a flat pebble at the contact point. (3) Rest the air plant so its base touches the pebble but leaves the trichome-covered leaves free. (4) Mist directly onto the plant, avoiding saturating the wood. Common mistake: Letting the plant base sit in a damp wood crevice. Driftwood porosity can wick moisture away from the plant, causing dehydration, or hold it and encourage rot. The spacer pebble breaks that capillary contact while keeping the display stable.
2. Wire Orb Hanger
Best for: Branch 1
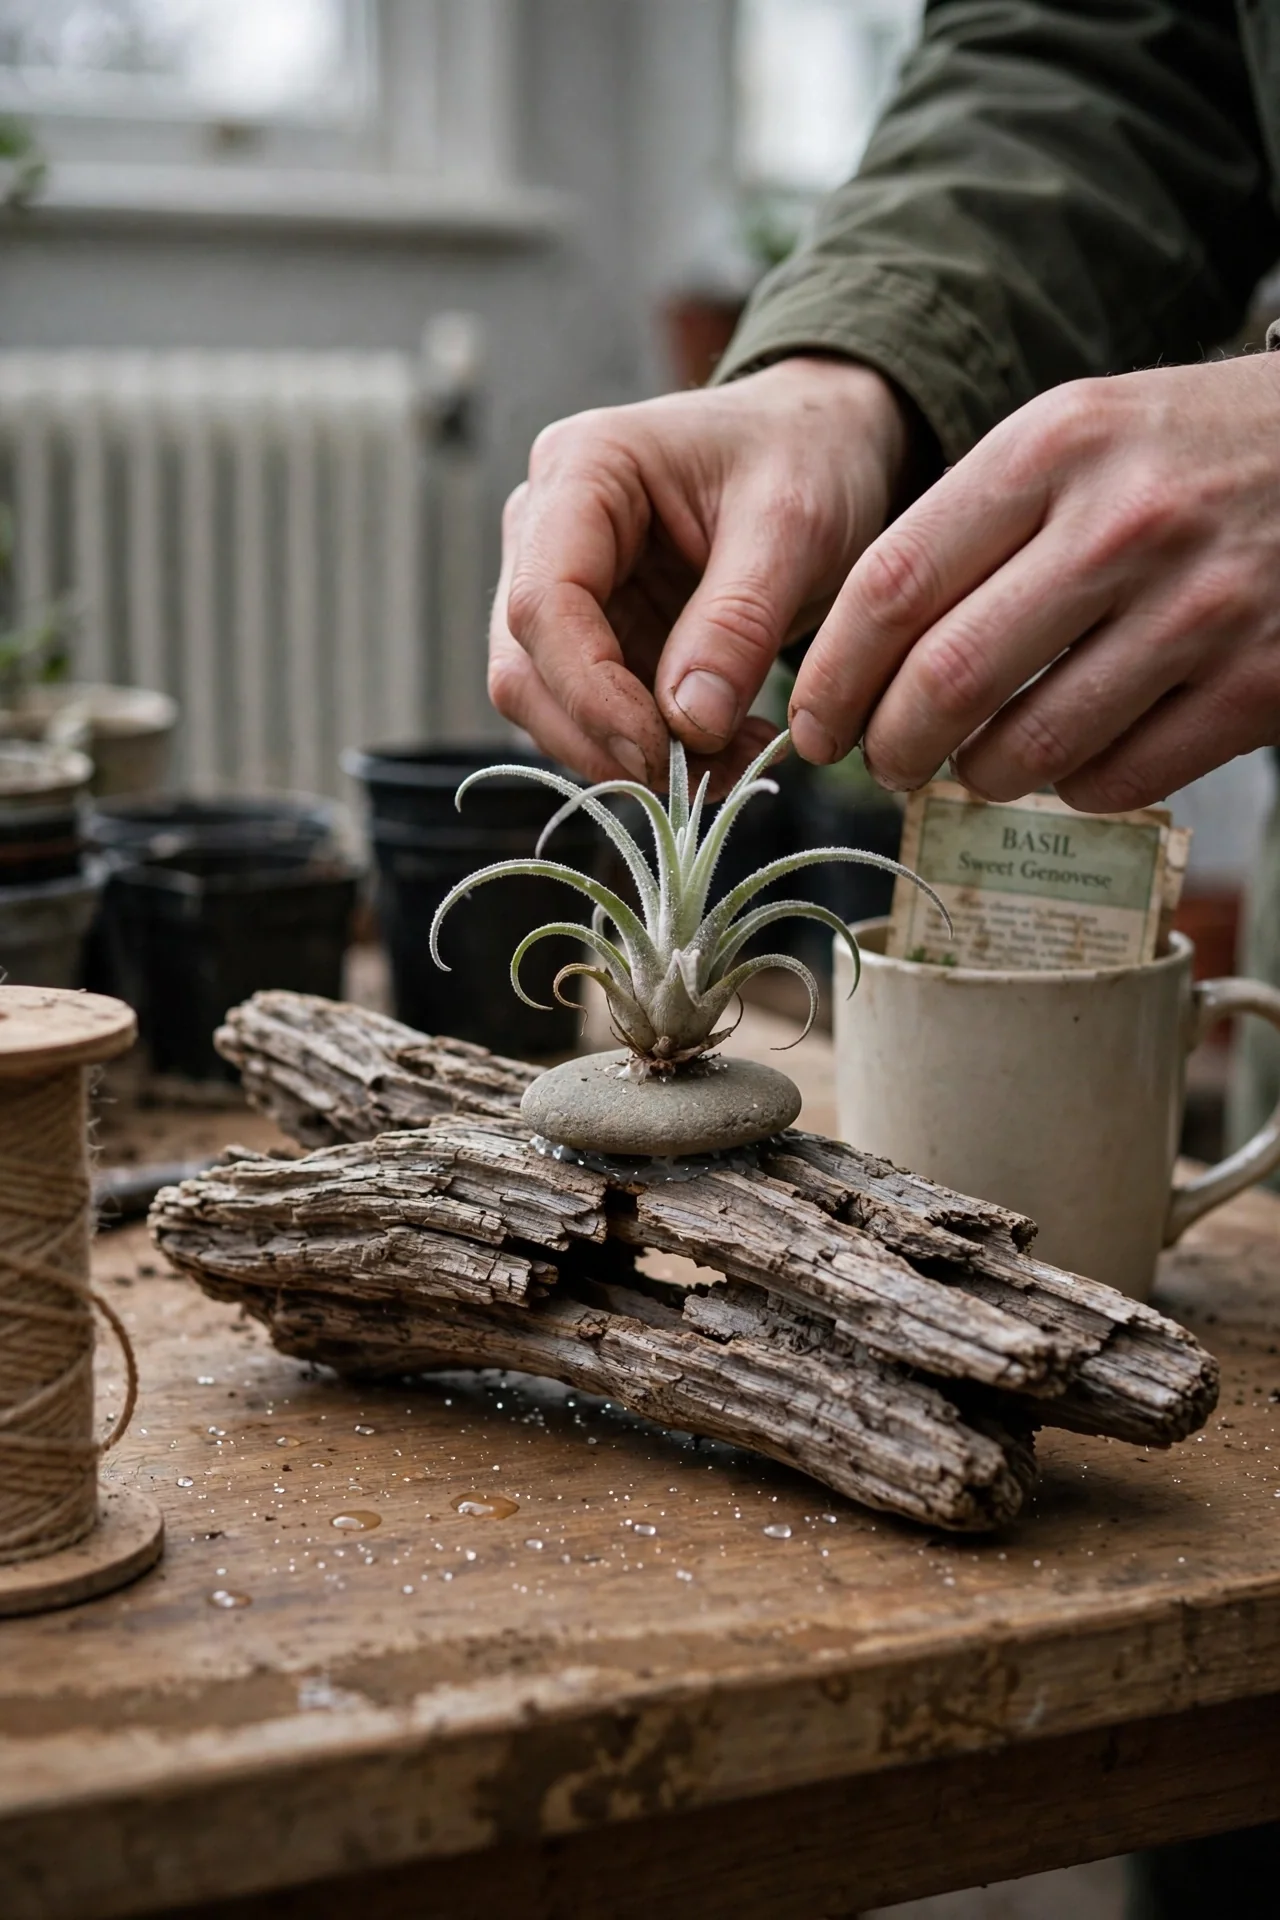
Use vs skip. Use this if you want the lightest possible holder that guarantees air reaches every leaf. The open wireframe allows mist to evaporate quickly. Skip if you mist heavily with hard water; mineral spots will build up on the wire. Edge case: untreated steel wire will rust in a bathroom with humidity above 60% most of the day. Use stainless steel, aluminum, or coated wire instead.
3. Geometric Copper Frame
Best for: Branch 2
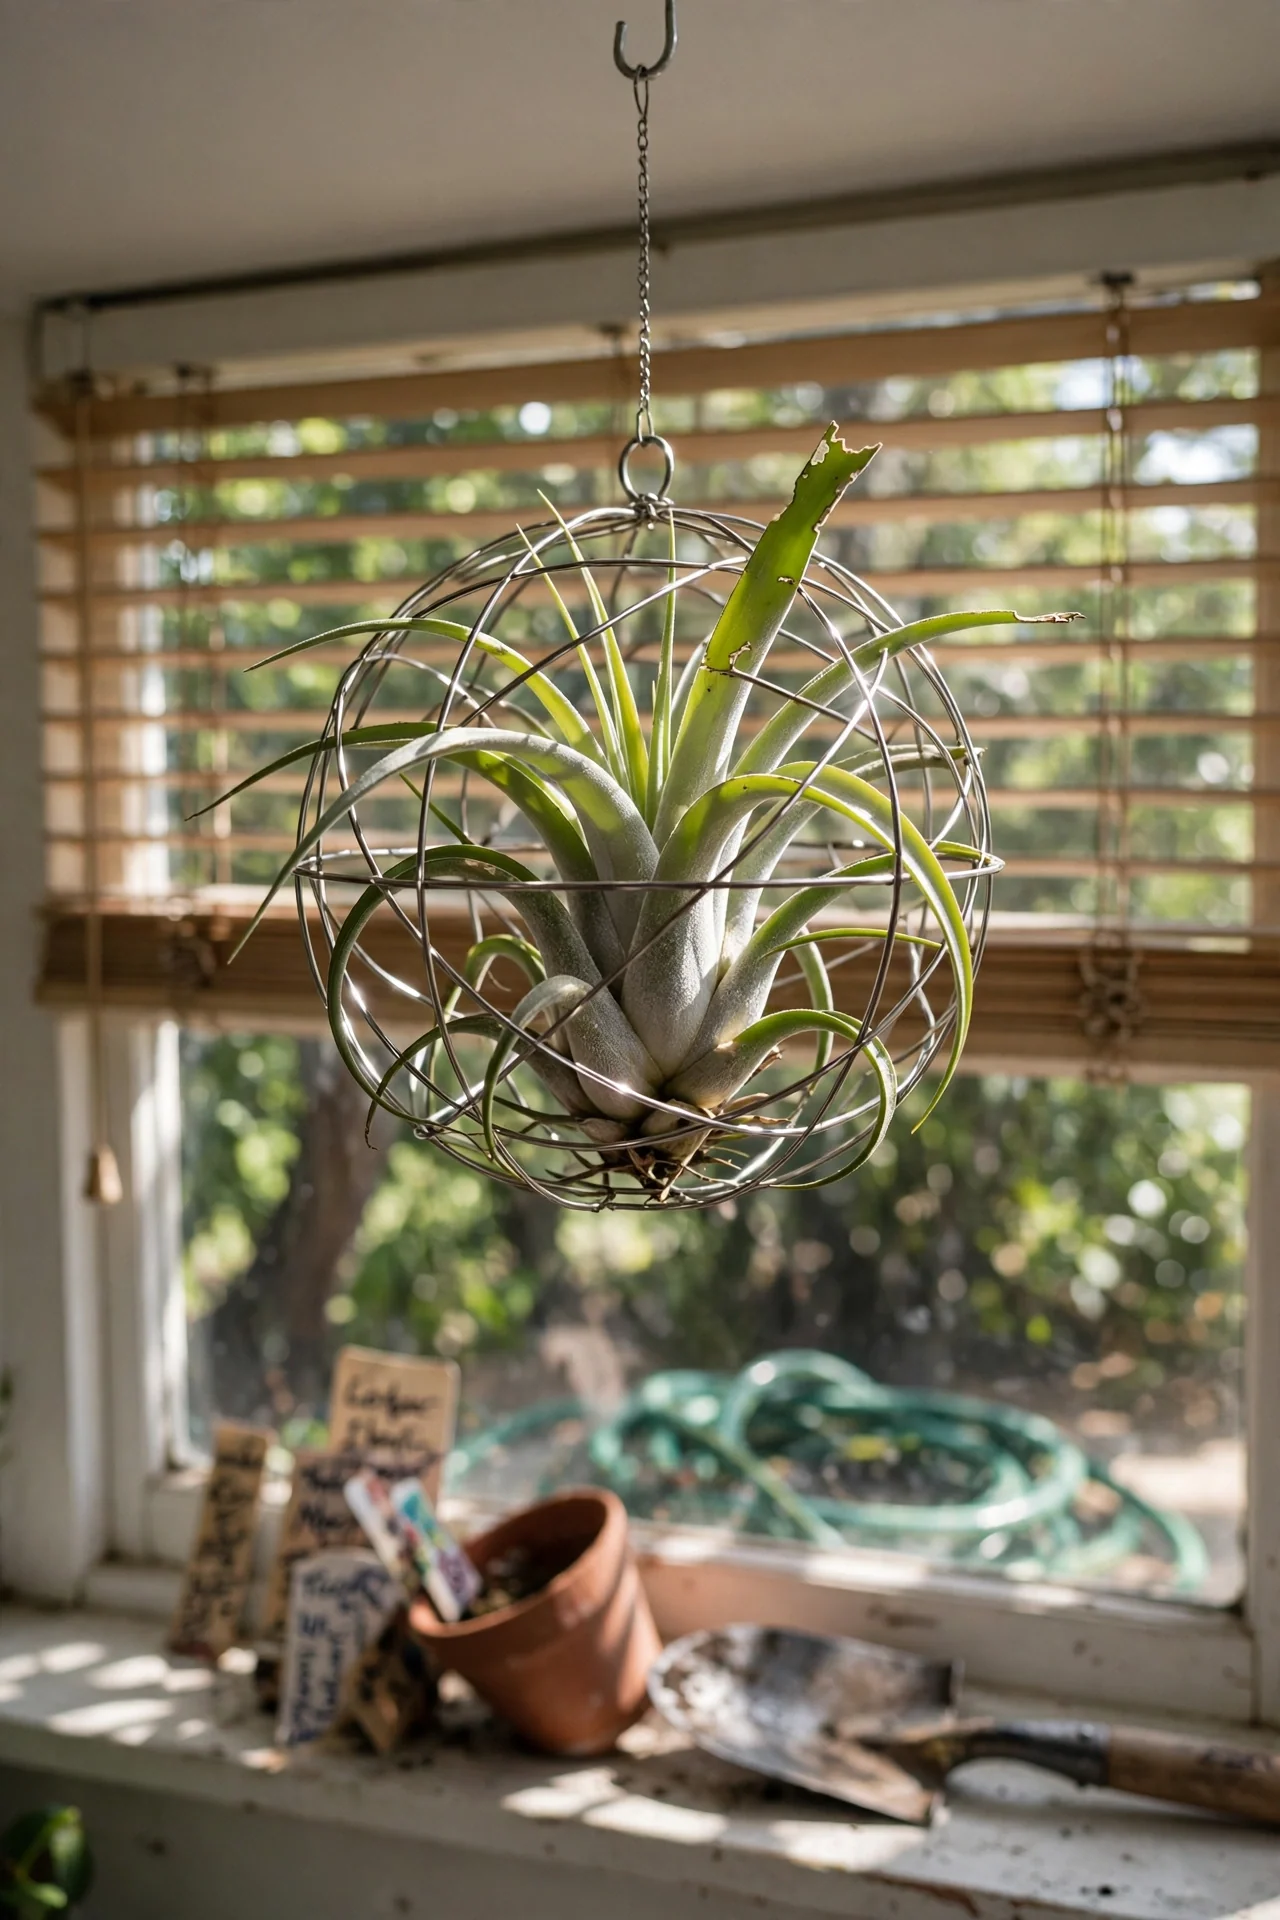
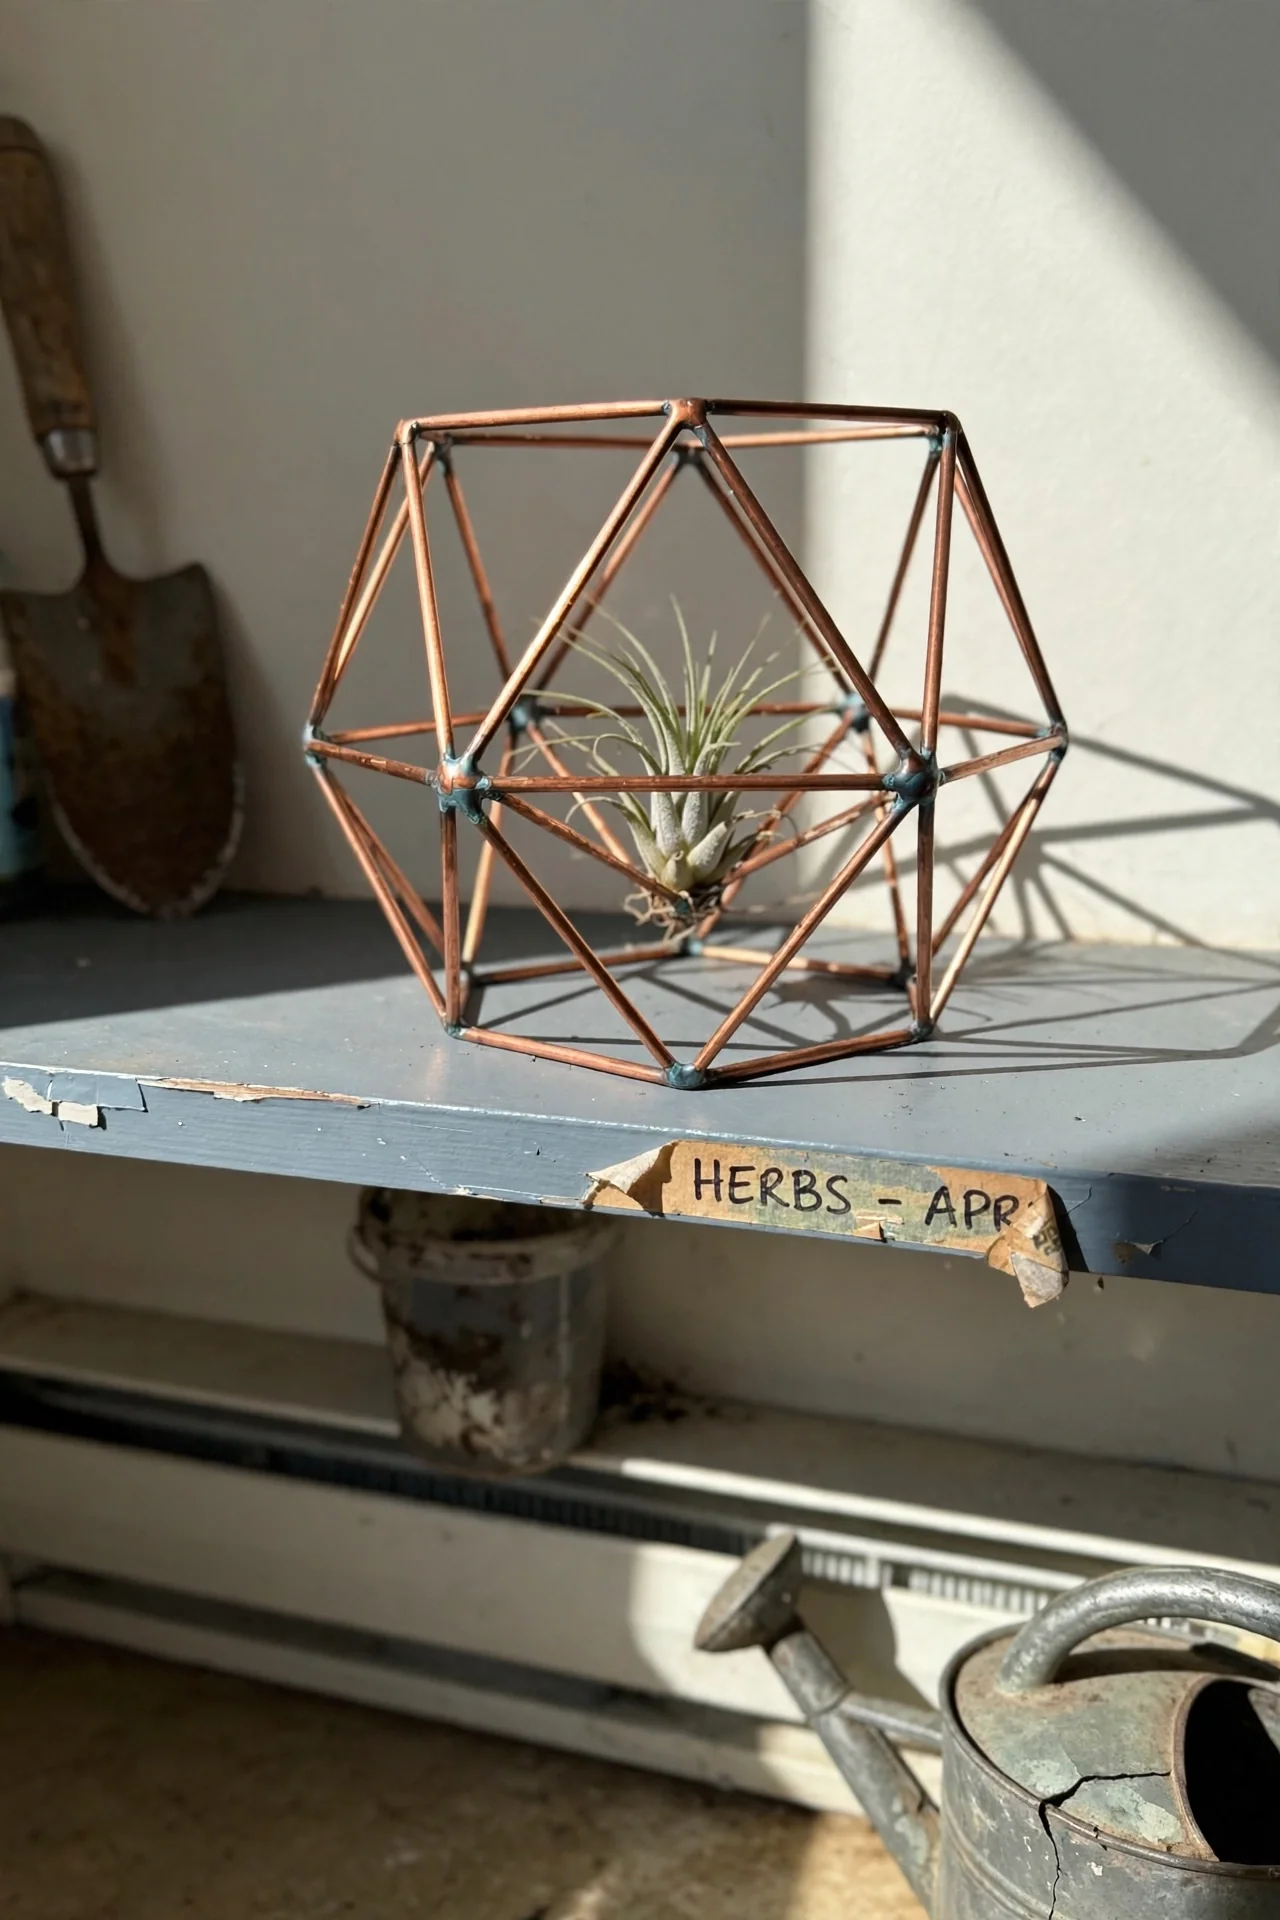
Threshold rule: adhesive bond temperature. Copper frames assembled with cyanoacrylate glue or epoxy lose strength when surfaces exceed 32°C (90°F). A south-facing windowsill in summer can easily reach that threshold. Before mounting, check the spot with a thermometer at midday. If the surface stays below 29°C, standard glue holds. Copper oxidizes to a dark patina over time; this does not harm the plant and is purely cosmetic.
4. Macrame Cradle
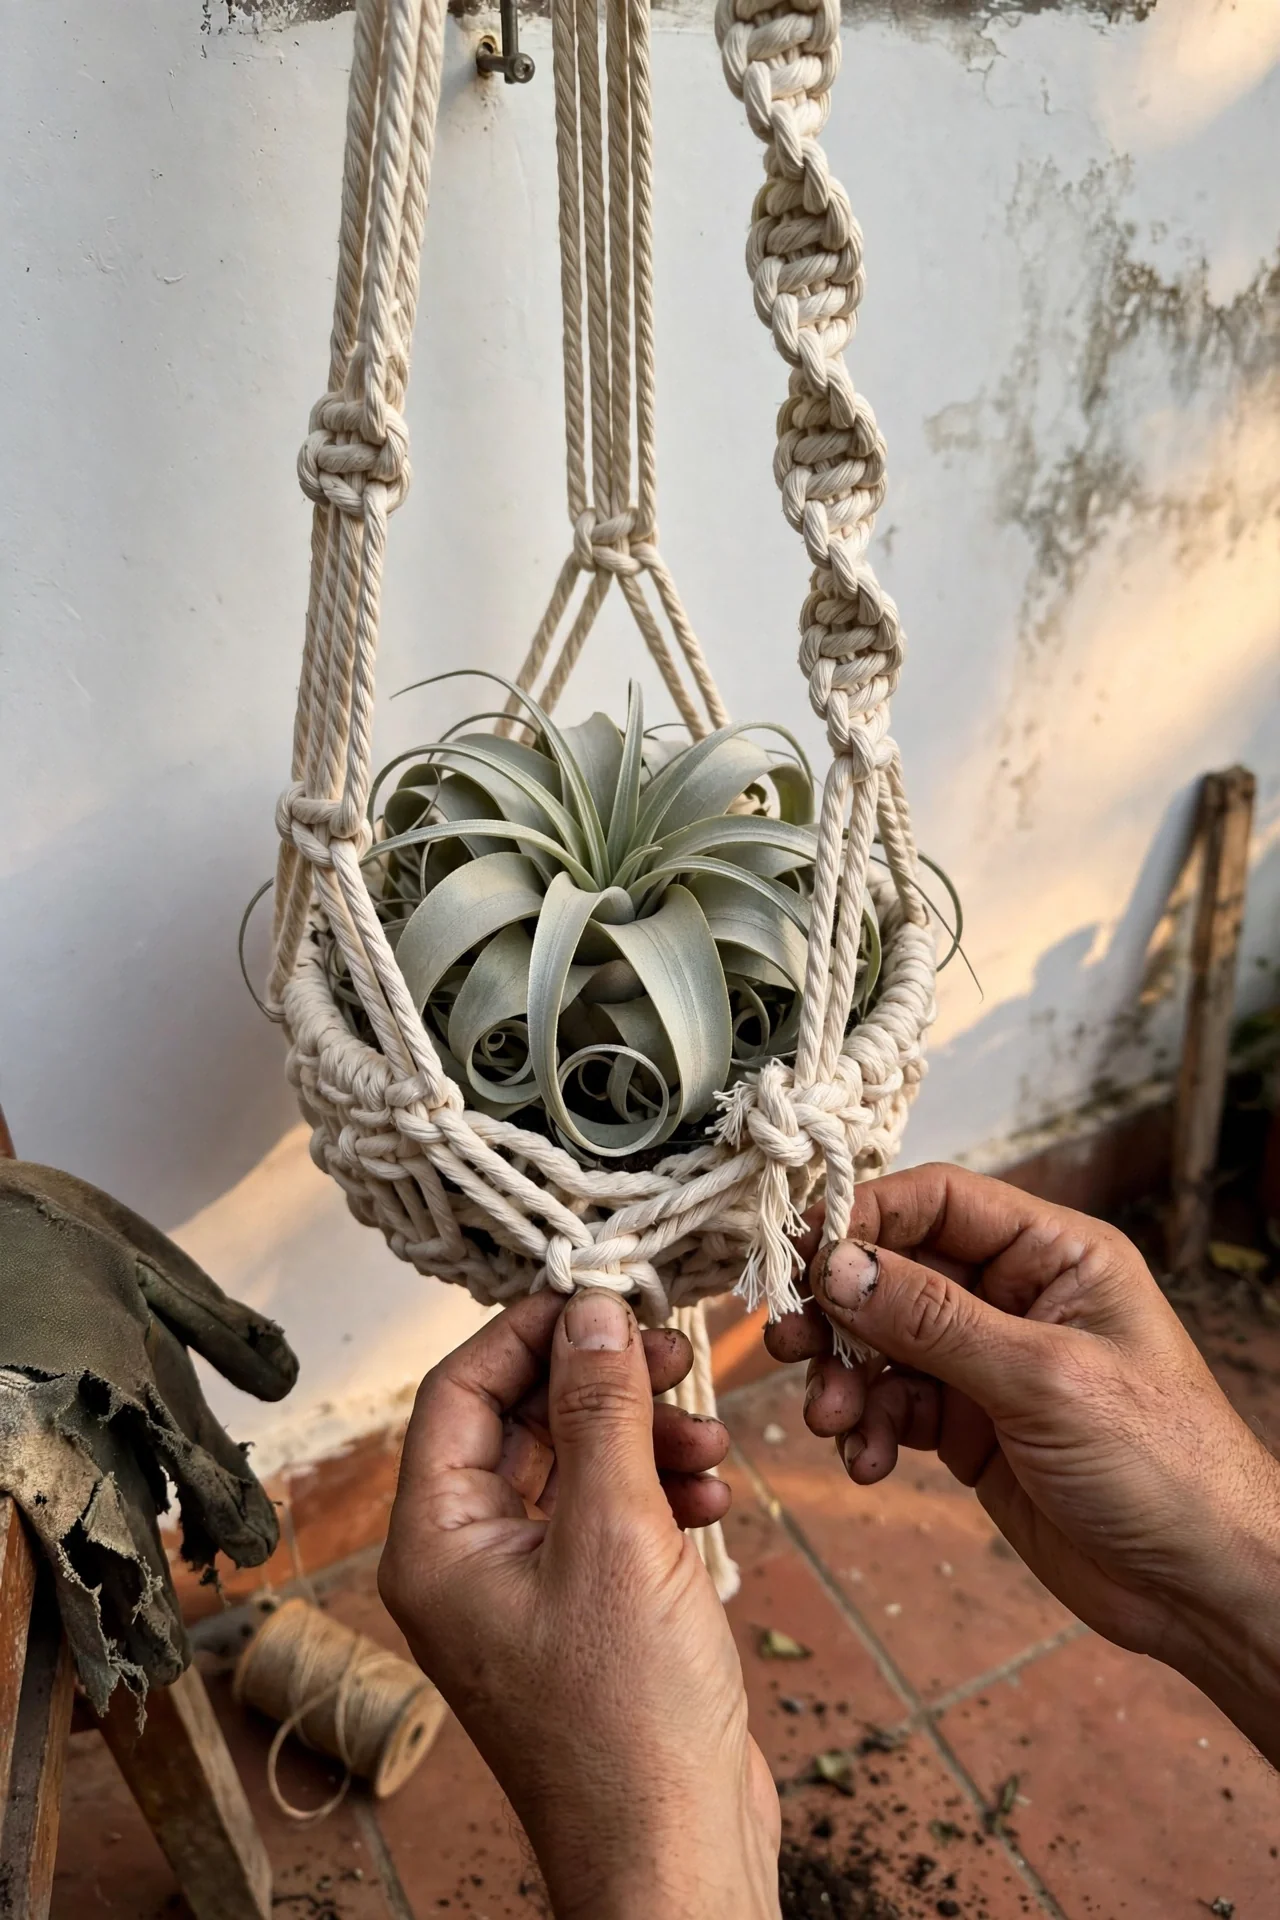
Best for: Branch 1
10-minute workflow. (1) Cut four lengths of 3 mm cotton or synthetic cord, each 80 cm long. (2) Fold in half and knot a hanging loop. (3) Separate into four groups and tie square knots 6 cm below the loop, leaving a cradle basket. (4) Place the air plant inside so leaves extend through the gaps; adjust knot tension to hold it gently. Upgrade option: Slide a small ceramic bead onto each cord end to add weight and visual interest. Mechanism detail: Cotton cord retains moisture after misting. If the cradle stays damp for hours, the plant’s base can develop rot. In humid rooms, choose a synthetic cord that dries faster, or let the cradle dry completely before returning the plant.
5. Magnetic Wall Pods
Best for: Branch 3
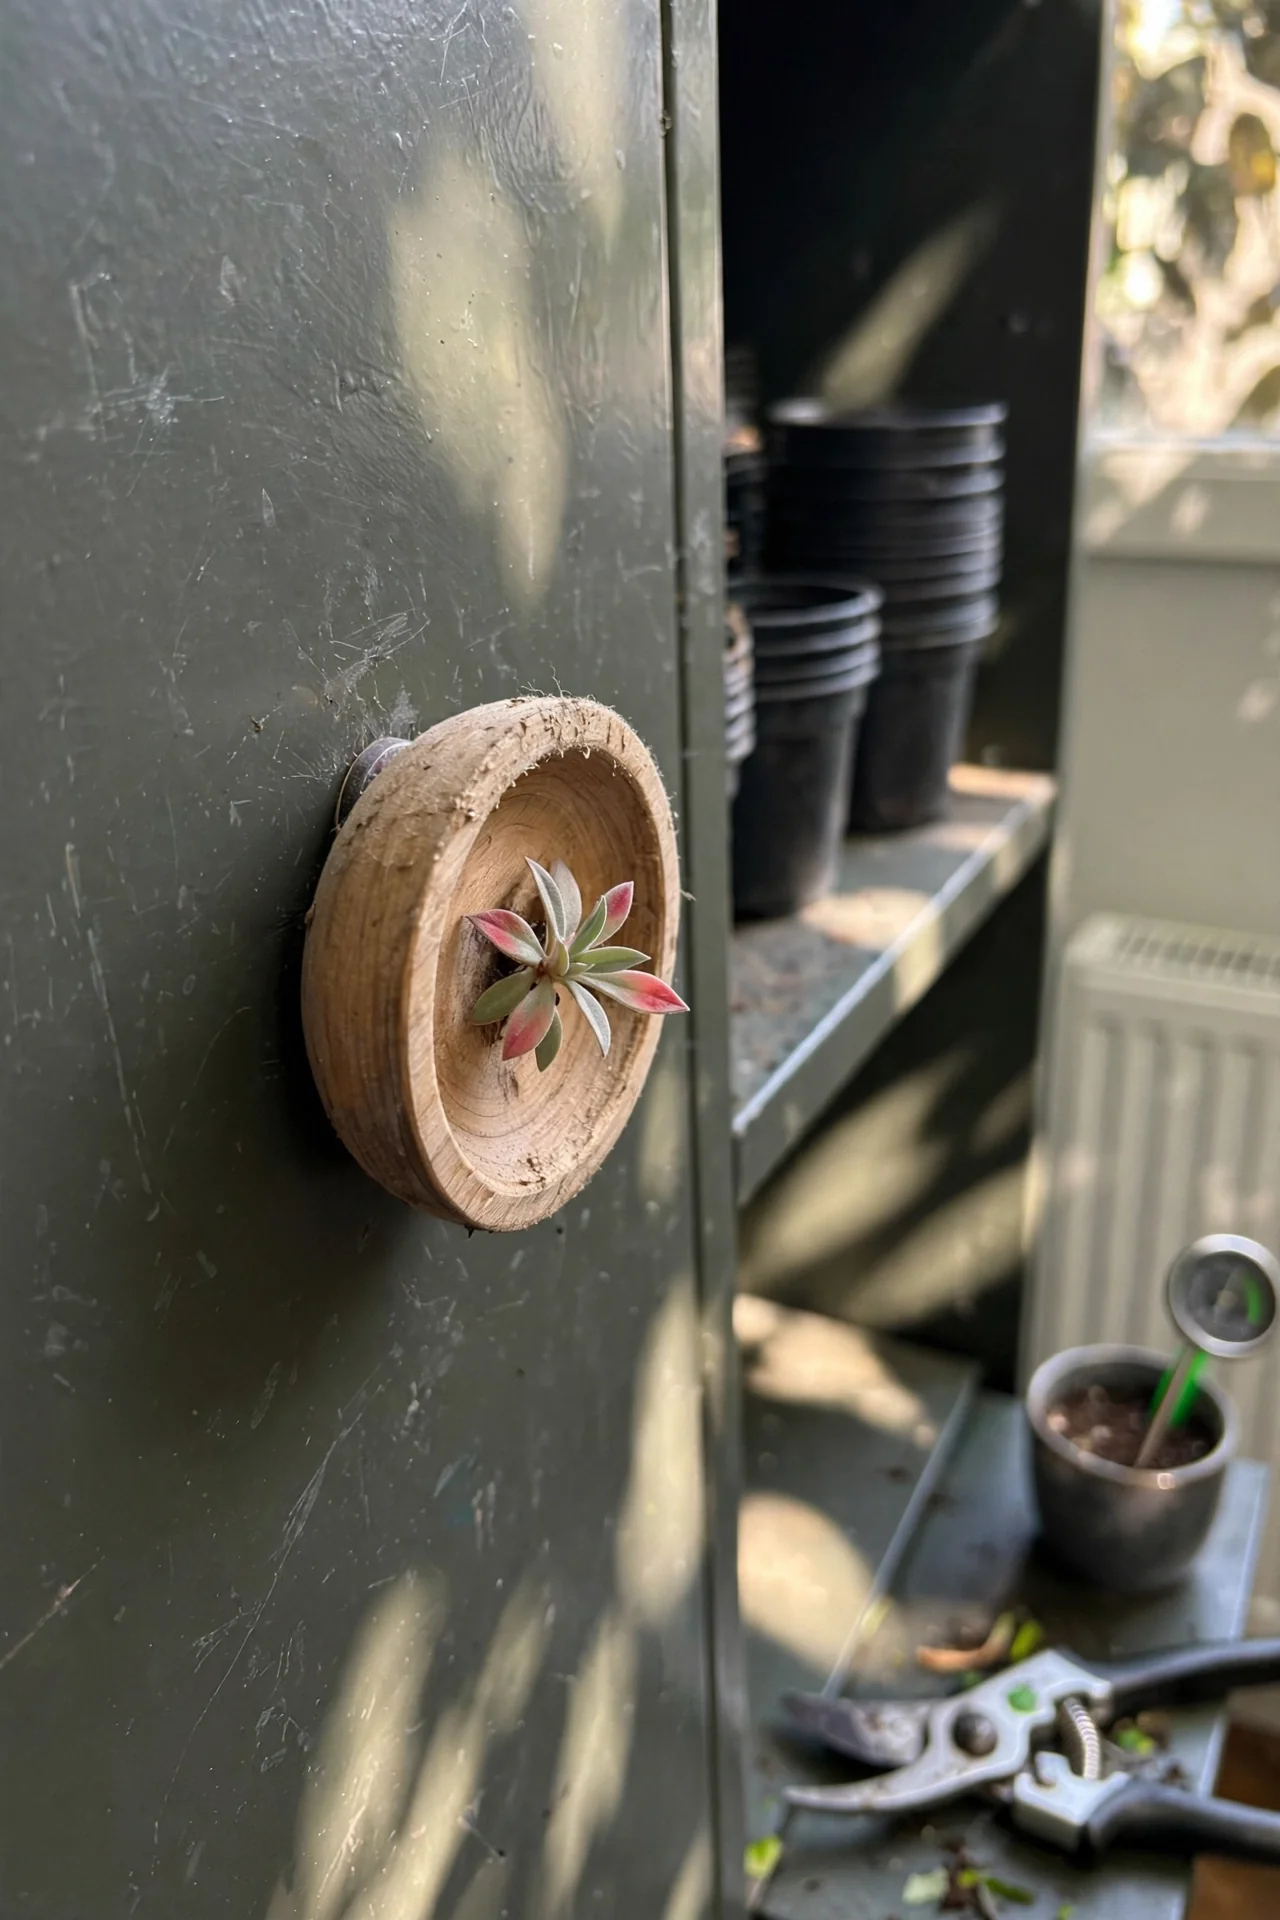
Use vs skip. Use these for instant rearrangement without drilling. Strong neodymium magnets let you place pods on a metal backsplash, fridge, or magnetic board. Skip if your plant plus holder exceeds the magnet’s rated pull force: a 4.5 kg (10 lb) rated magnet is safe for most small air plant pods. Edge case: textured plaster walls or thick wallpaper reduce magnetic hold. For more permanent wall mounting, explore our pegboard plant wall approach.
6. Cork Bark Log
Best for: Branch 2
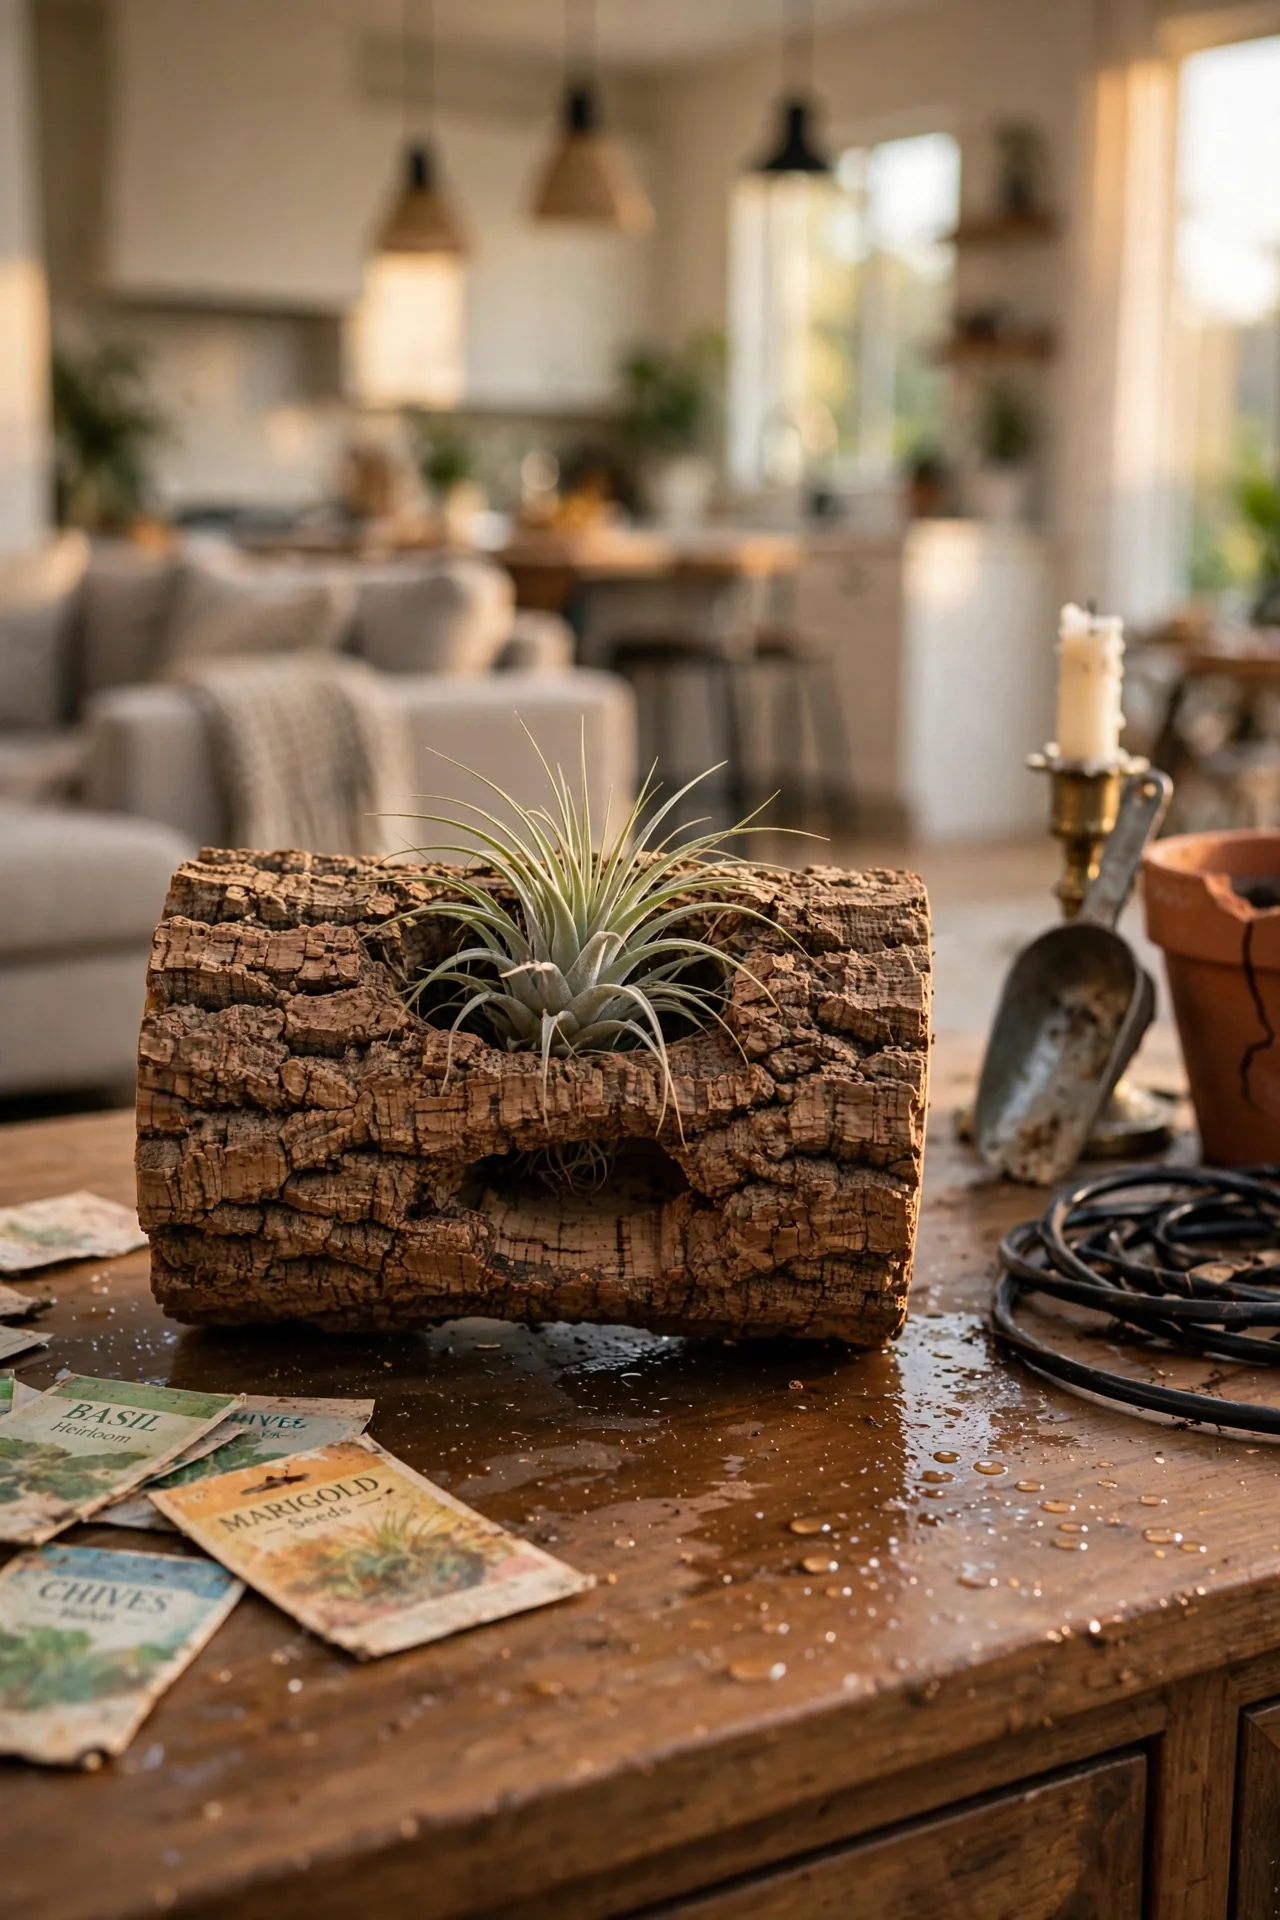
Threshold rule: ambient humidity. Cork bark works well in average home humidity (40–60%). When relative humidity stays above 70% for several days, the bark absorbs moisture, softens, and can harbor mold near the plant base. If you live in a consistently humid region, seal the contact area with a thin layer of waterproof wood finish or switch to a non-porous holder. The plant itself tolerates the humidity, but the holder structure fails first.
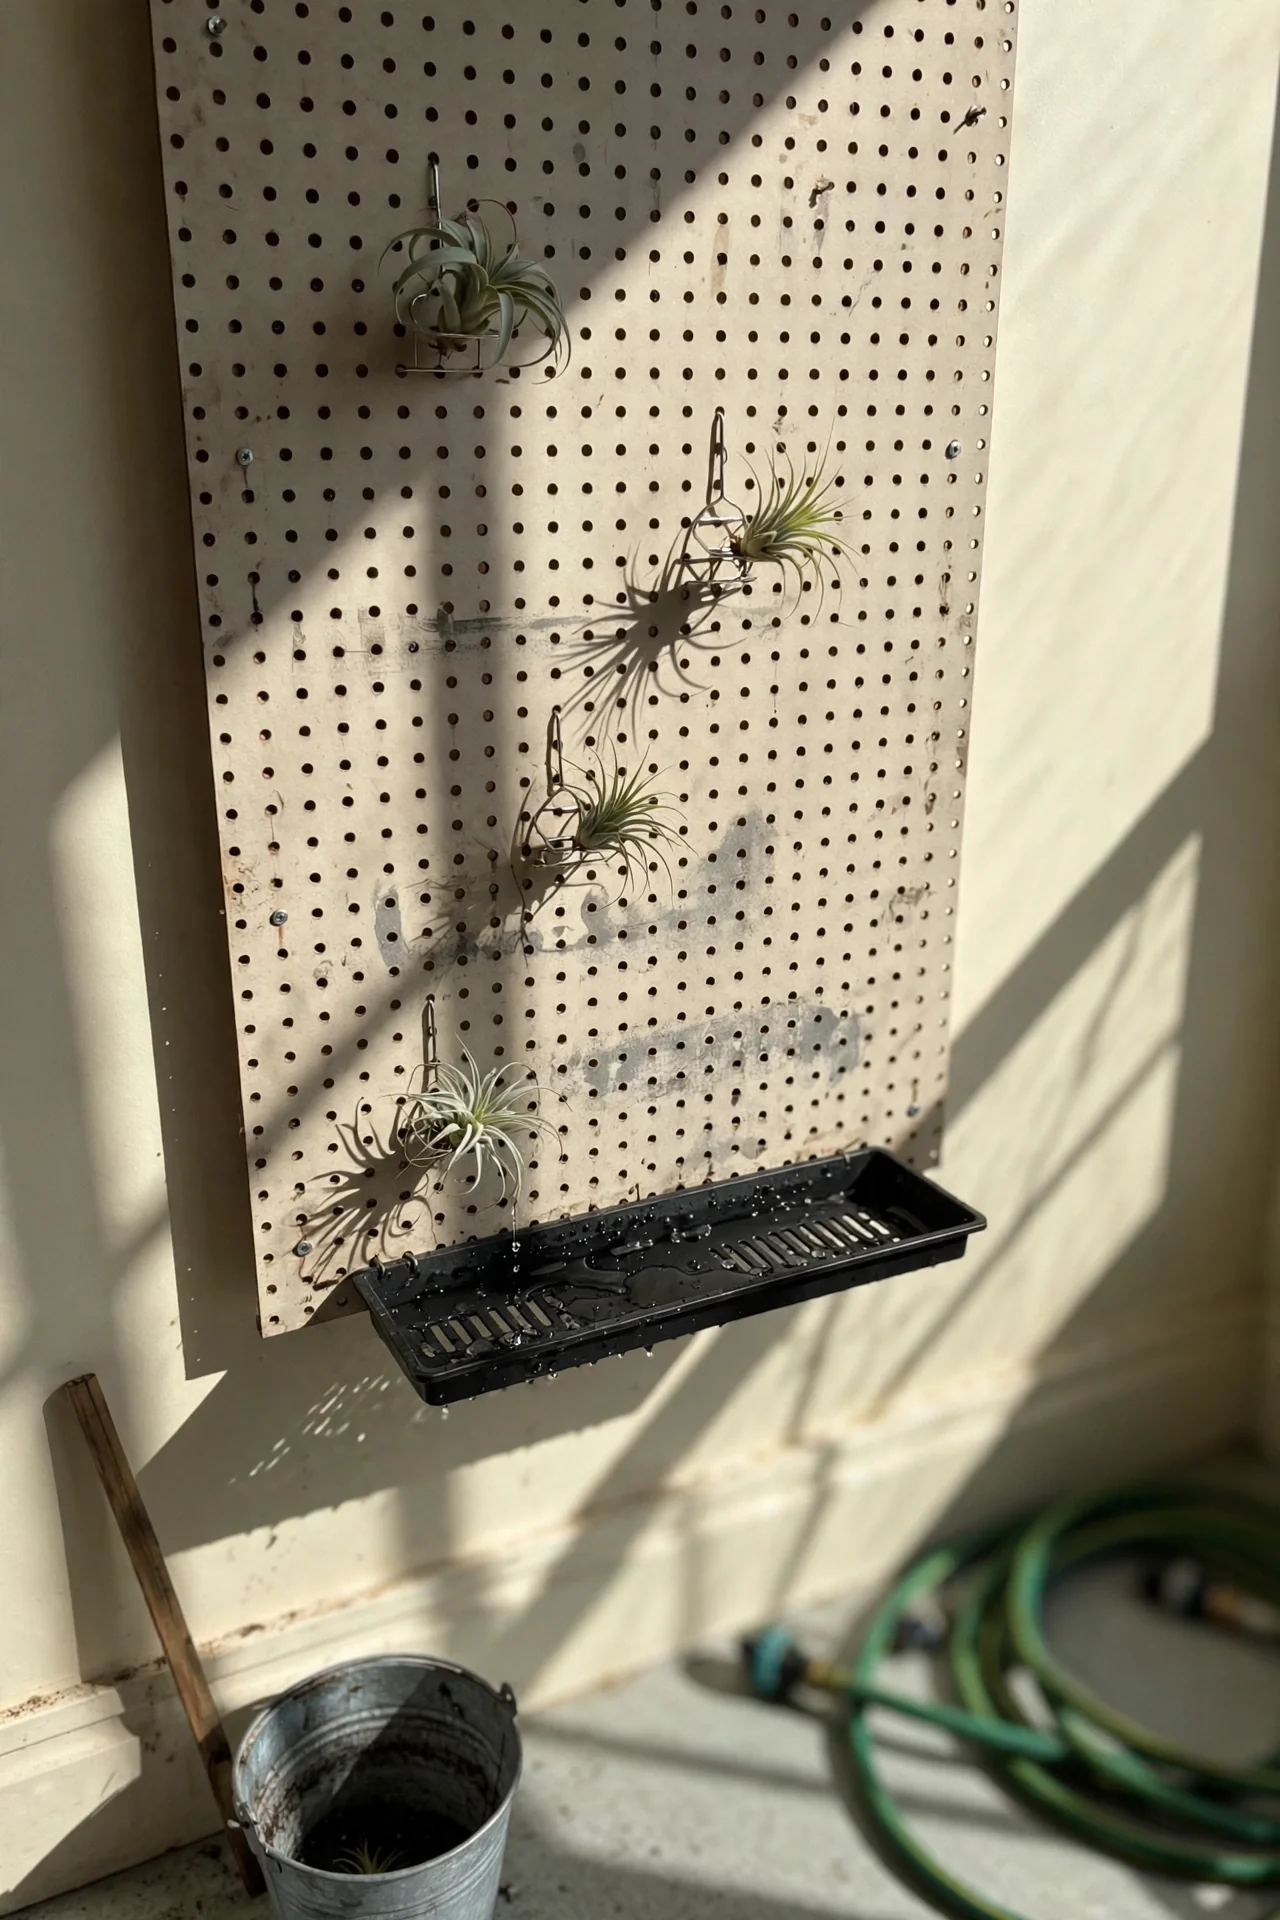
7. Pegboard Air Plant Gallery
Best for: Branch 3
Blueprint. What: A standard pegboard panel fitted with small wire clips or 3D-printed brackets that hold individual air plants. For: Displaying a collection so each plant gets uniform light. Steps: (1) Mount a pegboard with 2.5 cm (1-inch) hole spacing on the wall using standoffs to create a rear air gap. (2) Attach spring clips or custom hooks in the holes. (3) Seat each air plant so it can be lifted off easily. (4) Mist plants with a fine spray; place a narrow drip tray on the floor or lowest peg to catch runoff. Common mistake: Forgetting that water will drip downward. Without a tray, moisture damages the floor or lower plants. The air gap behind the board also prevents wall dampness.
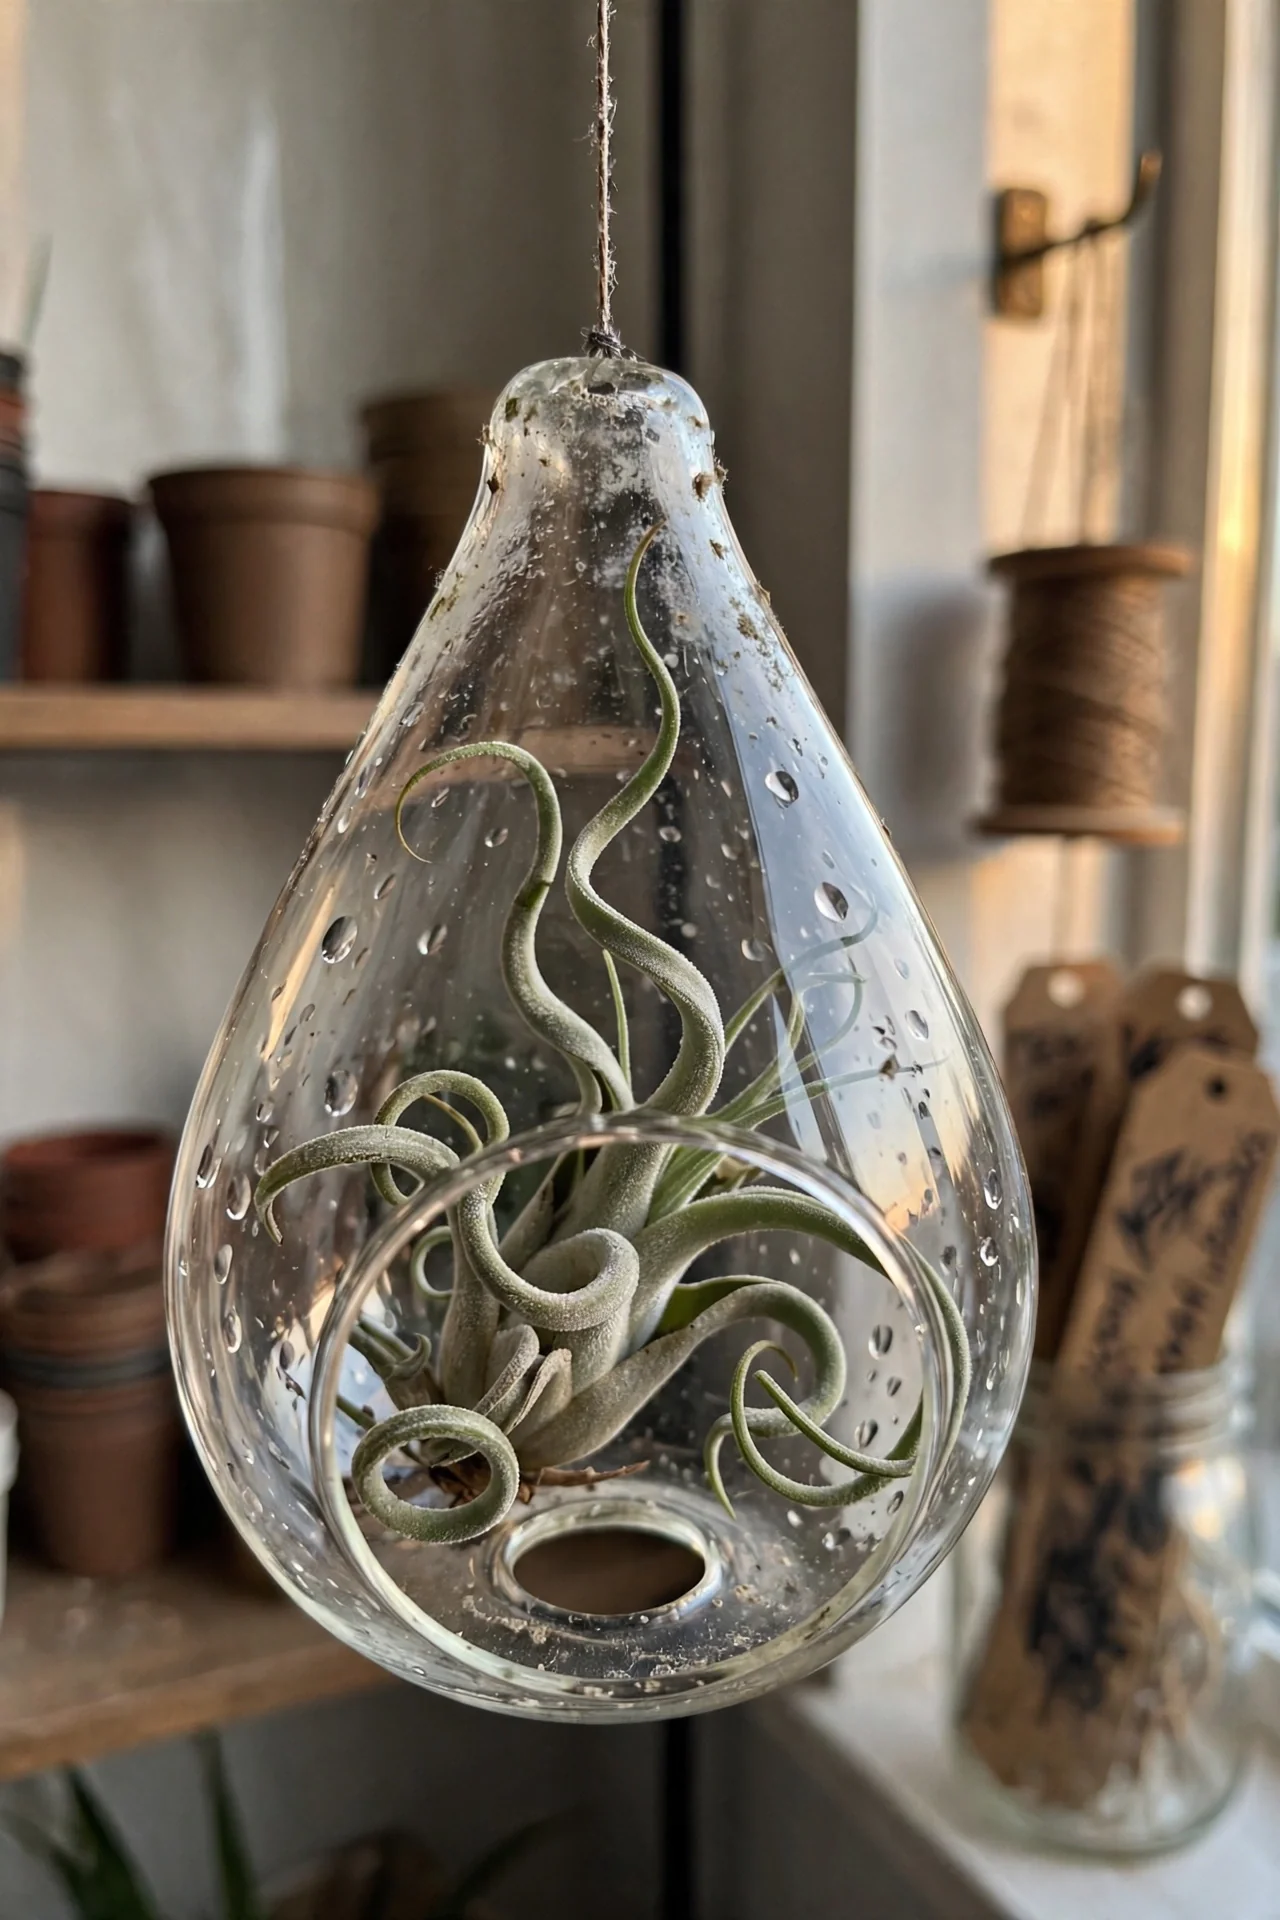
8. Upside-Down Glass Terrarium
Best for: Branch 1
Use vs skip. Use an open-bottom teardrop or bell jar hung with the opening facing down. This shields the plant from dry drafts while allowing air exchange. Skip any fully enclosed globe with a narrow neck; it traps humidity and causes rot within days. Edge case: near an air conditioning vent, the cold air stream can drop the internal temperature enough to shock the plant. Hang at least 1.5 m away from direct airflow.
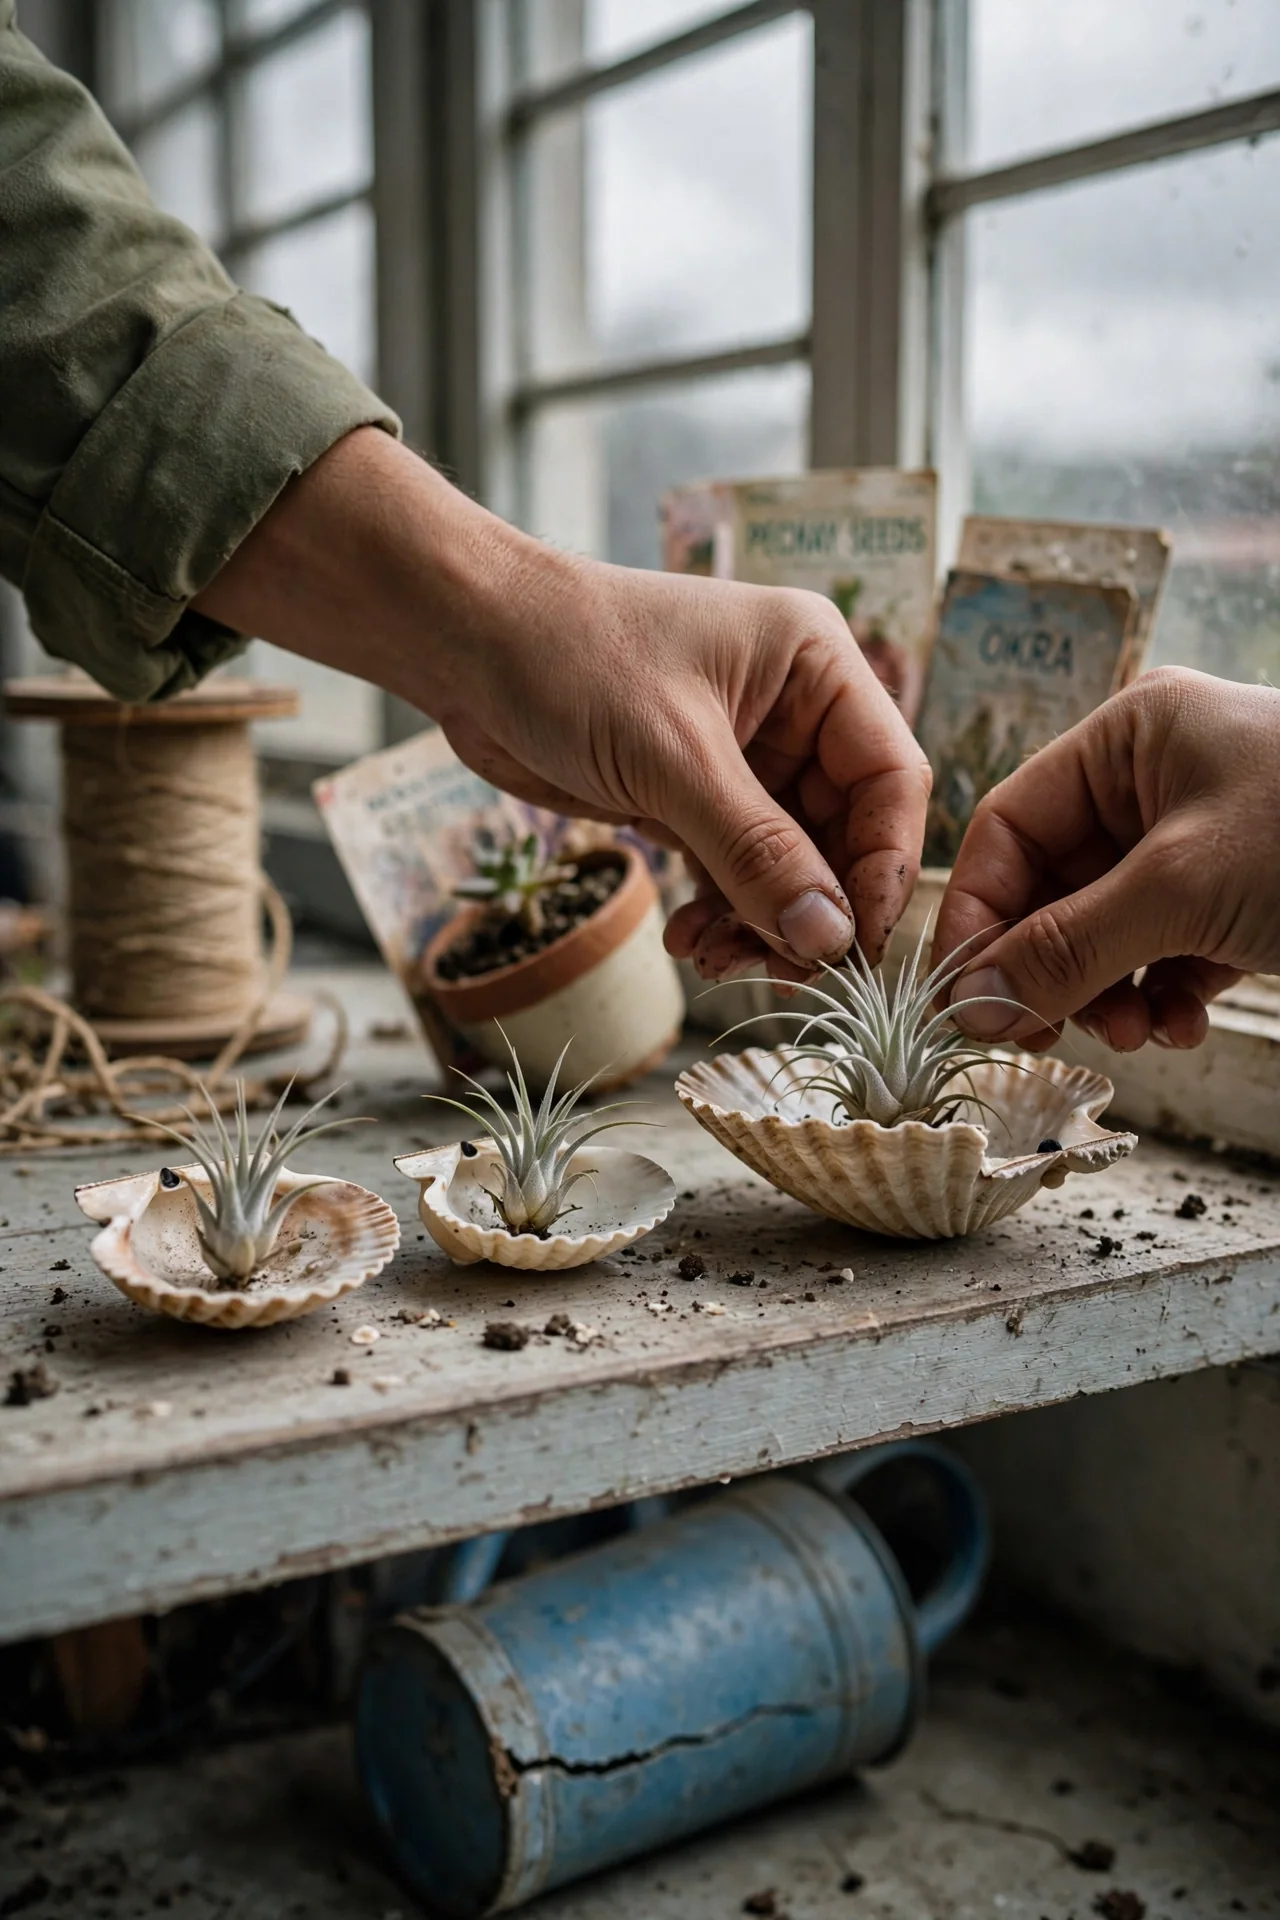
9. Seashell Mini Holders
Best for: Branch 2
Threshold rule: water pH. Seashells are calcium carbonate and slowly dissolve when exposed to acidic water. If your tap water or misting solution has a pH below 6.0, the inner shell surface will become rough and may release small amounts of calcium into the plant’s crevice. Test your water with pH strips. If it is acidic, use neutral or slightly alkaline water (pH 6.5–7.5) for misting. This preserves both the shell and the plant’s trichome health.
10. Living Wreath Base
Best for: Branch 3
10-minute workflow. (1) Start with a 30 cm grapevine or wire wreath form. (2) Wrap sections with preserved sheet moss, securing with floral wire. (3) Attach air plants by threading wire through the base of the plant, not the leaves. (4) Hang in bright indirect light, away from direct sun that would dry the wreath too fast. Upgrade option: Add a few dried flowers for seasonal color. Key mechanism: The wreath base itself loses moisture quickly. To prevent plants from detaching as the base shrinks, lightly mist the wreath structure weekly. If the base becomes brittle, soak it separately for 10 minutes. For a fuller moss-based display, see our kokedama DIY guide for adaptable wrapping techniques.
Starter Stack (What to Choose First)
Branch 1: Hanging, maximum airflow
Begin with the Wire Orb Hanger (item 2) and the Macrame Cradle (item 4). The orb gives you a rigid, no-fuss suspension, while the cradle adds a soft textured accent. Together they create a layered hanging cluster. Estimated cost $8–$18, total build time 45–90 minutes.
Branch 2: Stationary, base-support display
Start with the Driftwood Display (item 1) and a Cork Bark Log (item 6). Both use natural materials you may already have. The driftwood piece becomes a statement centerpiece; the cork log houses a smaller accent plant. Estimated cost $0–$12 if foraged, otherwise $15–$25, build time under 30 minutes.
Branch 3: Wall-mounted, removable
Combine Magnetic Wall Pods (item 5) with a Living Wreath Base (item 10). The pods let you test layouts quickly, while the wreath delivers a high-impact door or wall feature. Estimated cost $15–$35, build time 2–3 hours including wreath attachment.
When This Won’t Work
If your indoor relative humidity consistently stays below 30%, open-air holders will dry out tillandsia leaves faster than you can mist. In that environment, select a holder with a partial enclosure, like the Upside-Down Glass Terrarium (item 8), and use a hygrometer to verify the microclimate around the plant.
Any holder will fail if you cannot commit to a weekly watering routine. Air plants need a thorough soak or heavy misting every 7–10 days. If that rhythm is unrealistic, a soil-based plant in a self-watering planter is a better match. The holder itself cannot replace the plant’s hydration needs.
Choosing the Right Option for Your Situation
Budget threshold
If your total budget is under $10, focus on foraged driftwood, cork bark, and seashells (items 1, 6, 9). Above $25, copper frames, pegboard systems, and quality magnets become accessible (items 3, 5, 7).
Time threshold
If you have less than one hour, pick a wire orb or magnetic pod (items 2, 5). Both require minimal assembly. If you have an afternoon, a macrame cradle or living wreath (items 4, 10) rewards the extra effort with a more personalized look.
Technical constraint: wall surface
For wall-mounted holders, verify your surface type. Drywall can support magnetic pods only if you mount a steel sheet first. Plaster walls may crumble under repeated magnet removal. Pegboard (item 7) needs wall anchors and a small air gap; it is the most forgiving wall system for renters willing to patch small holes.
Yes/No checklist:
- Does the spot receive at least 4 hours of bright indirect light?
- Can you easily reach the holder for weekly misting or soaking?
- Will the holder material tolerate occasional water contact without degrading?
- Is the mounting surface stable and, if needed, non-porous?
If you answered yes to all four, your chosen holder is a safe bet.
Expert Q&A
Can I use hot glue to attach an air plant to a holder?
Hot glue can burn the plant’s tissue and block the base from absorbing moisture. Use a cool-dry adhesive like E6000 or silicone, applied to the holder, not the plant. Let it cure fully before placing the plant; any off-gassing during curing can damage leaves.
Do air plant holders need drainage holes?
No. Since there is no soil, drainage holes are unnecessary. However, the holder must allow air to circulate around the base so water does not pool. An open structure or a slight gap beneath the plant replaces the function of a drainage hole.
How often should I remove air plants from the holder for watering?
Soak plants in room-temperature water for 20–30 minutes once a week, removing them from the holder entirely. Between soaks, a light misting every 2–3 days keeps leaves from curling. Always shake off excess water before returning the plant to the holder to prevent rot.
What is the best adhesive for mounting tillandsia to wood?
E6000 industrial adhesive or aquarium-safe silicone works well. Apply a small dab to the wood, press the plant’s stem or base gently into it, and allow 24 hours to cure in a well-ventilated area. Avoid adhesives containing solvents that can off-gas and harm the trichomes.
Can I put air plant holders outdoors?
Only in USDA hardiness zones 9–11, where temperatures stay above 10°C (50°F). Even then, protect holders from direct midday sun that can scorch leaves, and bring them inside if nighttime temperatures drop. Mounted holders should be sheltered from rain to prevent overhydration.
Conclusion
The number one mistake is treating the holder as pure decor and ignoring moisture management. A design that looks perfect on social media can trap water or block airflow and kill the plant within weeks. Every material, gap, and placement decision matters as much as aesthetics.
Your next step: start with an ultra-simple upcycled holder to learn your plant’s drying pattern. Our tin can planter ideas give you a zero-cost entry point, then you can graduate to the more specialized designs above once you see how your air plant behaves.